

Find your subdomain
Your subdomain is the unique identifier in the URL of the Zendesk developer account where you register the OAuth client.
- Check your browser address bar when signed in to Zendesk.
- Format:
https://{subdomain}.zendesk.com - Example: if your URL is
https://d3v-acme.zendesk.com/agent/home, your subdomain isd3v-acme - Enter it in the Subdomain field in the StackOne Connector profile.
Registering a local OAuth client
Zendesk creates a global OAuth client by converting a local OAuth client that you register first in your developer account.
Sign in to Zendesk
Sign in to your Zendesk developer account. If you do not have one, see Getting a trial or sponsored account for development.
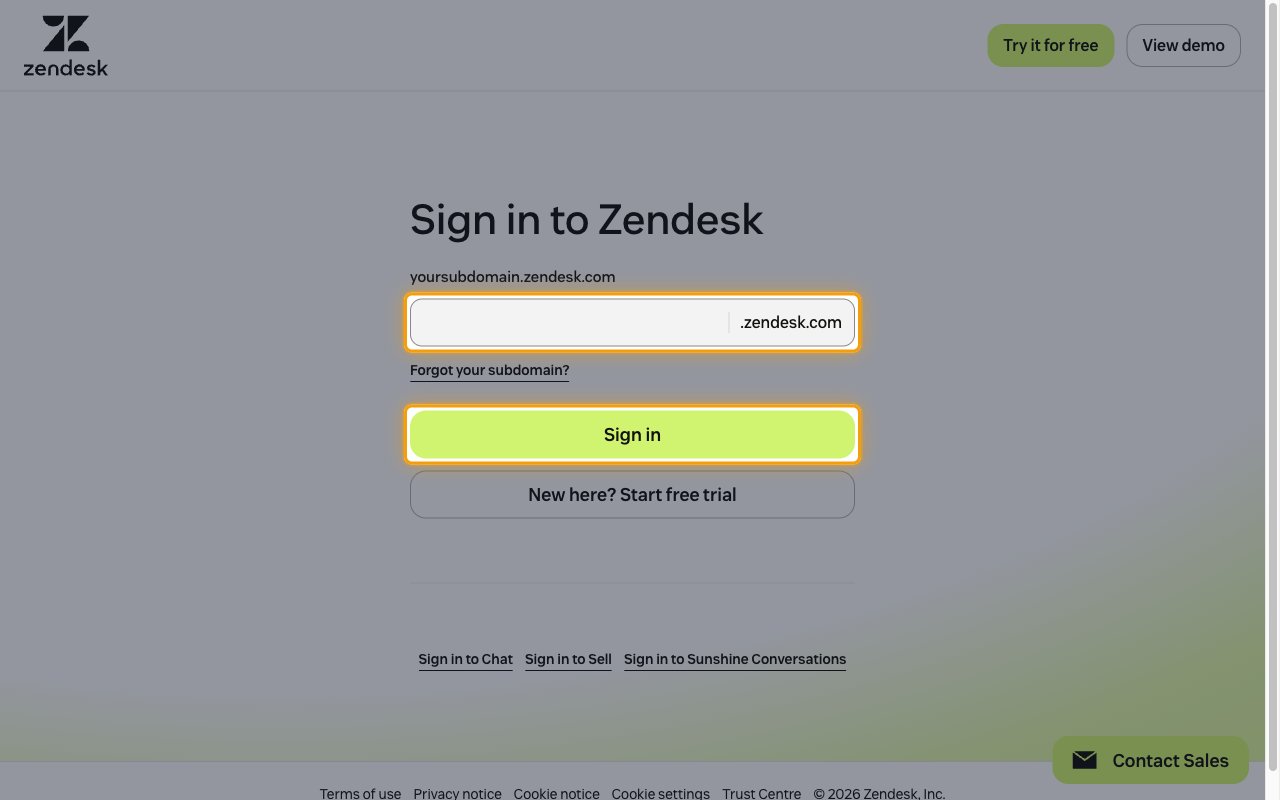
- Enter your subdomain in the yoursubdomain.zendesk.com field and click Sign in.
Open Admin center
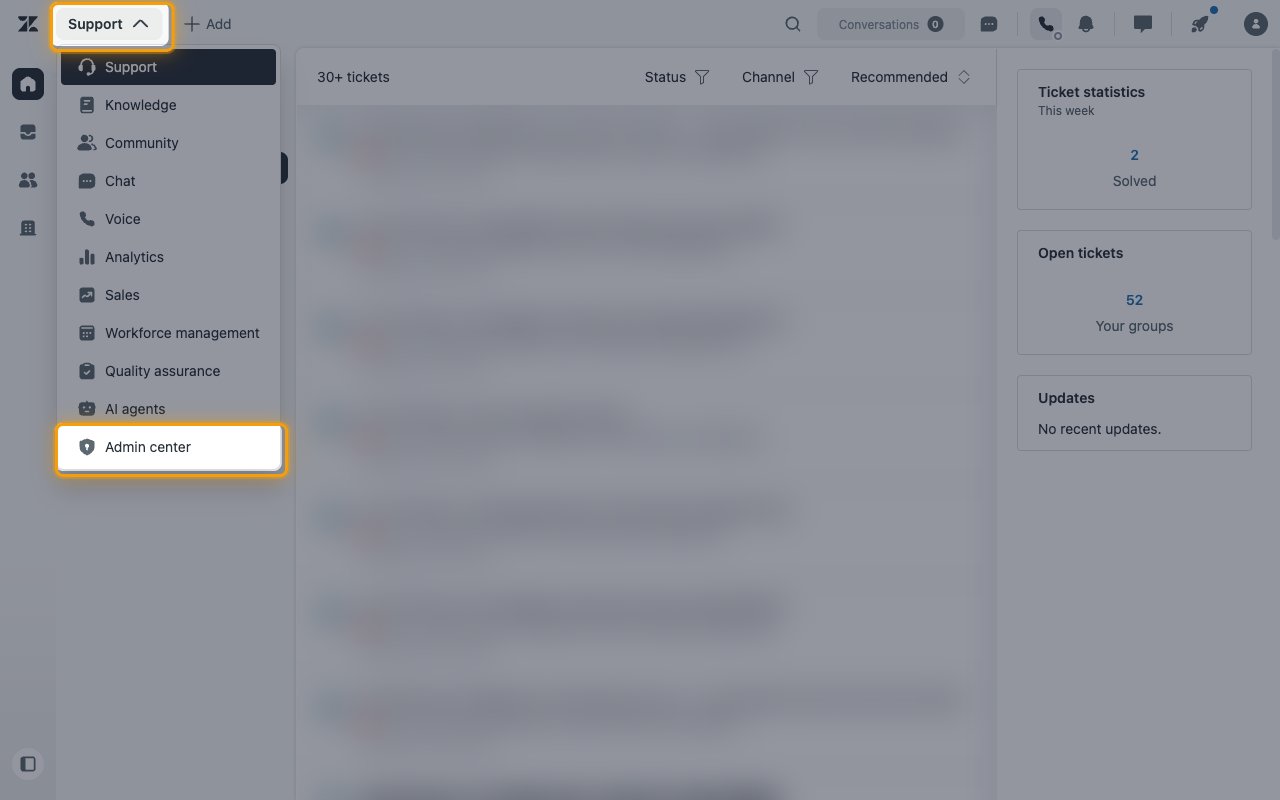
In the top bar, click the product switcher labeled Support, then select Admin center.
Open OAuth clients
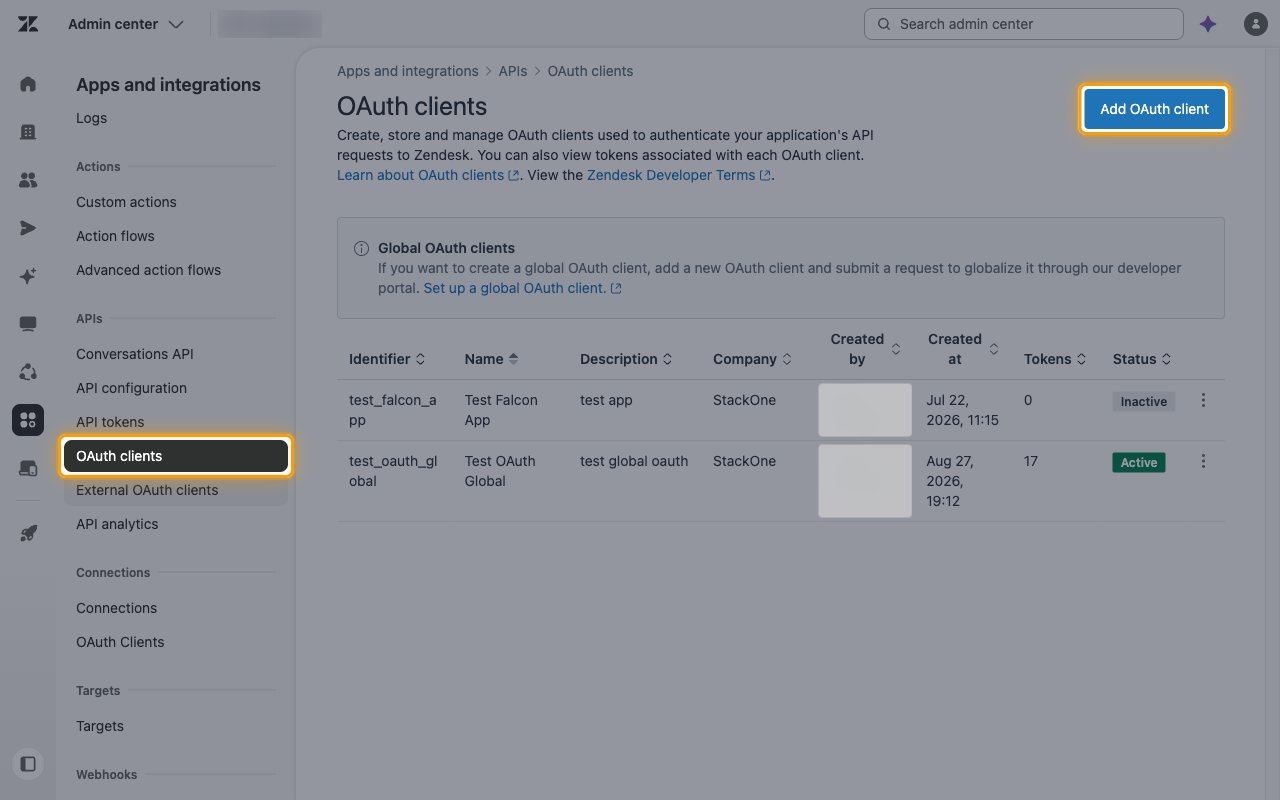
In Admin center, click Apps and integrations in the sidebar, then select APIs > OAuth clients and click Add OAuth client.
- The Global OAuth clients notice on this page confirms the flow. Add a new OAuth client and submit a request to globalize it through the developer portal.
Enter the client details
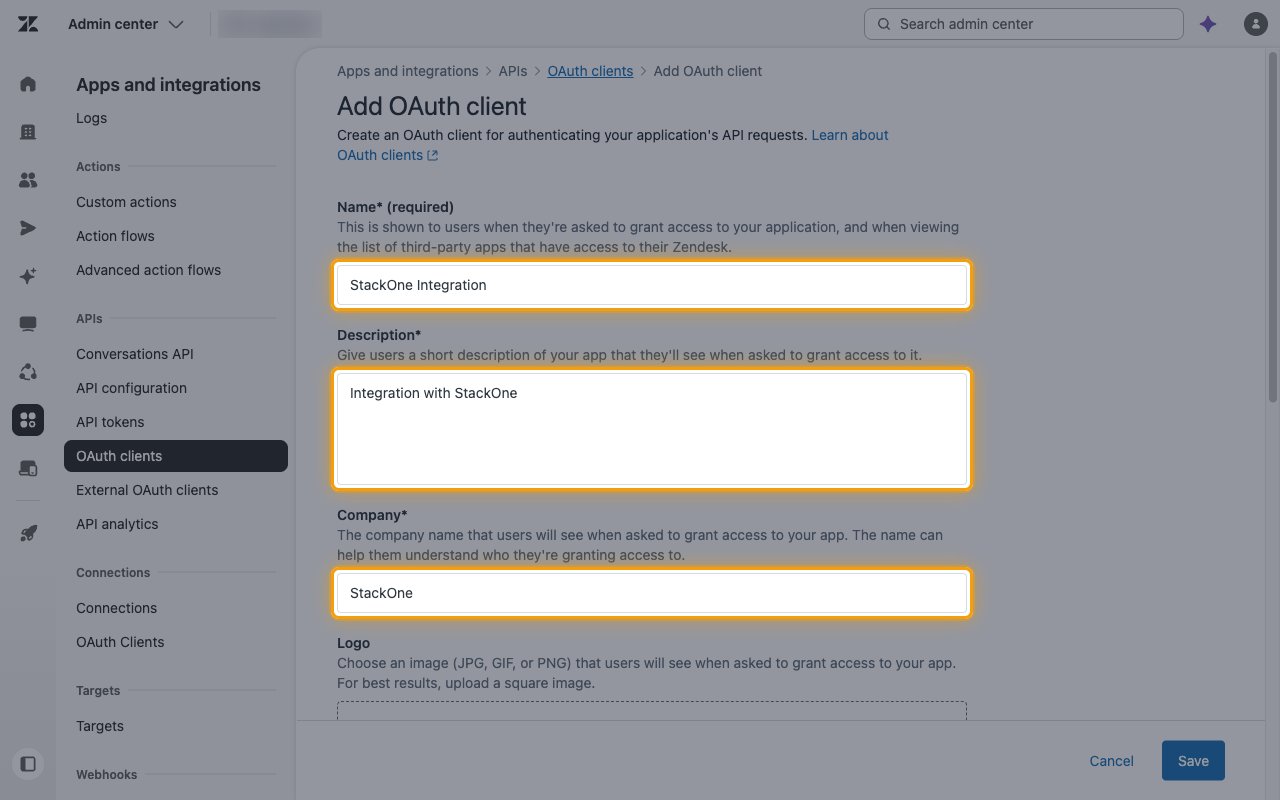
Fill in every field, including the optional ones. This information is shown to users when they are asked to grant access and cannot be changed after the client is globalized.
- Name: the name users see when asked to grant access. Make it representative of your product or business, for example
StackOne Integration. - Description: a short description of the app, for example
Integration with StackOne. - Company: your company name.
- Logo: a square JPG, GIF, or PNG.
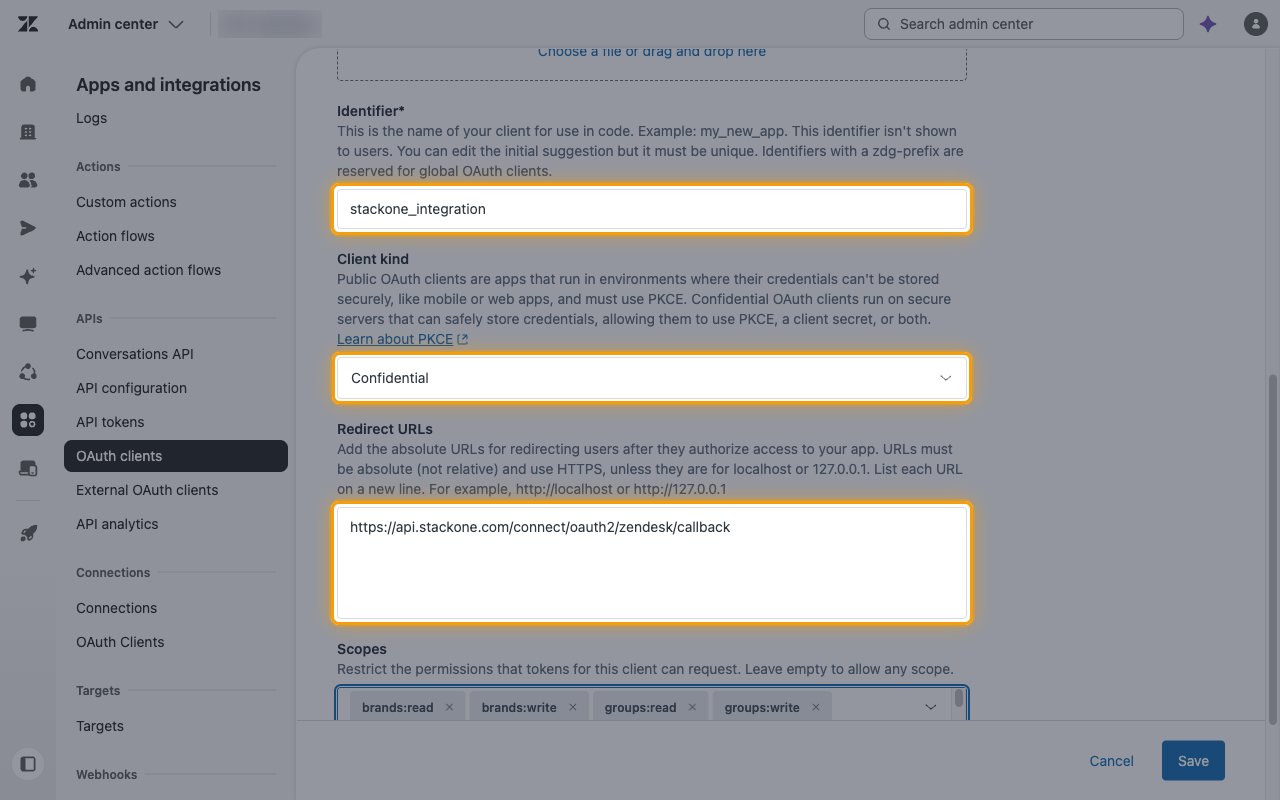
Set the identifier, client kind, and redirect URL
Replace the suggested Identifier with one that starts with zdg-, for example zdg-stackone_integration. Identifiers with a zdg-prefix are reserved for global OAuth clients. Copy it, it is your Client ID.
- Client kind: select Confidential.
- Redirect URLs:
https://api.stackone.com/connect/oauth2/zendesk/callback
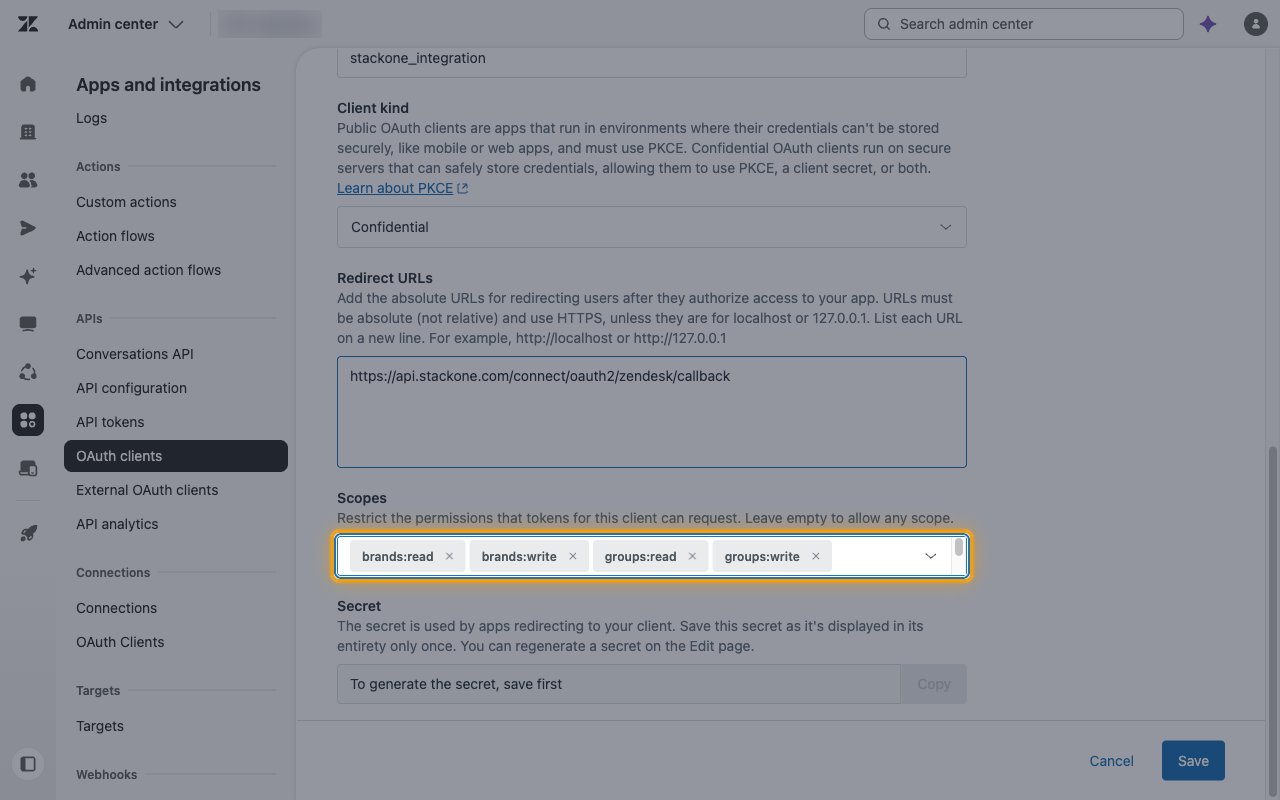
Select scopes
In Scopes, click Select scopes and select the scopes listed below. Allowed scopes define the maximum set your global client can request during authorization, so include every scope StackOne needs.
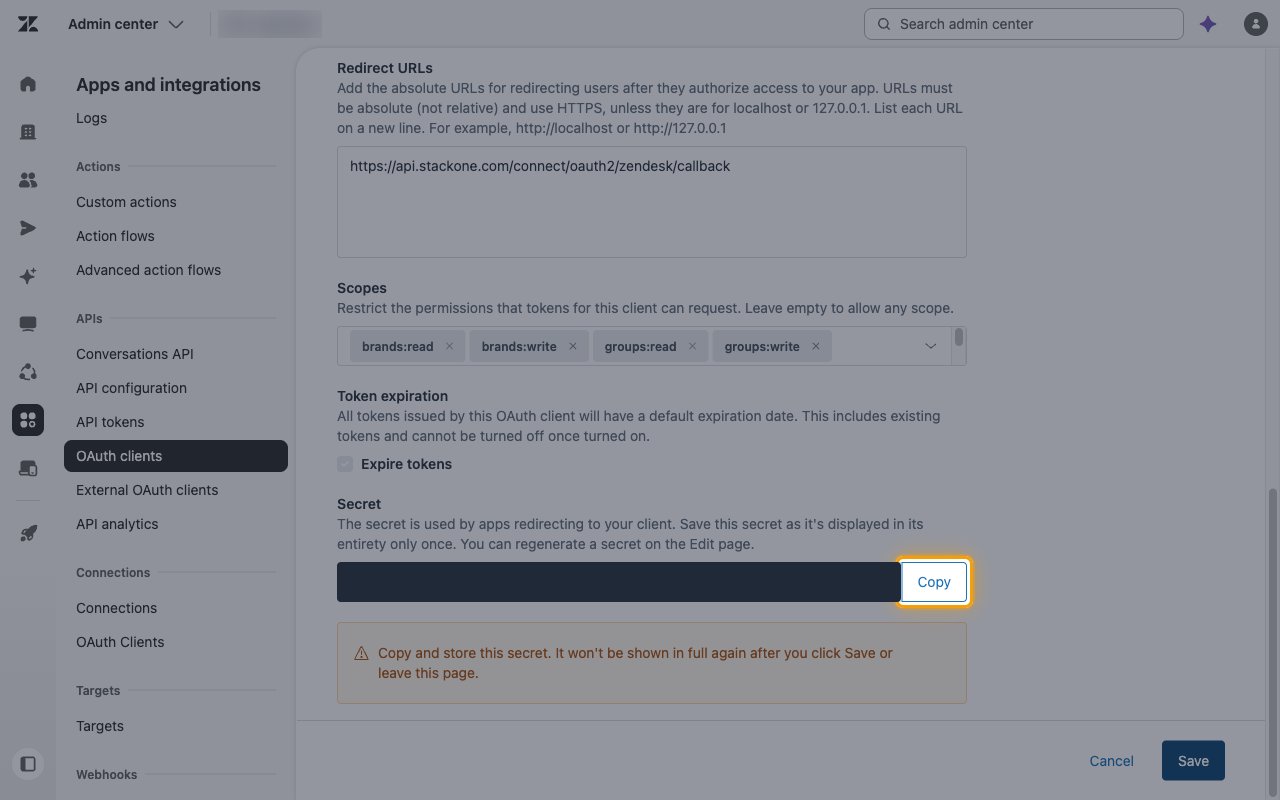
Save and copy the secret
Click Save. The Secret field now shows the generated secret. Click Copy and store it securely for use later.
- The secret is shown in its entirety only once and cannot be retrieved later. It won’t be shown in full again after you click Save or leave this page.
- Note down both the Identifier and the Secret before requesting conversion. You lose access to the client administration page after the local client is converted to a global client.
- Click Save again to finish creating the client.
Requesting a global OAuth client
Ask Zendesk to convert your local OAuth client into a global client that works across all Zendesk accounts.
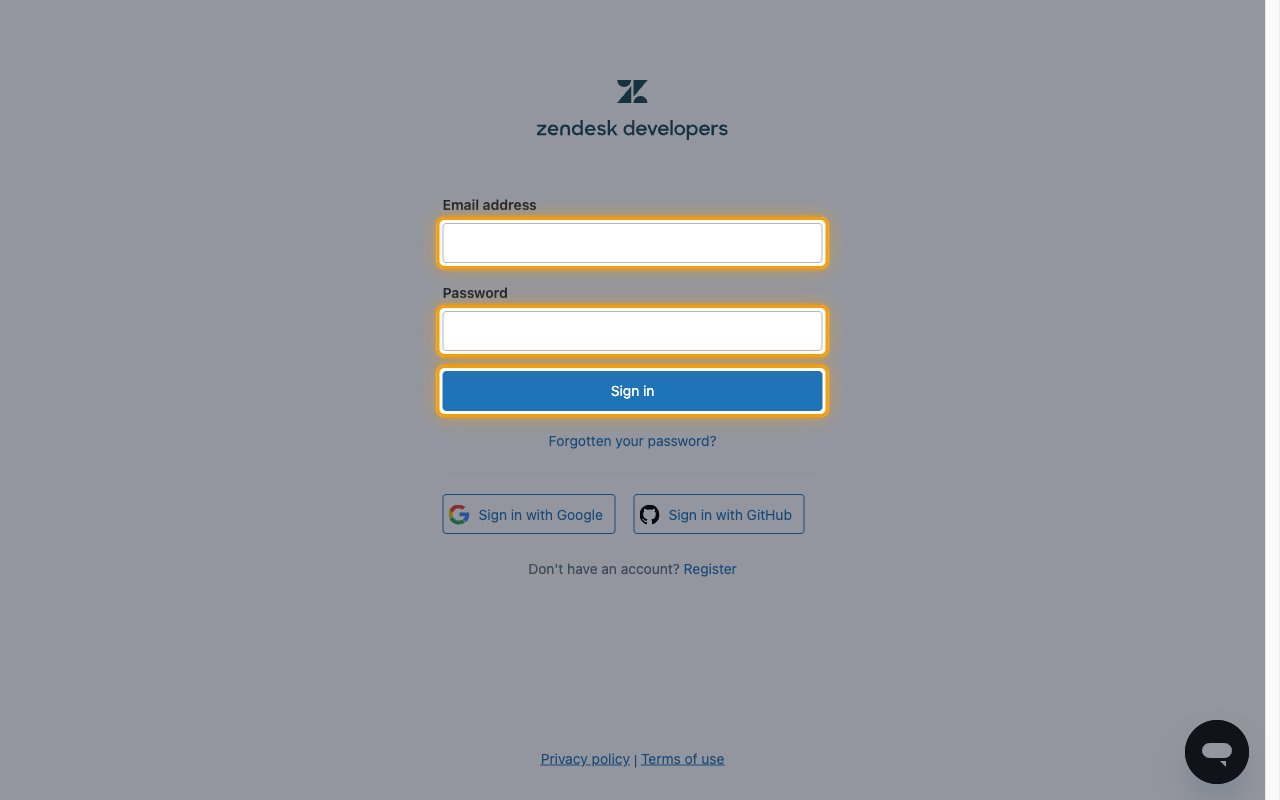
Sign in to the Zendesk Marketplace Portal
Sign in to the Zendesk Marketplace Portal with your Email address and Password, or use Sign in with Google or Sign in with GitHub.
- If you do not have an account, click Register.
Open Global OAuth
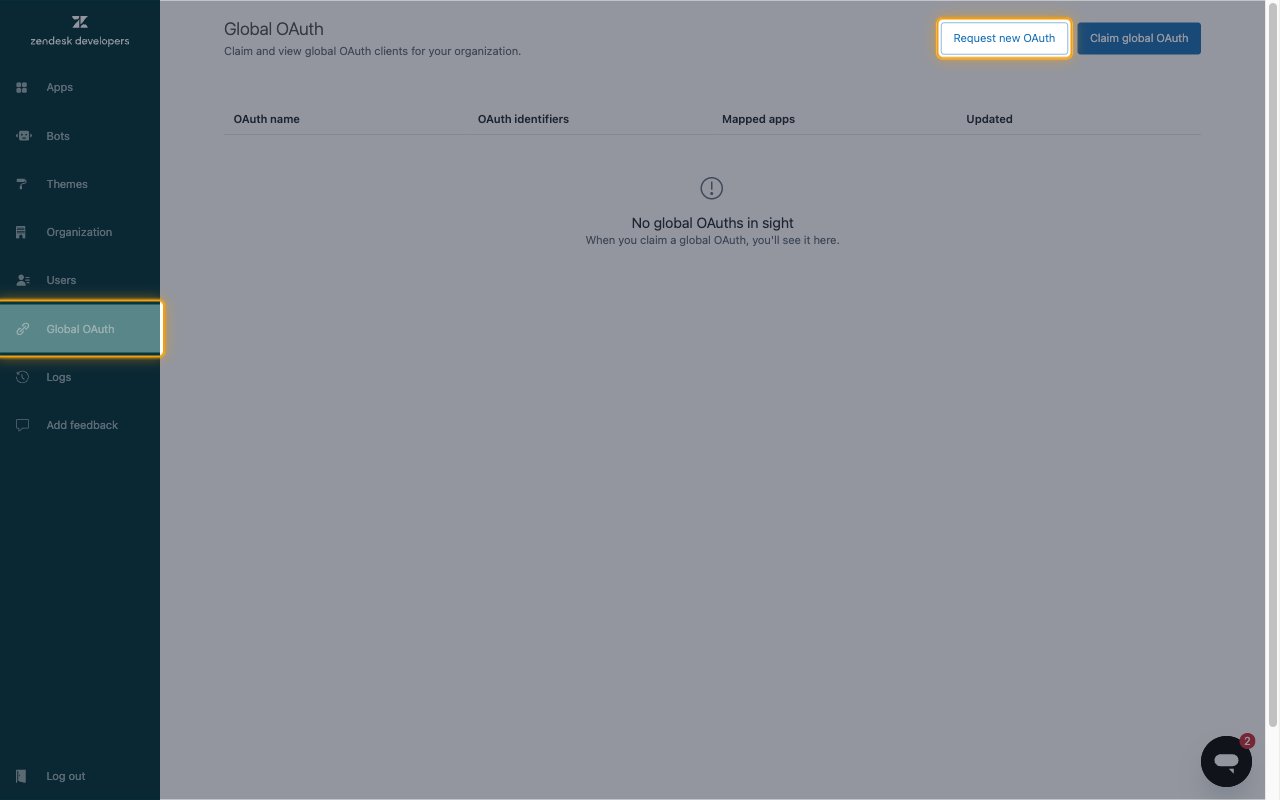
Click Global OAuth in the sidebar, then click Request new OAuth.
Complete the request form
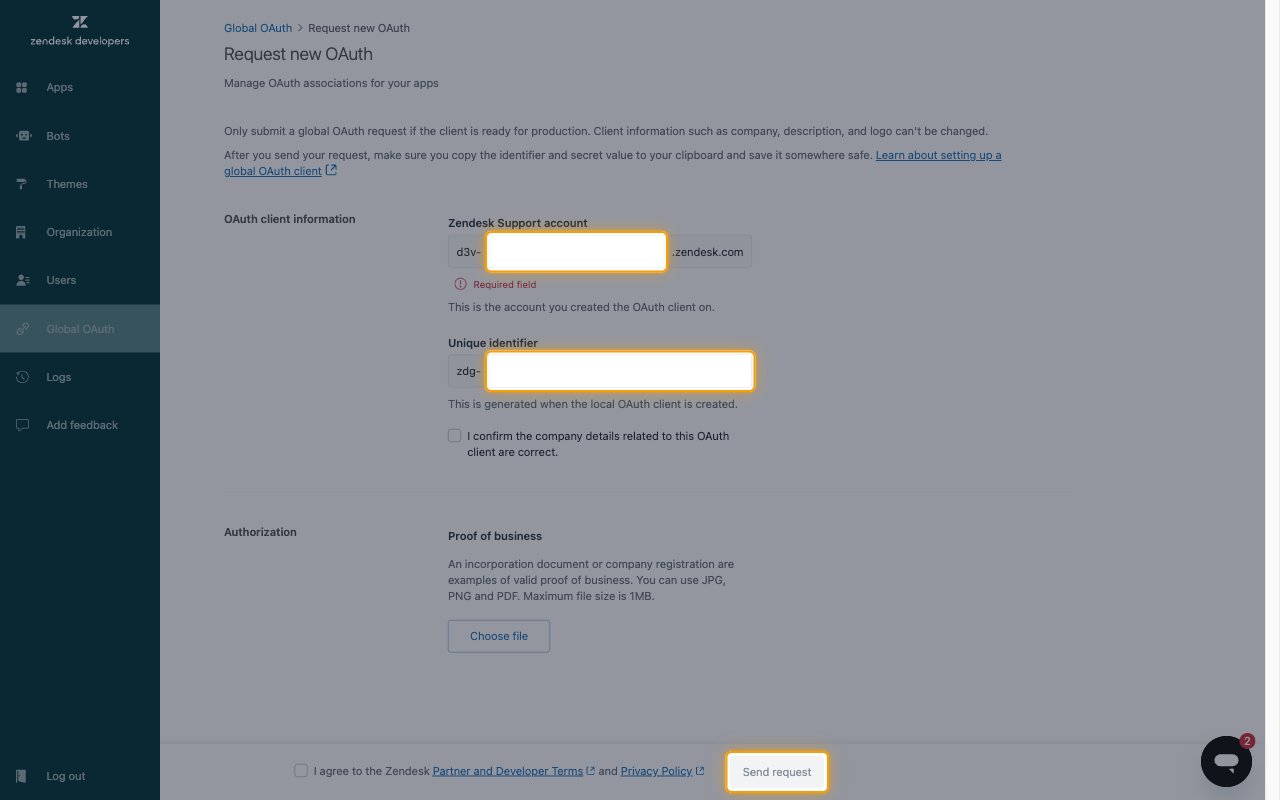
Only submit a global OAuth request if the client is ready for production. Client information such as company, description, and logo can’t be changed.
- Zendesk Support account: the part of your developer subdomain after
d3v-. This is the account you created the OAuth client on. - Unique identifier: the part of your client’s Identifier after
zdg-. - Select I confirm the company details related to this OAuth client are correct.
- Proof of business: click Choose file and upload an incorporation document or company registration as JPG, PNG, or PDF (maximum 1MB).
- Select the checkbox to agree to the Zendesk Partner and Developer Terms and Privacy Policy, then click Send request.
- You receive an email and a ticket reference with updates on your submission.
- The Zendesk Marketplace Operations team reviews each request manually and Zendesk does not publish a turnaround time, so allow for the review before you depend on the global client. Track progress through the ticket reference in the confirmation email.
Entering the credentials in StackOne
Once Zendesk converts the client, the Identifier and Secret you noted down are your global client credentials.
- Paste the Identifier into the Client ID field in the StackOne Connector profile.
- Paste the Secret into the Client Secret field in the StackOne Connector profile.
- Scopes is optional. Leave it empty to request the full set the connector needs, or enter a space-separated subset covering only the actions you use.
Creating the StackOne Connector Profile
To create the Connector Profile in StackOne for Zendesk:Open the connector
Choose actions and events
- Click Add Profile.
- If the connector offers more than one authentication method, set the Auth Method filter to OAuth 2.0 (Global).
- Select the actions, and any events, to enable for this Connector Profile.
- Click Continue.
Set up authentication
- Select Authentication Type as OAuth 2.0 (Global).
- Fill out the fields using details retrieved from your provider:
- Subdomain
- Client ID
- Client Secret
- Scopes (Optional)
- Click Create Profile.