Create an OAuth application

Register an OAuth application in the Supabase organization you want to connect.

1

Sign in to Supabase

Sign in to your Supabase account.

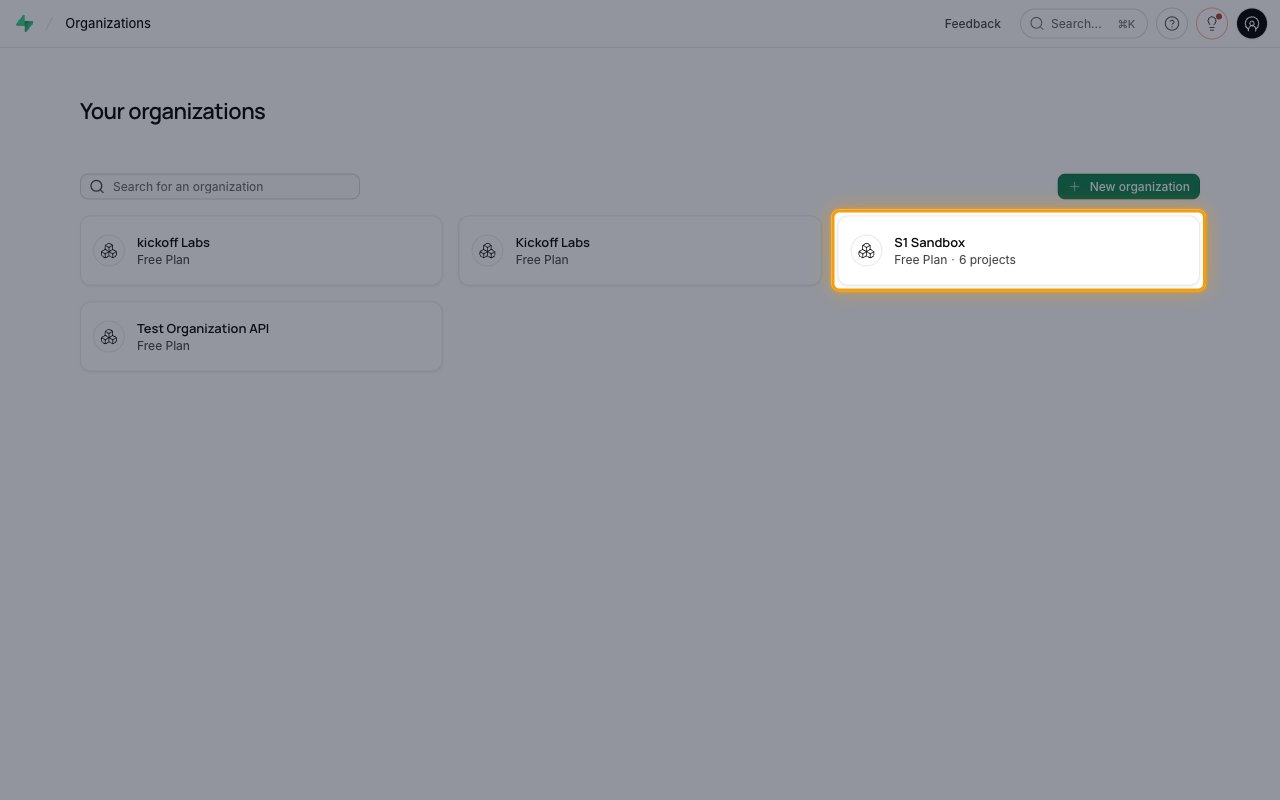
  • On Your organizations, click the organization you want to connect.
The Your organizations page with an organization card highlighted
2

Open organization settings

In the left sidebar, click Organization Settings.
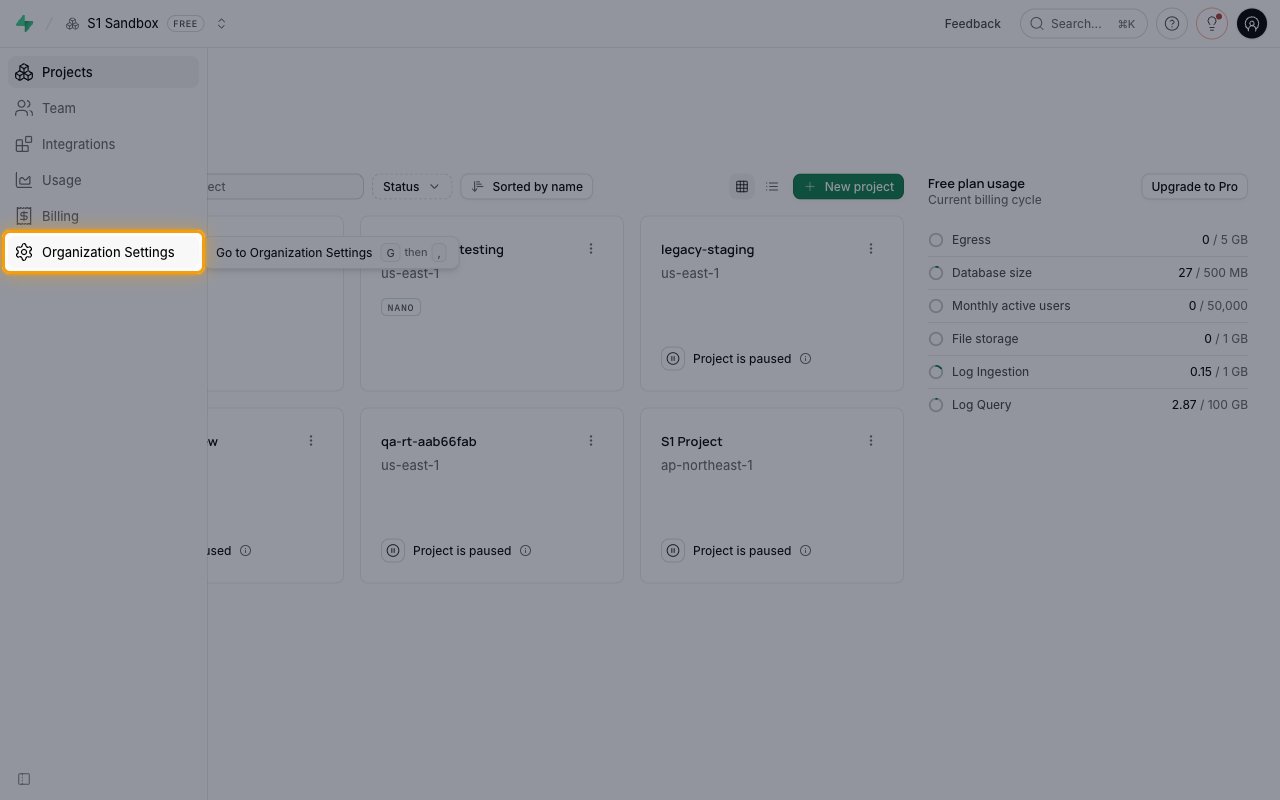
The organization sidebar with Organization Settings highlighted
3

Open OAuth Apps

In the Settings sidebar, under CONNECTIONS, click OAuth Apps.

  • Under Publishable apps, click Publish OAuth app.
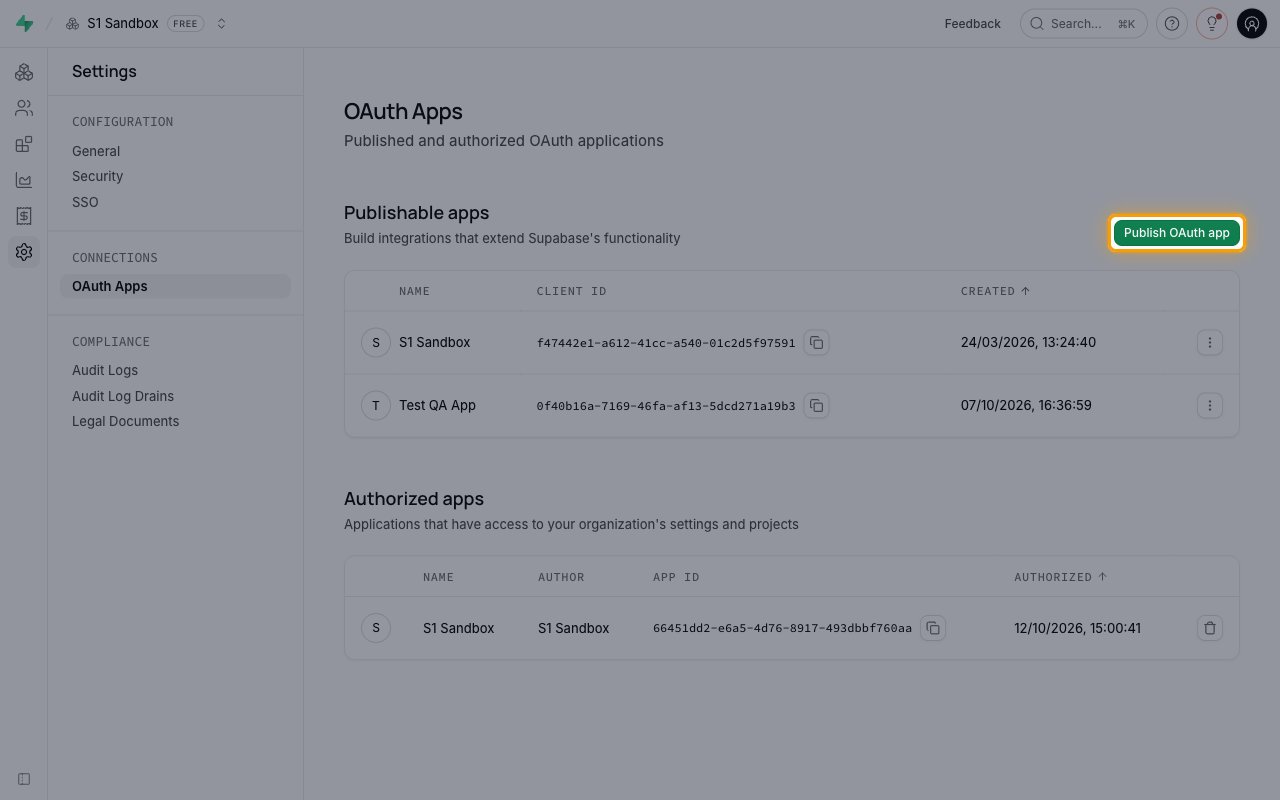
The OAuth Apps page with the Publish OAuth app button highlighted
4

Configure application details

In Publish a new OAuth application, complete the form.

  • Application name: StackOne Integration
  • Website URL: https://stackone.com
  • Authorization callback URLs: the Callback URL from your Connector Profile
  • Leave Use the permissions of the person who connects and Ask for specific projects turned off, so an owner approves one grant that covers every project in the organization.
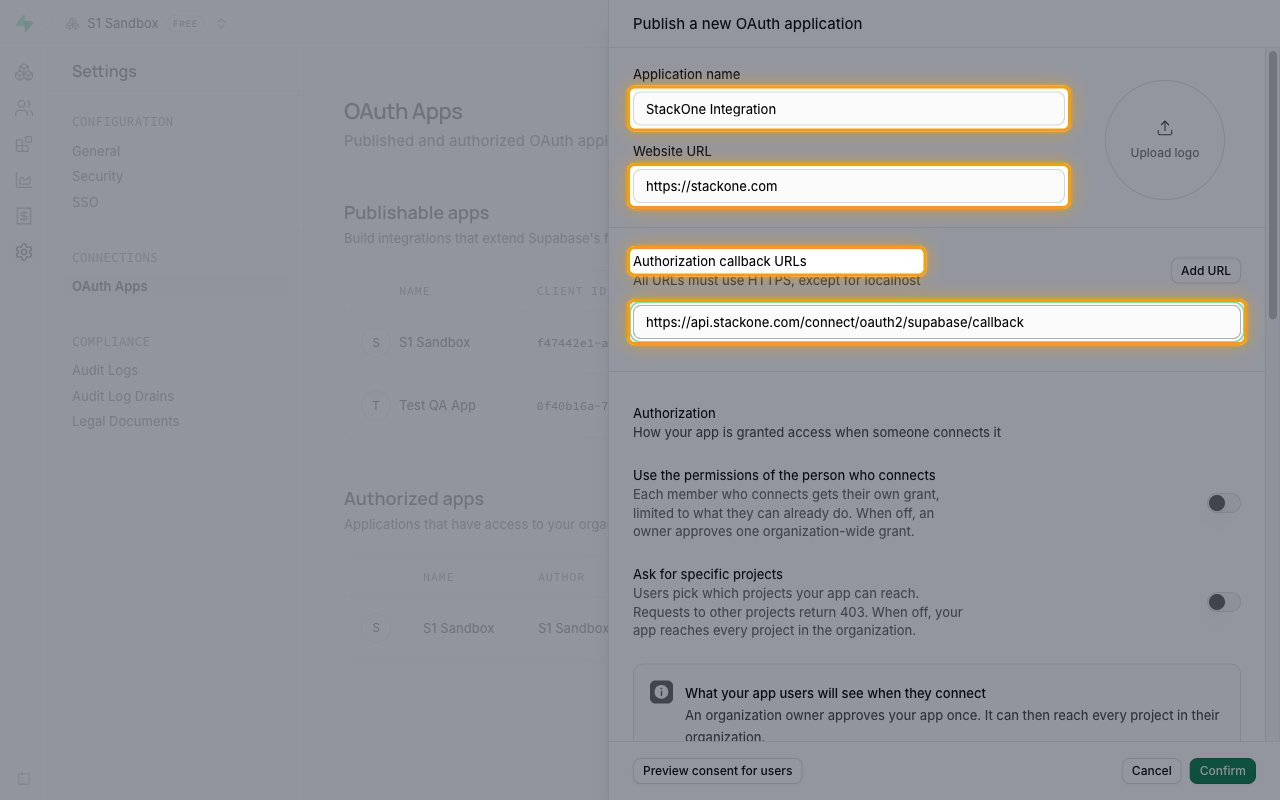
The Publish a new OAuth application form with the name, website URL, and callback URL fields highlighted
5

Configure application permissions

Enables actions: Activate Custom Hostname, Activate Vanity Subdomain, Apply Database Migration, Authorize JIT Access, Bulk Create Secrets, Bulk Delete Secrets, Bulk Update Functions, Cancel Project Restoration, Check Vanity Subdomain Availability, Count The Number Of Action Runs, Create A Branch, Create A Function, Create API Key, Create CLI Login Role, Create Legacy Signing Key, Create Project, Create Project Signing Key, Create Project TPA Integration, Create SSO Provider, Deactivate Vanity Subdomain, Delete A Branch, Delete A Function, Delete API Key, Delete CLI Login Roles, Delete Project, Delete Project TPA Integration, Delete SSO Provider, Deploy A Function, Diff A Branch, Disable Preview Branching, Disable Readonly Mode Temporarily, Enable Database Webhook, Generate TypeScript Types, Get A Branch, Get A Function, Get A Function Body, Get API Key, Get All Projects For Organization, Get Auth Service Config, Get Available Regions, Get Database Branch Config, Get Database Config, Get Database Metadata, Get Hostname Config, Get JIT Access, Get JIT Access Config, Get Legacy Signing Key, Get Migration Entry, Get Network Restrictions, Get Organization, Get PgSodium Config, Get Pooler Config, Get PostgREST Configuration, Get Postgres Upgrade Eligibility, Get Postgres Upgrade Status, Get Project, Get Project API Keys, Get Project Logs, Get Project PgBouncer Config, Get Project Signing Keys, Get Project TPA Integration, Get Readonly Mode Status, Get SSL Enforcement Config, Get SSO Provider, Get Services Health, Get Snippet, Get The Logs Of An Action Run, Get The Status Of An Action Run, Get Unified Organization, Get Unified Role, Get Unified User, Get Vanity Subdomain Config, Initialize Custom Hostname, List All Action Runs, List All Backups, List All Branches, List All Buckets, List All Functions, List All Organizations, List All Projects, List All SSO Providers, List All Secrets, List All Snippets, List Migration History, List Organization Members, List Project TPA Integrations, List Unified Organizations, List Unified Resource Users, List Unified Roles, List Unified Users, Merge A Branch, Patch Migration Entry, Pause Project, Push A Branch, Read-Only Query, Remove Project Signing Key, Reset A Branch, Restore A Scheduled Branch Deletion, Restore PITR Backup, Restore Project, Reverify DNS Config, Rollback Database Migrations, Run Query, Update A Function, Update API Key, Update Auth Service Config, Update Custom Hostname, Update Database Branch Config, Update Database Config, Update Database Password, Update JIT Access Config, Update Network Restrictions, Update PgSodium Config, Update Pooler Config, Update PostgREST Configuration, Update Project, Update Project Signing Key, Update SSL Enforcement Config, Update SSO Provider, Update The Status Of An Action Run, Upgrade Postgres Version, Upsert Migration Without Applying

In Application permissions, open the access dropdown next to each resource and select Read, Write, or both to grant the scopes below. Leave any other resource at Access: No access.
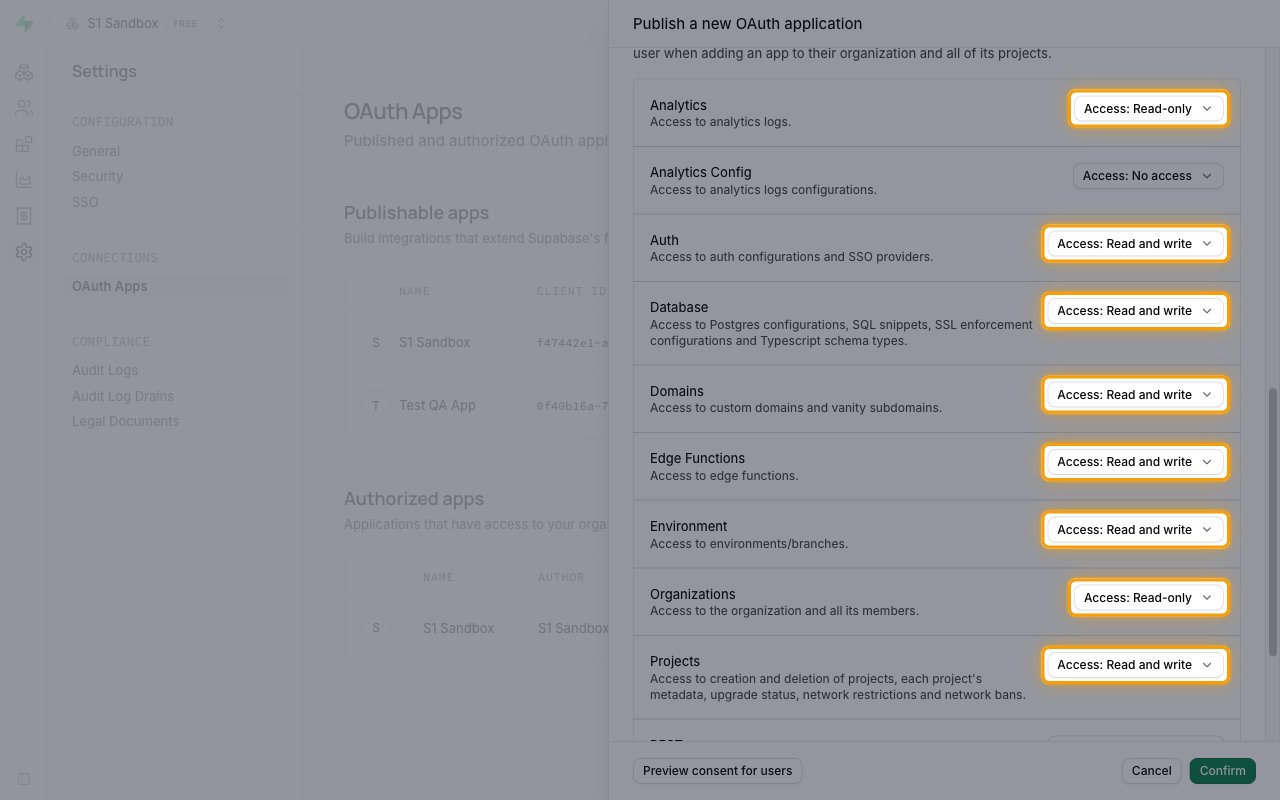
The Application permissions list with each resource's access level highlighted
6

Confirm and publish

Click Confirm to publish the application.
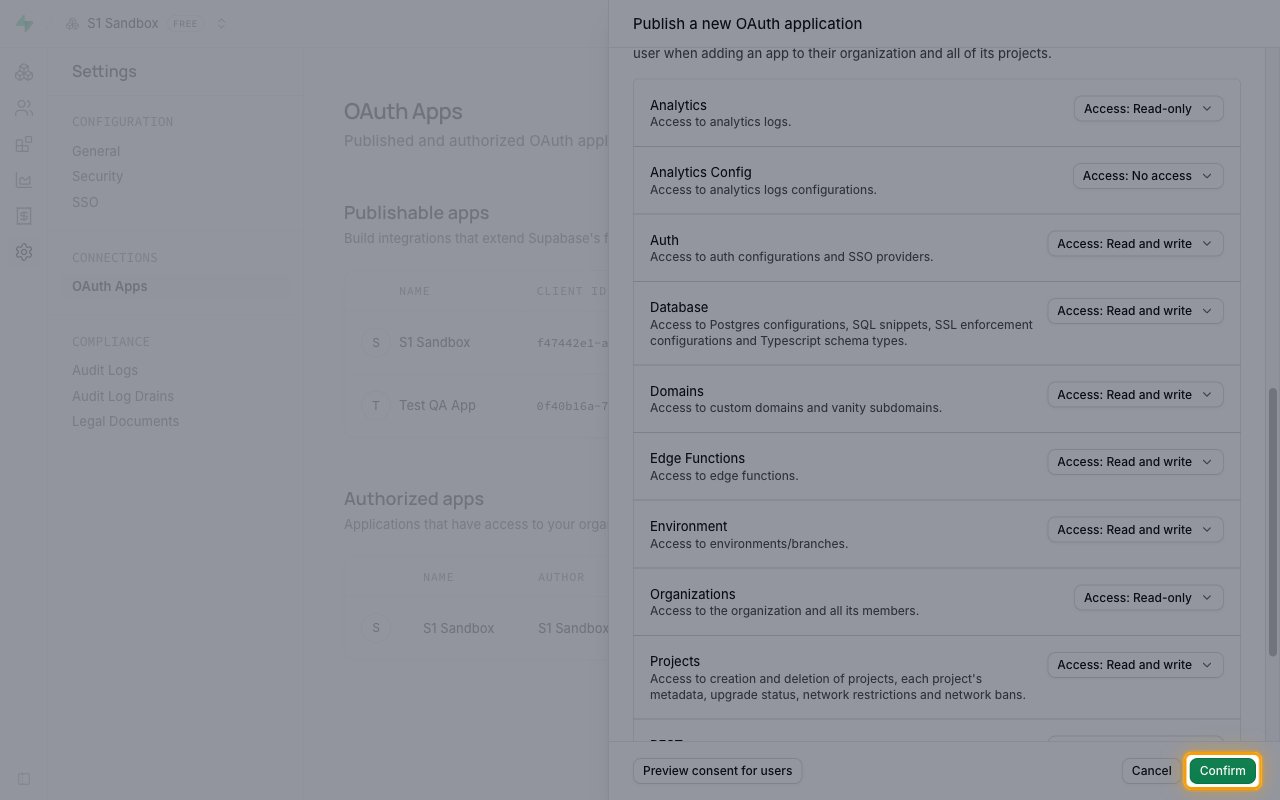
The bottom of the Publish a new OAuth application form with the Confirm button highlighted
7

Copy credentials

Under You’ve created your new OAuth application., use the copy icons to copy the Client ID and Client Secret, and store them securely for use later.

  • The Client Secret is shown only once and cannot be retrieved later.
  • Paste the values into the Client ID and Client Secret fields in the StackOne Connector profile.
  • Optionally enter a space-separated list of scopes in the Scopes field to request a subset, for example projects:read database:read. Leave it empty to use the default scopes.
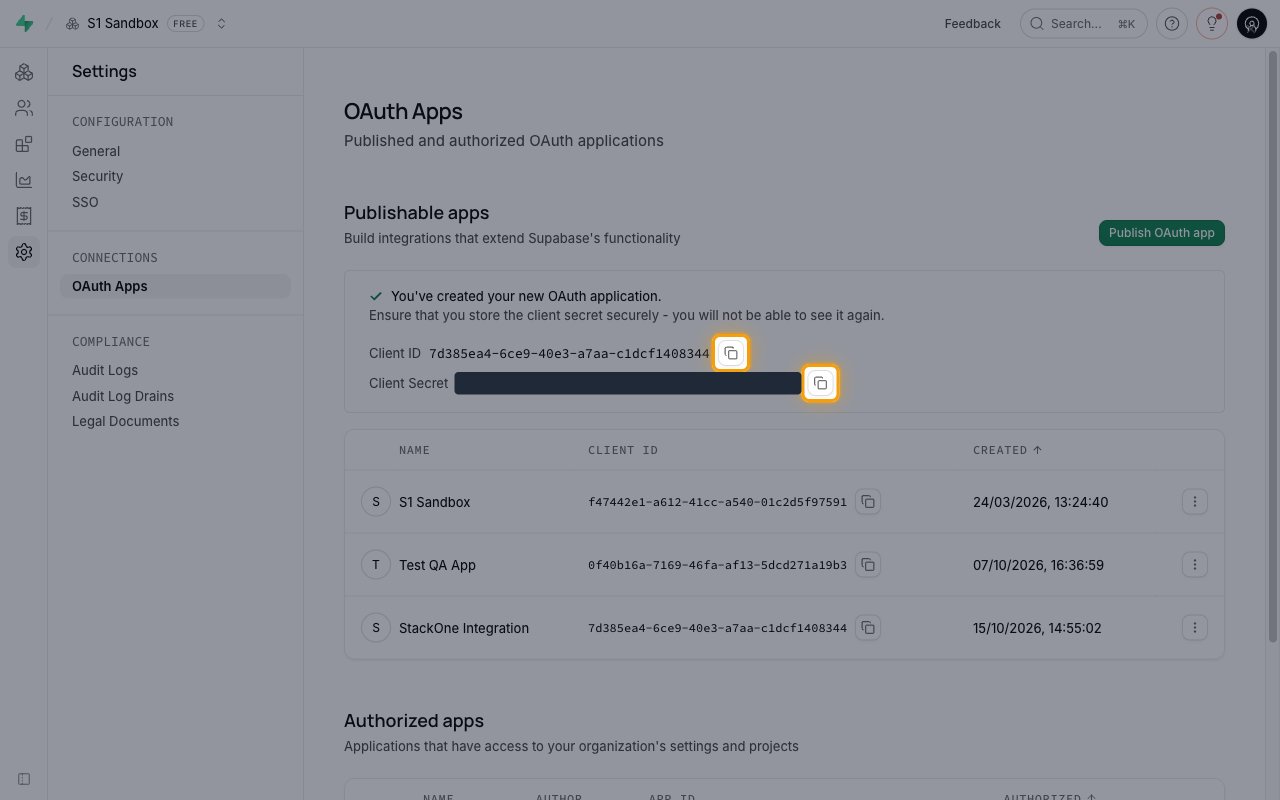
The new OAuth application confirmation with the Client Secret hidden and both copy icons highlighted

Create the StackOne Connector Profile

1

Create a Connector Profile

Enable the connector and create a Connector Profile in your project. See Setup Connector Profile.
2

Link an Account

Once the Connector Profile is created, continue to link an account.