

Register an OAuth application
Create an application in the Employment Hero Developer Portal to obtain the OAuth credentials for API access.
Sign in to Employment Hero
Sign in to your Employment Hero account.
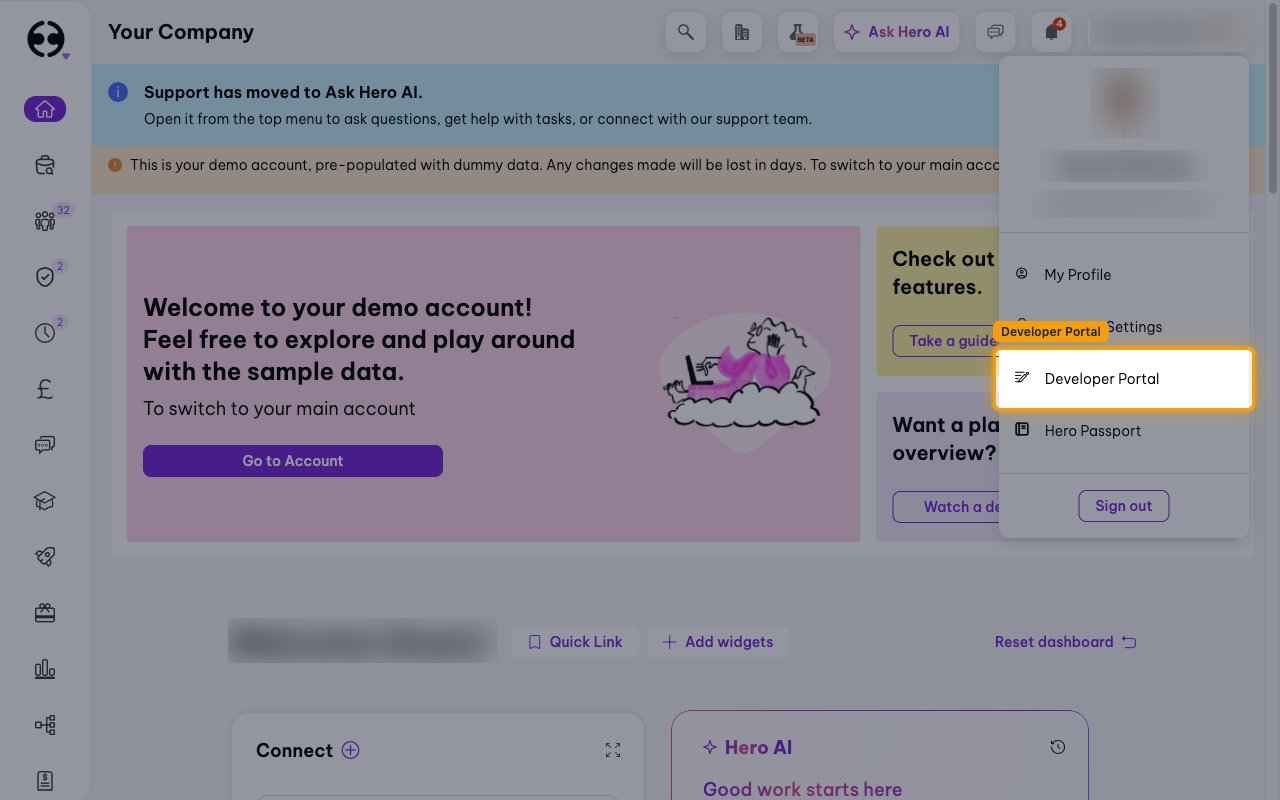
Open the Developer Portal
Click your profile name in the top right corner and select Developer Portal from the menu.
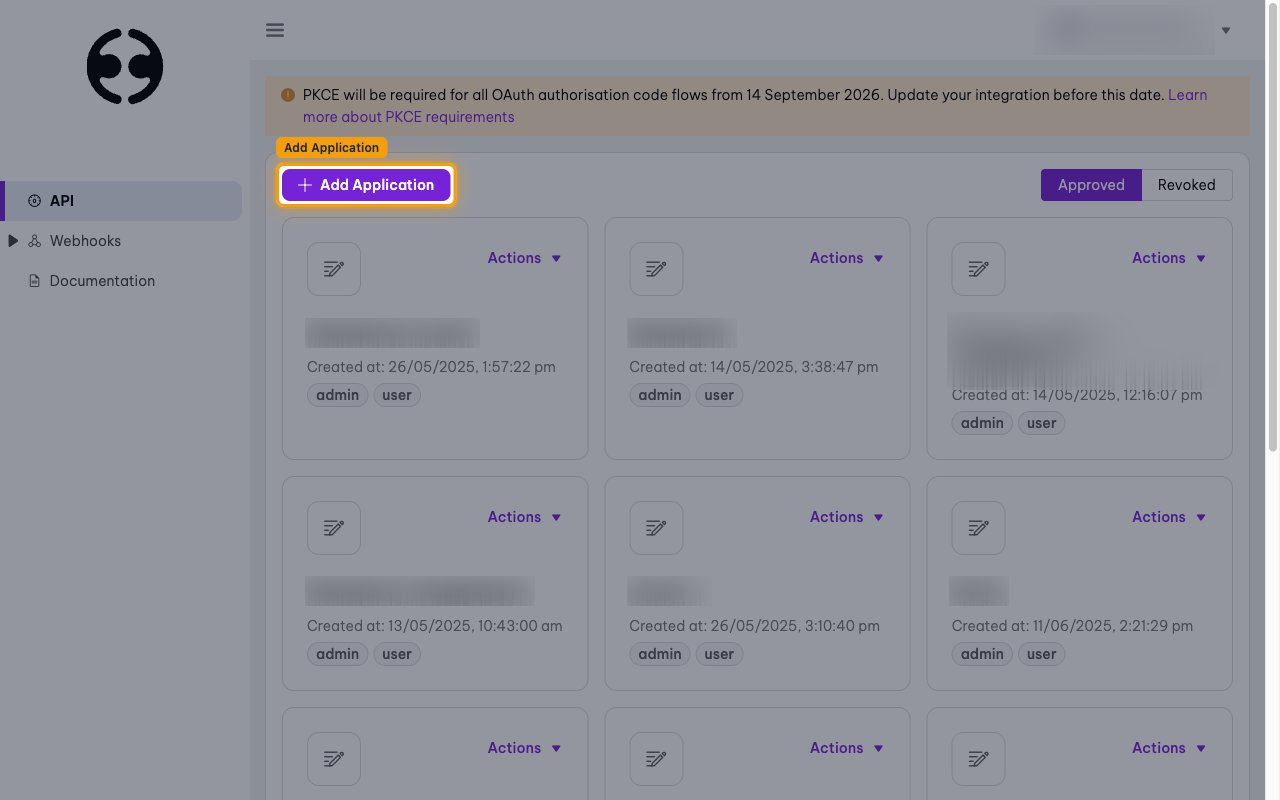
Add a new application
On the API page, click Add Application.
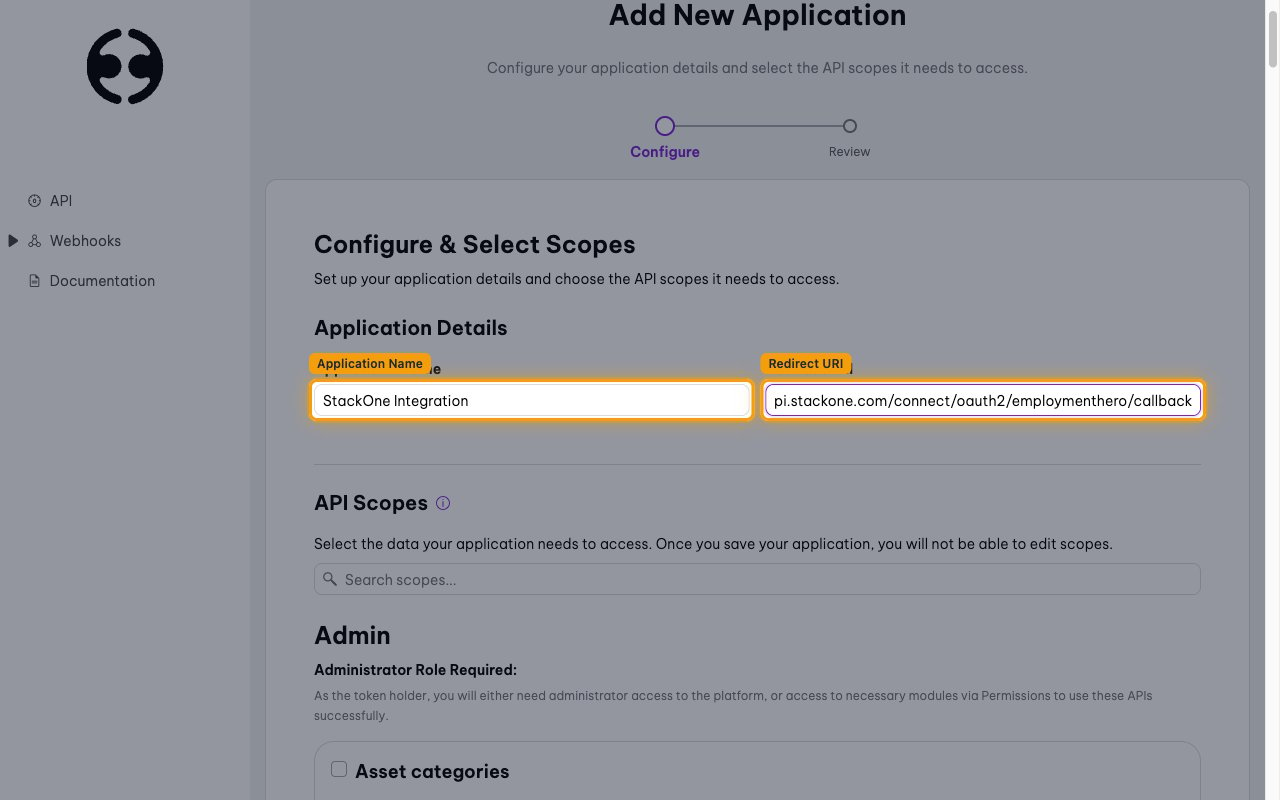
Fill in application details
On the Add New Application screen, complete the Application Details fields.
- Application Name: any name you choose — for example,
StackOne Integration - Redirect URI:
https://api.stackone.com/connect/oauth2/employmenthero/callback
Select API scopes
In the API Scopes section, enable the permissions this integration needs. Each resource has its own Read, Create, Update, and Delete toggles, and StackOne only calls the endpoints your scopes allow. Enable the following:
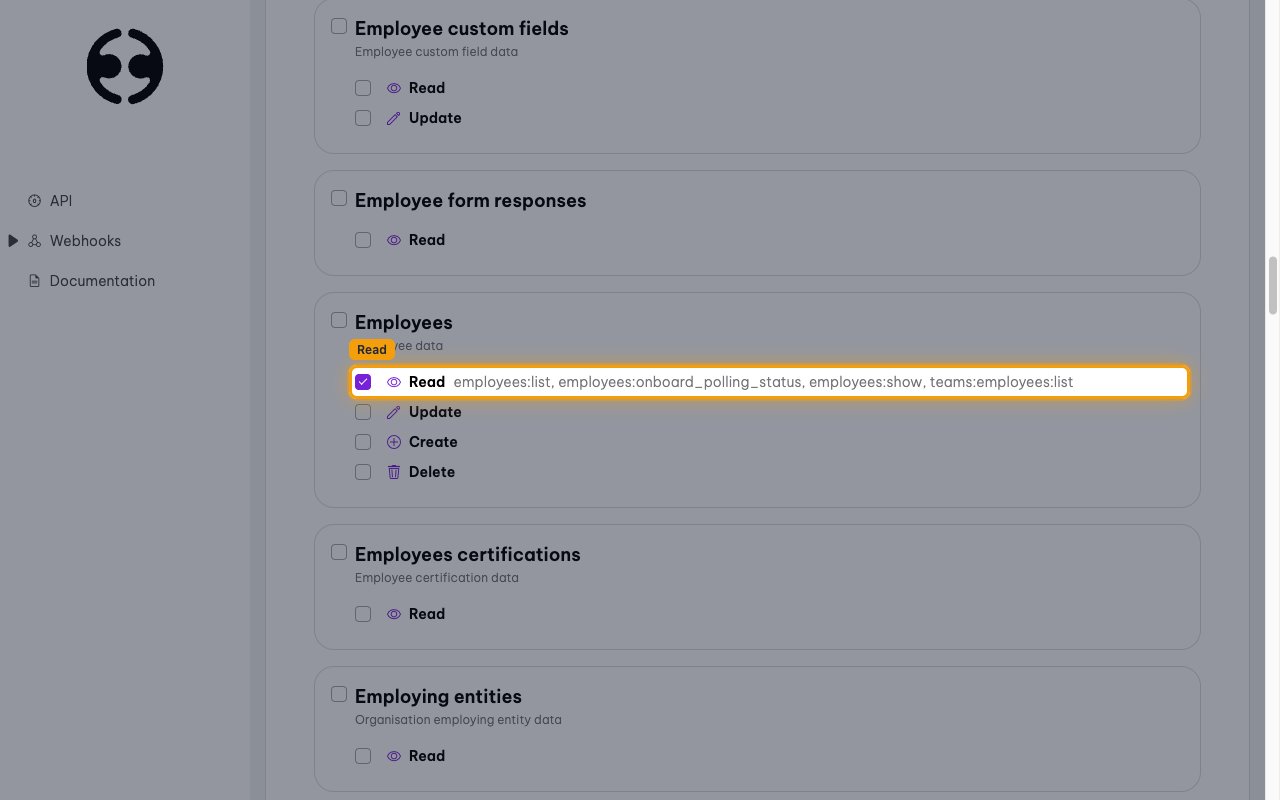
Check the scopes before saving
Employment Hero locks an application’s scopes the moment it is saved, so confirm the selection is complete before continuing.
- Use the Search scopes… box to find a resource quickly — scope groups are named after the resource, so search for “employee” or “leave” to narrow the list.
- Scopes cannot be changed after the application is saved. Adding one later means registering a new application and reconnecting the account, so enable everything the integration may need now rather than the minimum.
- Read-only integrations can safely skip every Create, Update, and Delete toggle.
Review and create the application
Click Continue to Review, check the Application Details and Selected Scopes, then click Create Application.
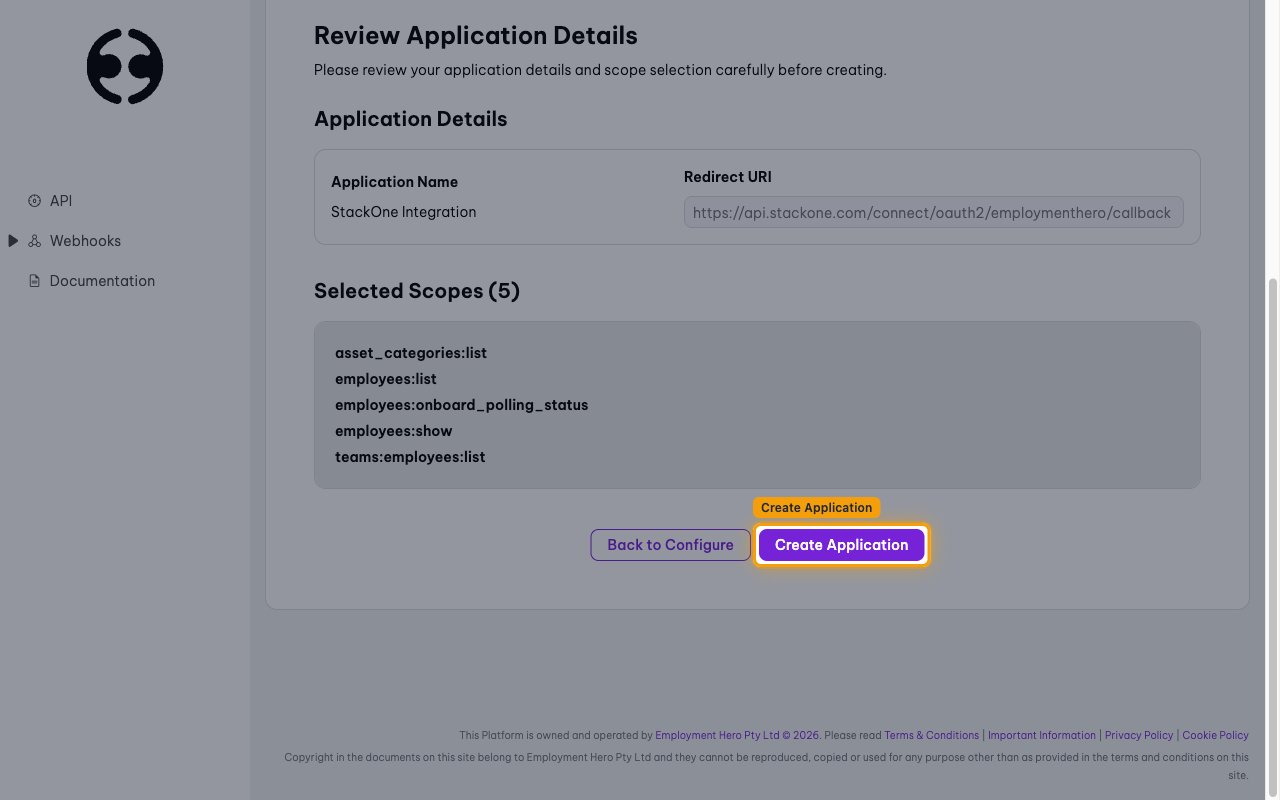
Copy your API credentials
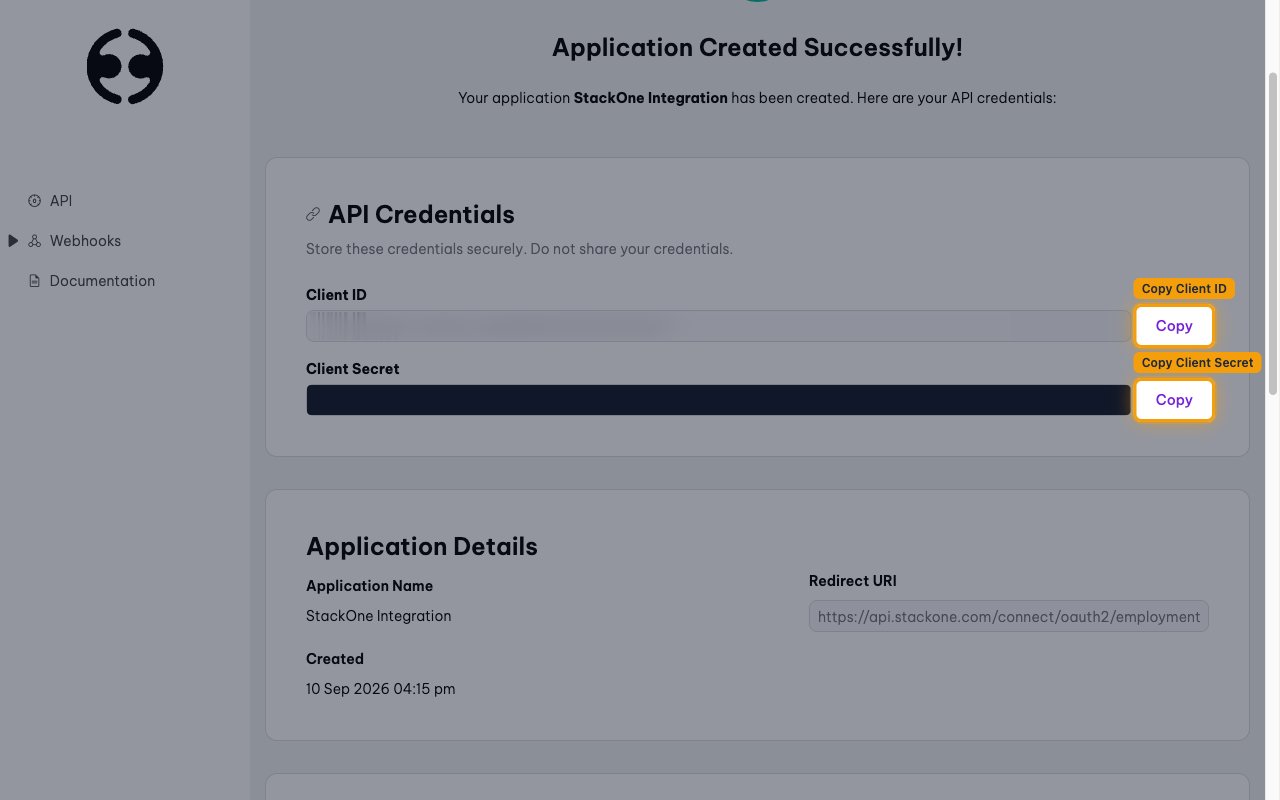
On the Application Created Successfully! screen, use the Copy buttons to copy the Client ID and Client Secret. Store both securely for use later.
- Store these credentials securely. Do not share your credentials.
- Paste them into the Client ID and Client Secret fields in the StackOne Connector profile.
Creating the StackOne Connector Profile
To create the Connector Profile in StackOne for Employment Hero:Open the connector
Choose actions and events
- Click Add Profile.
- If the connector offers more than one authentication method, set the Auth Method filter to OAuth 2.0.
- Select the actions, and any events, to enable for this Connector Profile.
- Click Continue.
Set up authentication
- Select Authentication Type as OAuth 2.0.
- Fill out the fields using details retrieved from your provider:
- Client ID
- Client Secret
- Click Create Profile.