

Creating API credentials
An API credential (a Client ID and Client Secret) lets StackOne request short-lived access tokens for your Eka workspace.
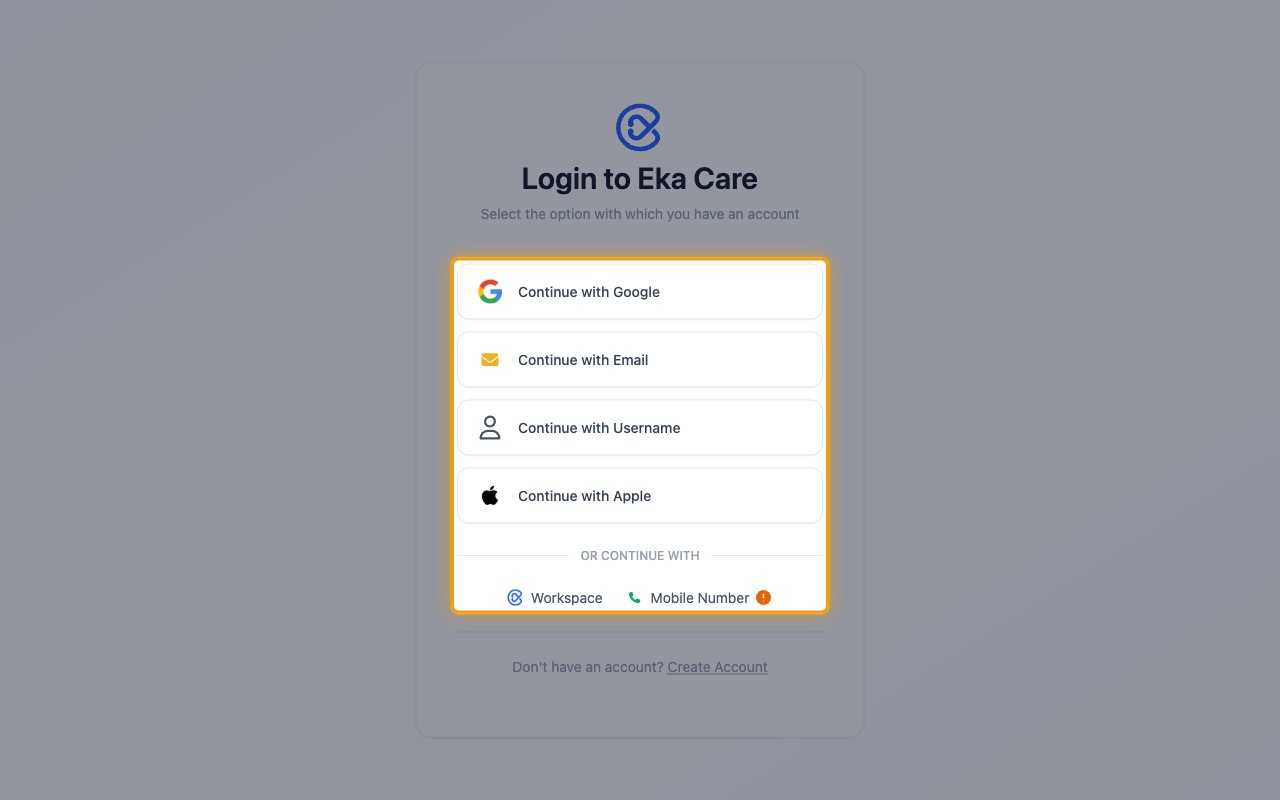
Sign in to Eka Console
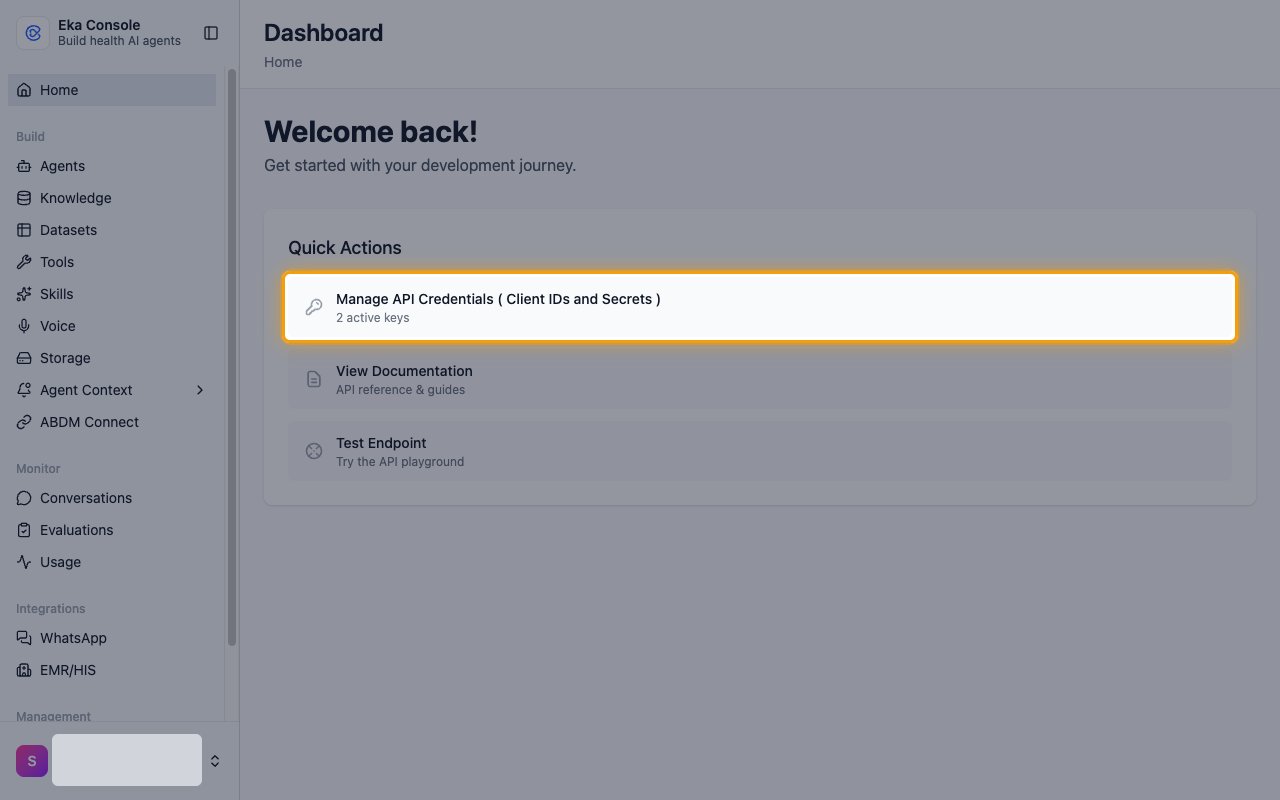
Open API credentials
On the Dashboard, under Quick Actions, click Manage API Credentials ( Client IDs and Secrets ).
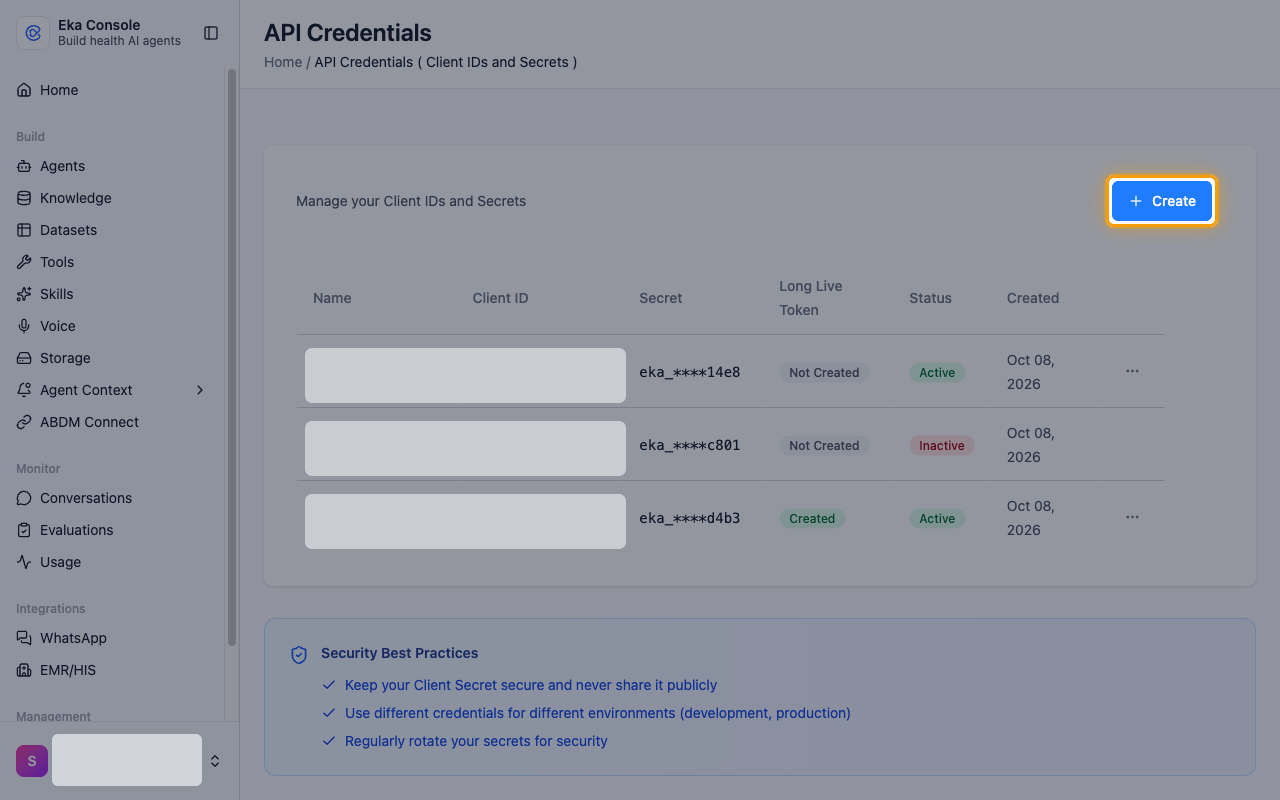
Start a new credential
On the API Credentials page, click Create.
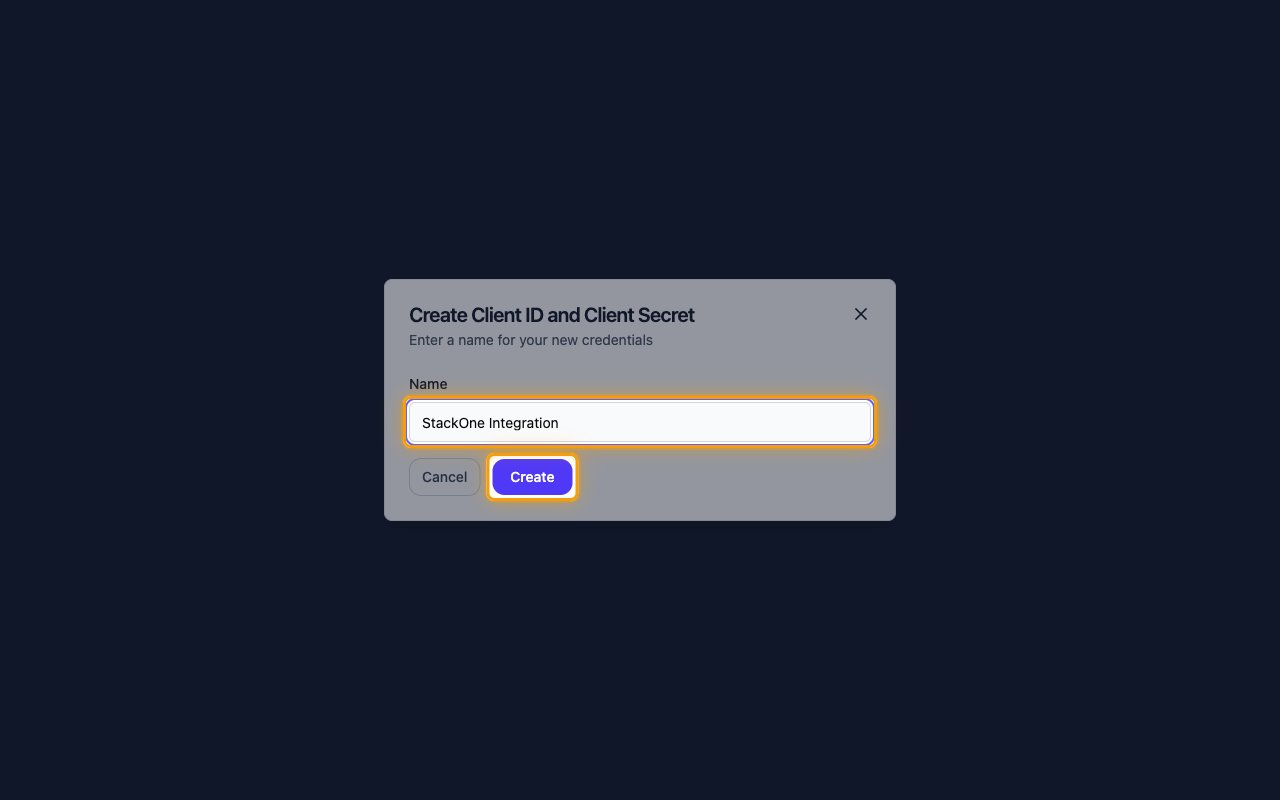
Name the credential
In Create Client ID and Client Secret, enter a Name and click Create.
- Name:
StackOne Integration
Copy the Client Secret
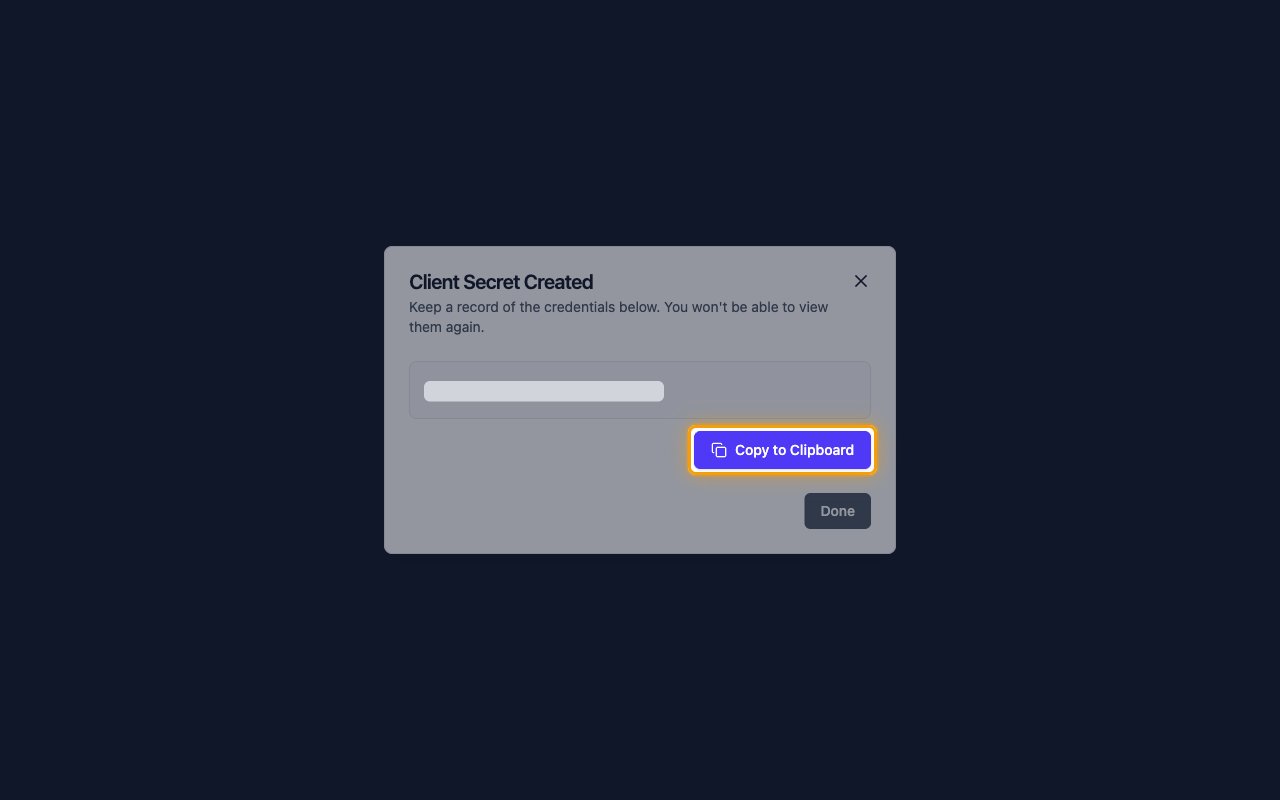
In Client Secret Created, click Copy to Clipboard and paste the value into the Client Secret field in the StackOne Connector profile.
- The Client Secret is only displayed once and cannot be retrieved later. Store it securely for use later.
- Click Done.
Copy the Client ID
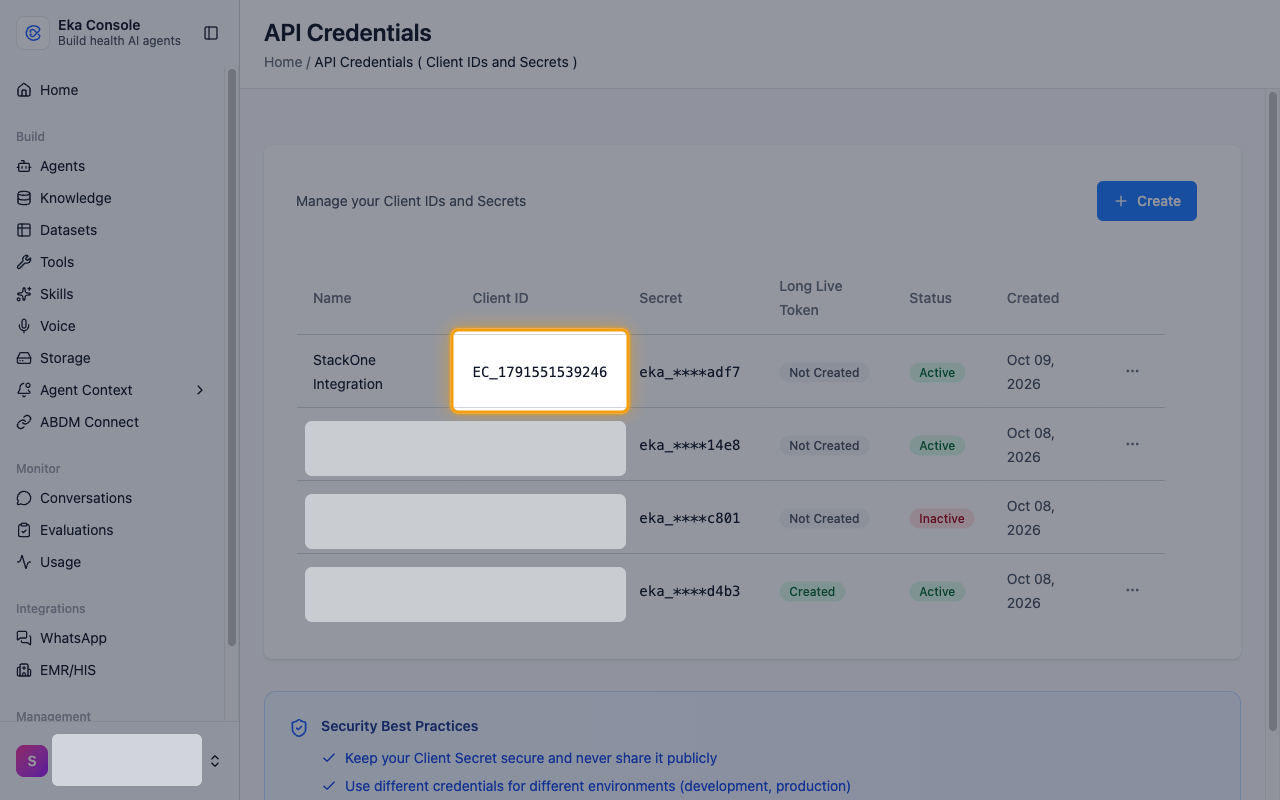
Back on API Credentials, copy the Client ID of your new credential and paste it into the Client ID field in the StackOne Connector profile.
- Format:
EC_followed by digits - Example:
EC_178843954824934
Creating the StackOne Connector Profile
To create the Connector Profile in StackOne for Eka Care:Navigate to Connector Profiles
Create New Connector Profile
- Click + Connector Profile
- Search for and select Eka Care
- Select Type as Client Credentials
- Fill out the fields using details retrieved from your provider:
- Client ID
- Client Secret
- (Optional) Select Actions to be enabled for this Connector Profile
- Click Create profile