

Register an OAuth application in Contentful
Create an OAuth application in your Contentful account to obtain the Client ID and Client
Secret needed for the connection.
Navigate to OAuth applications
Sign in to your Contentful account. Click your profile
avatar in the top-right corner, select Account settings, then click
OAuth applications in the top navigation.
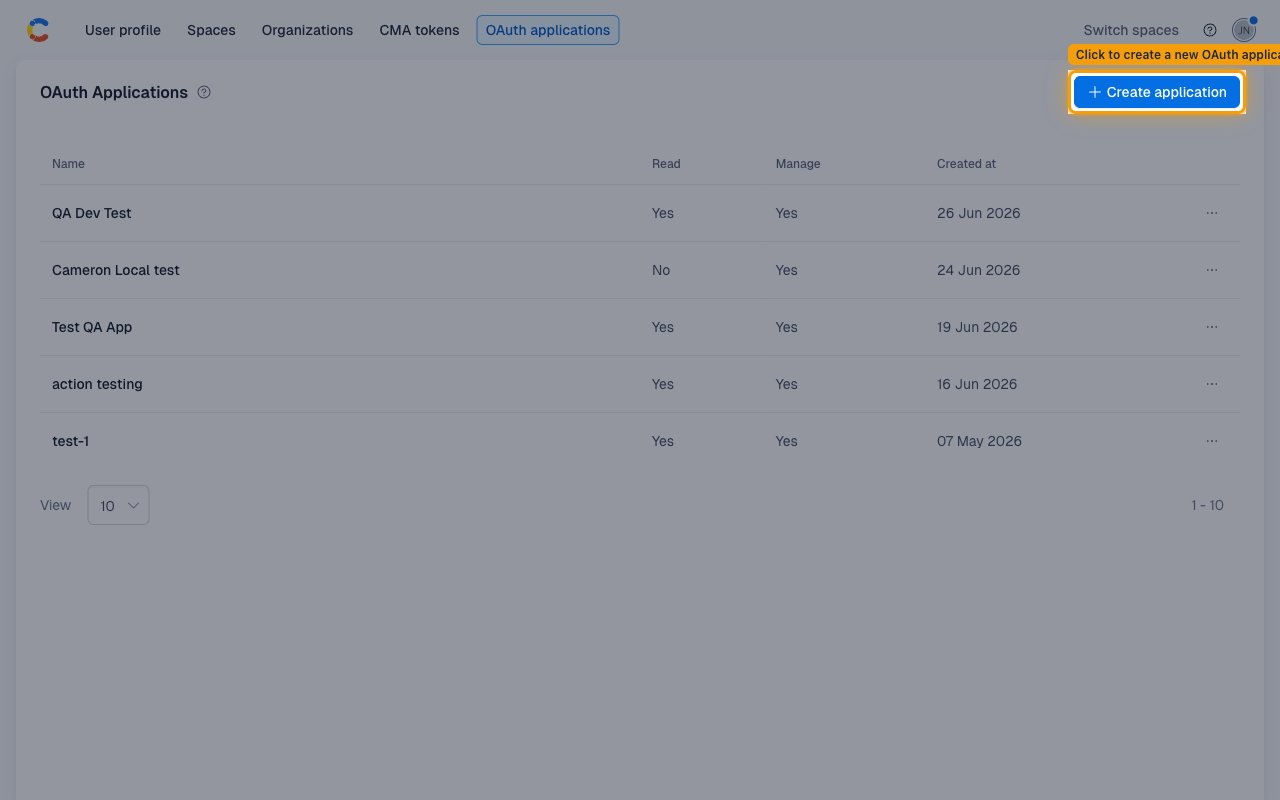
- Click + Create application in the top-right corner of the OAuth applications page.
Fill in the application details
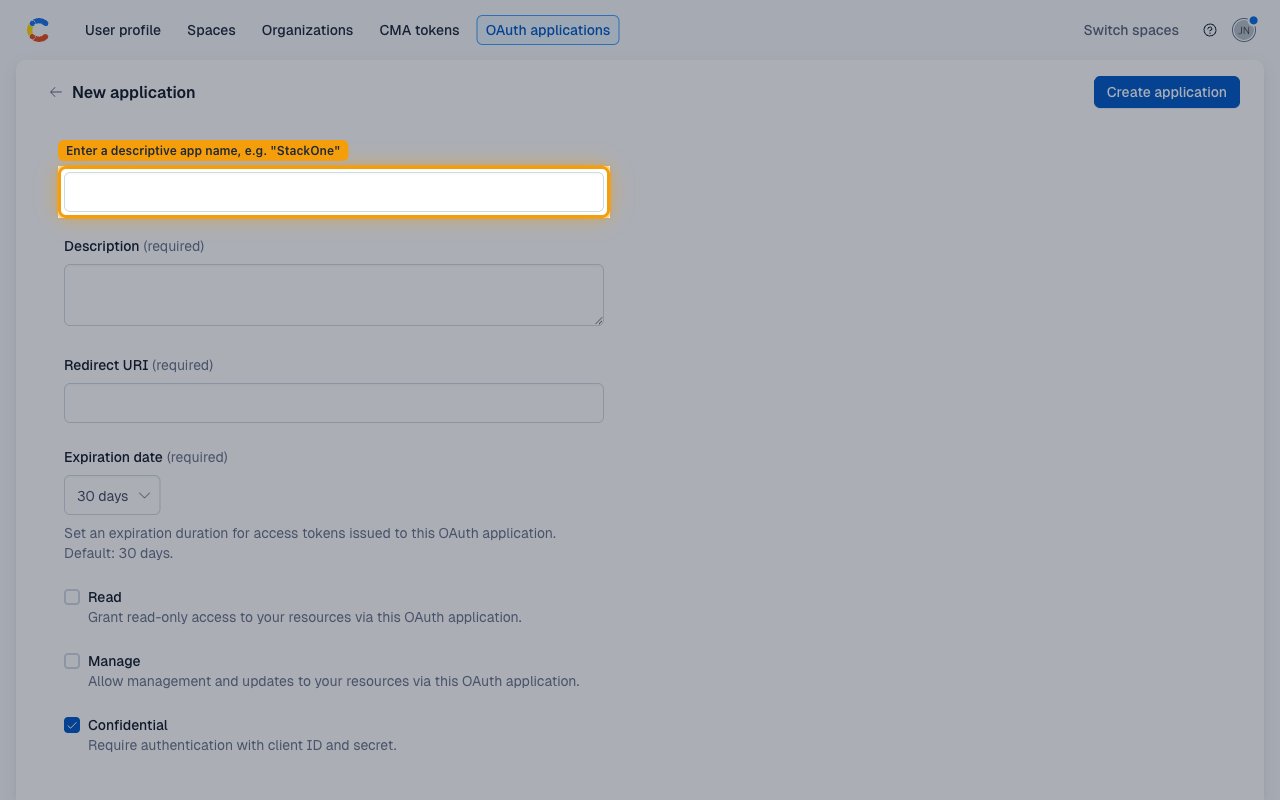
Enter a descriptive Name for the application (e.g., StackOne) and a brief
Description (e.g., StackOne integration).
Set the Redirect URI
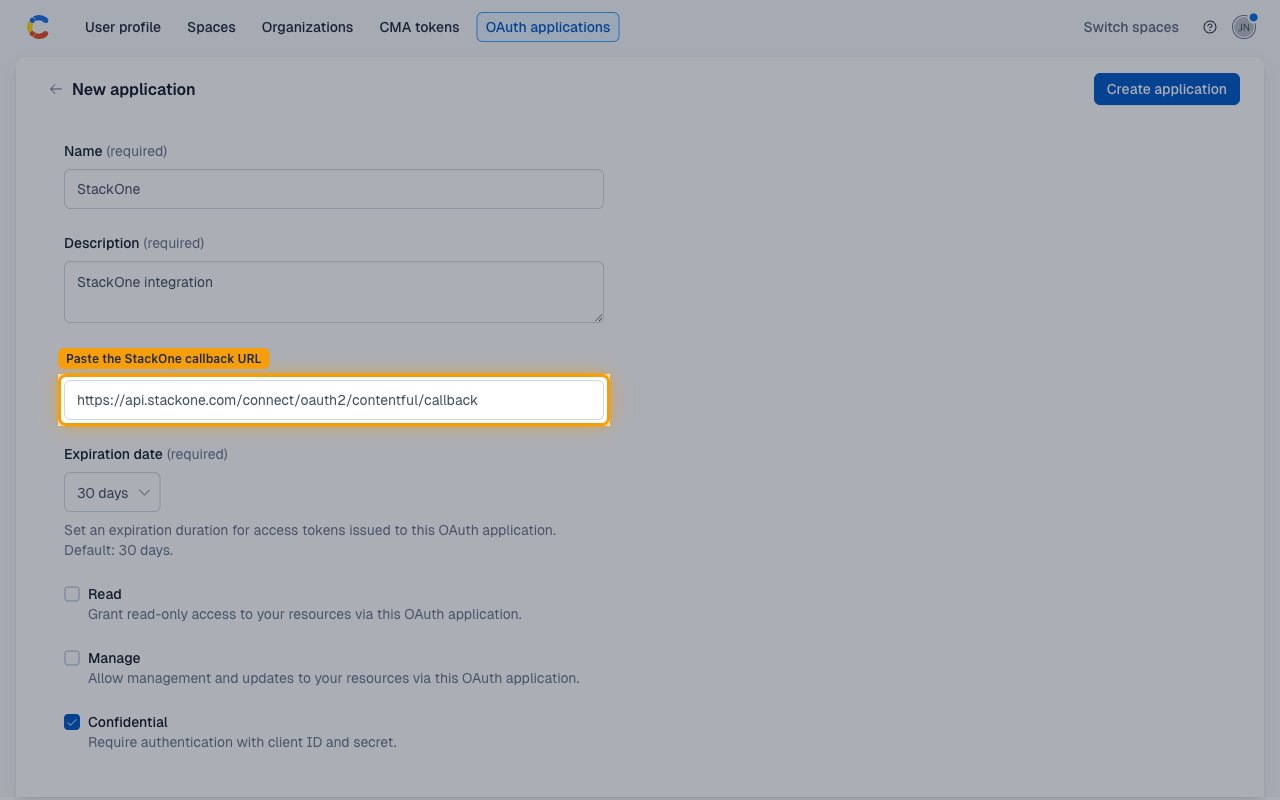
Paste the StackOne callback URL into the Redirect URI field. This is required for
the OAuth authorization code flow to complete.
- Redirect URI:
https://api.stackone.com/connect/oauth2/contentful/callback - Expiration date: Required — defaults to 30 days. Choose a duration suitable for your integration.
Configure permissions and save
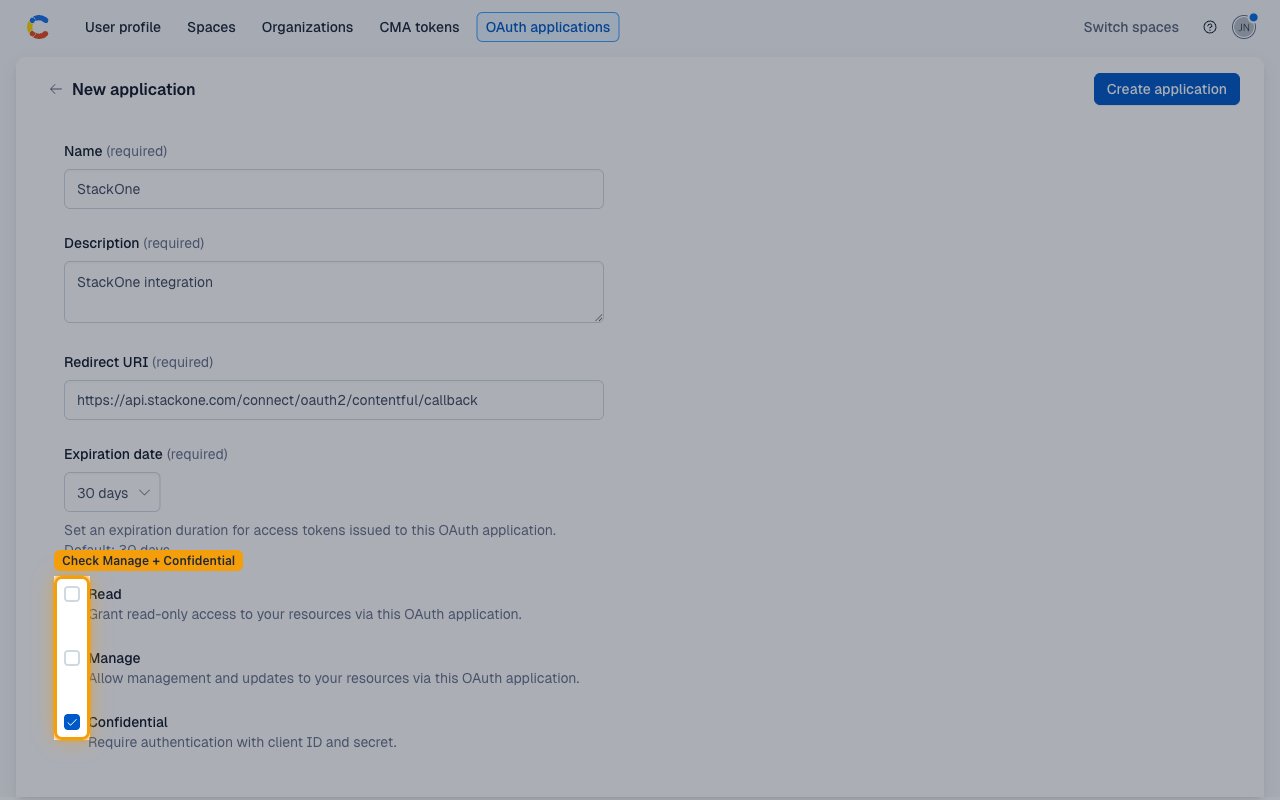
Select the appropriate scope checkboxes and ensure Confidential is checked before
creating the application.
- Check Manage to grant full read and write access (
content_management_managescope includes read, so the Read checkbox is not required when Manage is checked). Check Read alone if you only need read-only access. - Ensure Confidential is checked — required for StackOne to authenticate using the Client ID and Client Secret. Leaving it unchecked makes the app a public client and the connection will fail.
- Click Create application.
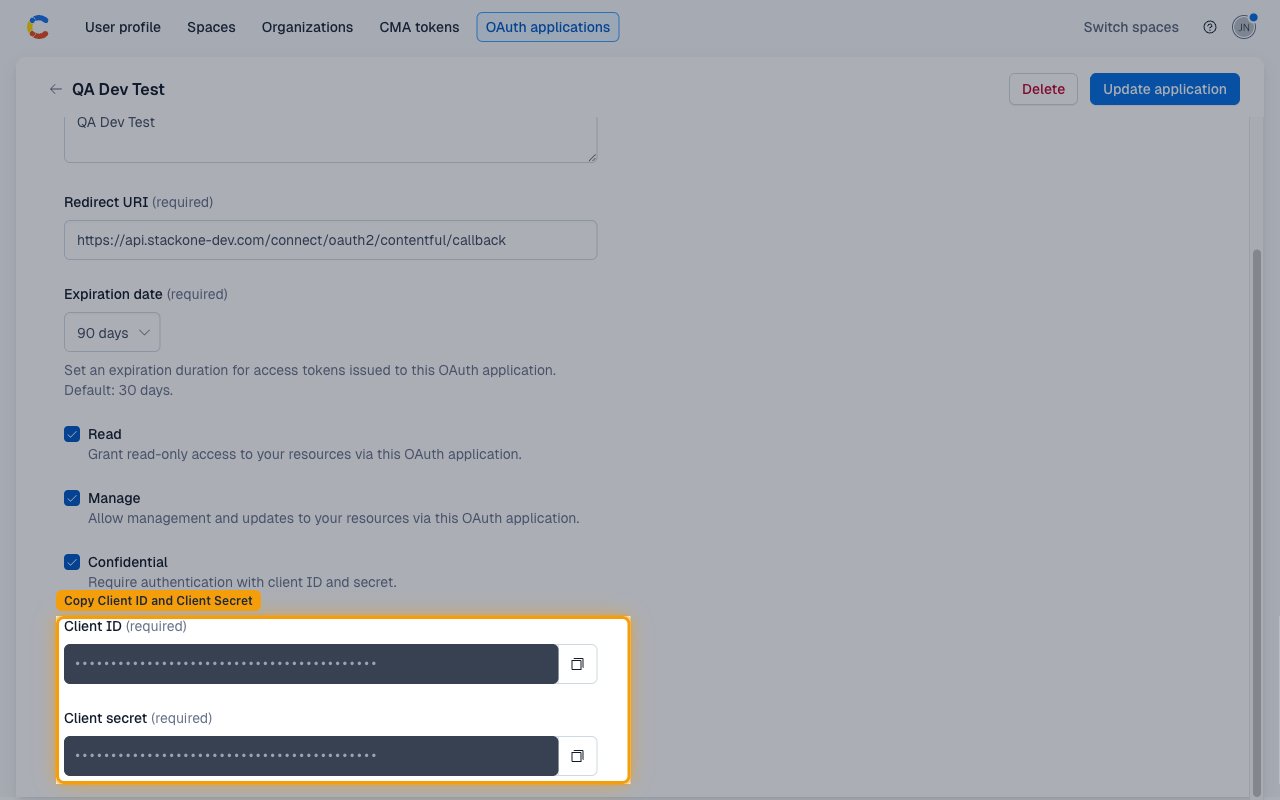
Copy the Client ID and Client Secret
After saving, the application page shows the Client ID and Client secret. Copy
both values and store them securely — you will need them when configuring the StackOne
connection.
- Click the copy icon next to Client ID and store it securely.
- Click the copy icon next to Client secret and store it securely.
Select an OAuth scope
Choose the scope the OAuth application will request. Contentful accepts only a single scope
per OAuth request — providing multiple values returns an authorization error. Enter the chosen
scope in the Scopes field when creating the connection in StackOne.
Choose a scope
Pick one scope based on the operations your connection needs. Enter it in the Scopes
field when creating the connection in StackOne.
content_management_manage— full read and write access. Already includes read, so do not also requestcontent_management_read. The Manage checkbox must be checked in the Contentful OAuth application.content_management_read— read-only access. The Read checkbox must be checked in the Contentful OAuth application.
Creating the StackOne Connector Profile
To create the Connector Profile in StackOne for Contentful:Open the connector
Choose actions and events
- Click Add Profile.
- If the connector offers more than one authentication method, set the Auth Method filter to OAuth 2.0.
- Select the actions, and any events, to enable for this Connector Profile.
- Click Continue.
Set up authentication
- Select Authentication Type as OAuth 2.0.
- Fill out the fields using details retrieved from your provider:
- Client ID
- Client Secret
- Scopes (Optional)
- Click Create Profile.