

Find your Snyk region
Snyk hosts accounts in several regional data centers, and an app only authorizes against its
own region. Your region is shown in your browser’s address bar whenever you are signed in to
Snyk — it is the host in the URL, the part between https:// and the first /. Match that
host to the Region you select below.
- Sign in to Snyk and look at your browser’s address bar.
app.snyk.io→ US (SNYK-US-01) — api.snyk.ioapp.us.snyk.io→ US (SNYK-US-02) — api.us.snyk.ioapp.eu.snyk.io→ EU (SNYK-EU-01) — api.eu.snyk.ioapp.au.snyk.io→ AU (SNYK-AU-01) — api.au.snyk.io
Register a Snyk App
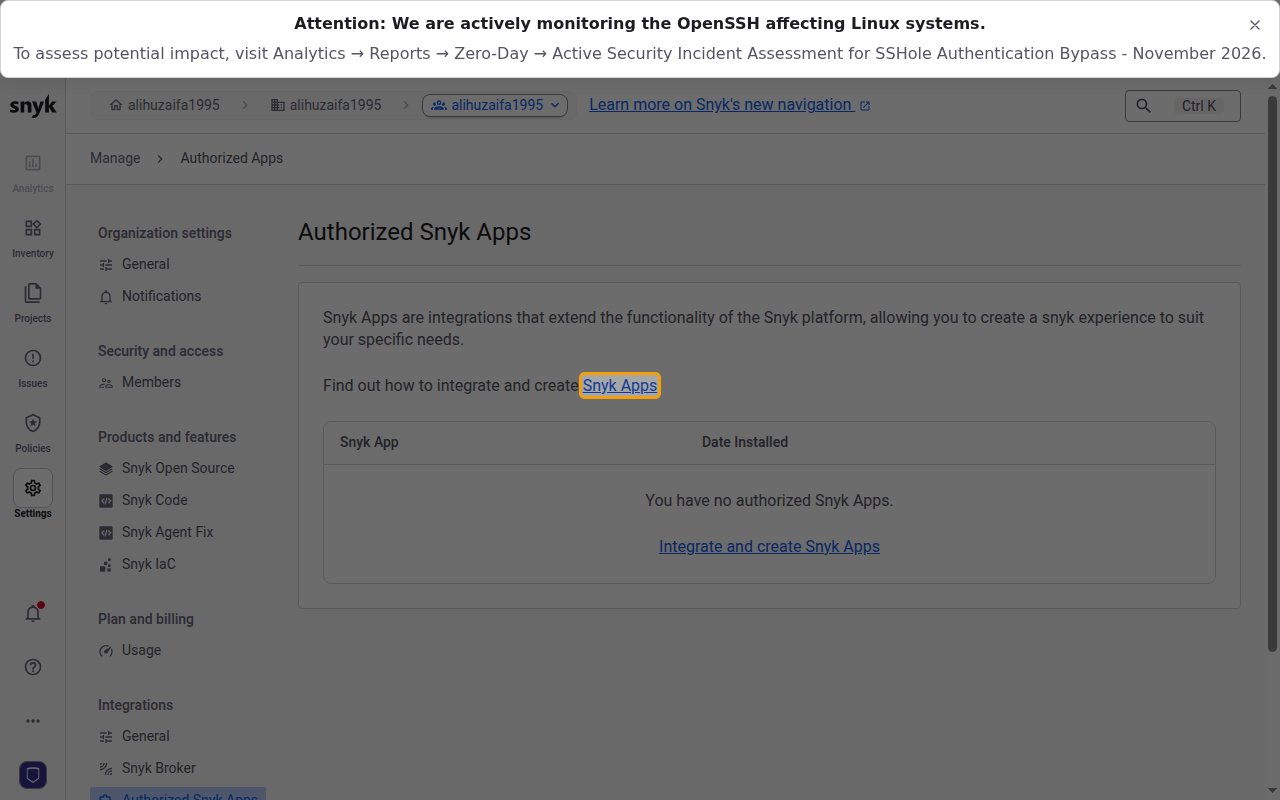
Snyk has no page to create an OAuth app from. Its Authorized Snyk Apps settings page only
lists apps you’ve already authorized and points to the API docs to create one — the
Snyk Apps documentation confirms a Snyk App is
registered with a direct API call, not through the web UI.
Register the app
Send a request to register the app for the organization that should own it, using an
Auth Token or Personal Access Token you already have. Run the following command,
replacing <org_id>, <your-region-api-host>, <your_token>, and <callback_url>
with your organization ID, region API host, token, and the Callback URL from your
Connector Profile:
name— a descriptive name for the app, such asStackOne Integration. Any name works; it is only a label.redirect_uris— must include the Callback URL from your Connector Profile.- Format:
https://<api-host>/connect/oauth2/snyk/callback - Example:
https://api.stackone.com/connect/oauth2/snyk/callback scopes— the permissions this integration needs.
Configure permissions
List in the scopes array only the permissions this integration needs.
Copy the Client ID and Client Secret
The response returns the app’s credentials under data.attributes.
- Copy the Client ID (
client_idin the response) into your Connector Profile. - Copy the Client Secret (
client_secretin the response) into your Connector Profile — it is returned only once and cannot be retrieved later.
Create the StackOne Connector Profile
Create a Connector Profile
Link an Account