

Create a Slack app
Create a Slack app in the workspace you want to connect.
Sign in to Slack
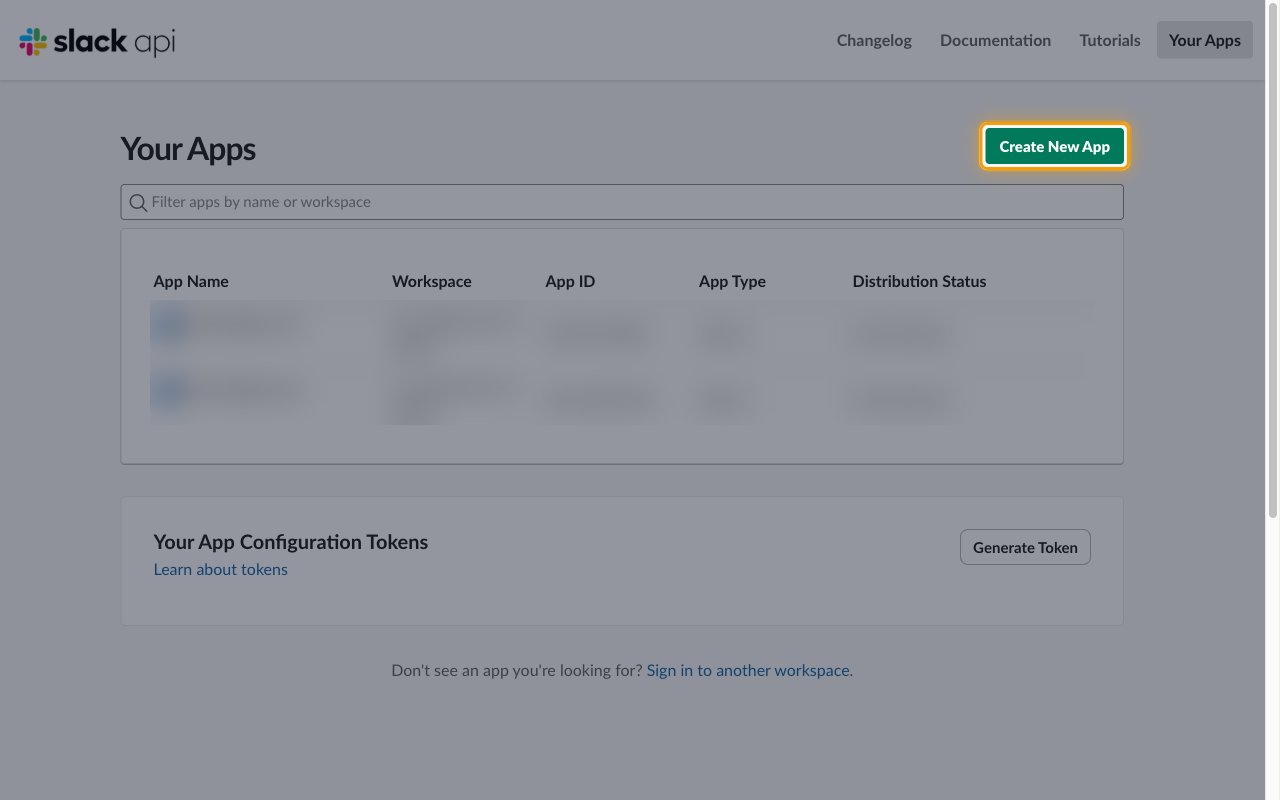
Choose a blank app
In the Create new app dialog, under Or start your own way, select Blank app.
- Click Continue.
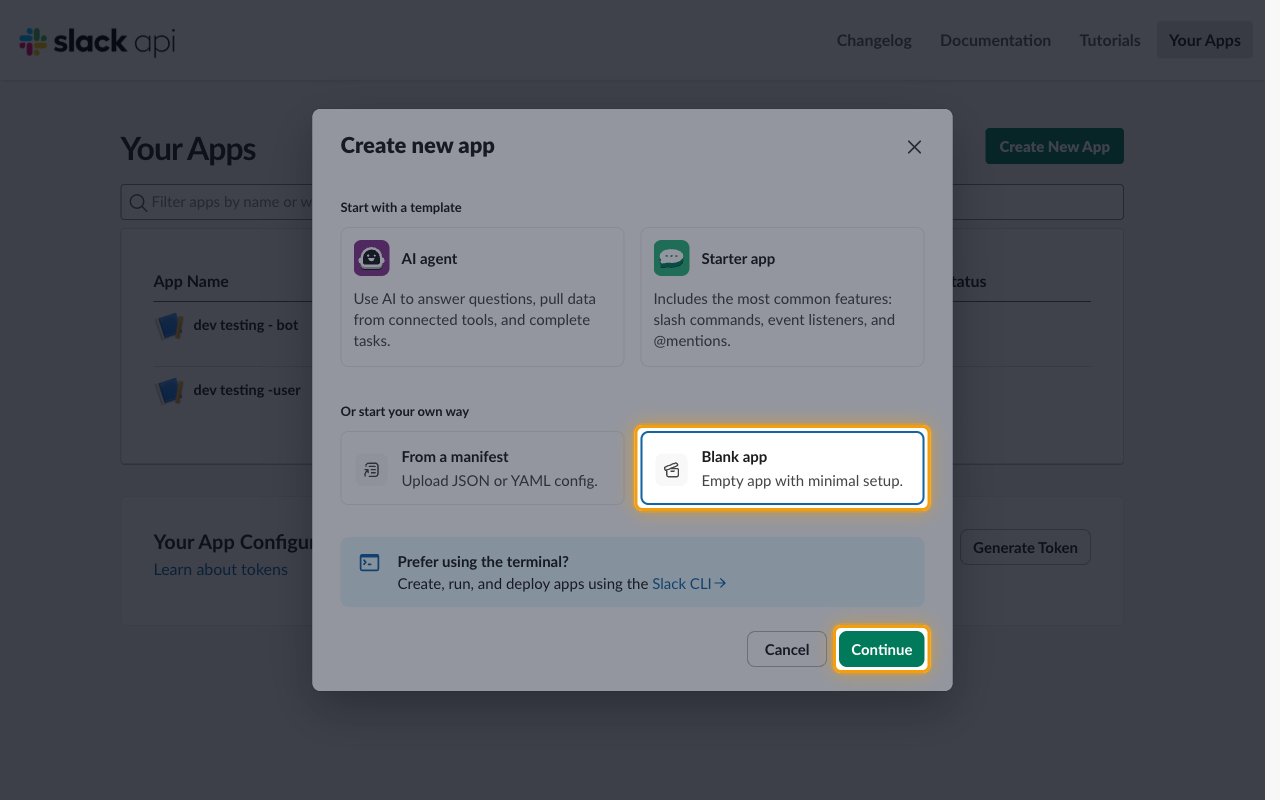
Name the app and pick a workspace
In the Create from scratch dialog, enter the app details.
- App name:
StackOne Integration - Select your workspace from the Workspace dropdown.
- Click Create. Slack opens the OAuth & Permissions page of your new app.
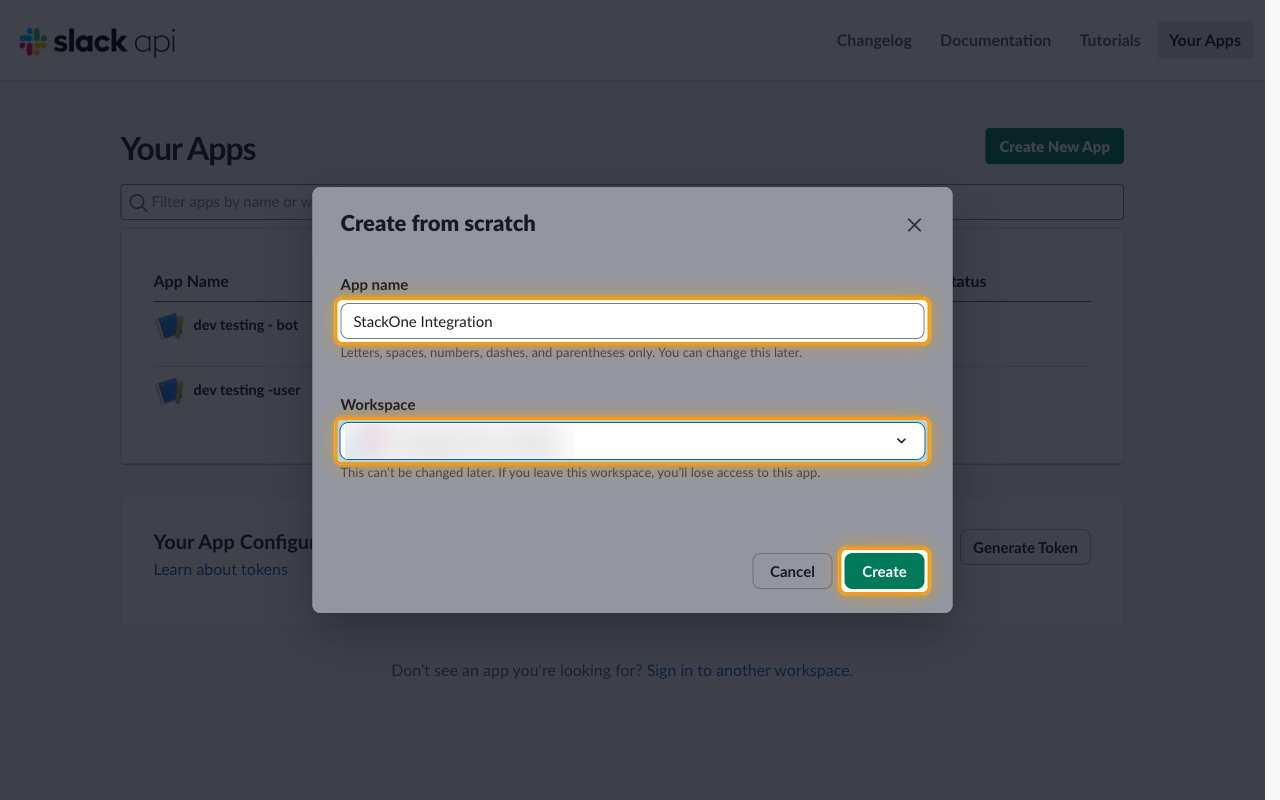
Copy the app credentials
The Client ID and Client Secret identify your Slack app to StackOne.
Copy the Client ID and Client Secret
In the sidebar under Settings, click Basic Information. The App Credentials section is at the top of the page.
- Copy the Client ID value and paste it into the Client ID field in the StackOne Connector profile.
- Click Show next to Client Secret, copy the value, and paste it into the Client Secret field in the StackOne Connector profile.
- Store both values securely for use later.
- Note: Clicking Regenerate next to Client Secret invalidates the current secret, and every connected account that uses this app must be reconnected.
Configure OAuth
Register the StackOne redirect URL, turn on token rotation, and grant the scopes StackOne needs.
Add the redirect URL
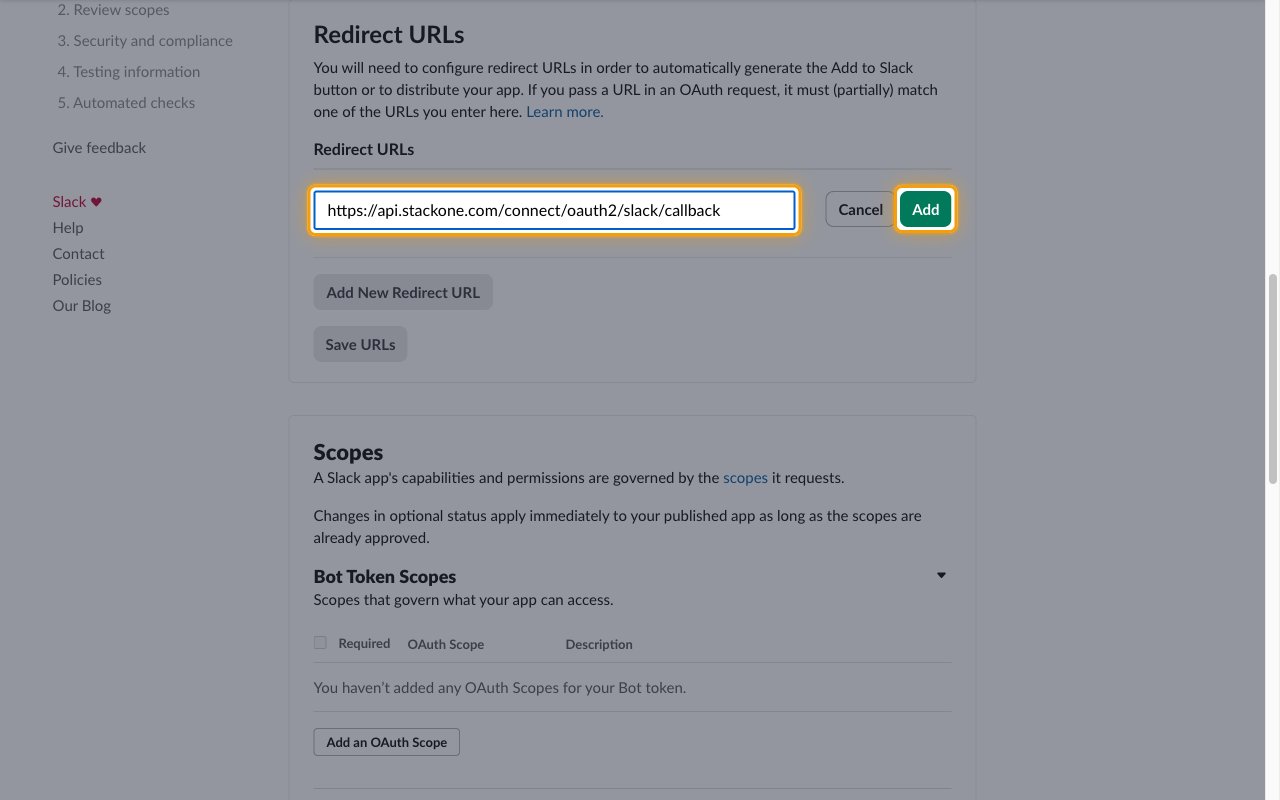
In the sidebar under Features, click OAuth & Permissions and scroll to Redirect URLs.
- Click Add New Redirect URL.
- Redirect URL:
https://api.stackone.com/connect/oauth2/slack/callback - Click Add, then click Save URLs.
Turn on token rotation
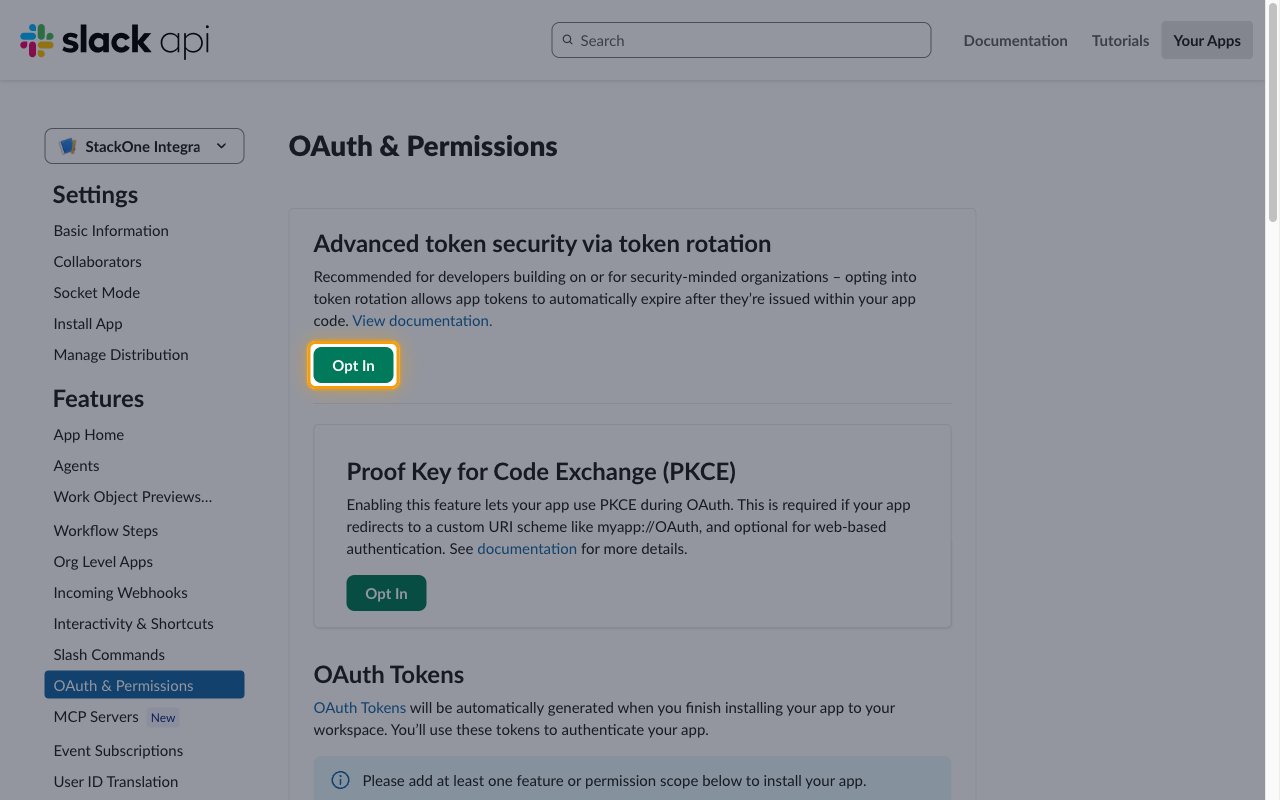
Scroll to the top of the OAuth & Permissions page. Under Advanced token security via token rotation, click Opt In and confirm.
- The Opt In button stays disabled until at least one redirect URL is saved.
- Token rotation is required, because Slack issues refresh tokens only to apps that use it. Once turned on, it cannot be turned off.
- You don’t need to install the app manually. Slack installs it into each workspace when a user completes the OAuth flow from StackOne.
Add bot token scopes
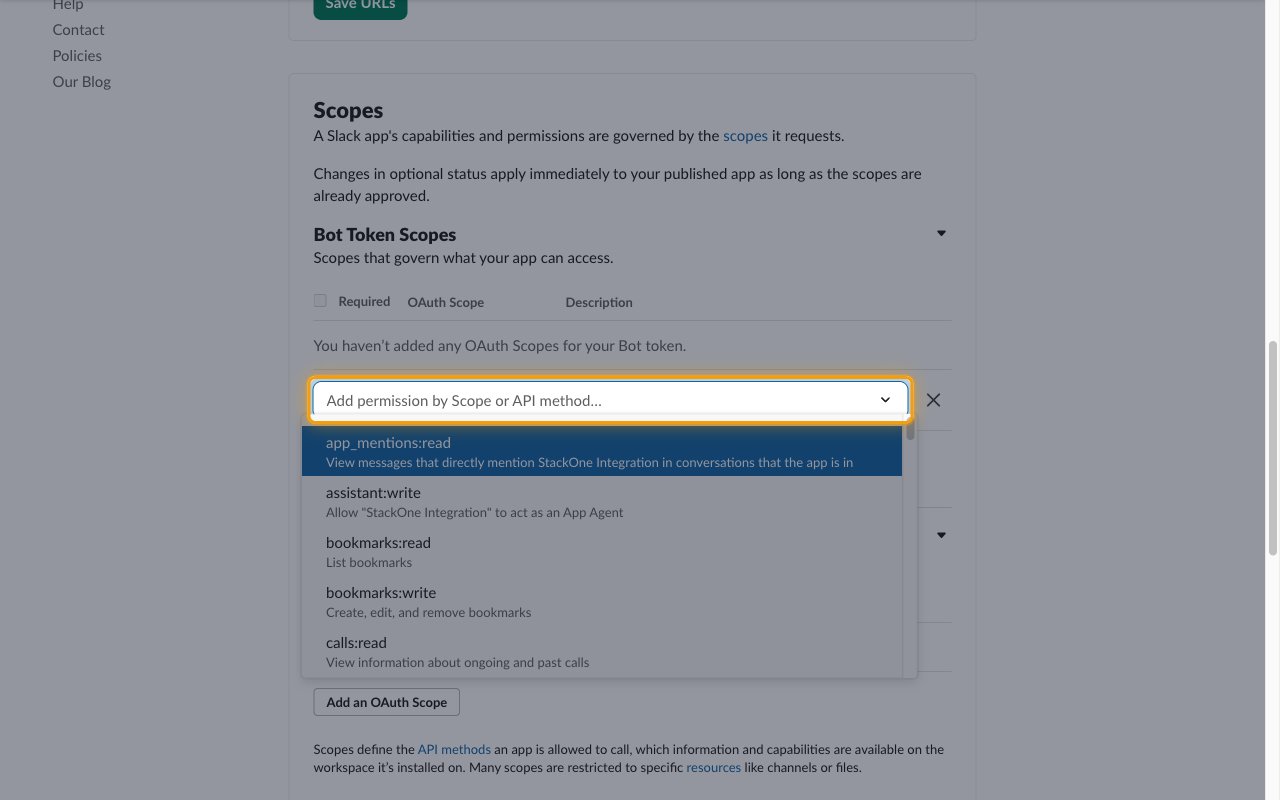
Scroll to Scopes. Under Bot Token Scopes, click Add an OAuth Scope and add each scope StackOne needs, one at a time:
Enter the scopes in StackOne
The Bot Token Scopes field in the StackOne Connector profile tells StackOne which scopes to request.
- Leave it empty if you added every scope listed in the previous step.
- If you added only some of them, enter the same scopes separated by commas.
- Example:
channels:read,chat:write,users:read
Creating the StackOne Connector Profile
To create the Connector Profile in StackOne for Slack:Navigate to Connector Profiles
Create New Connector Profile
- Click + Connector Profile
- Search for and select Slack
- Select Type as OAuth 2.0 (Bot)
- Fill out the fields using details retrieved from your provider:
- Client ID
- Client Secret
- Bot Token Scopes (Optional)
- (Optional) Select Actions to be enabled for this Connector Profile
- Click Create profile