

Registering an integration app
A private integration app lets StackOne connect to Lumin with OAuth 2.0 and refresh access tokens.
1
Start the app
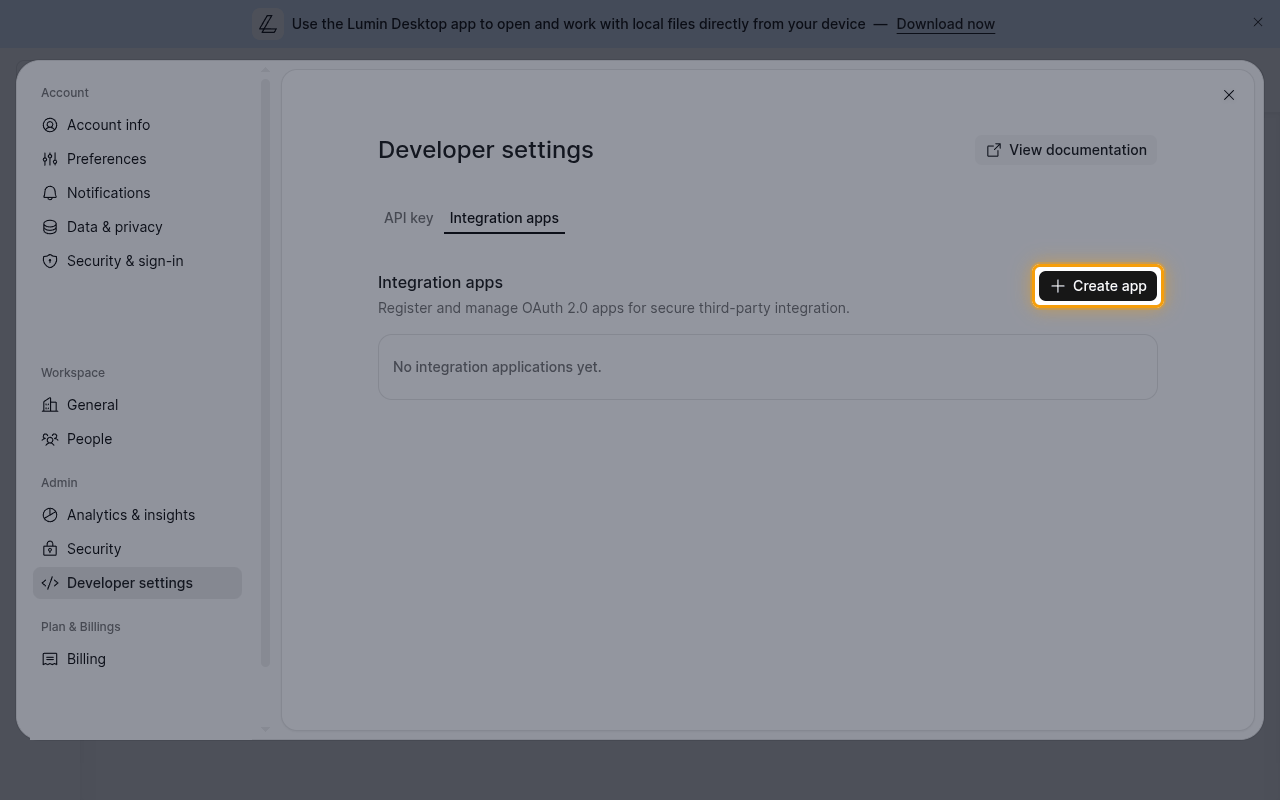
Sign in to Lumin, then click Settings > Developer settings.
- Click the Integration apps tab.
- Click Create app.
2
Enter the basic information
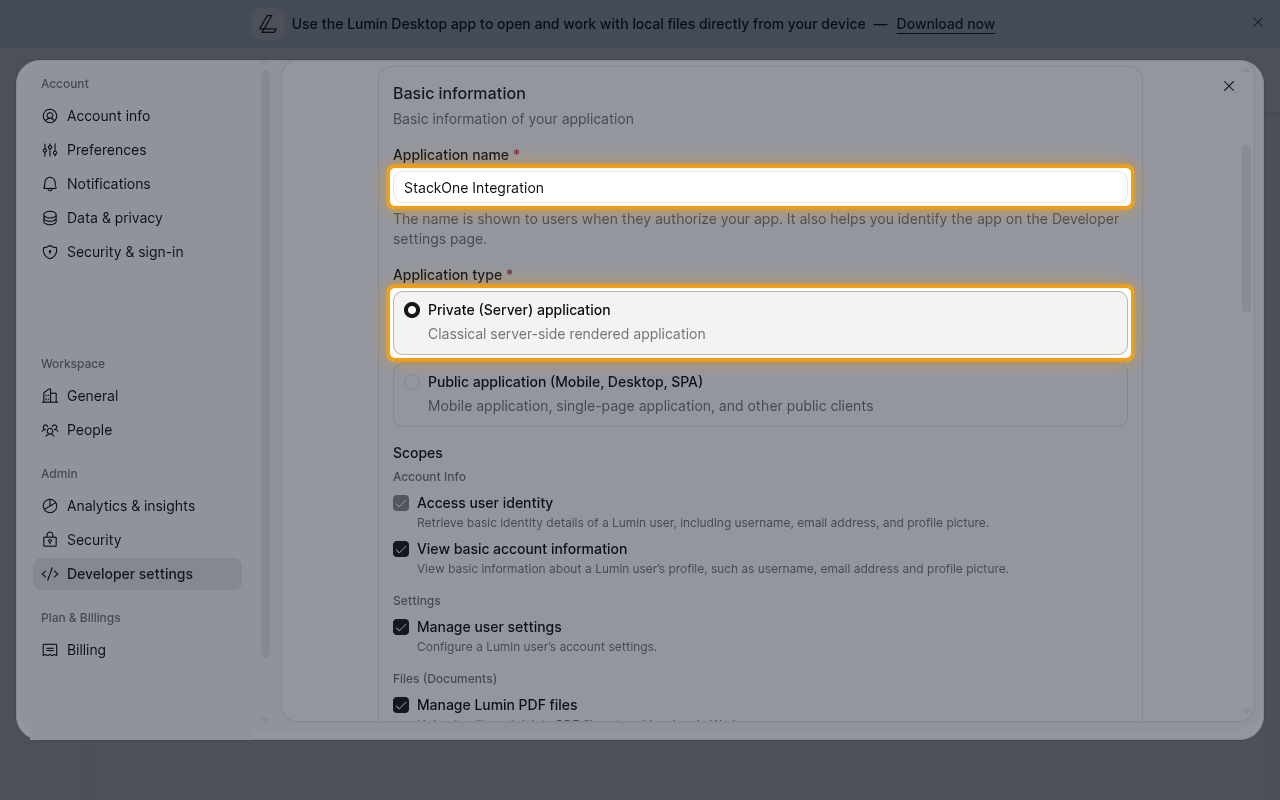
Under Basic information, fill in the app details.
- Application name:
StackOne Integration - Application type: Private (Server) application
3
Add the scopes
Enables actions: Add Password, Cancel Signature Request, Compress Document, Create Agreement, Create Document, Create Signing Session, Create Space, Generate Document From Template, Get Agreement File, Get Signature Request, Get Signature Request File, Get Signing Link, Get Template Details, Get User Information, Get Workspace Information, Get Workspace Members, List Spaces, List Templates, Merge Documents, Remove Password, Send Reminder Emails, Send Signature Request, Send Signature Request From Template, Split Document, Summarize Document, Translate Document, Update Signature Request
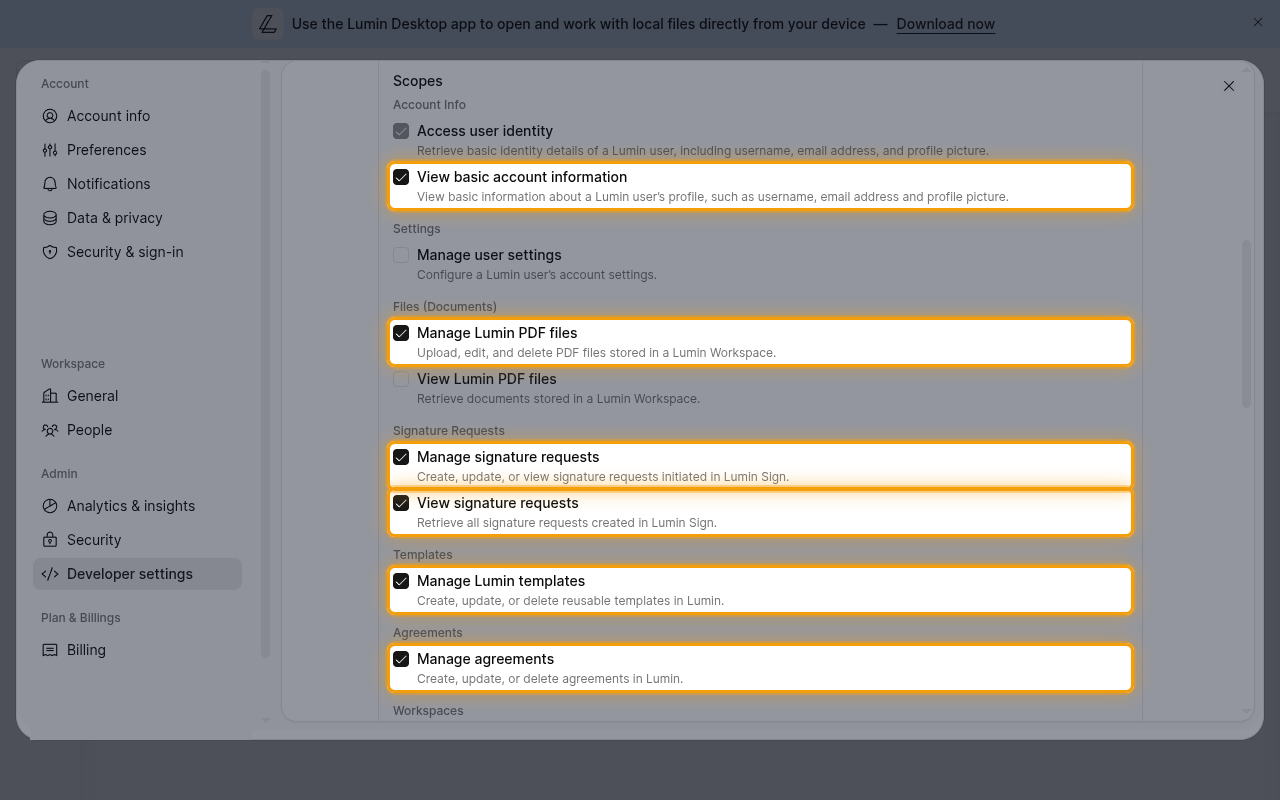
Under Scopes, select each scope listed and clear any others.
- Account Info: View basic account information
- Files (Documents): Manage Lumin PDF files
- Signature Requests: Manage signature requests and View signature requests
- Templates: Manage Lumin templates
- Agreements: Manage agreements
- Workspaces: Manage Workspace and View user’s Workspaces
4
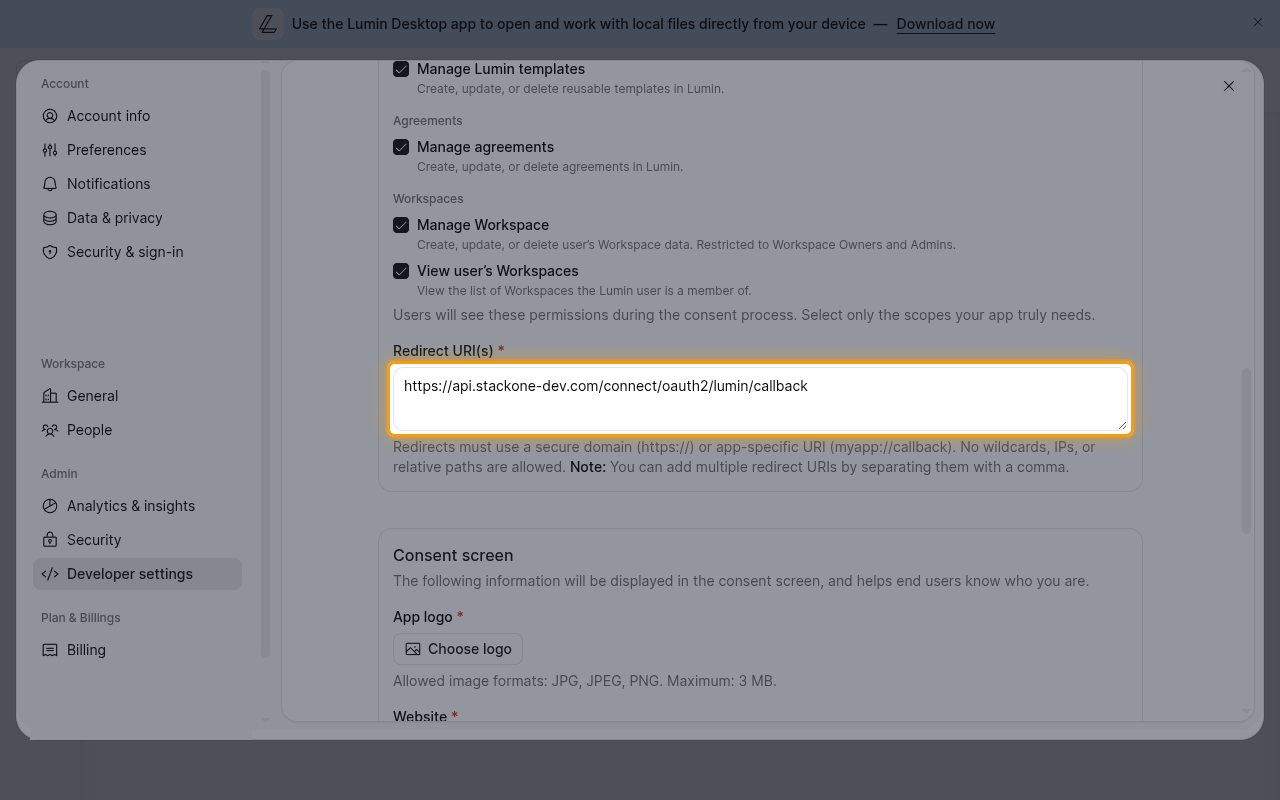
Set the redirect URI
In Redirect URI(s), enter the Callback URL from your Connector Profile.
5
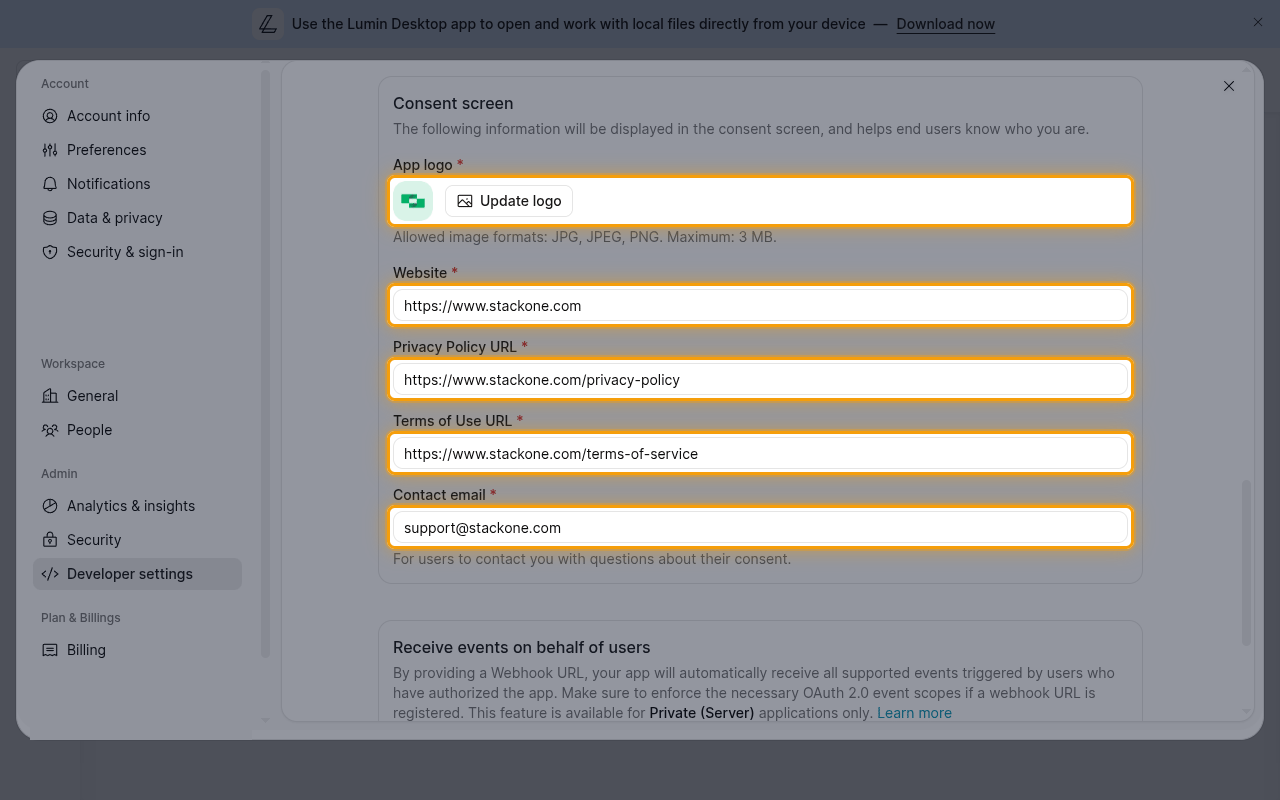
Fill in the consent screen
Under Consent screen, add the details users see when they authorize the app.
- App logo: Your company logo
- Website: Link to your website
- Privacy Policy URL: Link to your privacy policy
- Terms of Use URL: Link to your terms of use
- Contact email: Address users can contact with questions about their consent
6
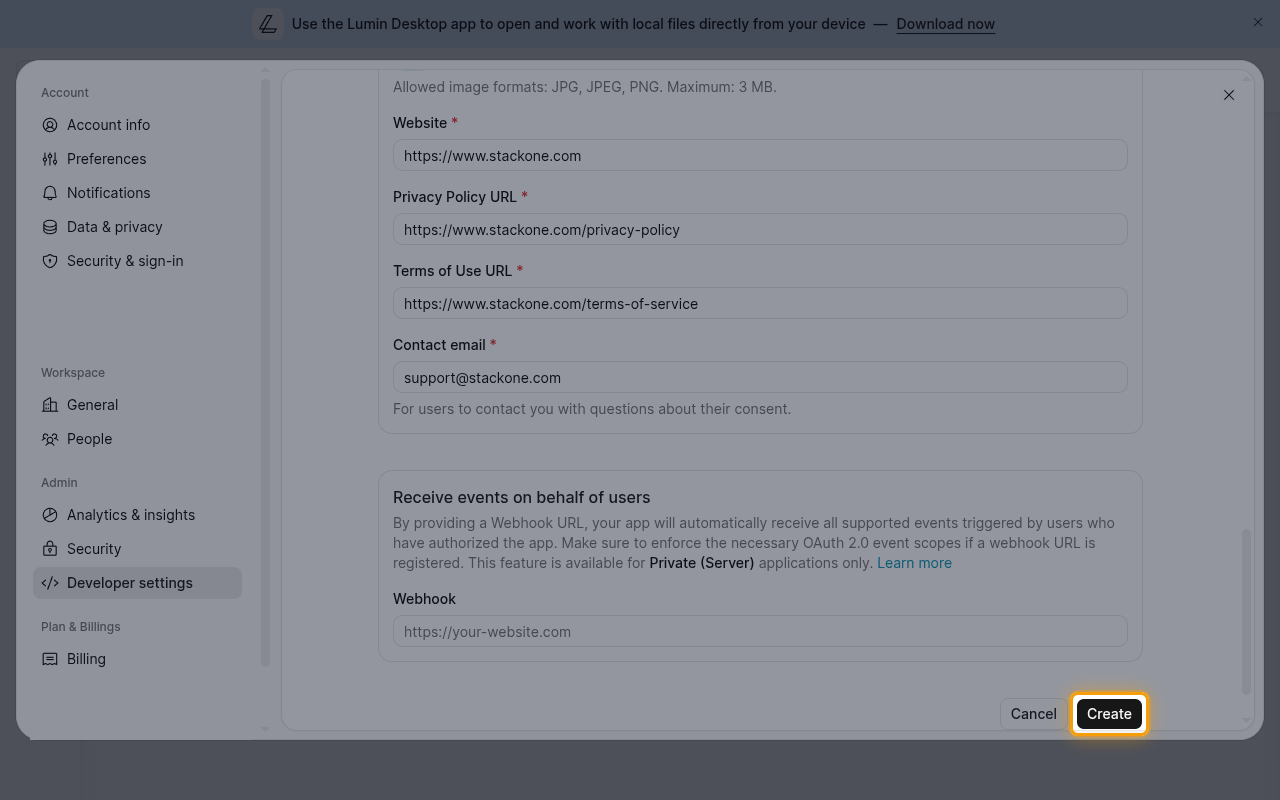
Create the app
Click Create.
7
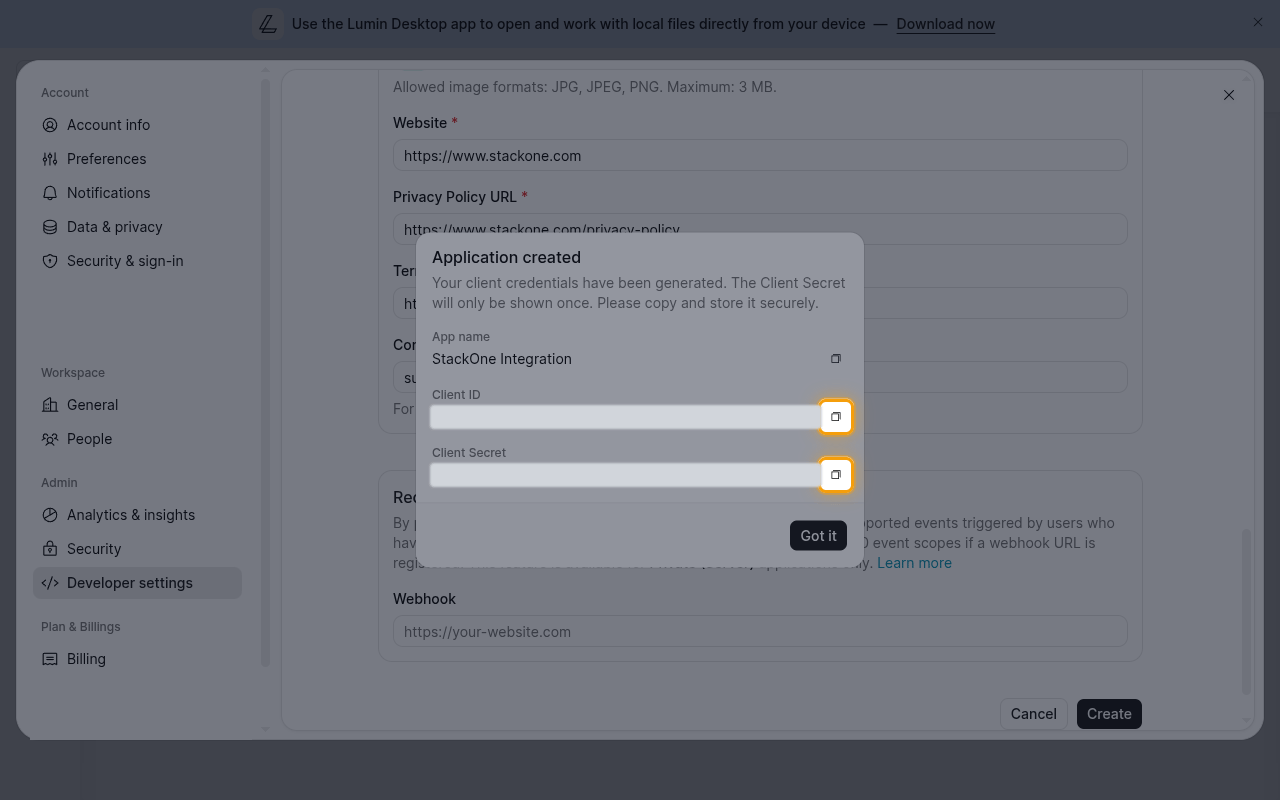
Copy the credentials
Copy the Client ID and Client Secret into your Connector Profile.
- Click the copy icon next to each value.
- The Client Secret is only shown once.
Create the StackOne Connector Profile
1
Create a Connector Profile
Enable the connector and create a Connector Profile in your project. See Setup Connector Profile.
2
Link an Account
Once the Connector Profile is created, continue to link an account.