

Creating a LinkedIn app
Register an app in the LinkedIn Developer Portal so StackOne can request access on behalf of your users.
Sign in to LinkedIn
Sign in to your LinkedIn Developer account.
- Enter your LinkedIn credentials and click Sign in. LinkedIn then opens My apps.
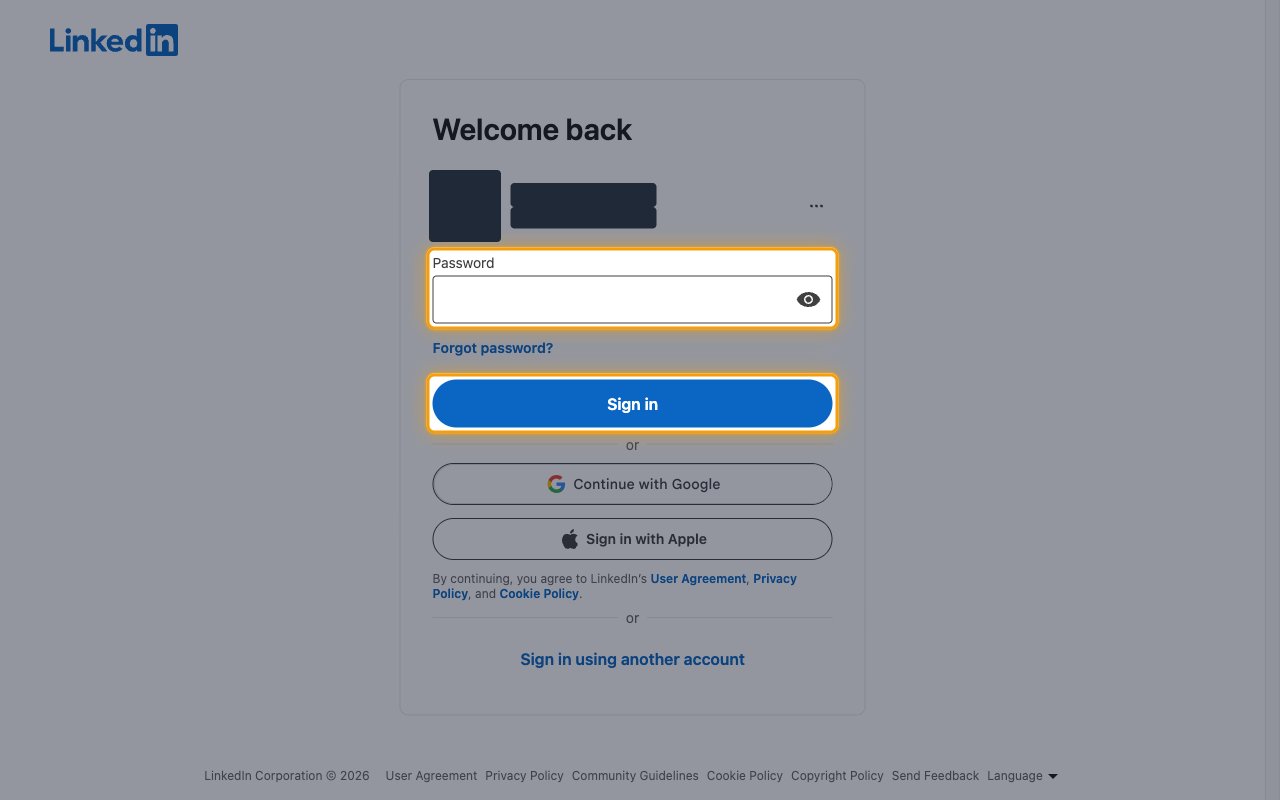
Open My apps
On the My apps page, click Create app.
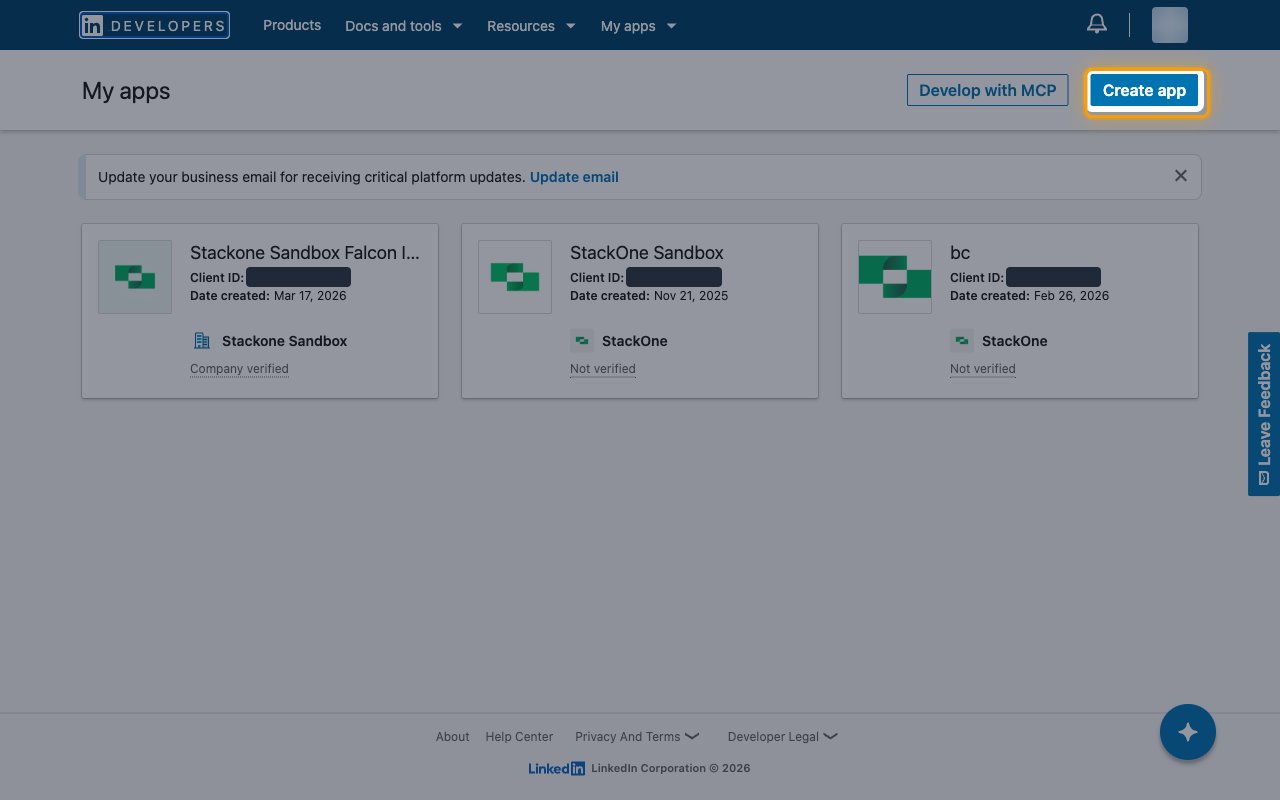
Enter the app details
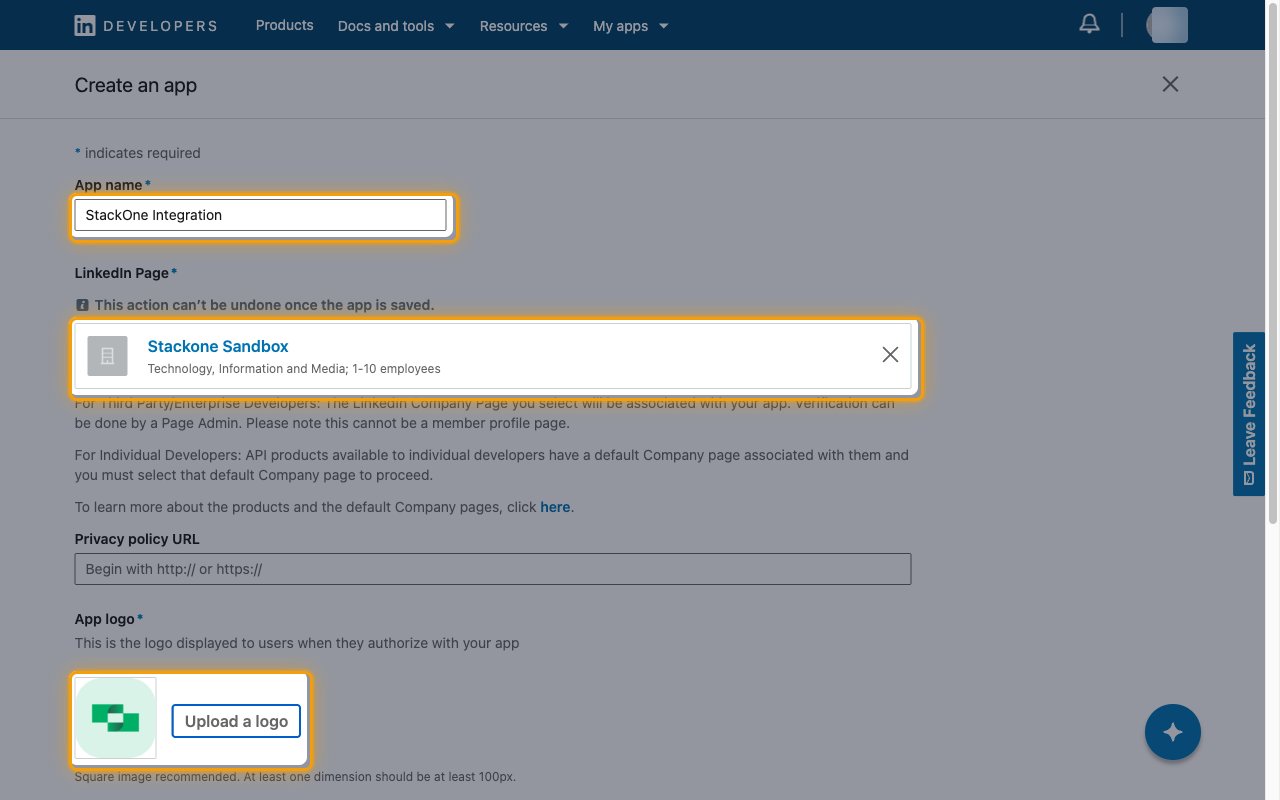
Fill in the Create an app form.
- App name:
StackOne Integration - In LinkedIn Page, search for and select your company’s LinkedIn Page.
- Under App logo, click Upload a logo and choose a square image at least 100px wide.
- Privacy policy URL is optional.
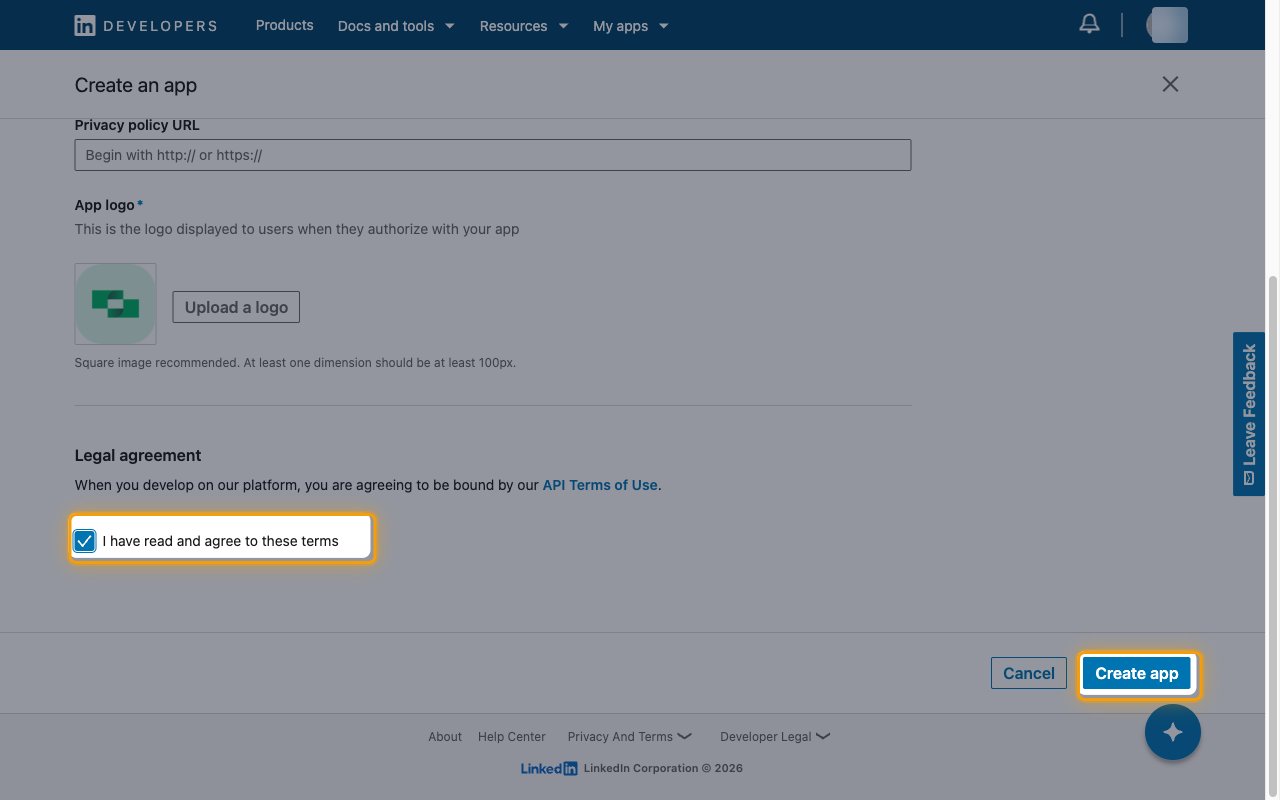
Accept the legal agreement
Under Legal agreement, select I have read and agree to these terms and click Create app.
- LinkedIn opens the new app on its Products tab.
Adding products
Products grant the OAuth scopes your app can request. This integration uses two self-serve products, plus the Advertising API for reading posts, posting as a Page and sponsored content.
Request Share on LinkedIn
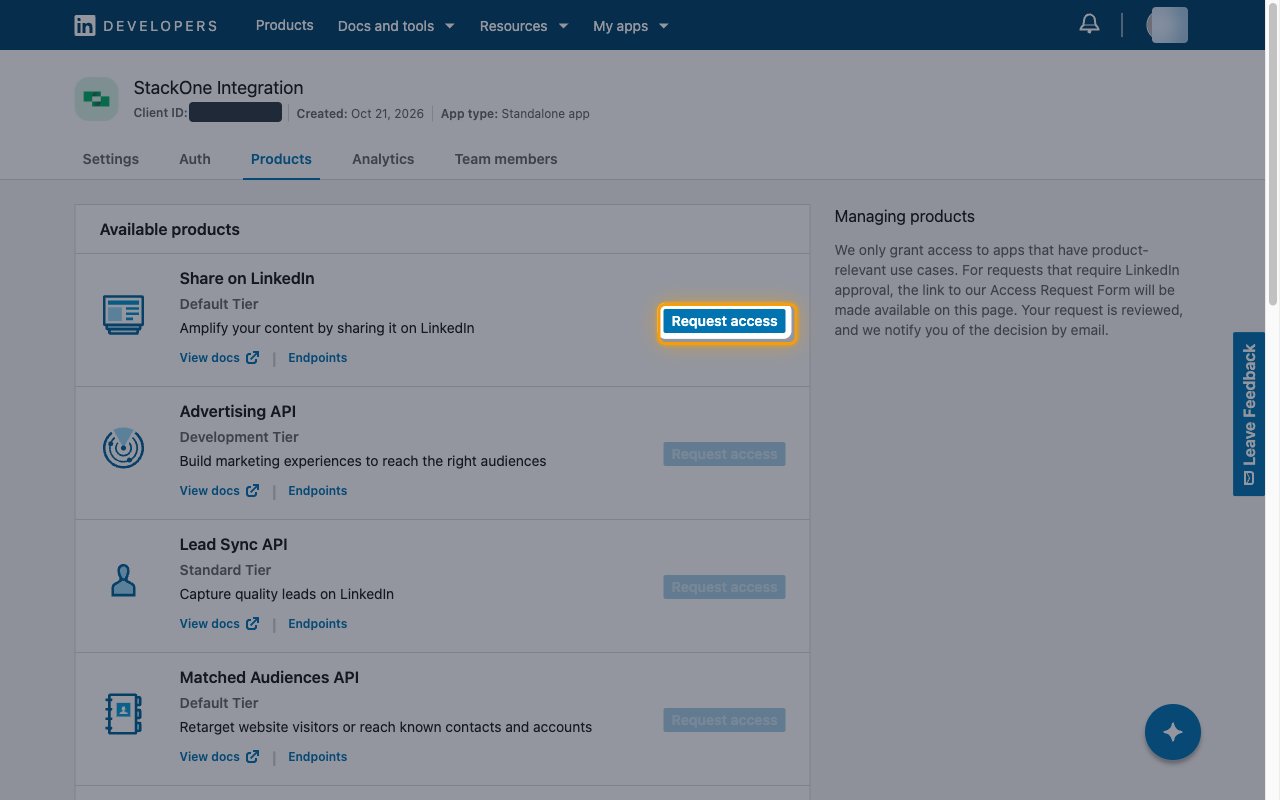
On the Products tab, click Request access next to Share on LinkedIn.
Accept the product terms
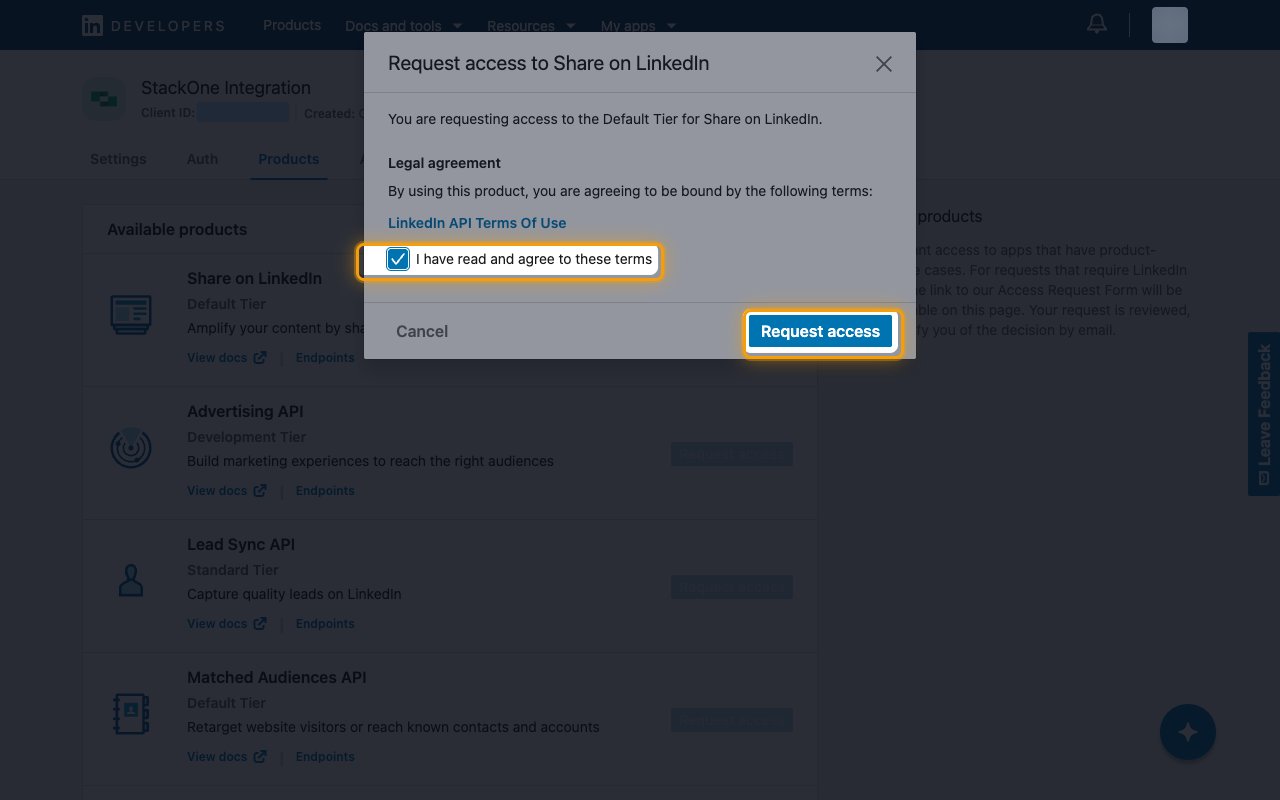
In the Request access to Share on LinkedIn dialog, select I have read and agree to these terms and click Request access.
Request Sign In with LinkedIn using OpenID Connect
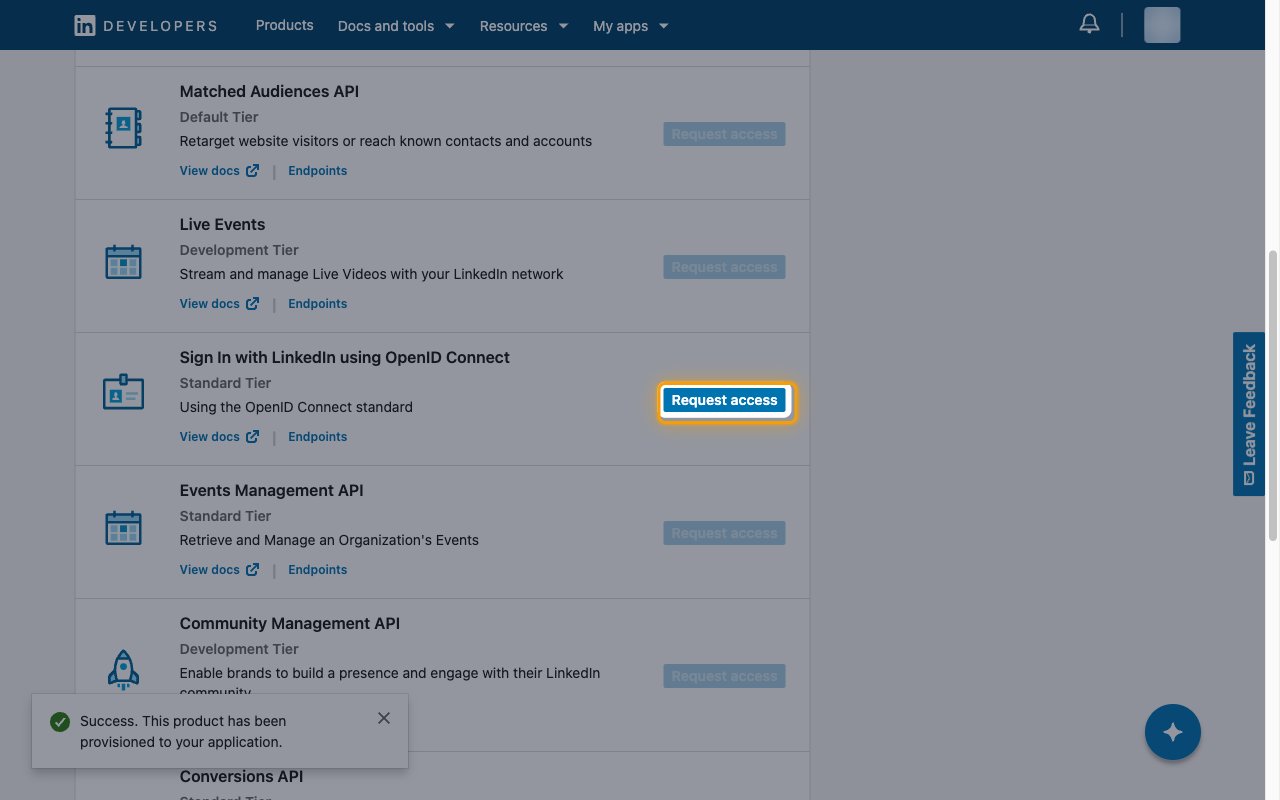
Click Request access next to Sign In with LinkedIn using OpenID Connect, then accept the terms in the dialog the same way.
Confirm the added products
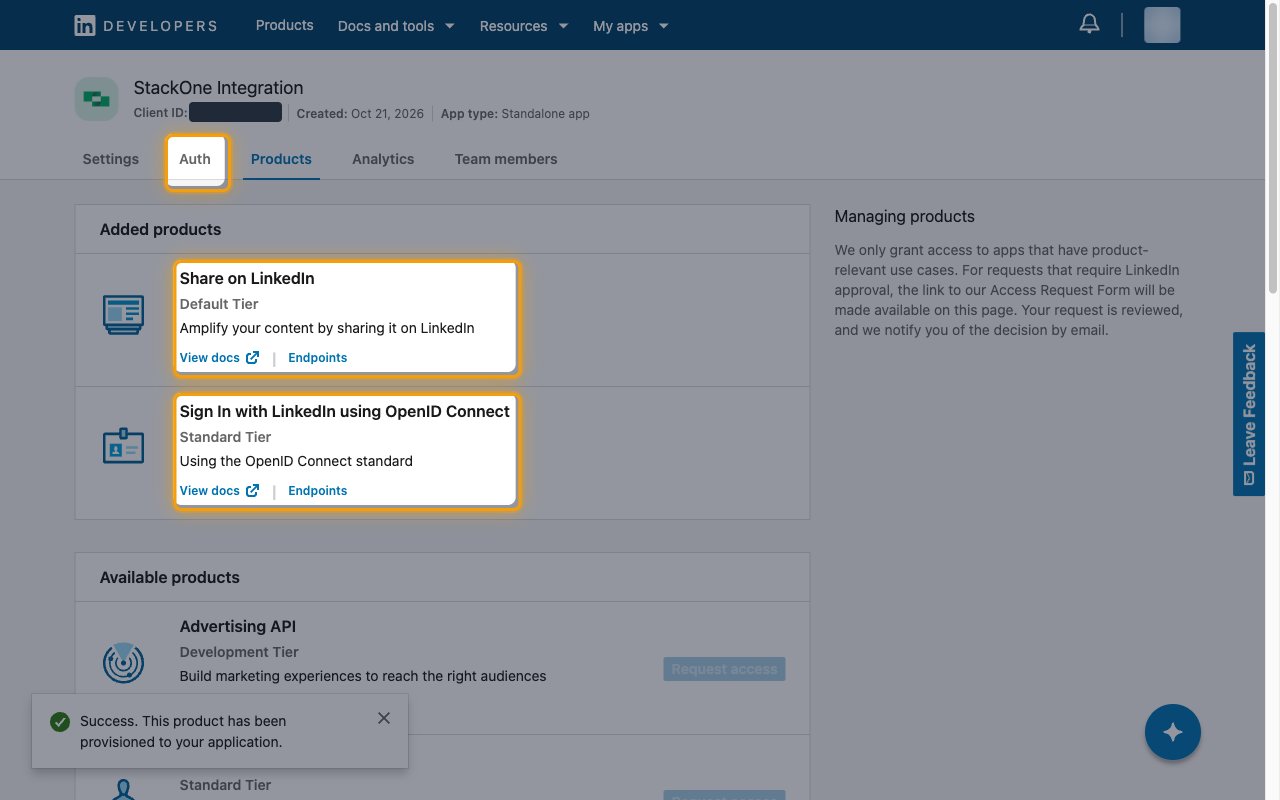
Both products now appear under Added products. Open the Auth tab.
Requesting the Advertising API
The actions that read posts, post as a LinkedIn Page or set sponsored content need scopes from the Advertising API product, which LinkedIn grants after reviewing your request.
- On the Products tab, click Request access next to Advertising API and complete LinkedIn’s access request form.
- The product grants
r_basicprofile,r_organization_socialandw_organization_social, among others. - Approved apps start on the Development tier, which allows changes to up to five ad accounts. To use an ad account on this tier, click View Ad Accounts on the Products tab, then Add Ad Account, and enter its ad account ID from Campaign Manager.
- Posting as a Page or reading its posts also needs the connecting member to hold the ADMINISTRATOR, DIRECT_SPONSORED_CONTENT_POSTER or CONTENT_ADMIN role on that Page.
- See Increasing access for the full access process.
Copying the app credentials
The Client ID and Primary Client Secret identify your app to LinkedIn during the OAuth flow.
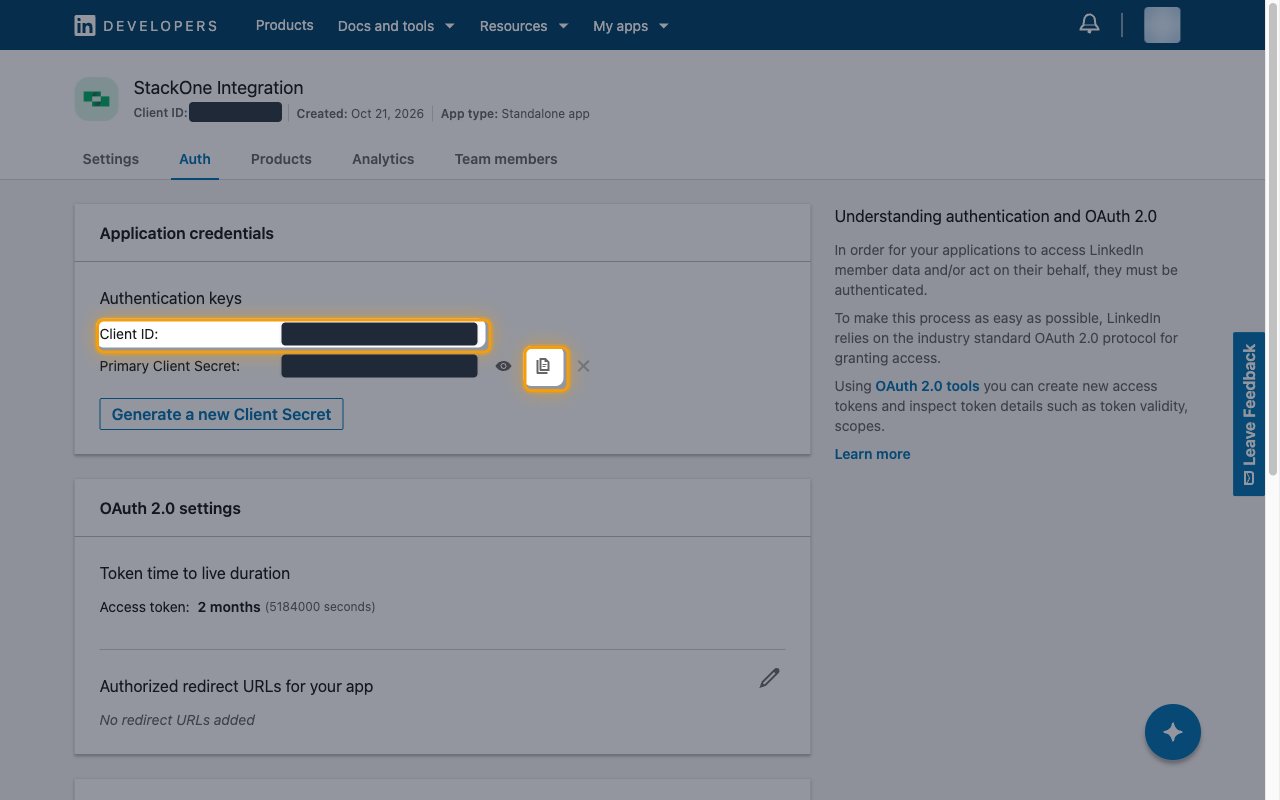
Copy the Client ID and Client Secret
On the Auth tab, under Application credentials, copy both values and store them securely for use later.
- Client ID is the public identifier of your app. Copy it from the Client ID: field and paste it into the Client ID field in the StackOne Connector profile.
- Primary Client Secret is the app’s private key. Click the Copy icon next to it and paste it into the Client Secret field in the StackOne Connector profile.
- Keep the secret private. Anyone who has it can request tokens for your app.
Configuring OAuth 2.0 settings
Register the StackOne redirect URL and check which scopes your app can request.
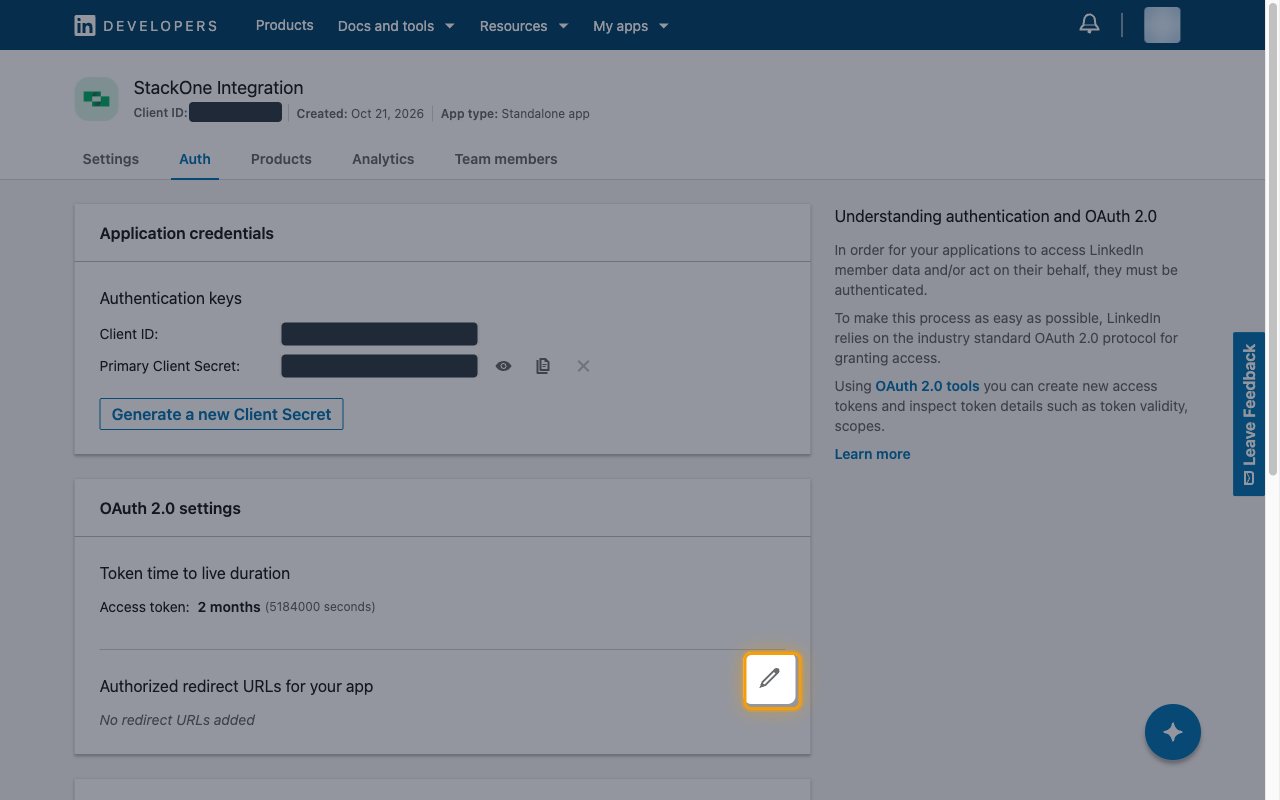
Edit the redirect URLs
Under OAuth 2.0 settings, click the pencil icon next to Authorized redirect URLs for your app.
Add the StackOne redirect URL
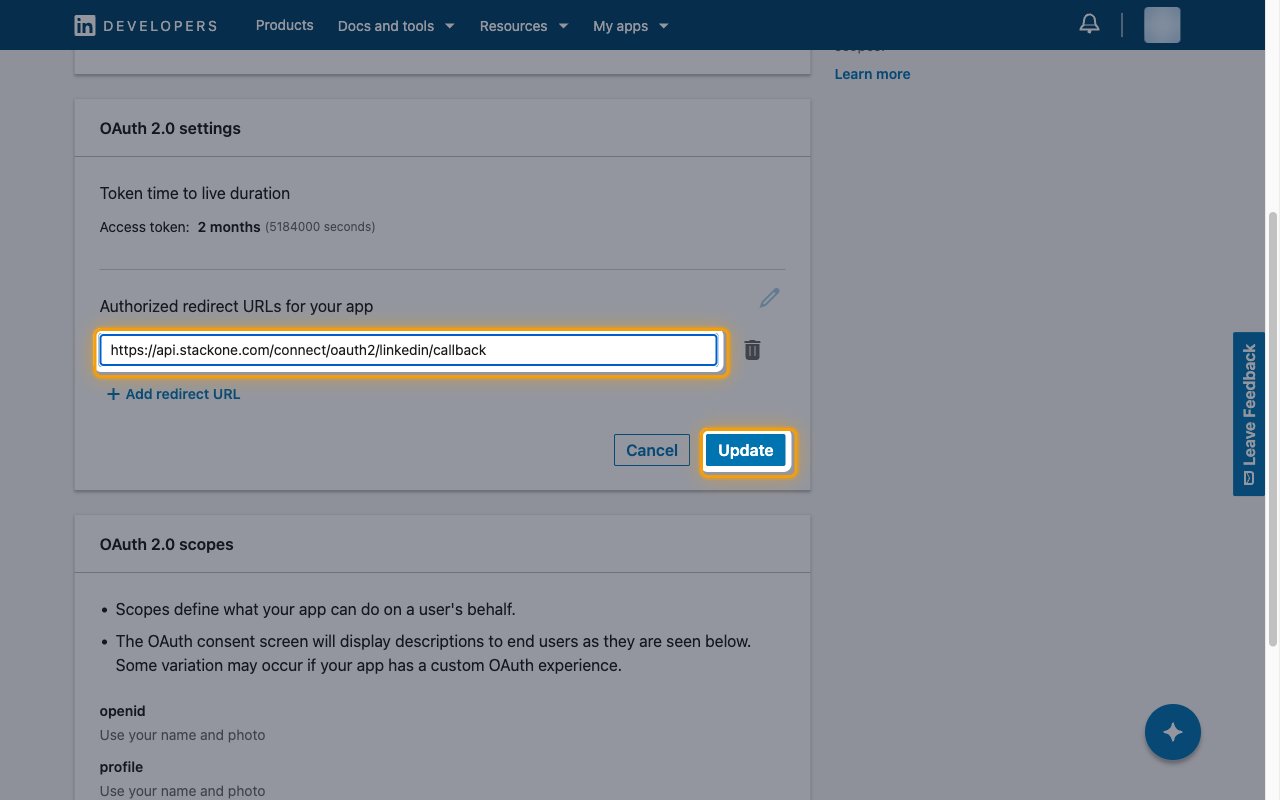
Click Add redirect URL, paste the StackOne redirect URL, and click Update.
- Redirect URL: the Callback URL from your Connector Profile
Review the OAuth 2.0 scopes
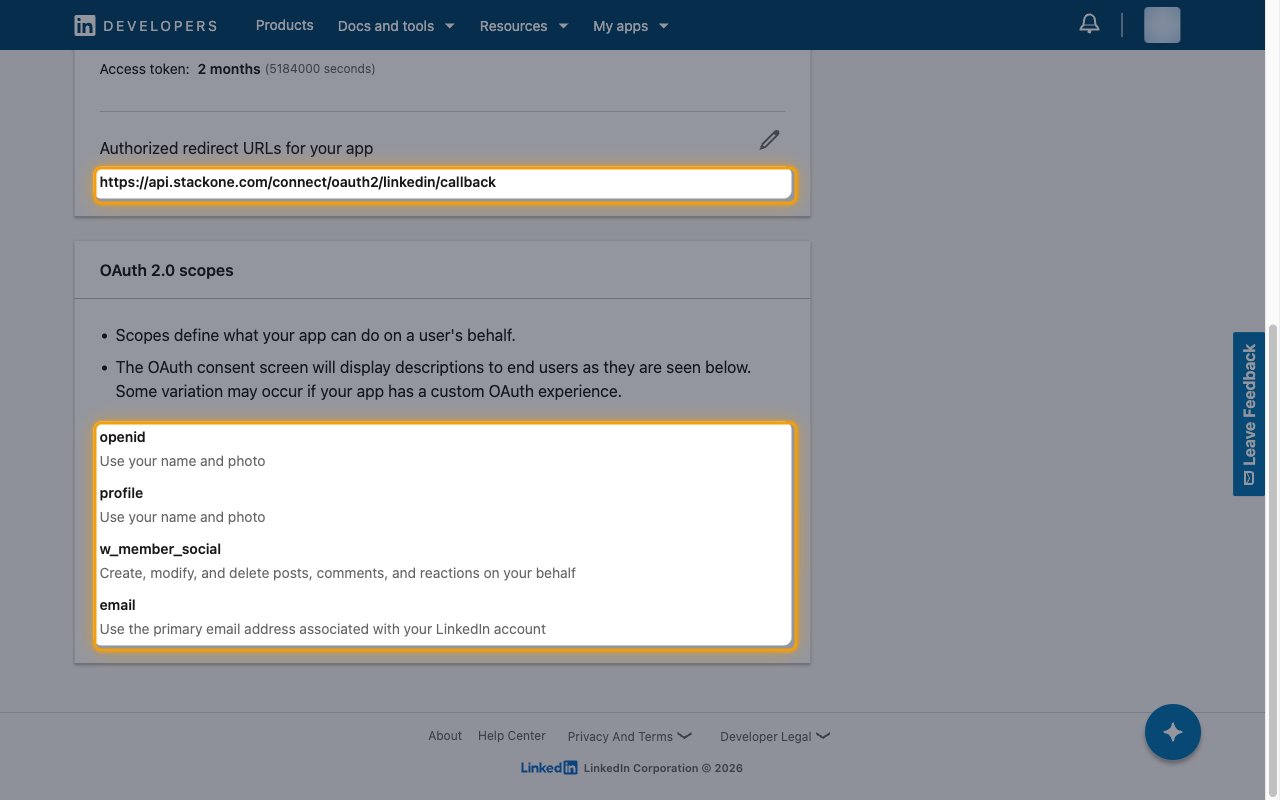
The OAuth 2.0 scopes section lists every scope your app can request. Make sure it includes the scopes this integration needs.
Choosing the scopes to request
The Scopes field in the StackOne Connector profile sets which scopes StackOne requests when a user connects. Enter them separated by spaces, or leave the field empty to use the default.
- Default:
email openid profile w_member_social r_basicprofile r_organization_social w_organization_social - Only enter scopes listed under OAuth 2.0 scopes on the Auth tab. LinkedIn rejects the whole authorization if your app hasn’t been granted one of the requested scopes.
- If your app doesn’t have the Advertising API product, enter
email openid profile w_member_socialinstead of using the default.
Create the StackOne Connector Profile
Create a Connector Profile
Link an Account