

Register an OAuth 2.0 application
Create an OAuth2 application in the Harvest Developers portal to obtain the Client ID and Client secret.
1
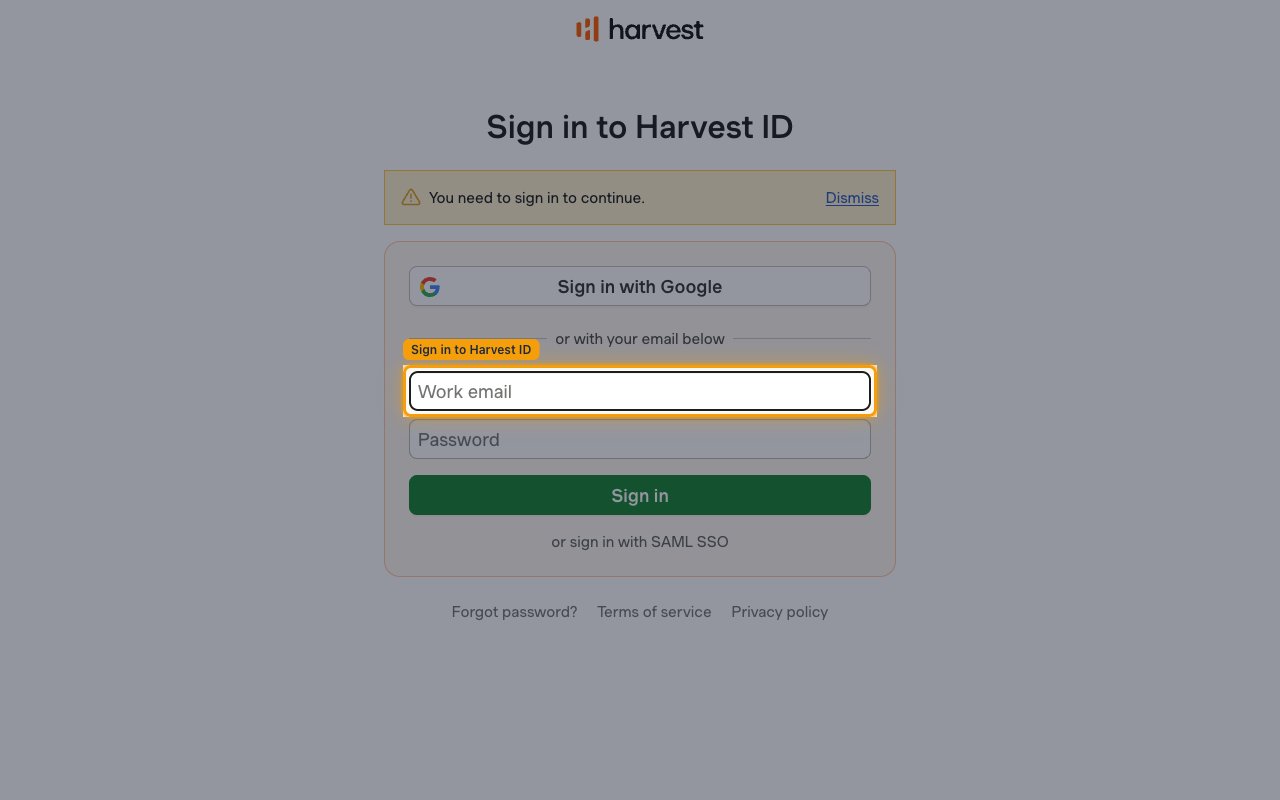
Sign in to Harvest
2
Create a new OAuth2 application
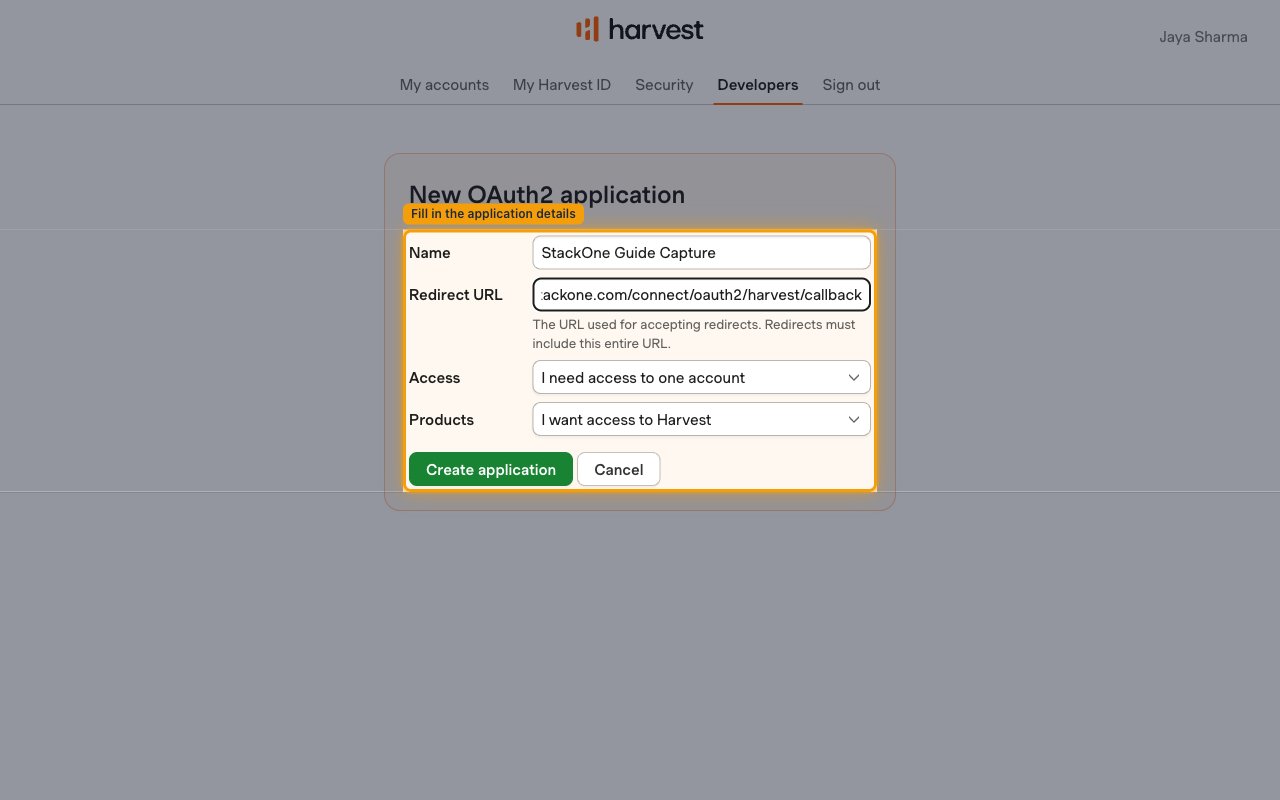
On the Developer tools page, under OAuth2 applications, click Create new OAuth2 application, then fill in the New OAuth2 application form.
- Enter a Name for the application (for example,
StackOne Integration). - In the Redirect URL field, paste the StackOne callback URL:
https://api.stackone.com/connect/oauth2/harvest/callback - In the Access dropdown, always select I need access to one account — do not choose I can work with multiple accounts.
- Scoping the app to a single account lets StackOne determine which Harvest Account ID to send on every request. You choose which account to authorize during the connection step, and StackOne then reads that one account and stores its Account ID automatically.
- In the Products dropdown, select I want access to Harvest.
- Click Create application.
3
Copy the Client ID and Client secret
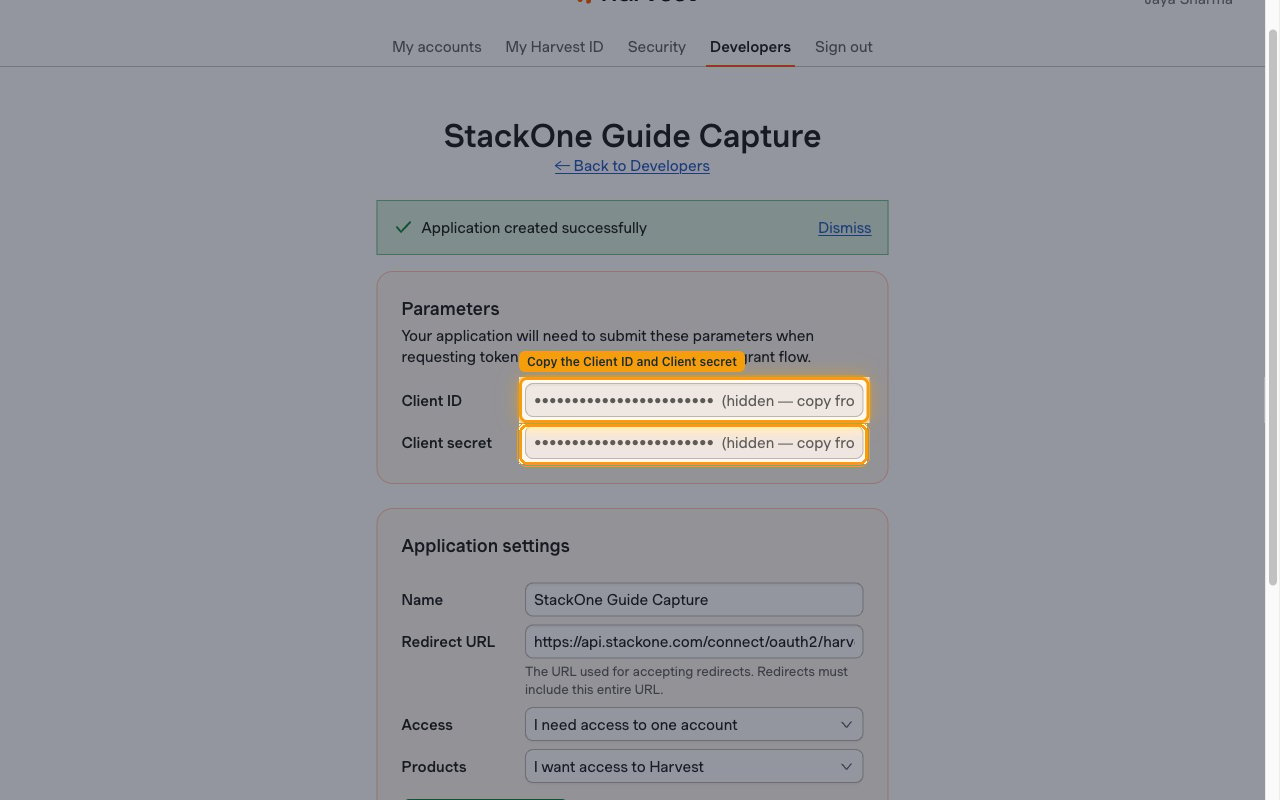
After creating the application, the app page shows a Parameters section with both credentials.
- Copy the value under Client ID and paste it into the Client ID field in the StackOne Connector profile.
- Copy the value under Client secret and paste it into the Client Secret field in the StackOne Connector profile.
- These values remain available on the application page — reopen it from the Developers page anytime to view them again.
Creating the StackOne Connector Profile
To create the Connector Profile in StackOne for Harvest:1
Open the connector
Log in to StackOne, open Connectors, and select Harvest.
2
Choose actions and events
- Click Add Profile.
- If the connector offers more than one authentication method, set the Auth Method filter to OAuth 2.0.
- Select the actions, and any events, to enable for this Connector Profile.
- Click Continue.
3
Set up authentication
- Select Authentication Type as OAuth 2.0.
- Fill out the fields using details retrieved from your provider:
- Client ID
- Client Secret
- Click Create Profile.