

Create a Google Cloud OAuth client
Set up a Google Cloud project with the Cloud Logging API and Cloud Monitoring API enabled and an OAuth client for StackOne.
Create or select a project
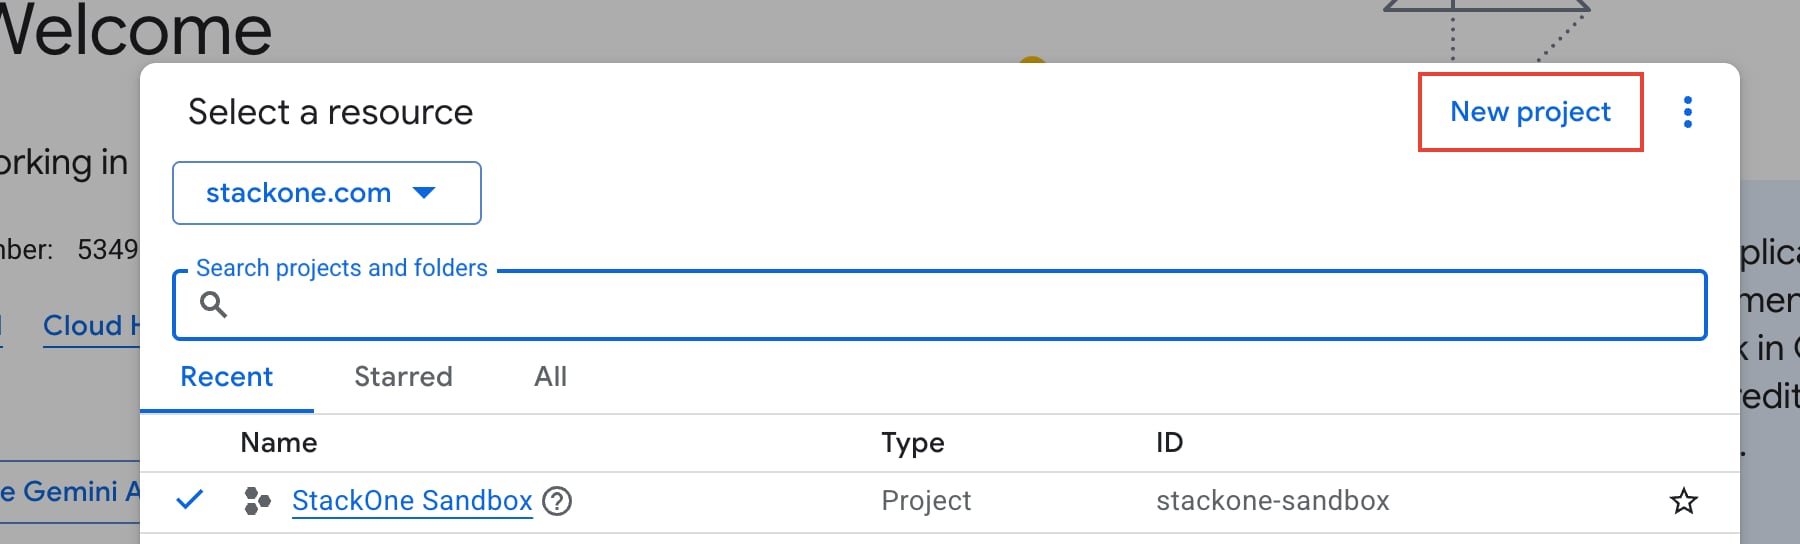
Sign in to your Google Cloud Console, then open the project picker at the top of the page.
- New project: Click New project, fill in Project name, Organization and Parent resource, then click Create. Select the new project in the project picker.
- Existing project: Select it in the project picker.
Enable the Cloud Logging API and Cloud Monitoring API
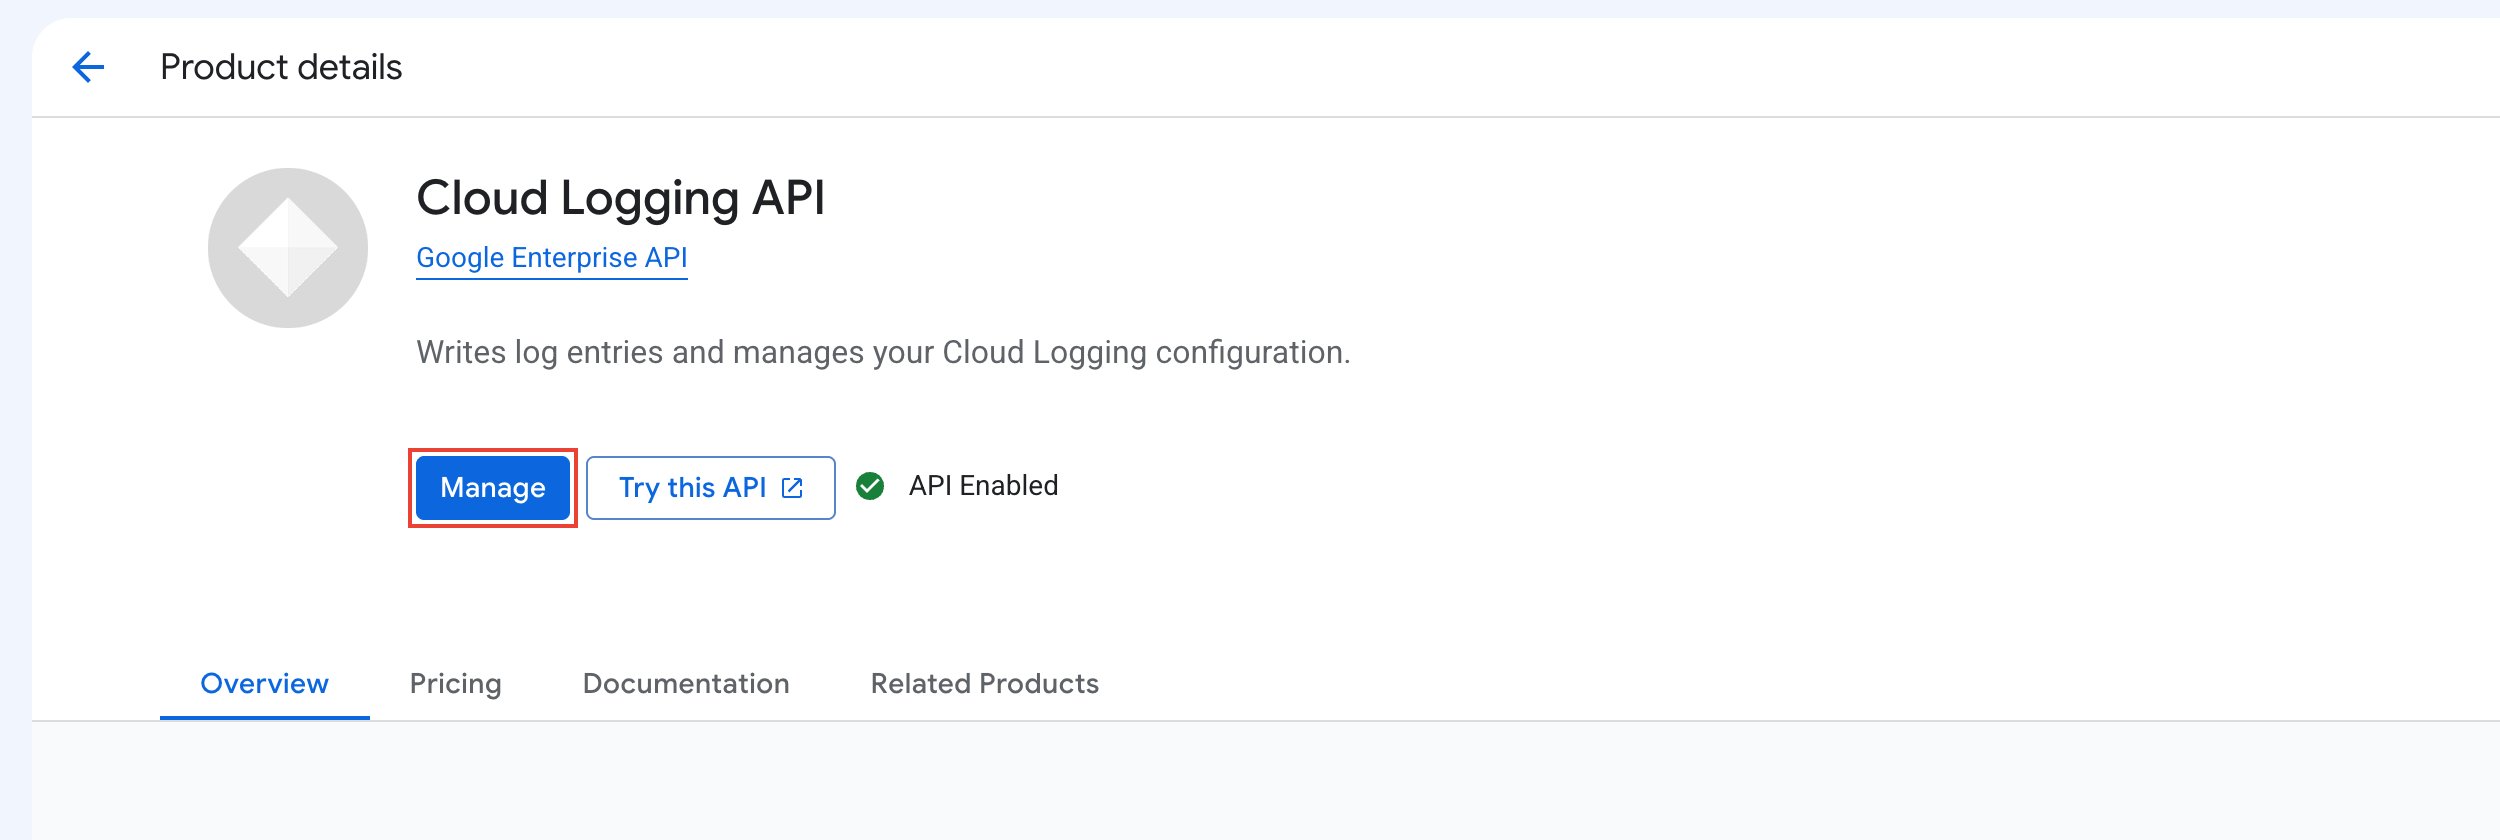
Open APIs & Services > Library.
- Search for
Cloud Logging API. - Click Cloud Logging API.
- Click Enable. If it shows Manage, it’s already enabled.
- Repeat for
Cloud Monitoring API.
Enter the app information
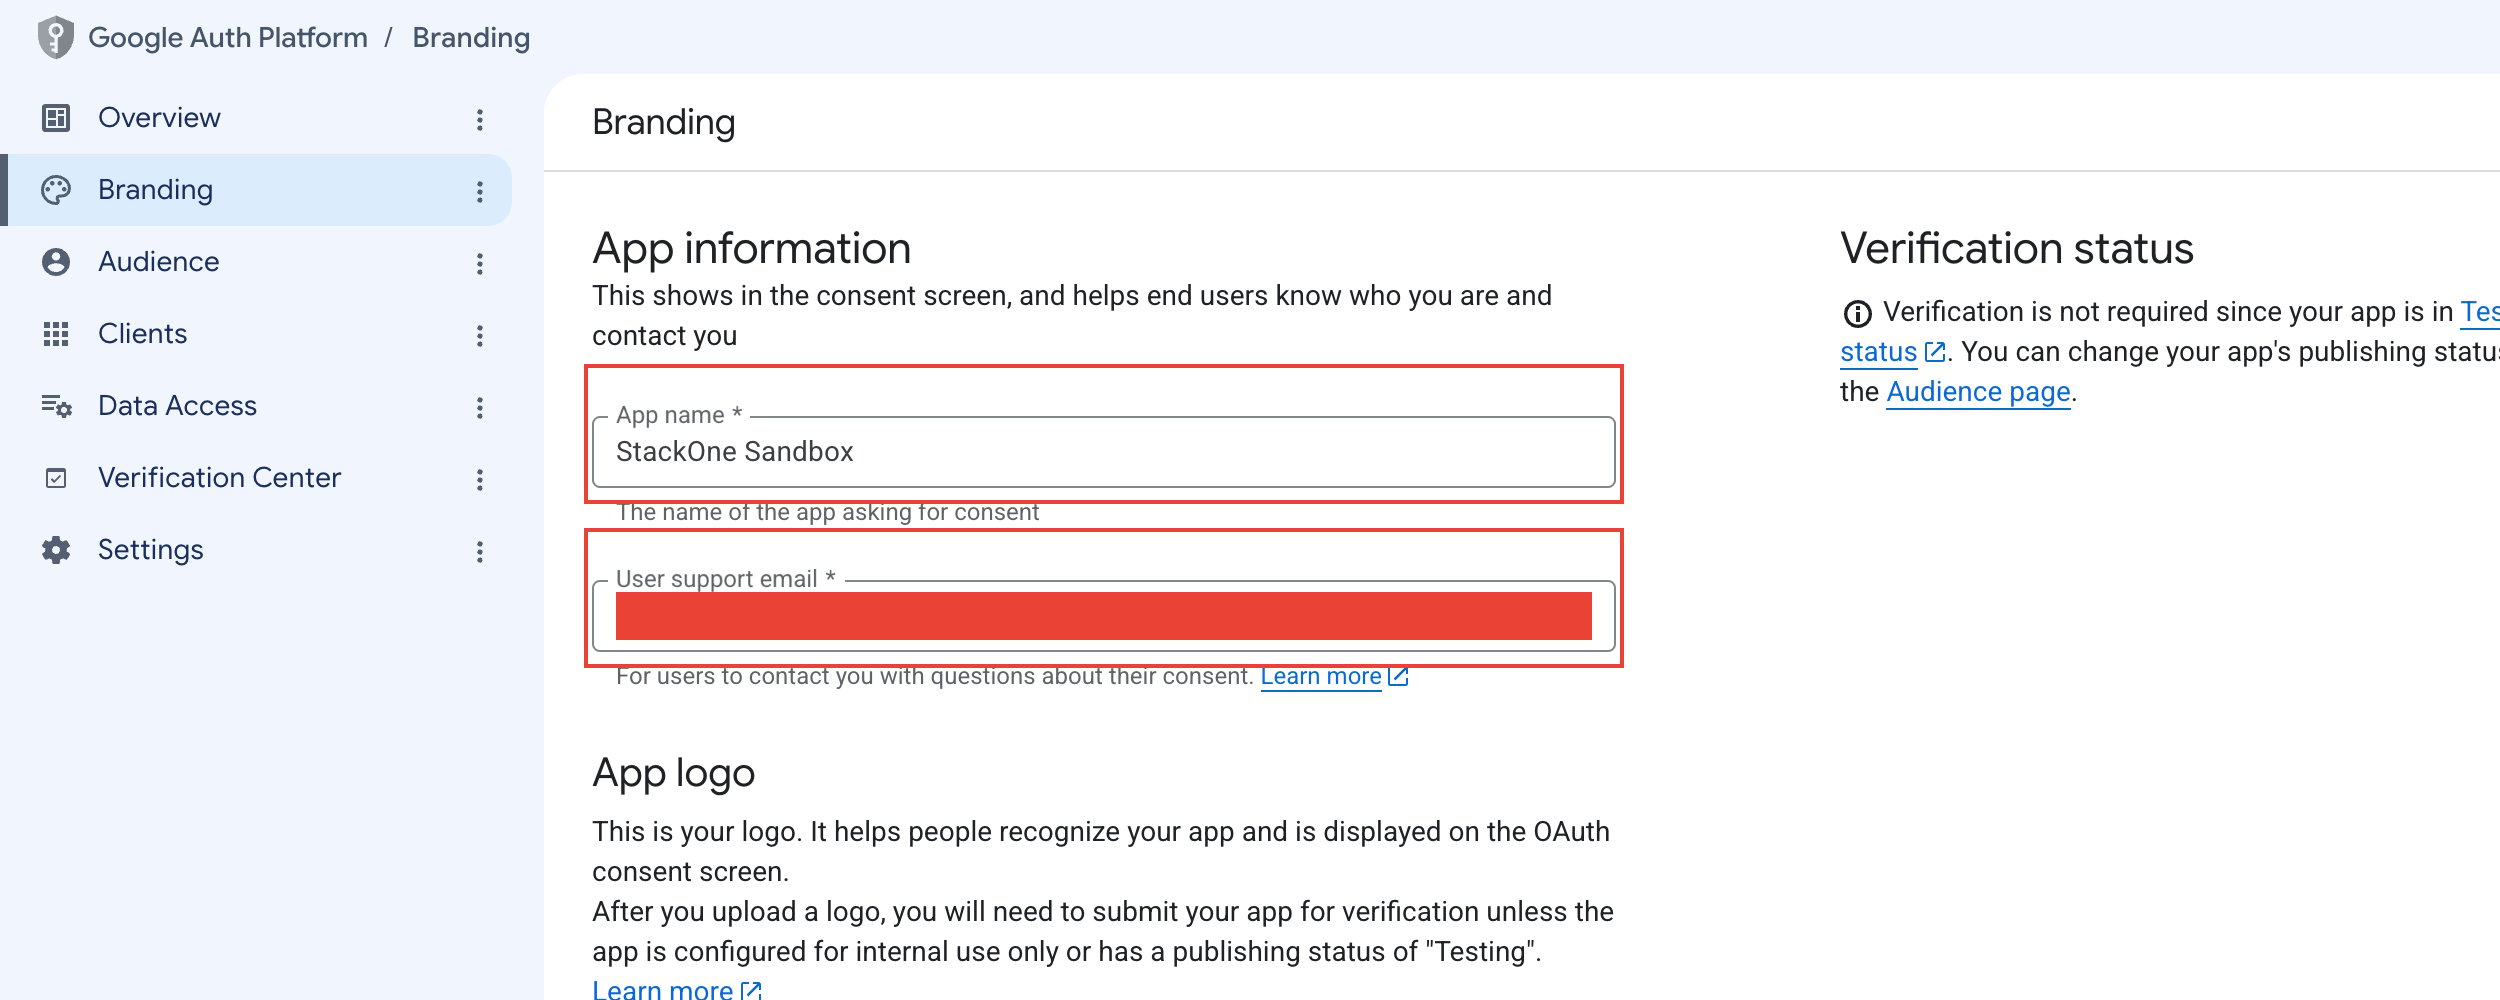
Open APIs & Services > OAuth consent screen to open the Google Auth Platform dashboard.
- Click Get started. If the OAuth Overview page opens instead, open Branding from the sidebar.
- App name: A name that identifies this integration
- User support email: Email address for user inquiries
- Click Next.
Select the audience
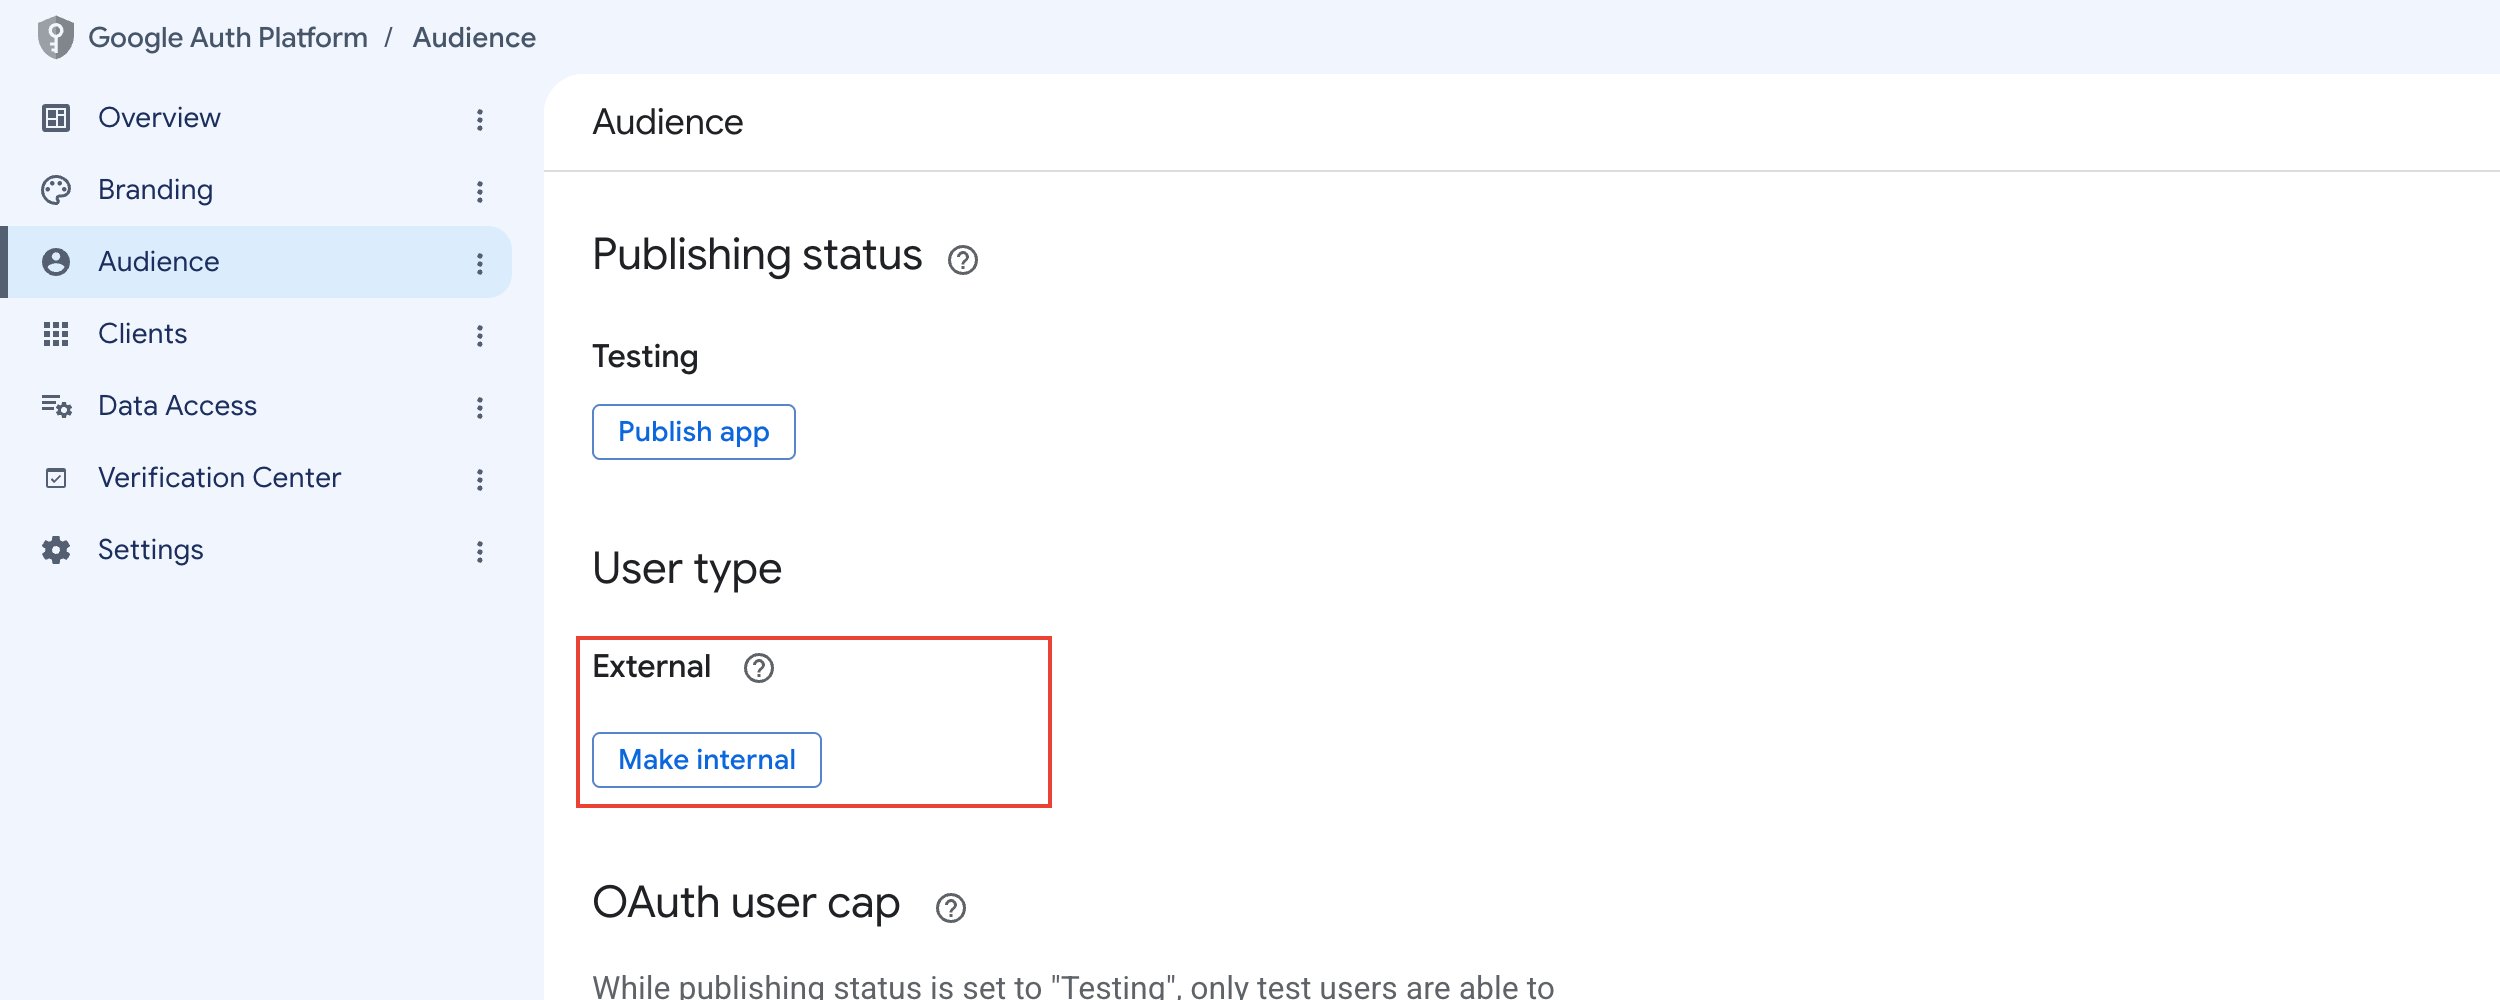
Choose the user type for your application.
- Internal: Only users within your Google Workspace organization can authorize (no app verification required)
- External: Any Google account can authorize (requires app verification for production use)
- Click Next.
Enter contact information
Google sends notices about changes to your project to these addresses. If you opened Branding, the field is under Developer contact information on the same page.
- Email addresses: Email addresses for project notices
- Click Next.
Accept the user data policy
Review your settings.
- Agree to the Google API Services User Data Policy.
- Click Create.
Add the scopes
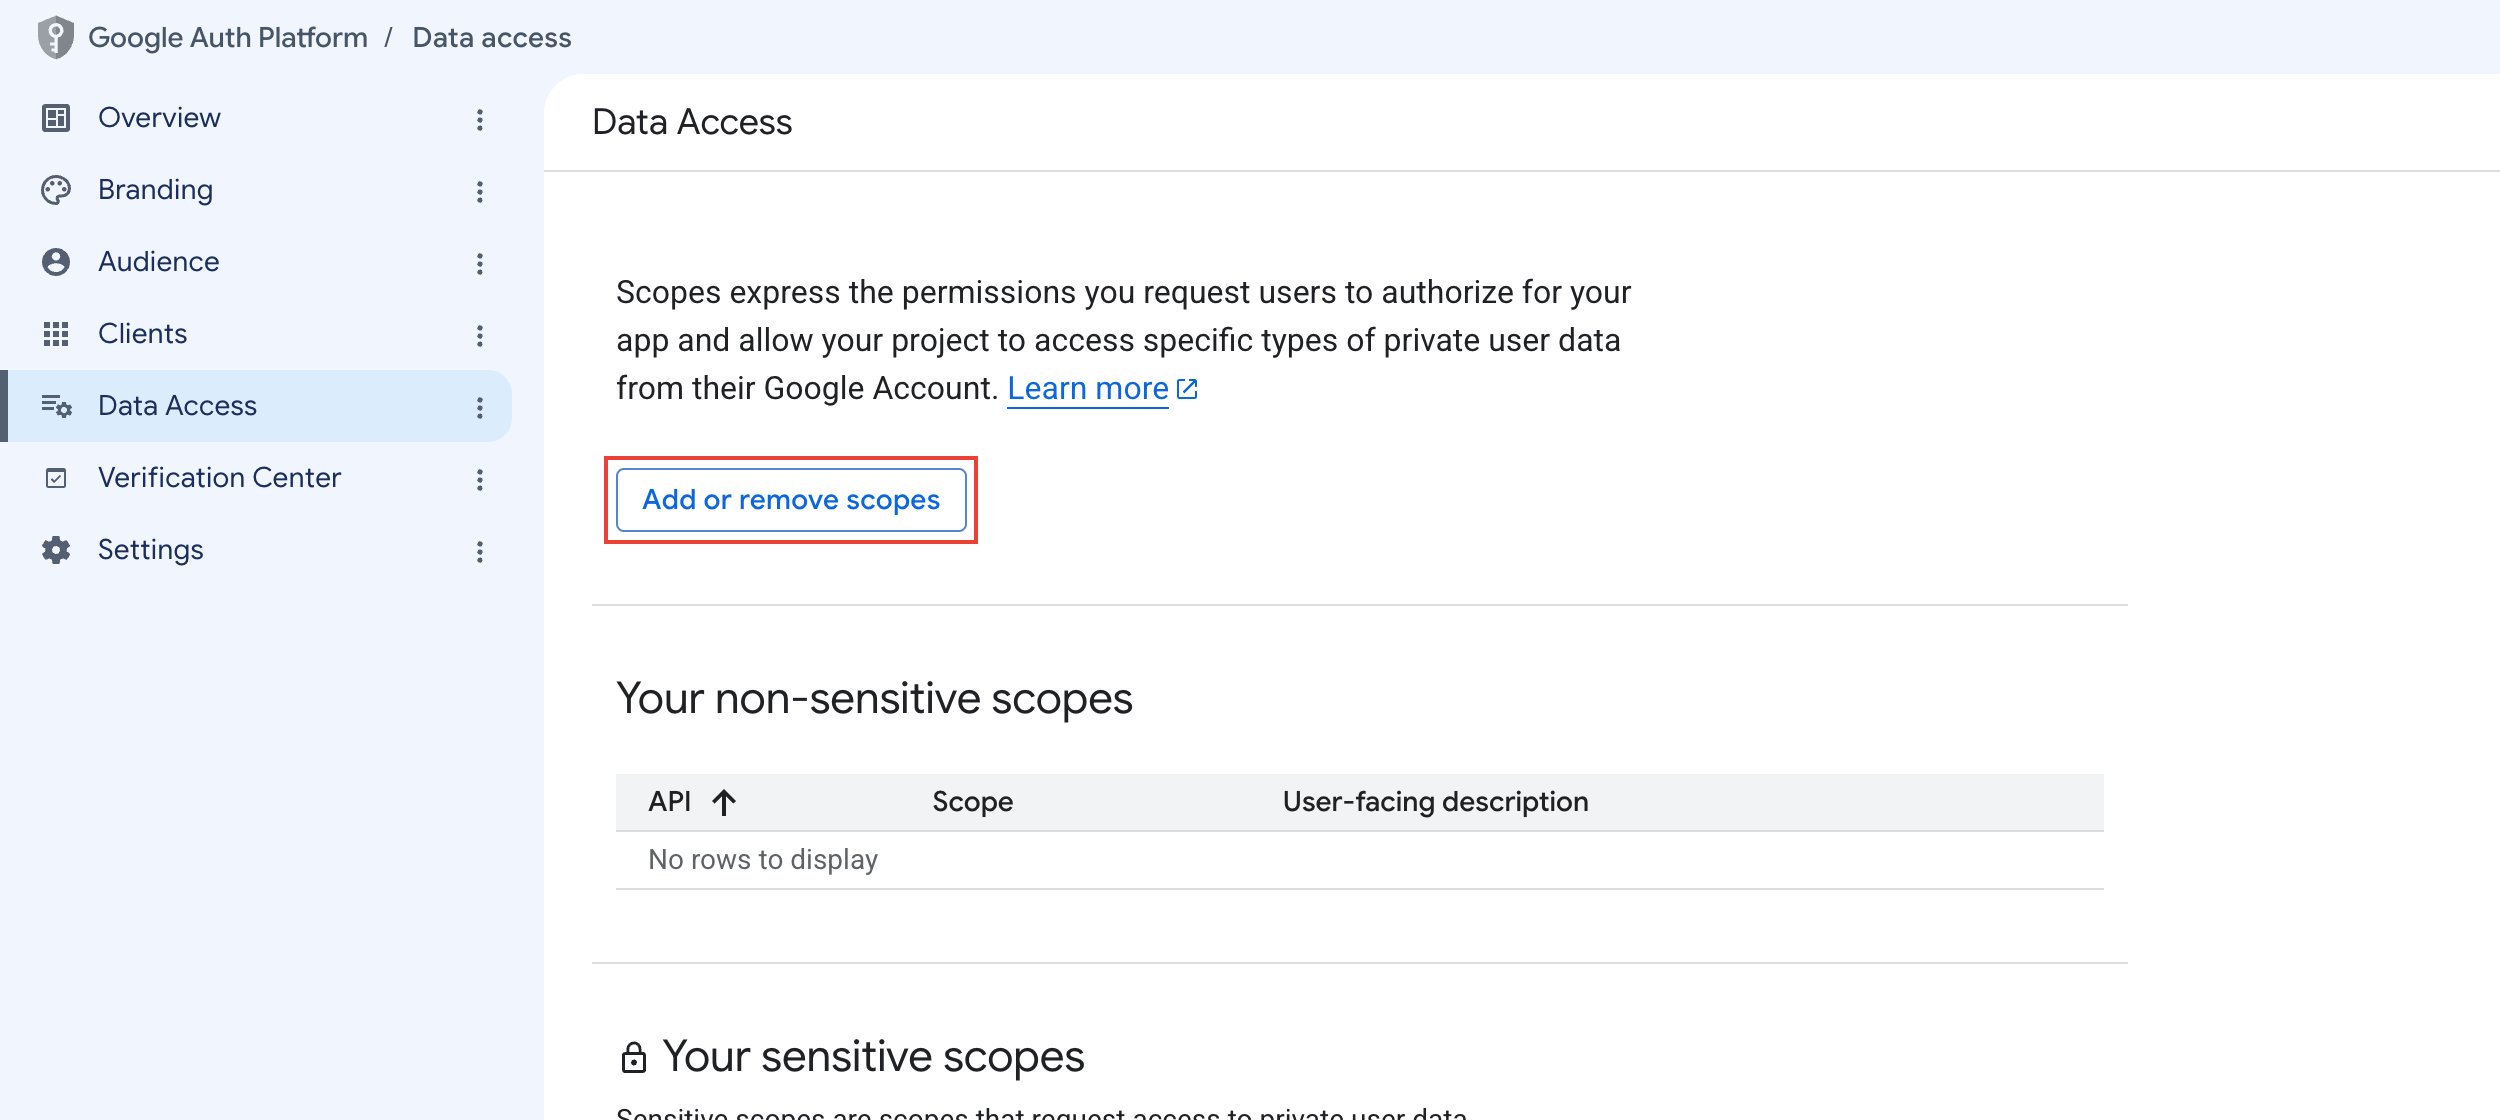
In Google Auth Platform, open Data Access. Add https://www.googleapis.com/auth/cloud-platform.read-only and every scope listed.
- Click Add or Remove Scopes.
- Under Manually add scopes in the Update selected scopes side panel, paste each scope.
- Click Add to table.
- Click Update.
- On the Data Access page, click Save.
Create the OAuth client
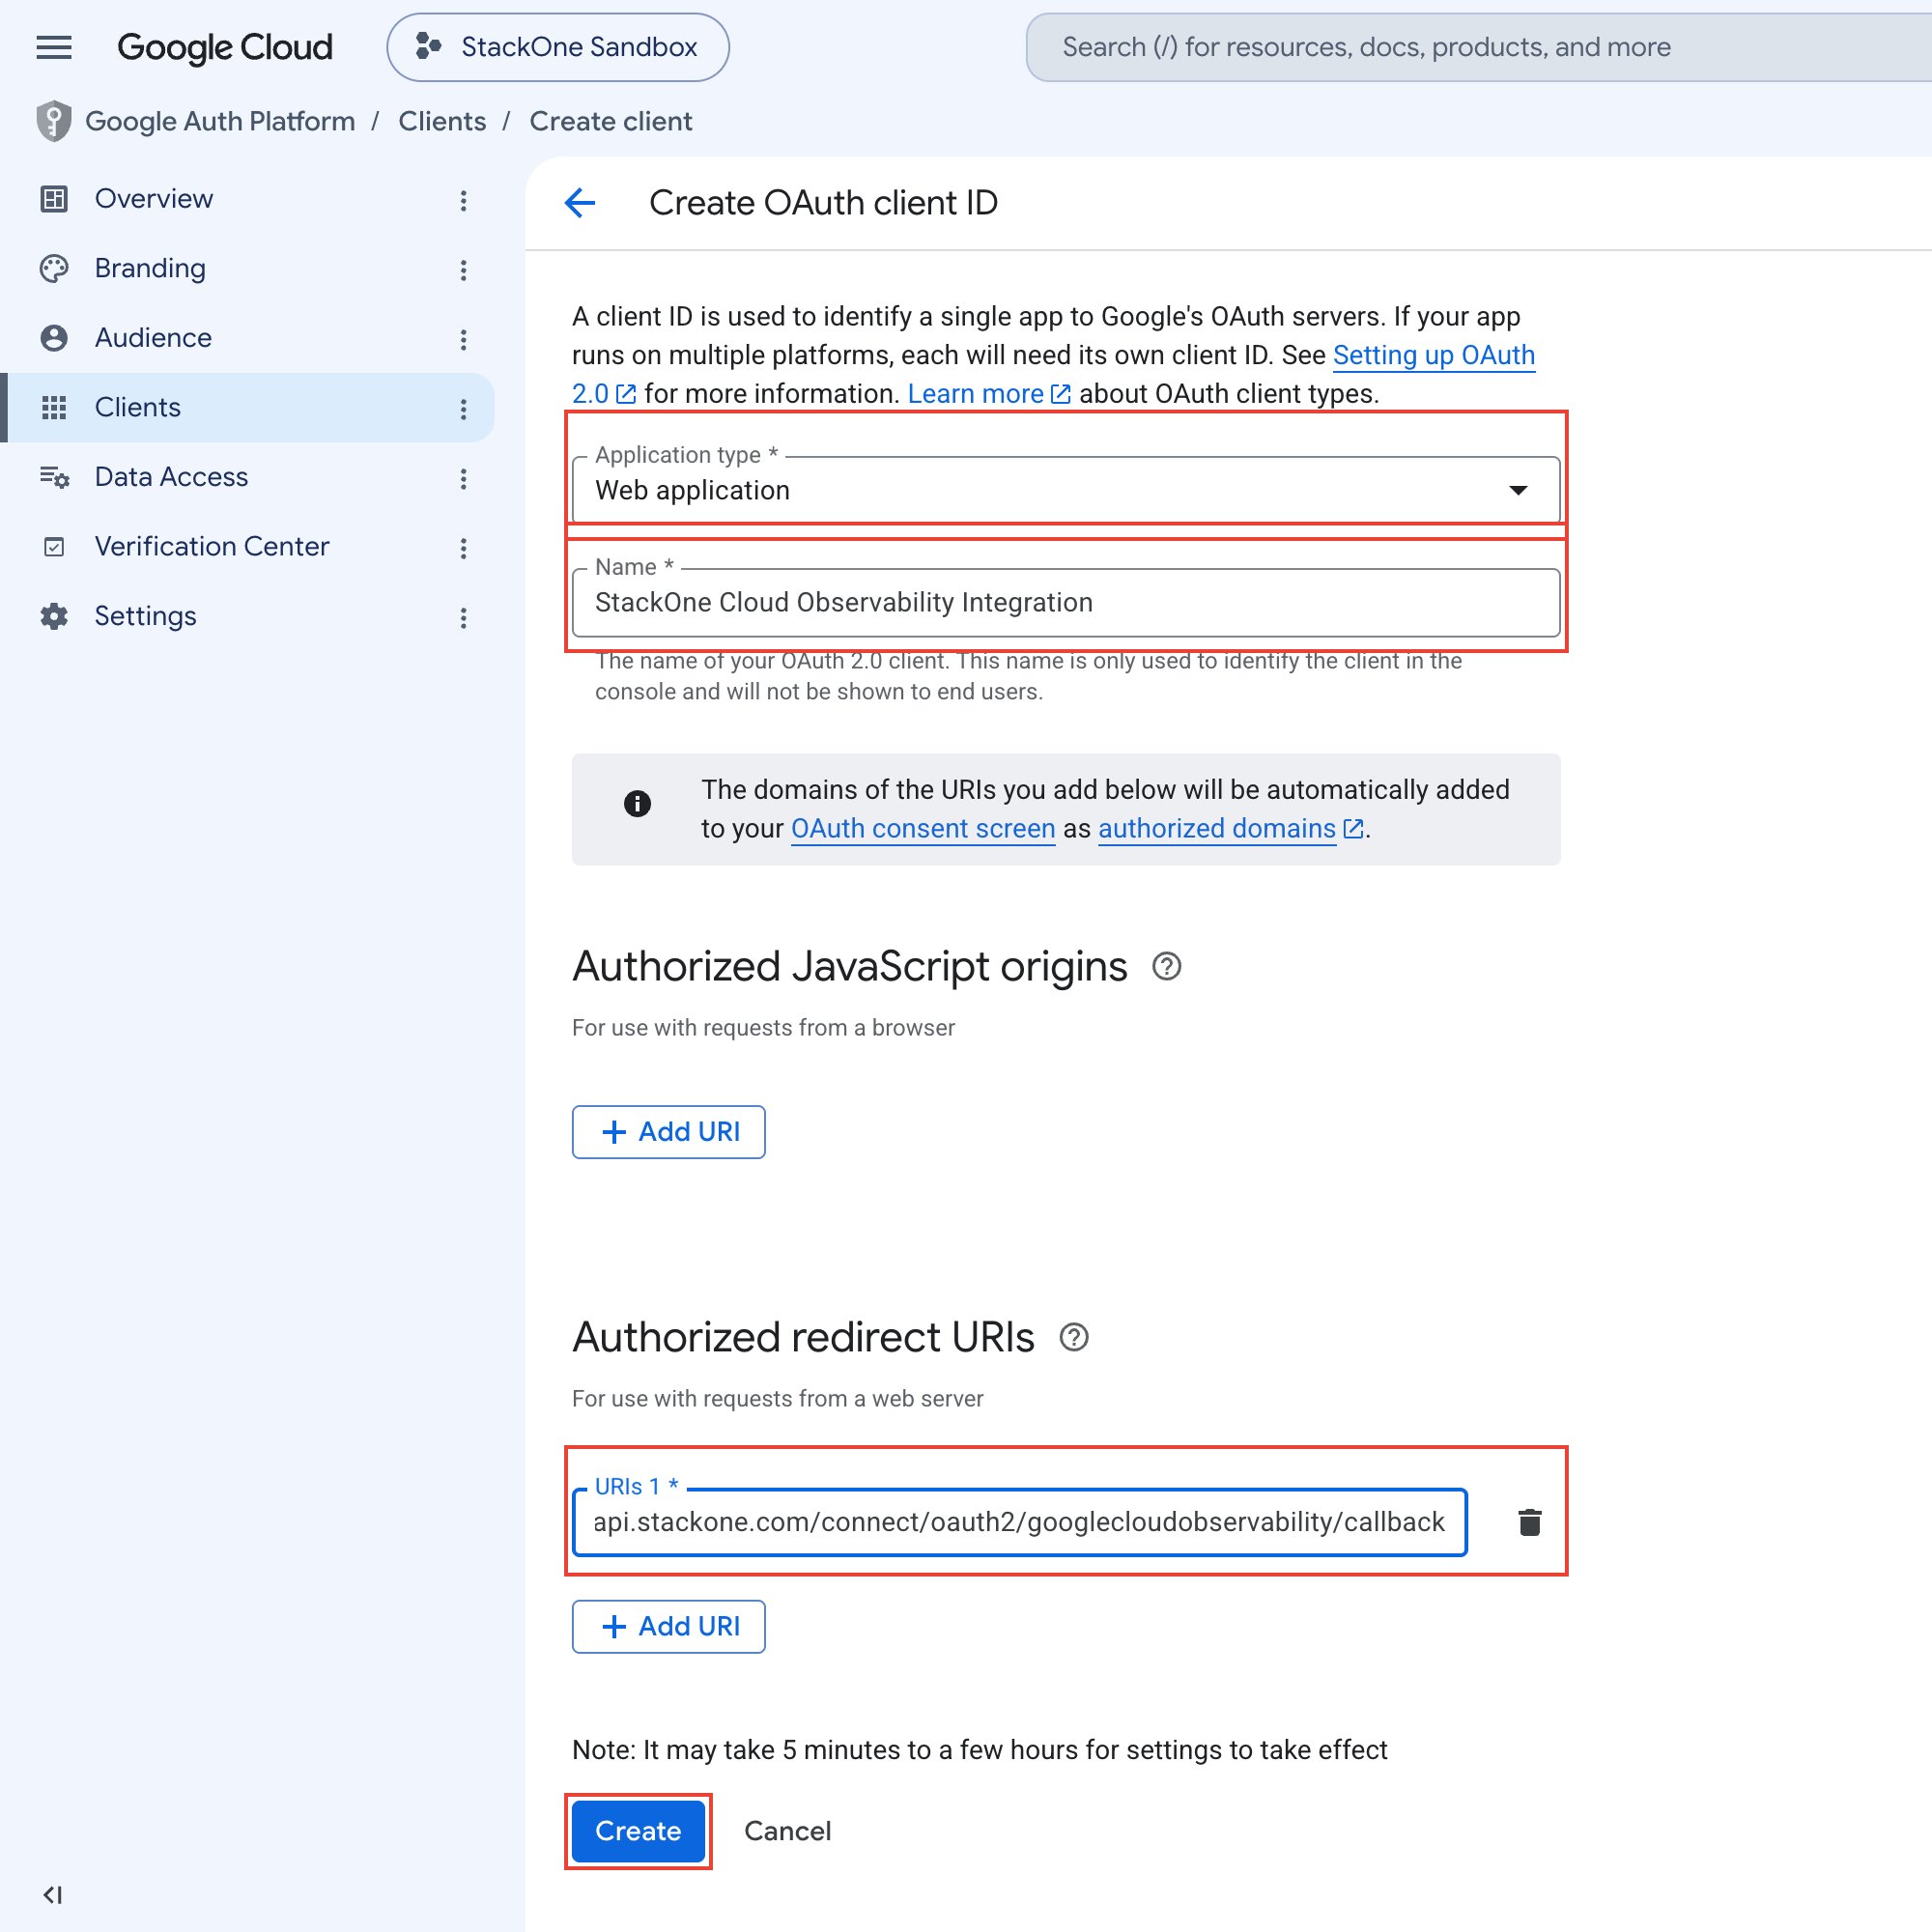
Open APIs & Services > Credentials.
- Click Create credentials.
- Select OAuth client ID.
- Application type: Web application
- Name: A name that identifies this OAuth client
- Under Authorized redirect URIs, click Add URI.
- Enter the Callback URL from your Connector Profile.
- Click Create.
Copy the Client ID and Client Secret
A dialog shows your Client ID and Client Secret.
- Copy the Client ID and Client Secret into your Connector Profile.
Exempt the app from session control
Google Workspace administrators can enforce a Google Cloud session control window of 1 to 24 hours on Google Cloud OAuth scopes, which requires interactive re-authentication.
- Never expires: In the Google Admin console, open Security > Access and data control > Google Cloud session control and select Session never expires.
- Trusted app: In the Google Admin console, add this OAuth app to the trusted (exempted) apps list.
Create the StackOne Connector Profile
Create a Connector Profile
Link an Account