

Create a GoCardless partner app
Register a partner app in the GoCardless dashboard to obtain the OAuth client credentials StackOne needs.
Sign in to GoCardless
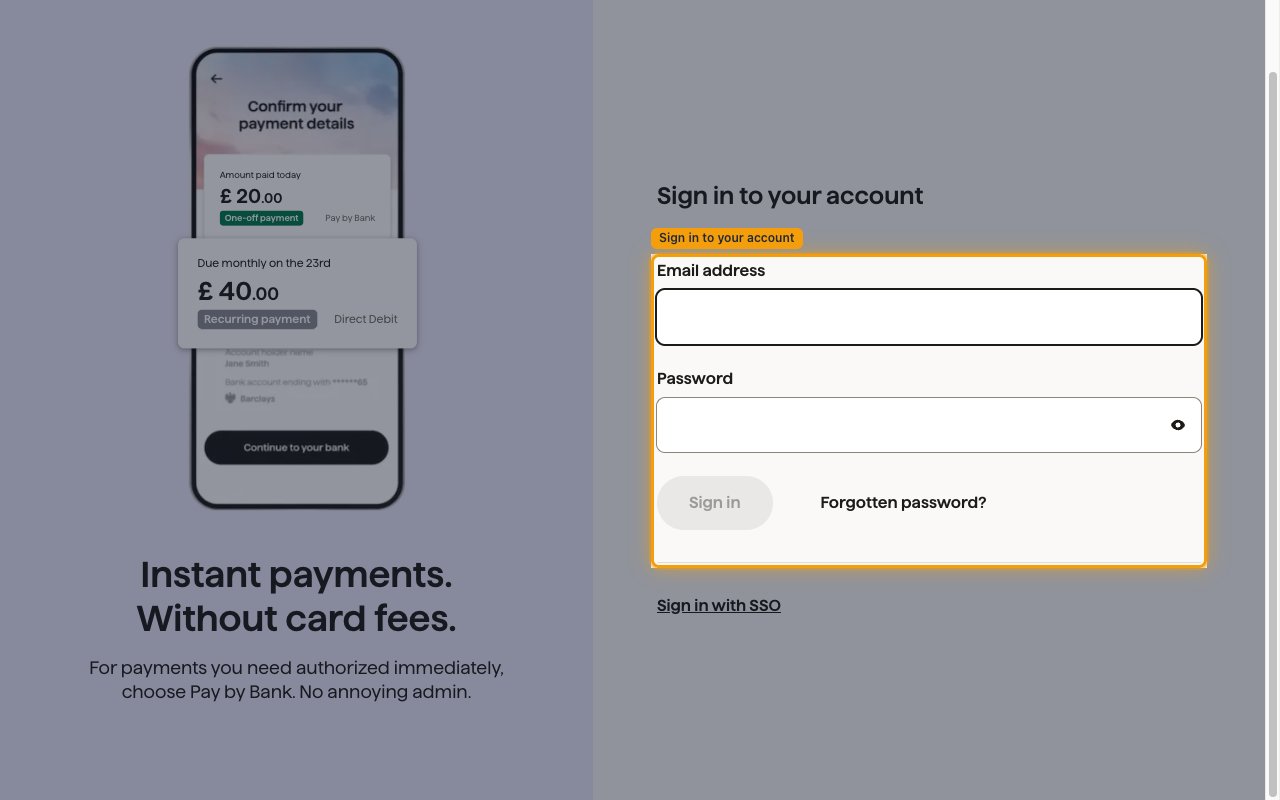
Sign in to the GoCardless dashboard for the environment you are connecting. Enter your Email address and Password, then click Sign in.
- Production — GoCardless dashboard sign-in
- Sandbox — GoCardless sandbox dashboard sign-in
- Create the partner app in the same environment you will select in the StackOne Connector profile — credentials only work in the environment they were created in.
Open Partner apps
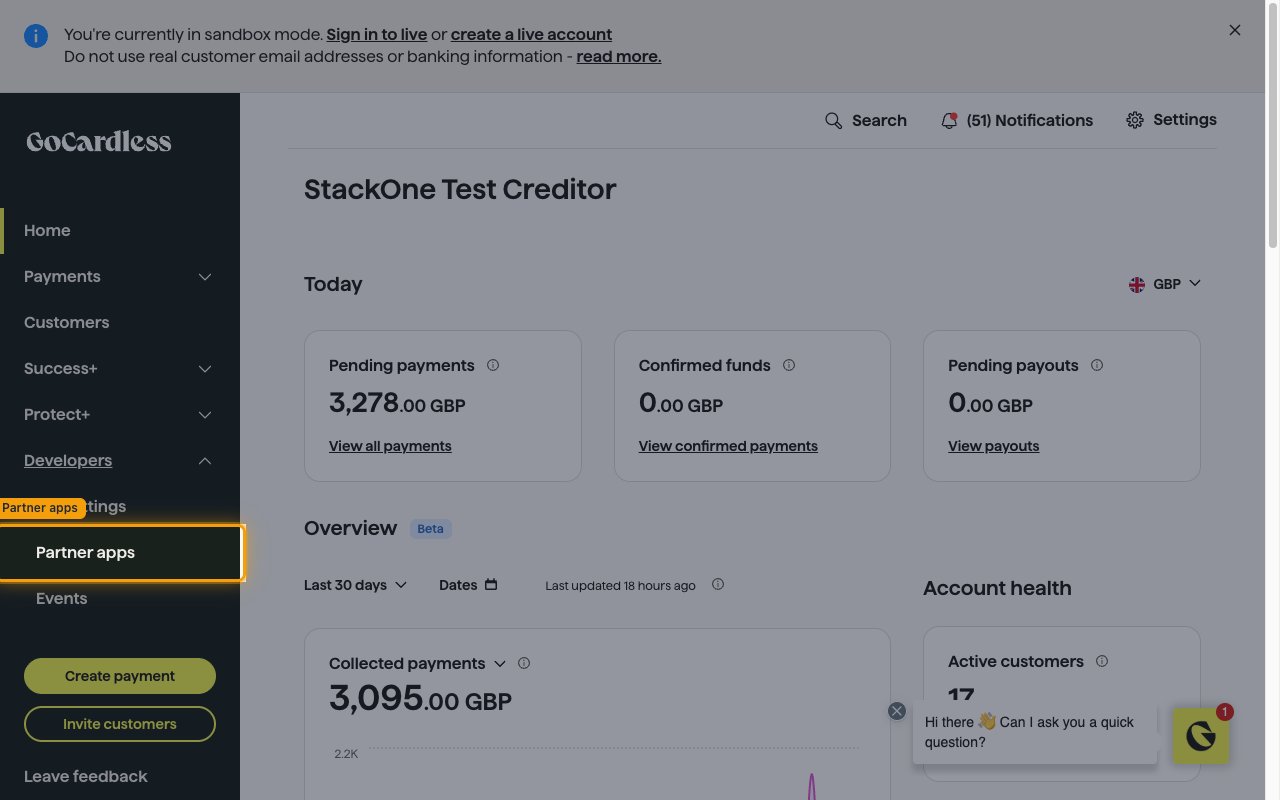
In the left sidebar, click Developers, then select Partner apps from the expanded menu.
Create the partner app
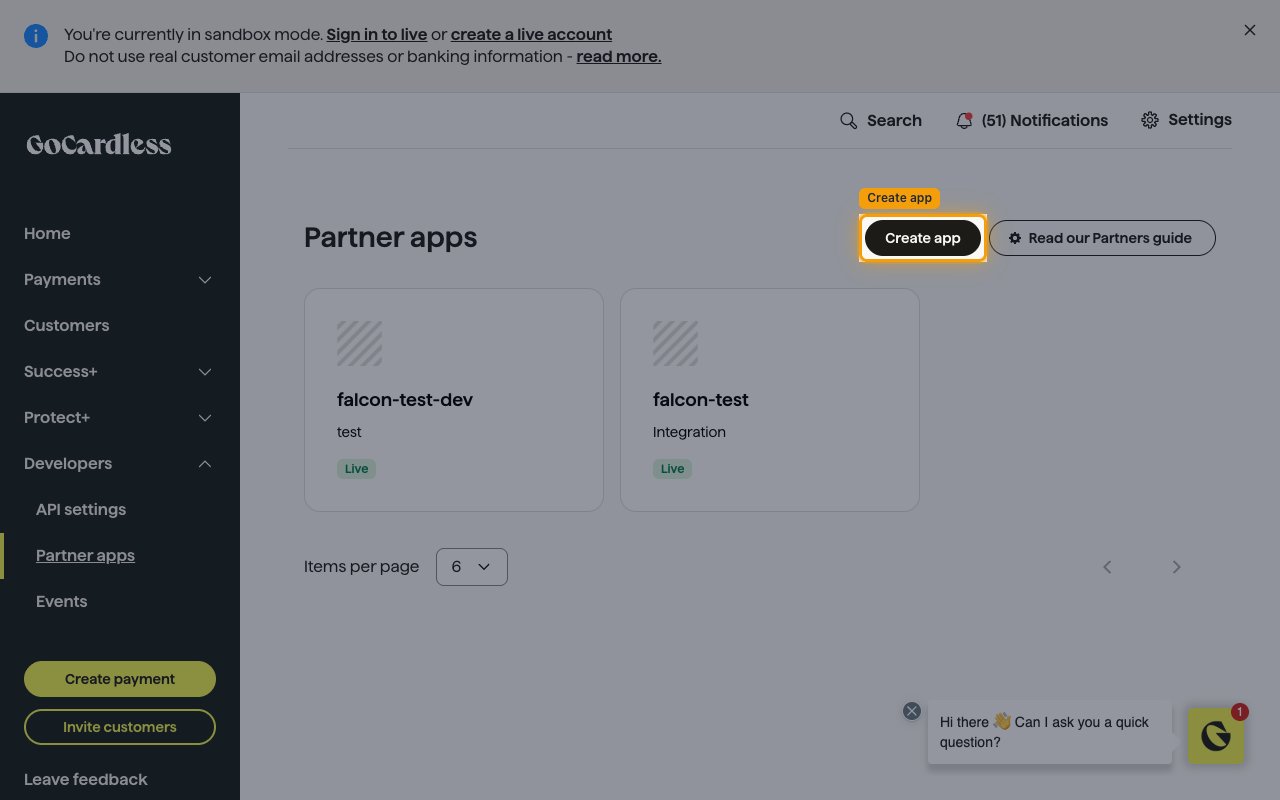
On the Partner apps page, click Create app in the top right corner.
Fill in the Create a partner app form
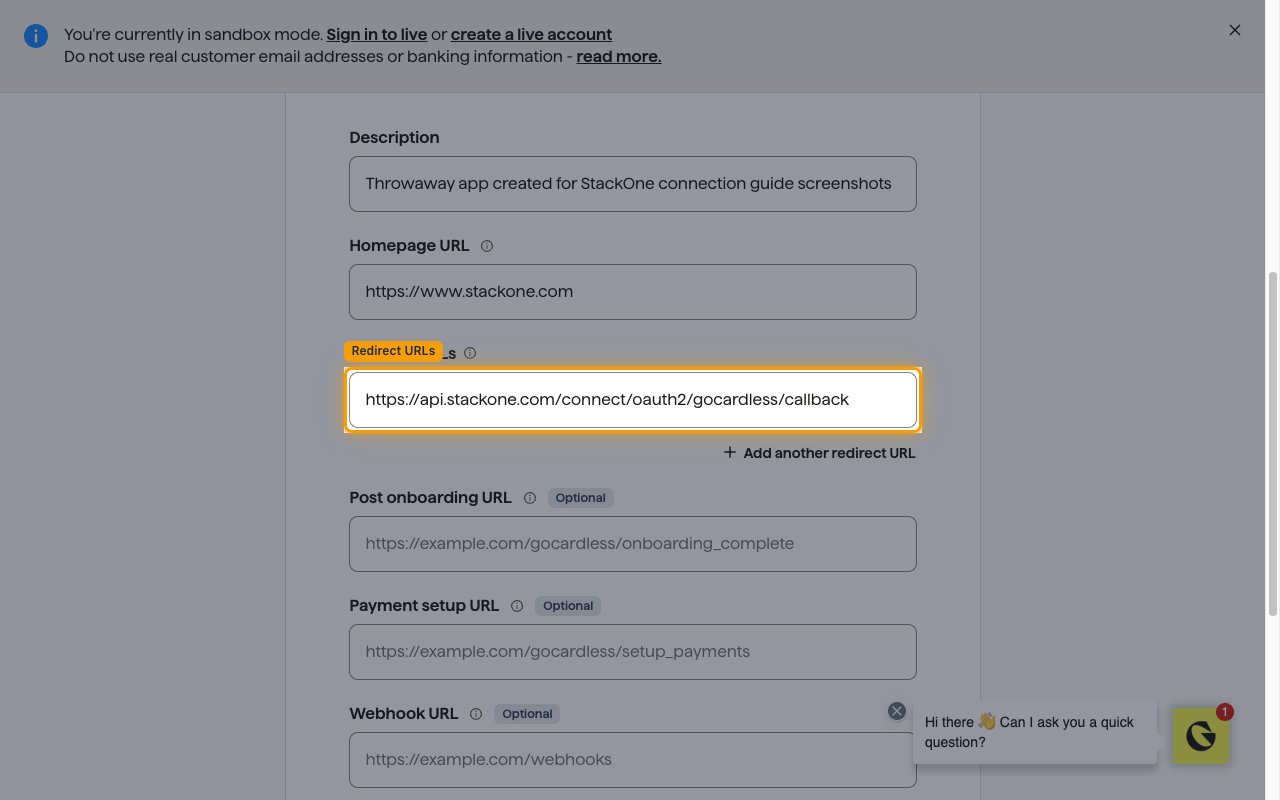
On the Create a partner app page, complete the form:
- App name — enter a name for your app (for example,
StackOne). - Description — enter a short description of your app.
- Homepage URL — enter your company’s website URL.
- Redirect URLs — enter the StackOne callback URL exactly as:
https://api.stackone.com/connect/oauth2/gocardless/callback - App logo, Post onboarding URL, Payment setup URL, and Webhook URL are optional and can be left empty.
- Tick I agree to the terms of the partner agreement, then click Create.
Copy your credentials into StackOne
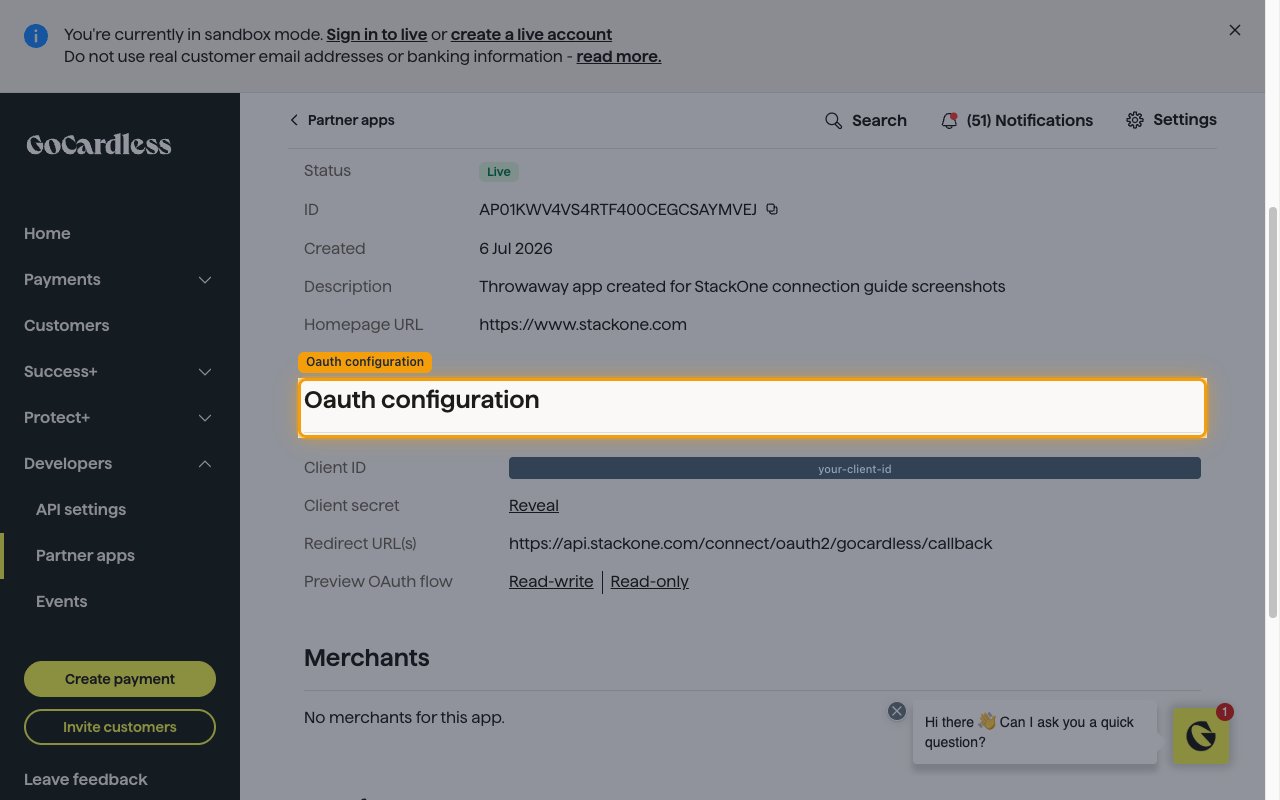
Your new app’s OAuth credentials are shown on its details page.
Copy the Client ID and Client secret
Back on the Partner apps page, click your new app to open its details. Under Oauth configuration, copy the value shown next to Client ID, then click Reveal next to Client secret and copy the revealed value.
- Client ID — the public identifier of your partner app; paste it into the Client ID field in the StackOne Connector profile.
- Client Secret — the private key of your partner app; paste the revealed value into the Client Secret field in the StackOne Connector profile and keep it private.
- You can return to this page at any time to view the credentials again.
Choose your OAuth scope
The optional Scope field in the StackOne Connector profile controls the access level requested during authorization. If left empty it defaults to read_write. Grant the level the connector’s actions need:
read_write— full access; required for actions that create, update, or cancel payments, mandates, subscriptions, and customers.read_only— read-only access to all resources; sufficient if you only use list and get actions.- The app details page also lets you test both access levels via Preview OAuth flow (Read-write / Read-only).
Creating the StackOne Connector Profile
To create the Connector Profile in StackOne for GoCardless:Open the connector
Choose actions and events
- Click Add Profile.
- If the connector offers more than one authentication method, set the Auth Method filter to OAuth 2.0.
- Select the actions, and any events, to enable for this Connector Profile.
- Click Continue.
Set up authentication
- Select Authentication Type as OAuth 2.0.
- Fill out the fields using details retrieved from your provider:
- Client ID
- Client Secret
- Scope (Optional)
- Click Create Profile.