

Register a new App on the Egnyte Developer Portal
To connect Egnyte with StackOne you need to create an App with OAuth 2.0 authentication in the Egnyte Developer Portal. This will generate the API Key and API Secret required for integration, which map to client_id and client_secret in OAuth requests.
Sign in to the Egnyte Developer Portal
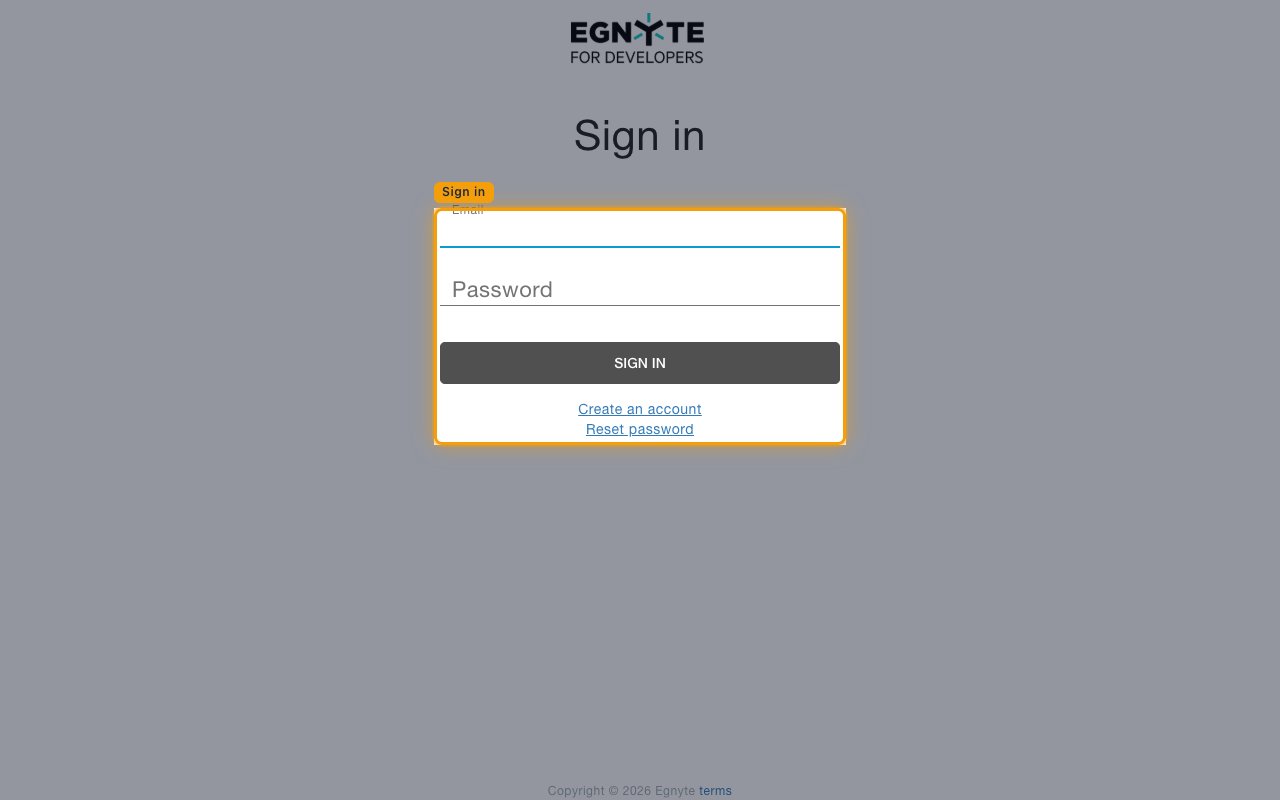
Open your browser and navigate to the Egnyte Developer Portal. Click Sign In in the top-right corner, then enter your Email and Password and click SIGN IN. Use an account tied to an active Egnyte Domain Admin.
Open the Apps page
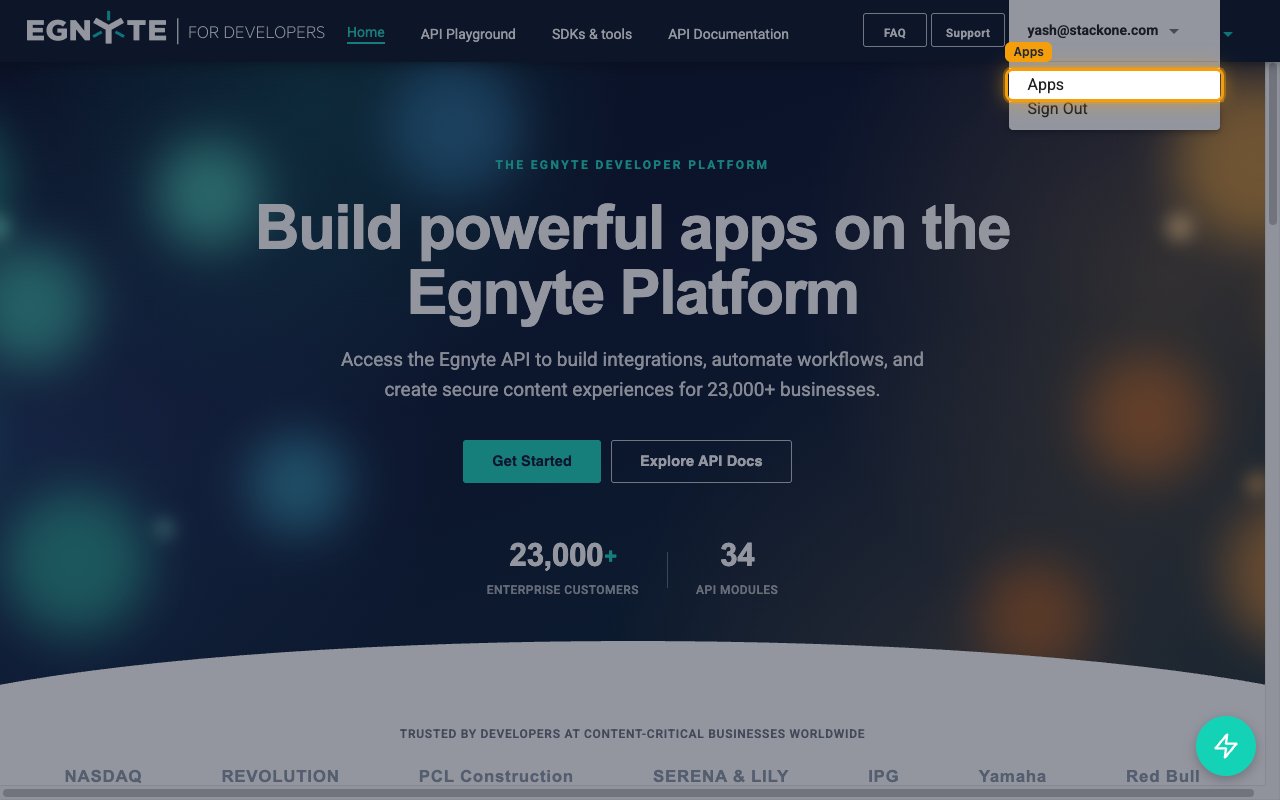
Click your account email in the top-right corner to open the account dropdown, then click Apps. You land on the My Apps page.
Create a new App
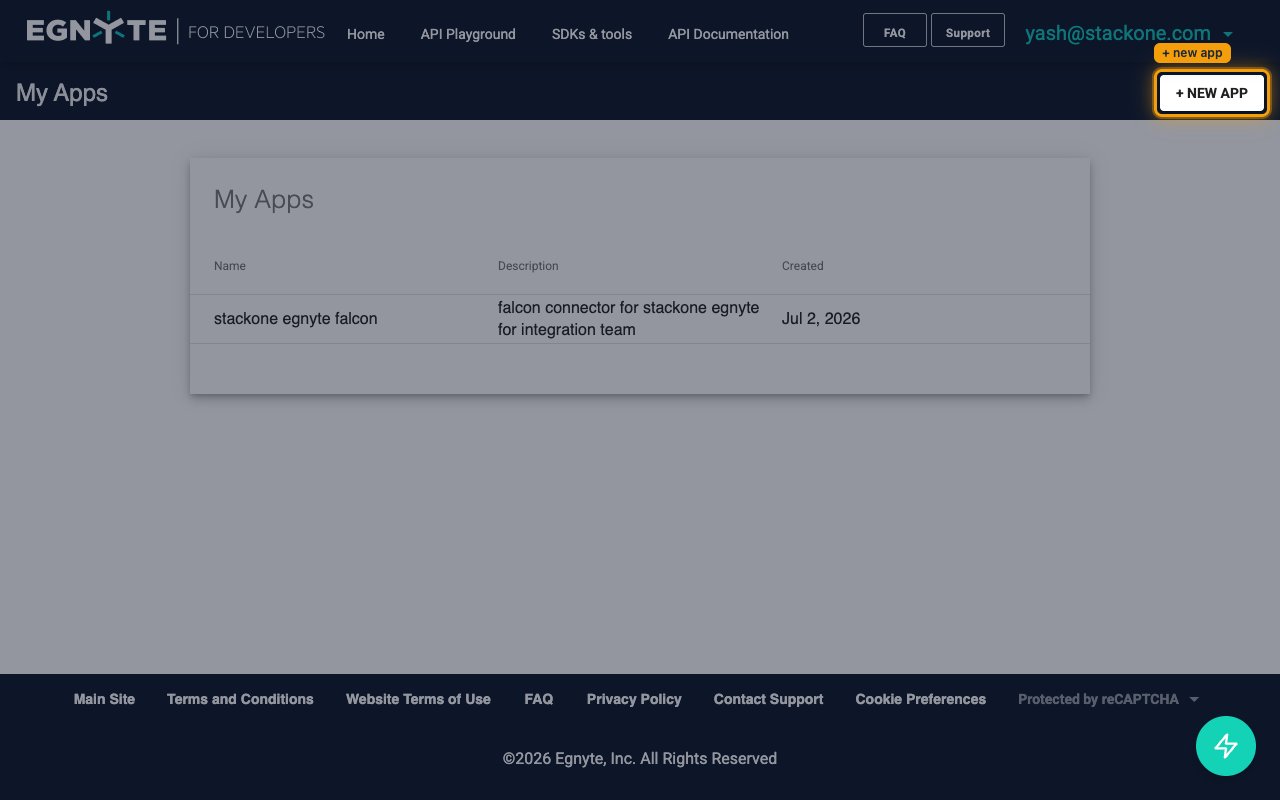
On the My Apps page, click + NEW APP in the top-right corner to open the New App form.
Fill in the app details
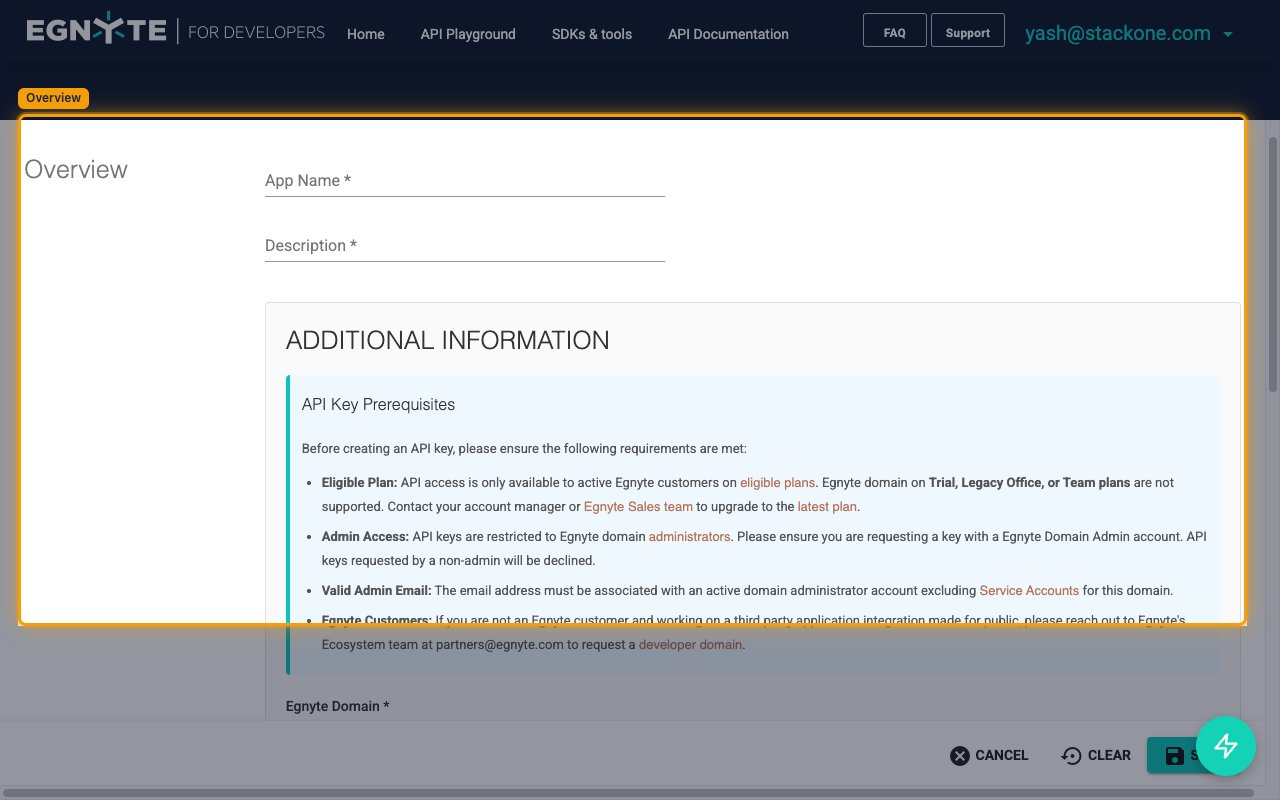
Complete the Overview section of the New App form.
- App Name — a display name for the app (for example,
StackOne Integration). - Description — a short description of the integration.
- Egnyte Domain — the customer’s Egnyte subdomain, without the
.egnyte.comsuffix. For example, fromhttps://acme.egnyte.comenteracme. Trial domains are not eligible for API keys. - App Icon URL (optional) — URL to an image file (PNG, max 100px by 100px).
- Type — choose Publicly Available Application.
- Leave Current User Base and Platform at their defaults, or set them to values that match your integration.
Set the OAuth Redirect URI
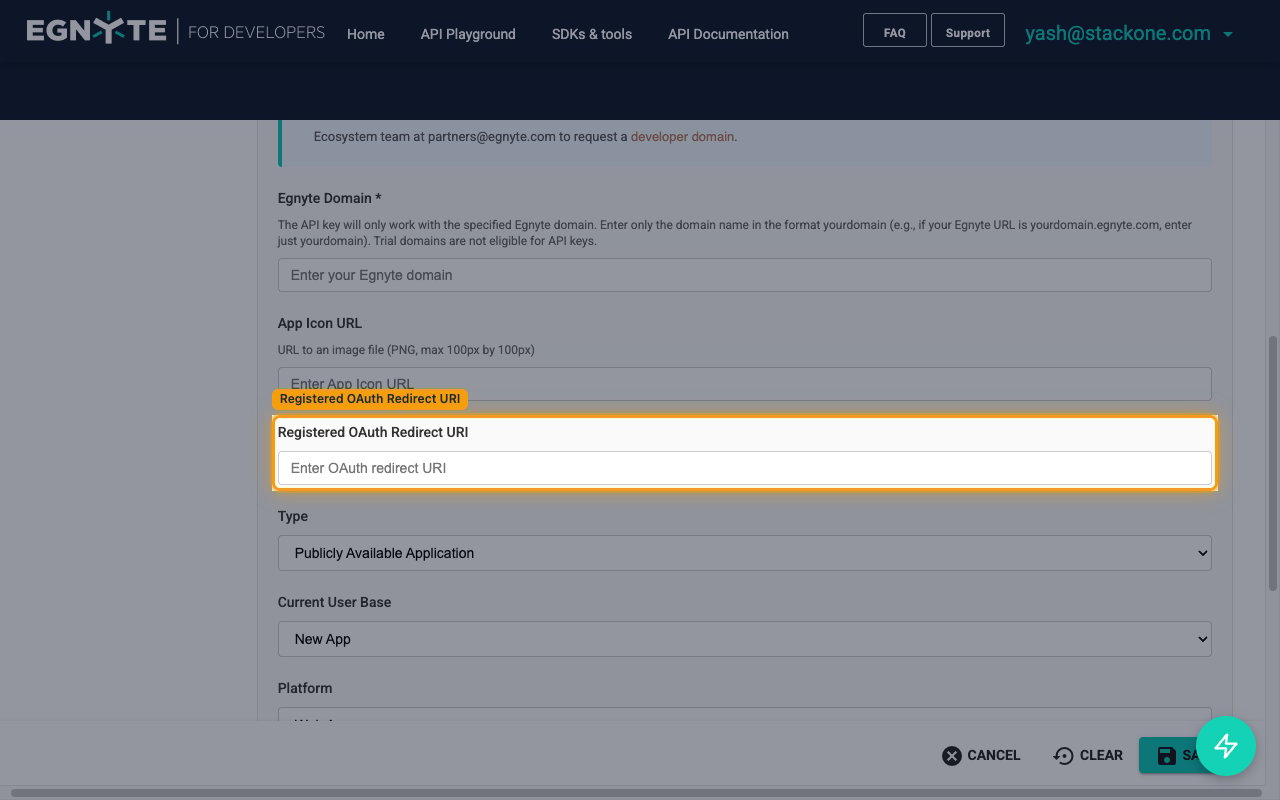
In the Registered OAuth Redirect URI field, enter the StackOne callback so Egnyte can redirect users back to StackOne after authentication.
- Paste
https://api.stackone.com/connect/oauth2/egnyte/callbackinto Registered OAuth Redirect URI.
Request access to the APIs
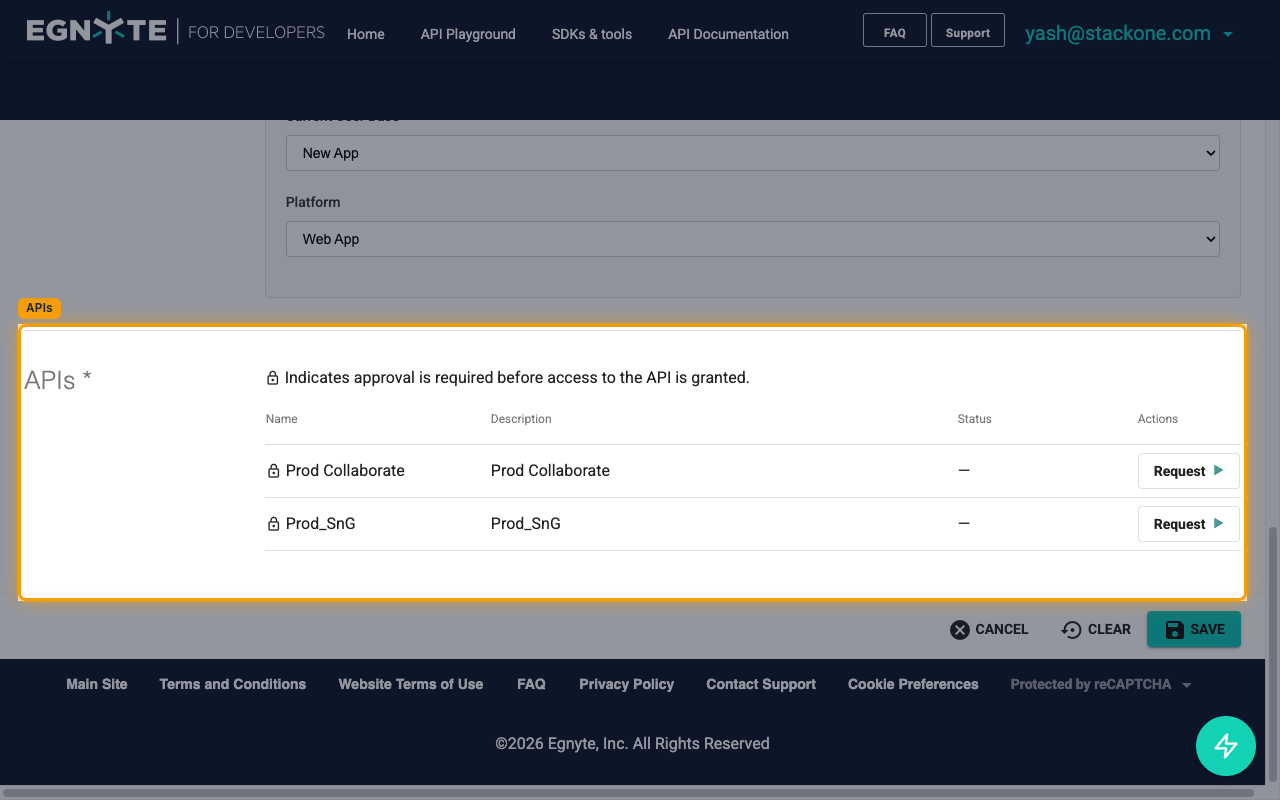
Scroll to the APIs section (a locked padlock means approval is required) and click Request on the Prod Collaborate row — it covers filesystem, comments, links, permissions, users, groups, search, trash, and events. Enable all the scopes below for full StackOne coverage, or select a subset if you want to restrict access — the descriptions on each scope explain what it covers.
Save the app
Click SAVE at the bottom-right of the form. The key is created with status Pending Approval and is not usable yet. To get it approved: demo the app to Egnyte (or grant them access to a demo account), share your test window and Egnyte domain, then wait for their approval email — per Egnyte’s FAQ the key is usable within about 20 minutes after that email. Do not continue until the status flips to Active.
Copy the API Key and API Secret from Egnyte
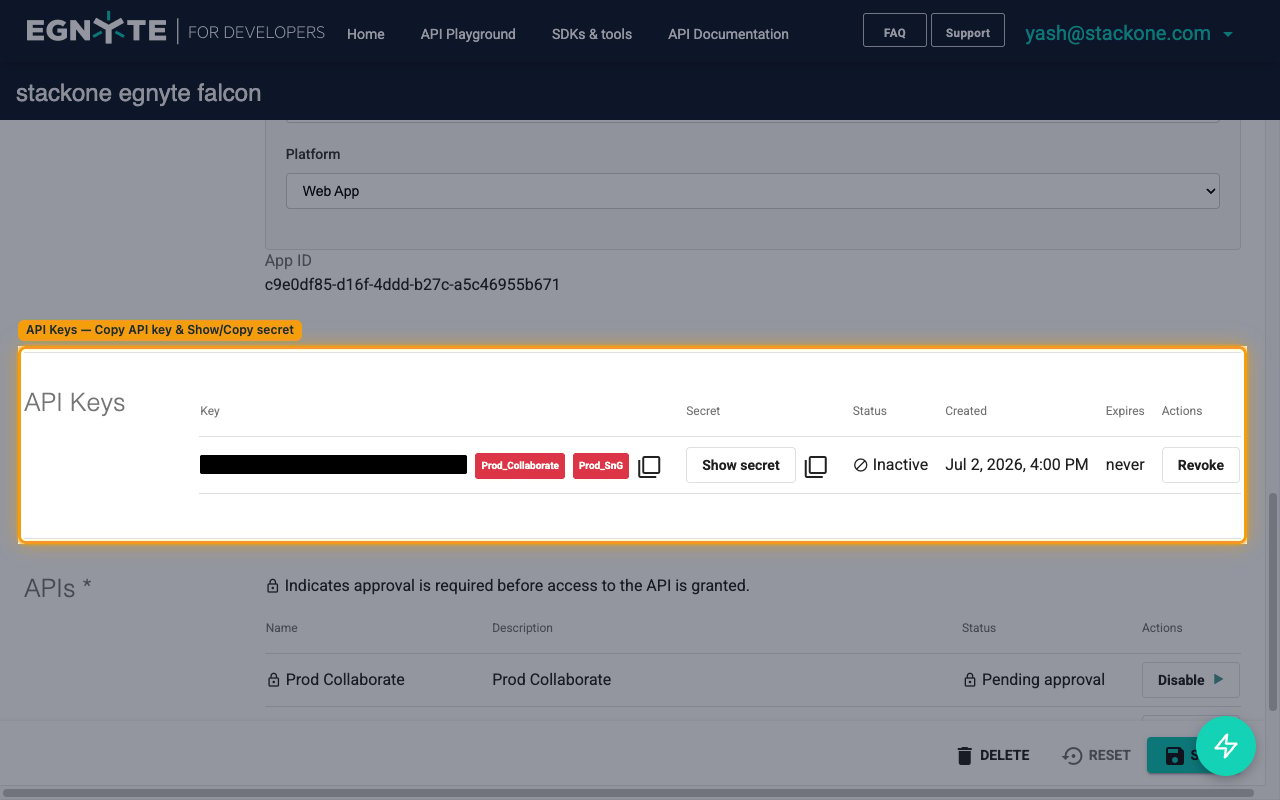
Once the app is Active, open it from My Apps and scroll to the API Keys section.
- In the Key column, click Copy API key — this is sent as
client_idin OAuth requests. - In the Secret column, click Show secret, then click the copy icon — this is sent as
client_secret. Treat it like a password.
Paste the credentials into the StackOne Connector profile
Enter the values copied from Egnyte.
- Egnyte API Key → StackOne Client ID.
- Egnyte API Secret → StackOne Client Secret.
- Leave OAuth Scopes blank for the defaults, or enter a subset to restrict access.
Creating the StackOne Connector Profile
To create the Connector Profile in StackOne for Egnyte:Open the connector
Choose actions and events
- Click Add Profile.
- If the connector offers more than one authentication method, set the Auth Method filter to OAuth 2.0 (Public Application).
- Select the actions, and any events, to enable for this Connector Profile.
- Click Continue.
Set up authentication
- Select Authentication Type as OAuth 2.0 (Public Application).
- Fill out the fields using details retrieved from your provider:
- Client ID
- Client Secret
- OAuth Scopes (Optional)
- Click Create Profile.