

Create a Discord application
StackOne connects to Discord through an application you register in the Discord Developer Portal.
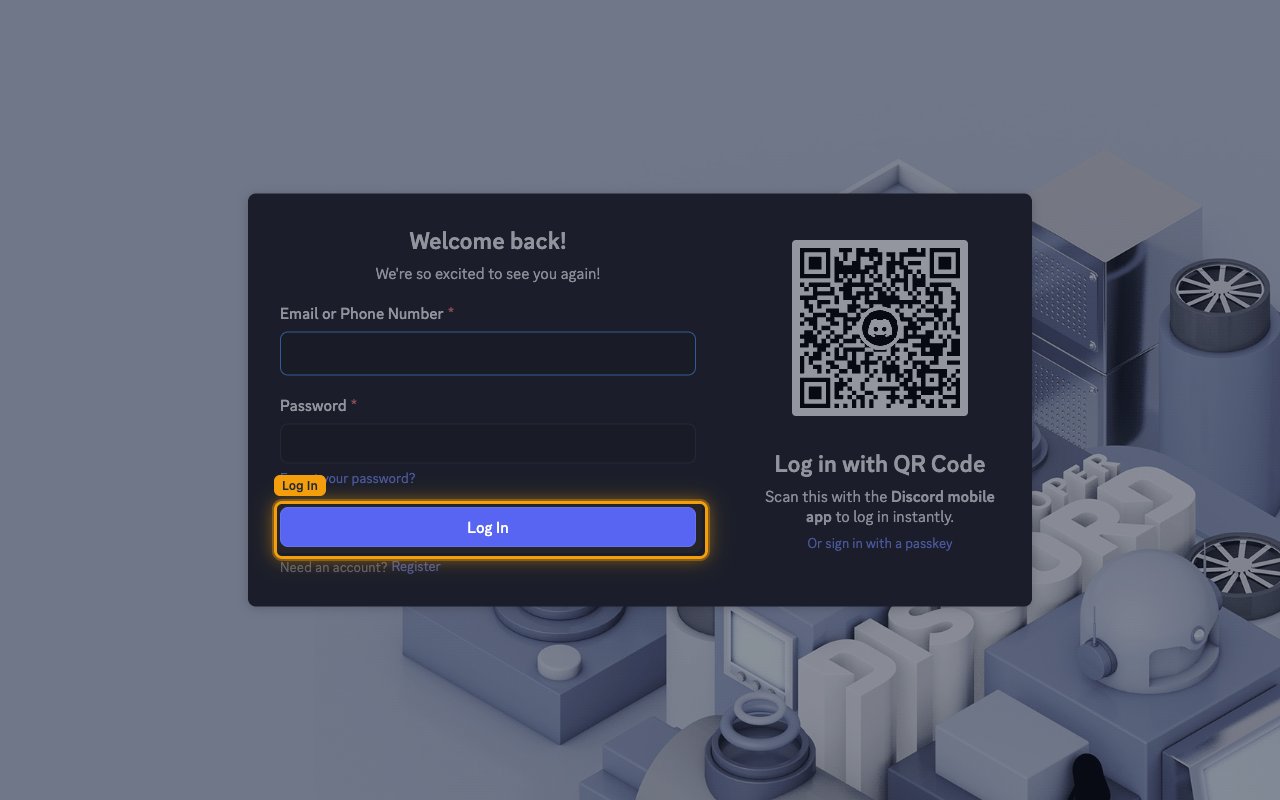
Sign in to Discord
Sign in to your Discord Developer Portal account.
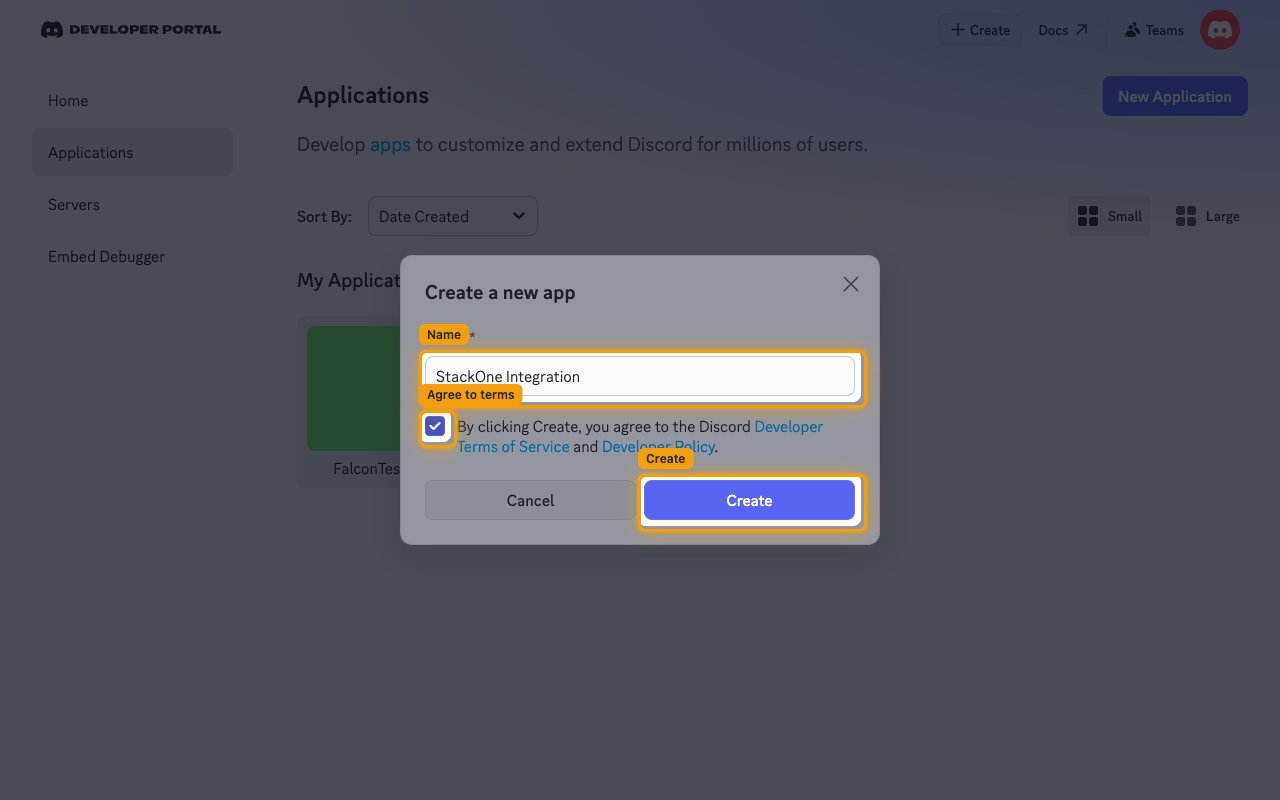
Create a new app
On the Applications page, click New Application.
- Name: e.g.
StackOne Integration- any name works, it is only a label for your app - Select the checkbox agreeing to the Discord Developer Terms of Service and Developer Policy.
- Click Create.
Register the StackOne redirect URI
Discord only completes an authorization when the redirect URI in the request exactly matches one registered on the app.
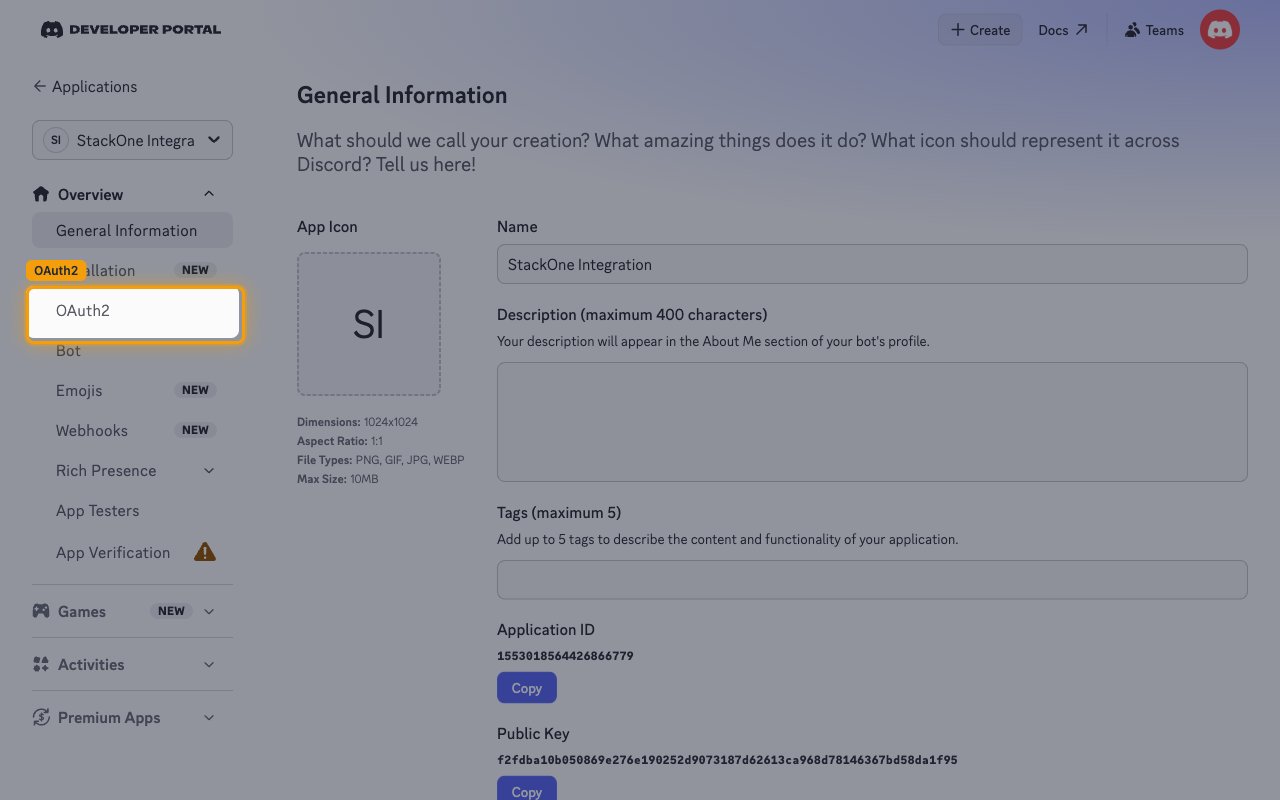
Open the OAuth2 page
In the sidebar, under Overview, click OAuth2.
Add the redirect URI
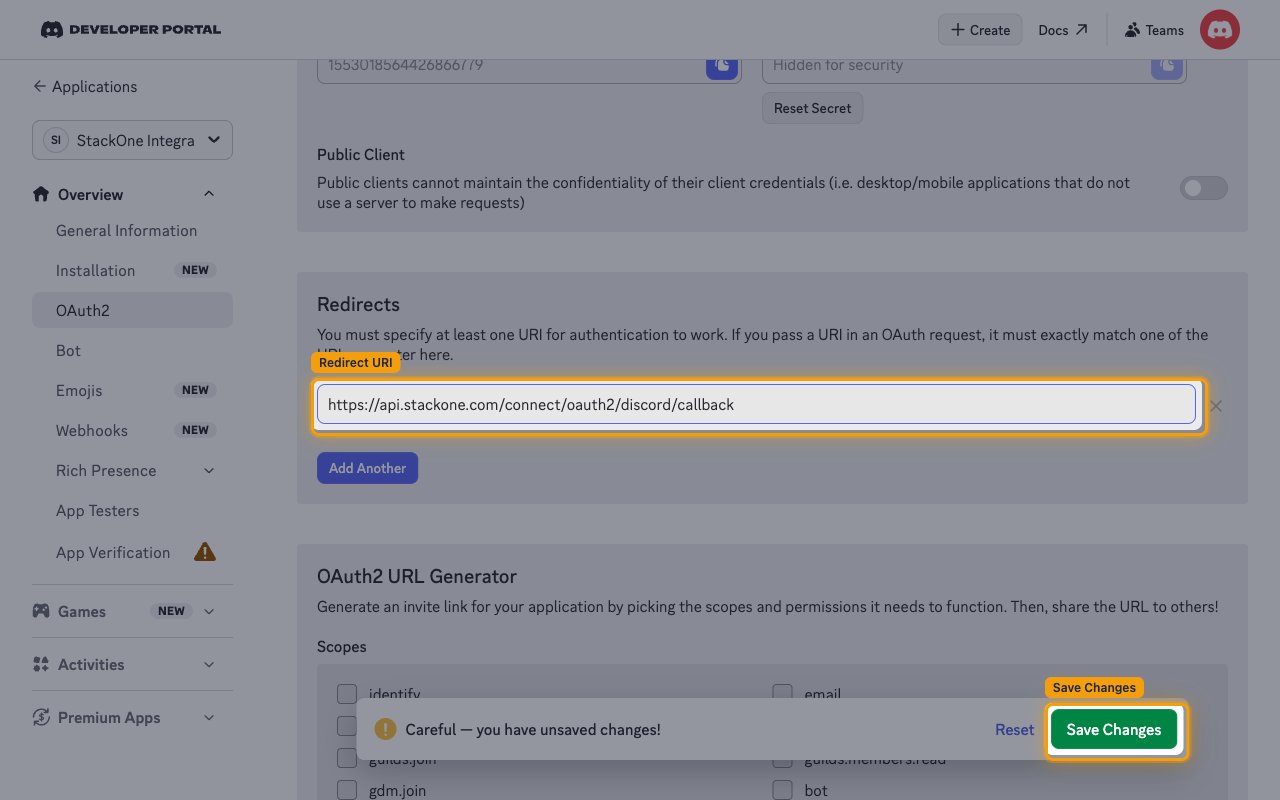
In the Redirects section, click Add Redirect and enter the StackOne callback URL.
- Redirect URI:
https://api.stackone.com/connect/oauth2/discord/callback - Click Save Changes.
Choose the scopes to request
The Scopes field in the StackOne Connector profile holds the OAuth scopes Discord asks each user to approve during the authorization flow. Scopes are not configured on the app itself.
Select the scopes this integration needs
Enter the scopes below as a space-separated list in the Scopes field in the StackOne Connector profile. Leave the field empty to request the connector’s default set.
Copy the client credentials
The Client ID and Client Secret on the app’s OAuth2 page are the values StackOne uses to run the authorization flow.
Copy the Client ID
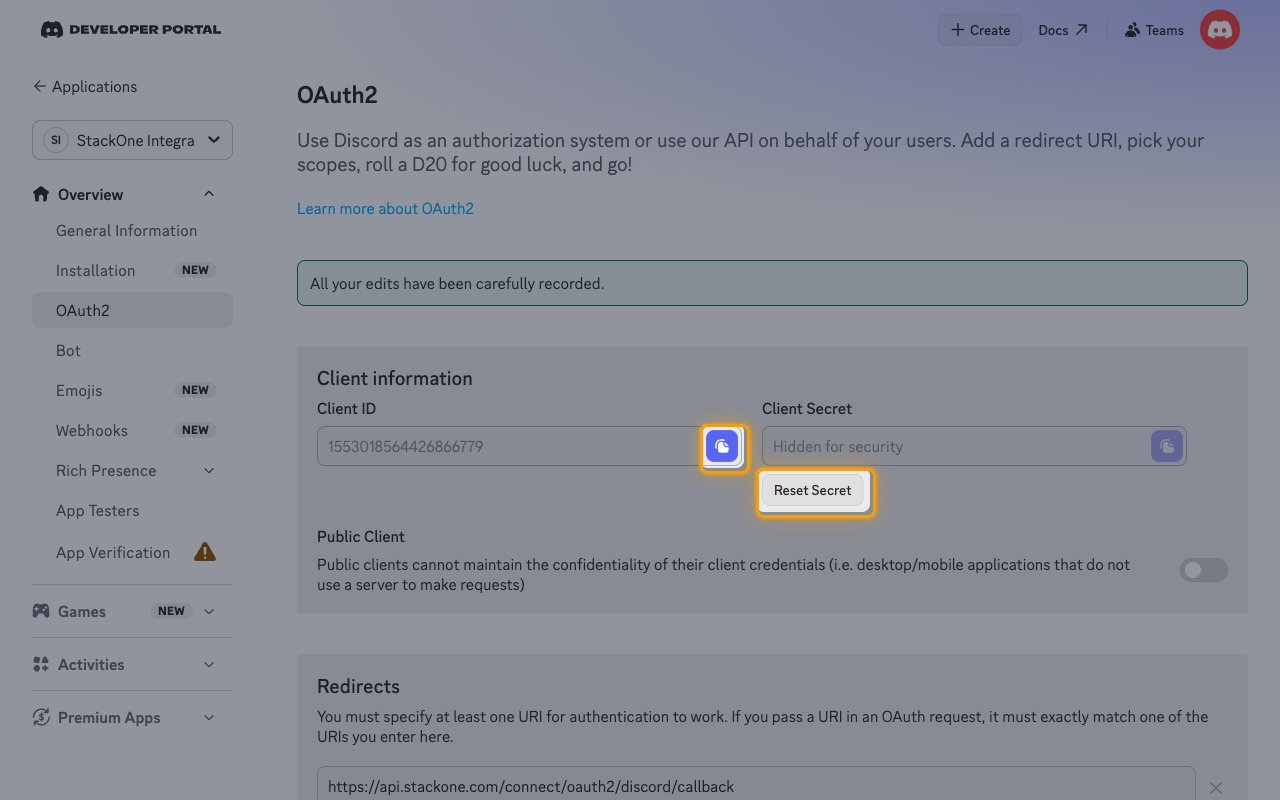
In the Client information section, click the copy icon next to Client ID, then paste the value into the Client ID field in the StackOne Connector profile.
- This is the same value shown as Application ID on the General Information page.
Generate and copy the Client Secret
Discord keeps the secret of a new app hidden, so click Reset Secret to generate one.
- Confirm with Yes, do it! in the Regenerate Secret Key? dialog.
- Enter your Discord password when the Multi-Factor Authentication dialog appears.
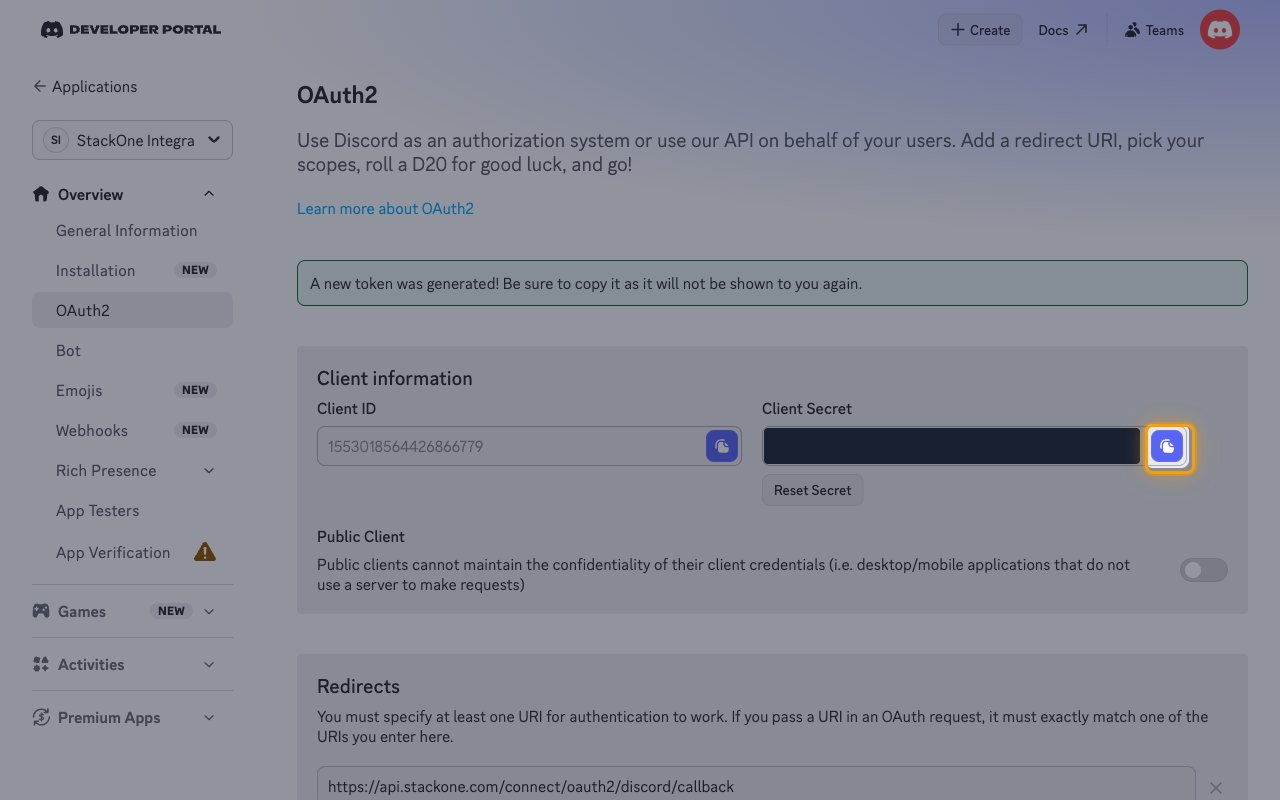
- Click the copy icon next to Client Secret, then paste the value into the Client Secret field in the StackOne Connector profile.
- The Client Secret is only displayed once and cannot be retrieved later, so store it securely for use later.
Creating the StackOne Connector Profile
To create the Connector Profile in StackOne for Discord:Open the connector
Choose actions and events
- Click Add Profile.
- If the connector offers more than one authentication method, set the Auth Method filter to OAuth 2.0.
- Select the actions, and any events, to enable for this Connector Profile.
- Click Continue.
Set up authentication
- Select Authentication Type as OAuth 2.0.
- Fill out the fields using details retrieved from your provider:
- Client ID
- Client Secret
- Scopes (Optional)
- Click Create Profile.