

Create an OAuth application
Register an application in the Constant Contact developer portal to obtain the two credentials StackOne needs. Constant Contact calls the OAuth 2.0 client ID an API Key — the portal labels it API Key (Client Id), and StackOne stores it in the field labeled API Key (Client ID) in the Connector profile. The Client Secret is generated separately, on the same page.
Sign in to Constant Contact
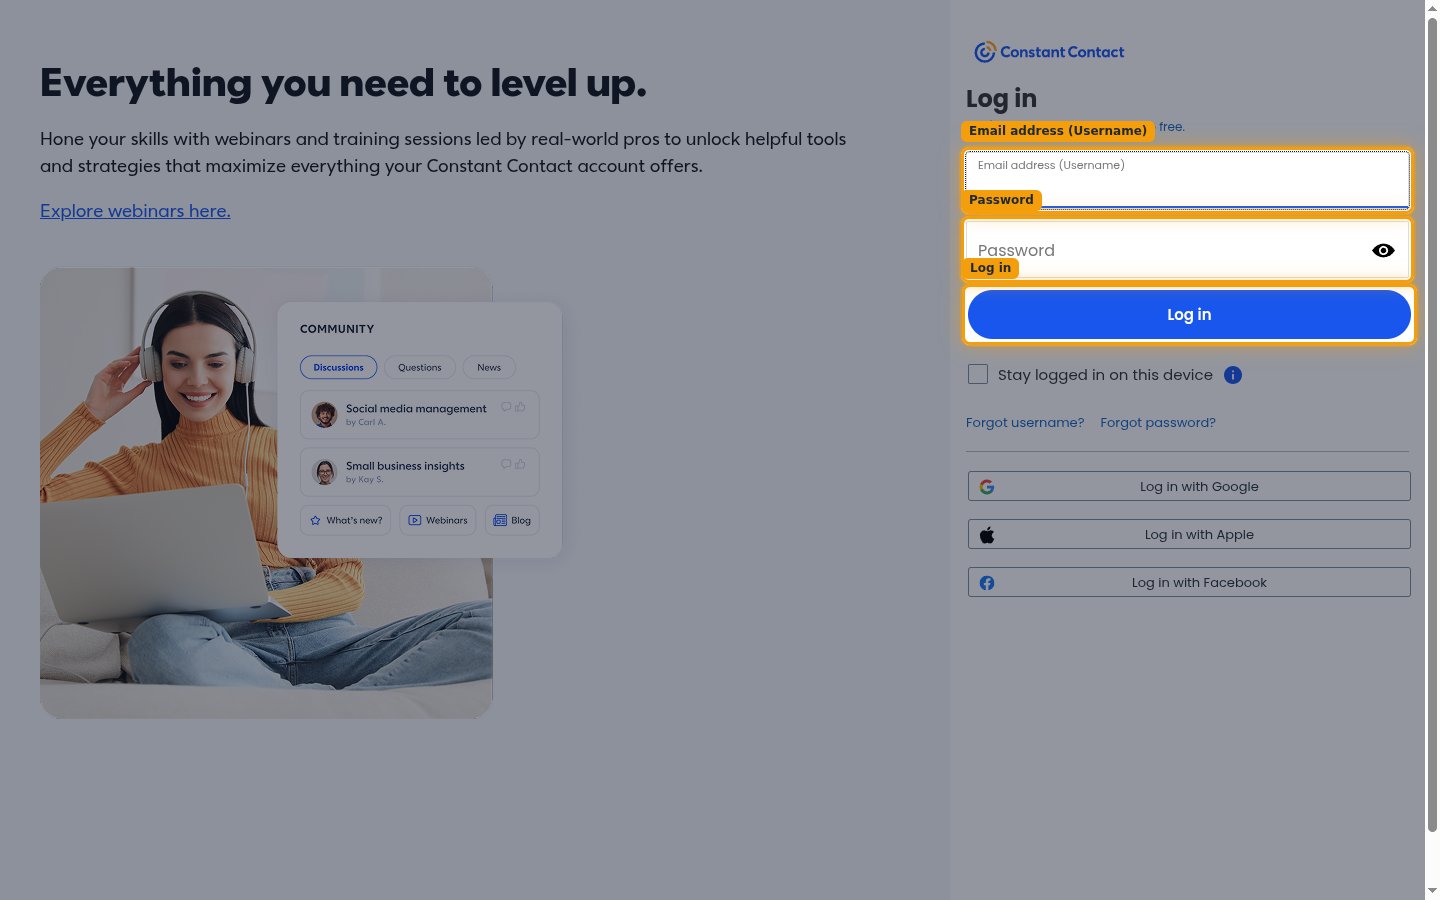
Sign in to your Constant Contact account.
- Enter your Email address (Username) and Password, then click Log in.
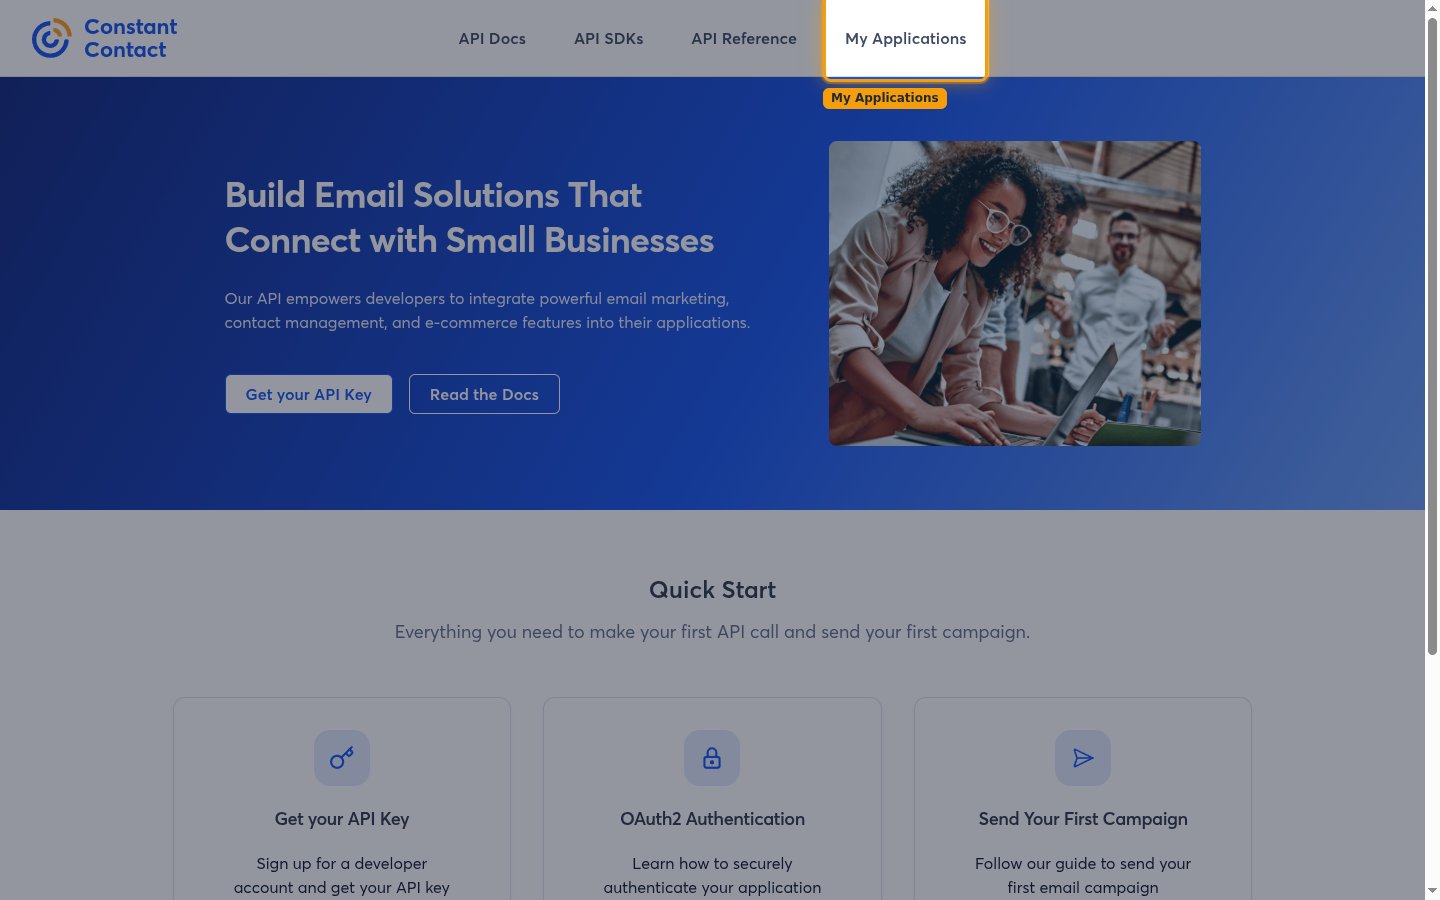
Open My Applications
Go to the Constant Contact developer portal and click My Applications in the top navigation bar, next to API Docs, API SDKs, and API Reference.
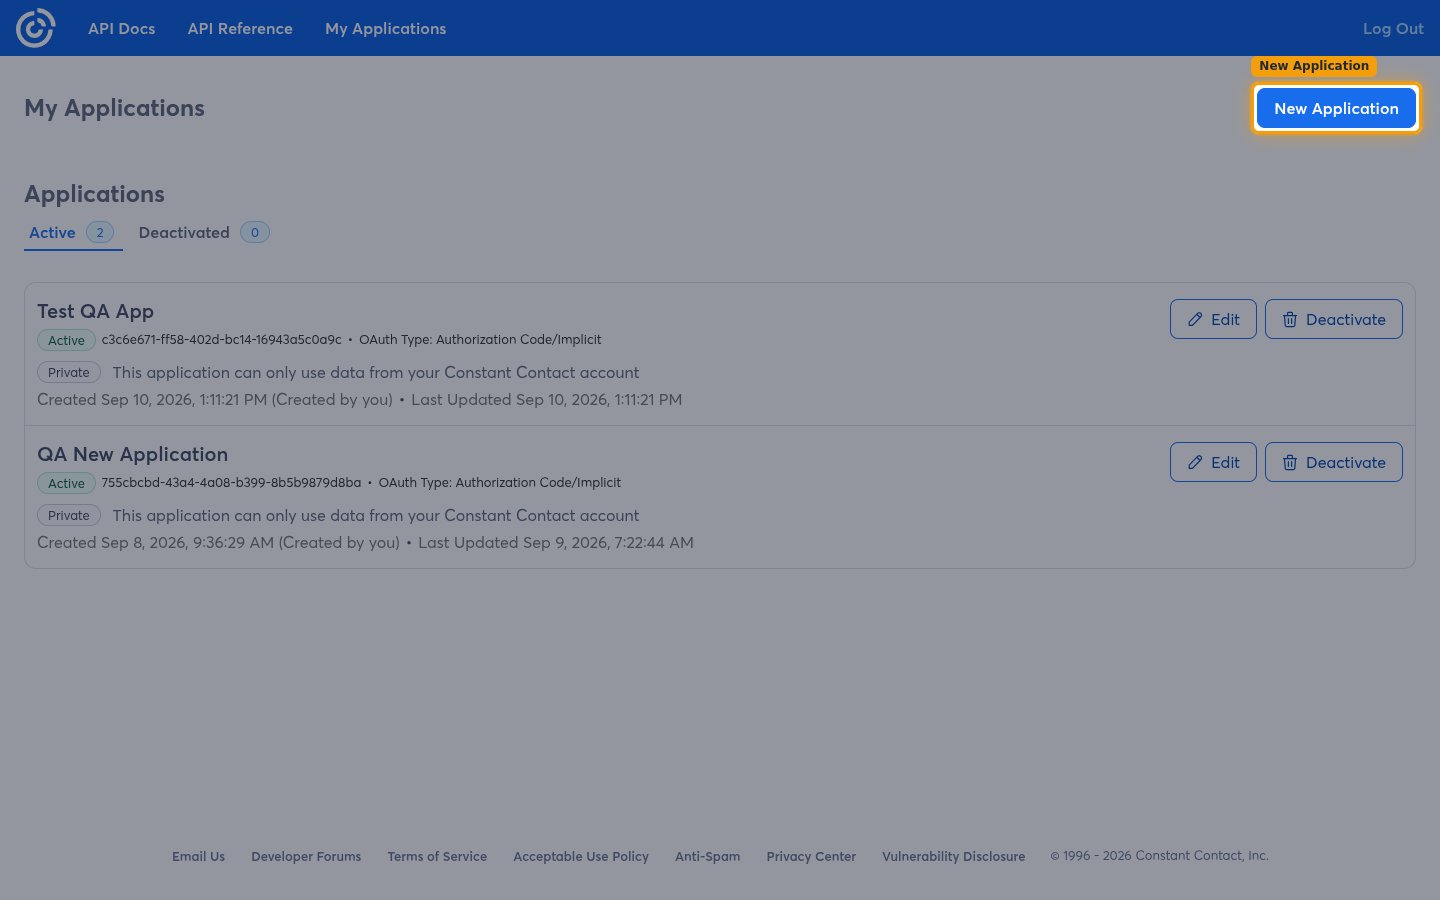
Create a new application
On the My Applications page, click New Application.
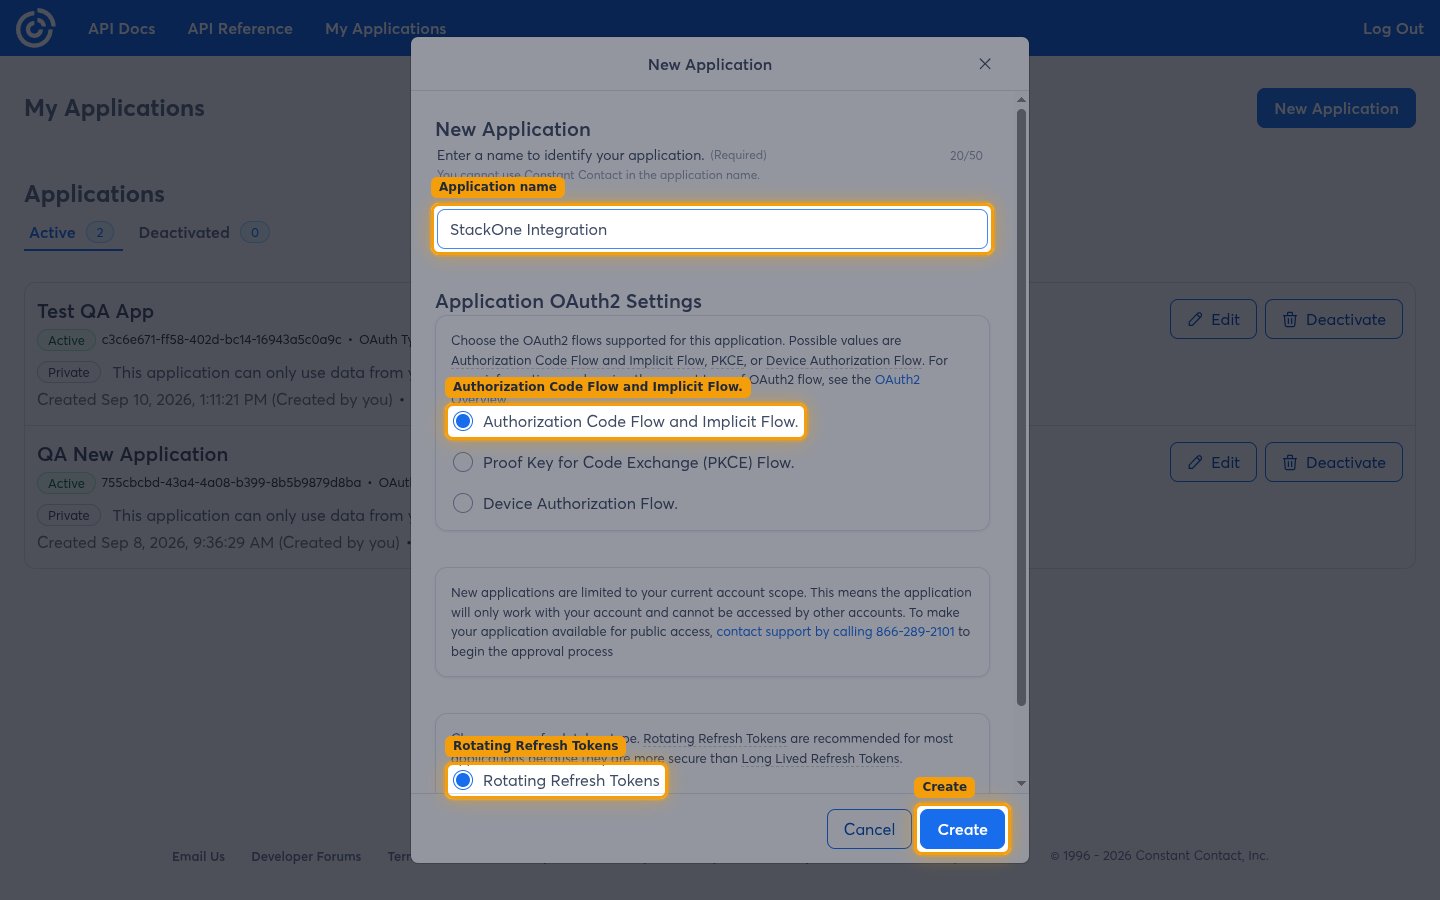
Complete the application details
The New Application dialog collects the application name and its OAuth2 settings.
- Enter a name to identify your application:
StackOne Integration - You cannot use Constant Contact in the application name.
- Under Application OAuth2 Settings, select Authorization Code Flow and Implicit Flow.
- Select Rotating Refresh Tokens as the refresh token type.
- New applications are limited to your current account scope. This means the application will only work with your account and cannot be accessed by other accounts.
- Click Create.
Open your application
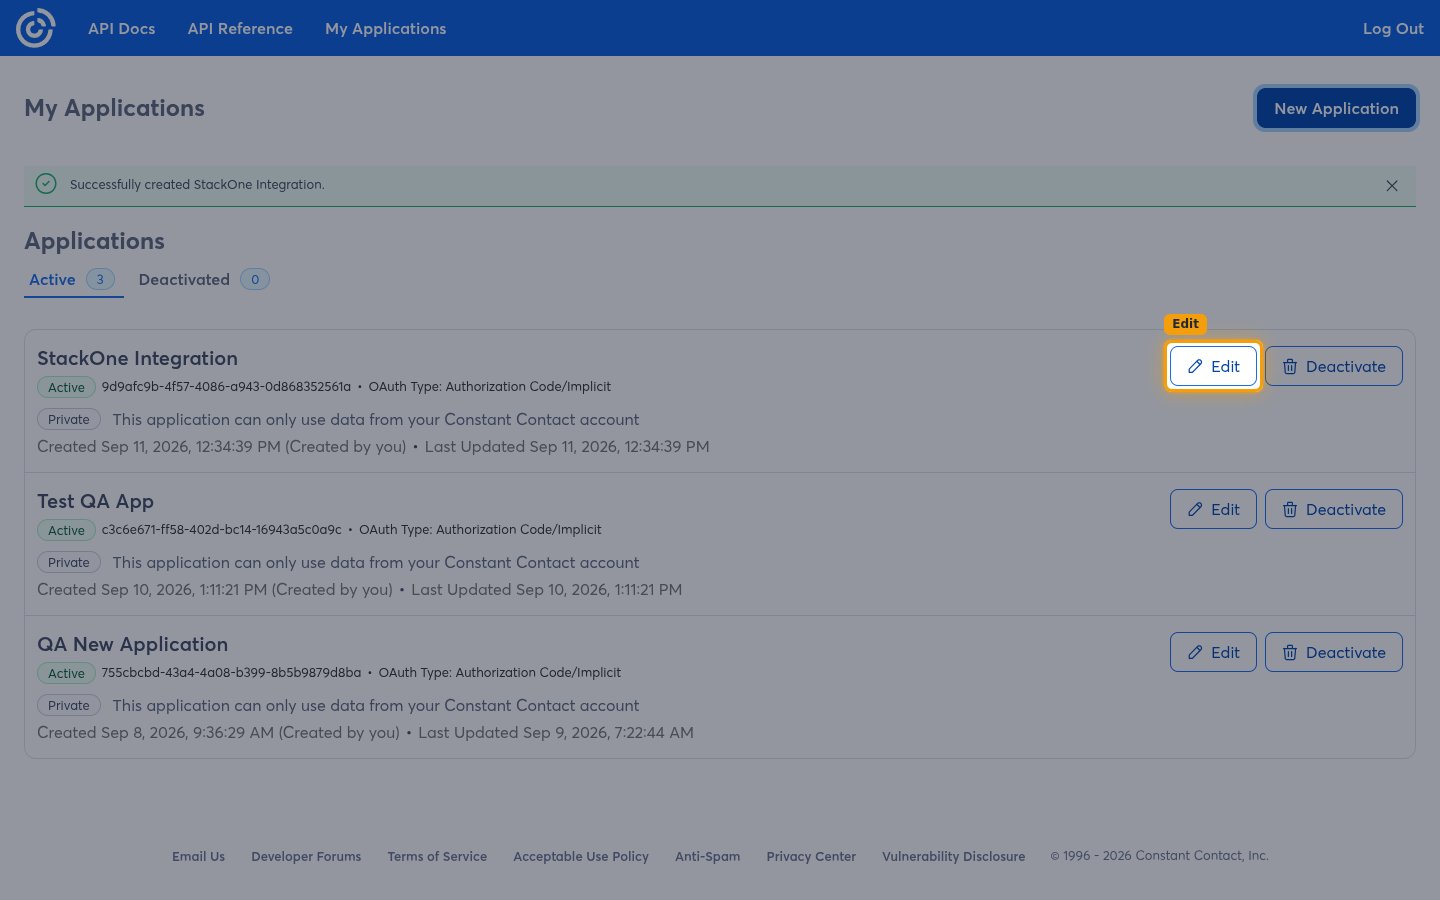
On the My Applications page, click Edit on the application you just created to open its details.
Configure the redirect URI
The redirect URI is where Constant Contact sends users after they authorize the application. It must match StackOne’s callback URL exactly, or authorization fails.
Edit the redirect URI
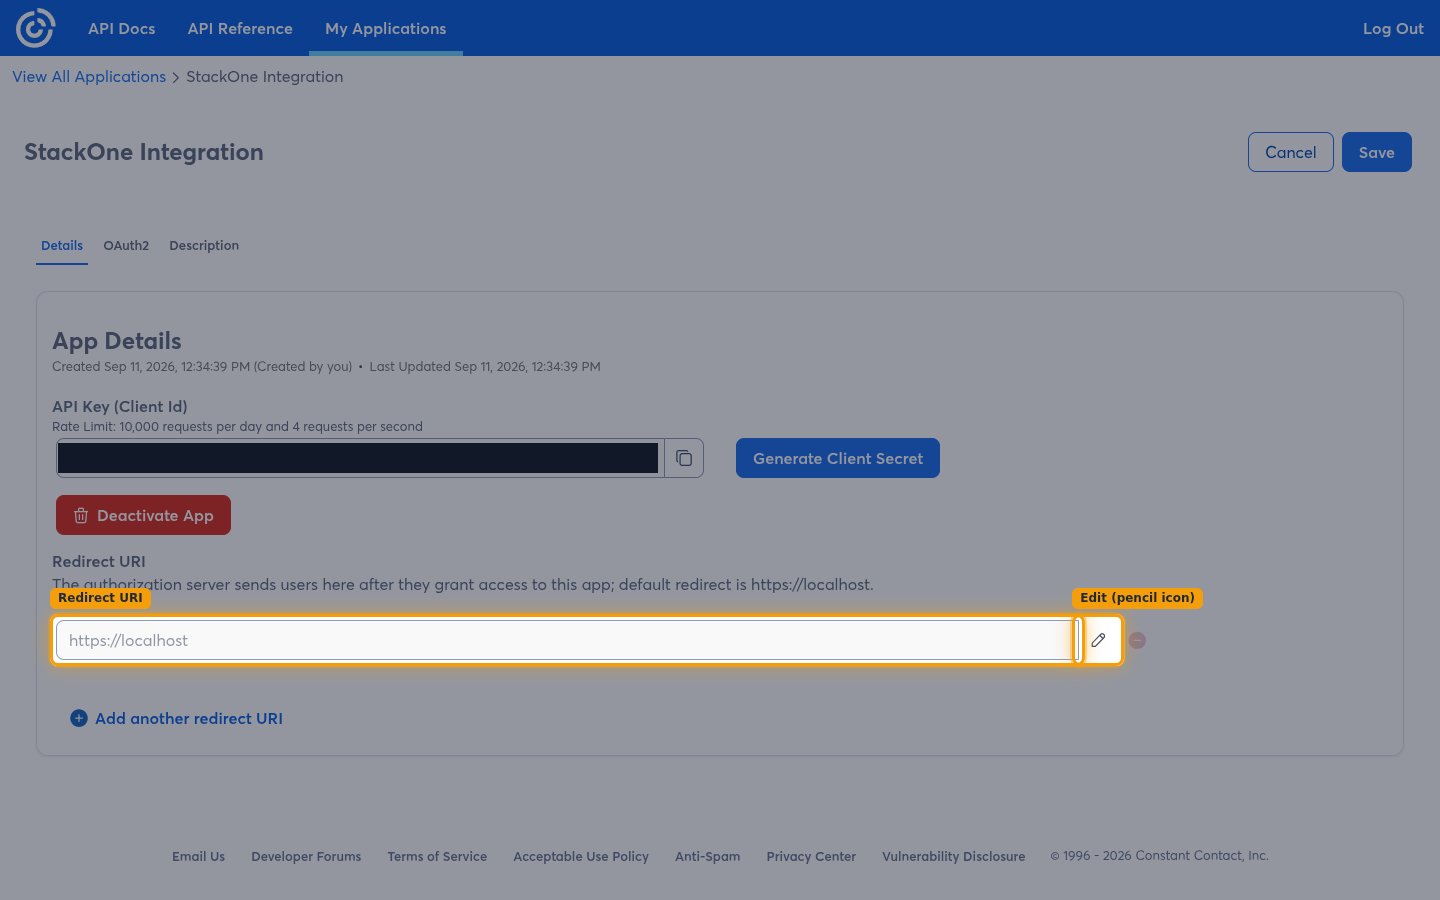
In the Redirect URI section, click the pencil icon next to the redirect URI field. A new application starts with a localhost placeholder, which you replace in the next step.
Confirm the redirect URI
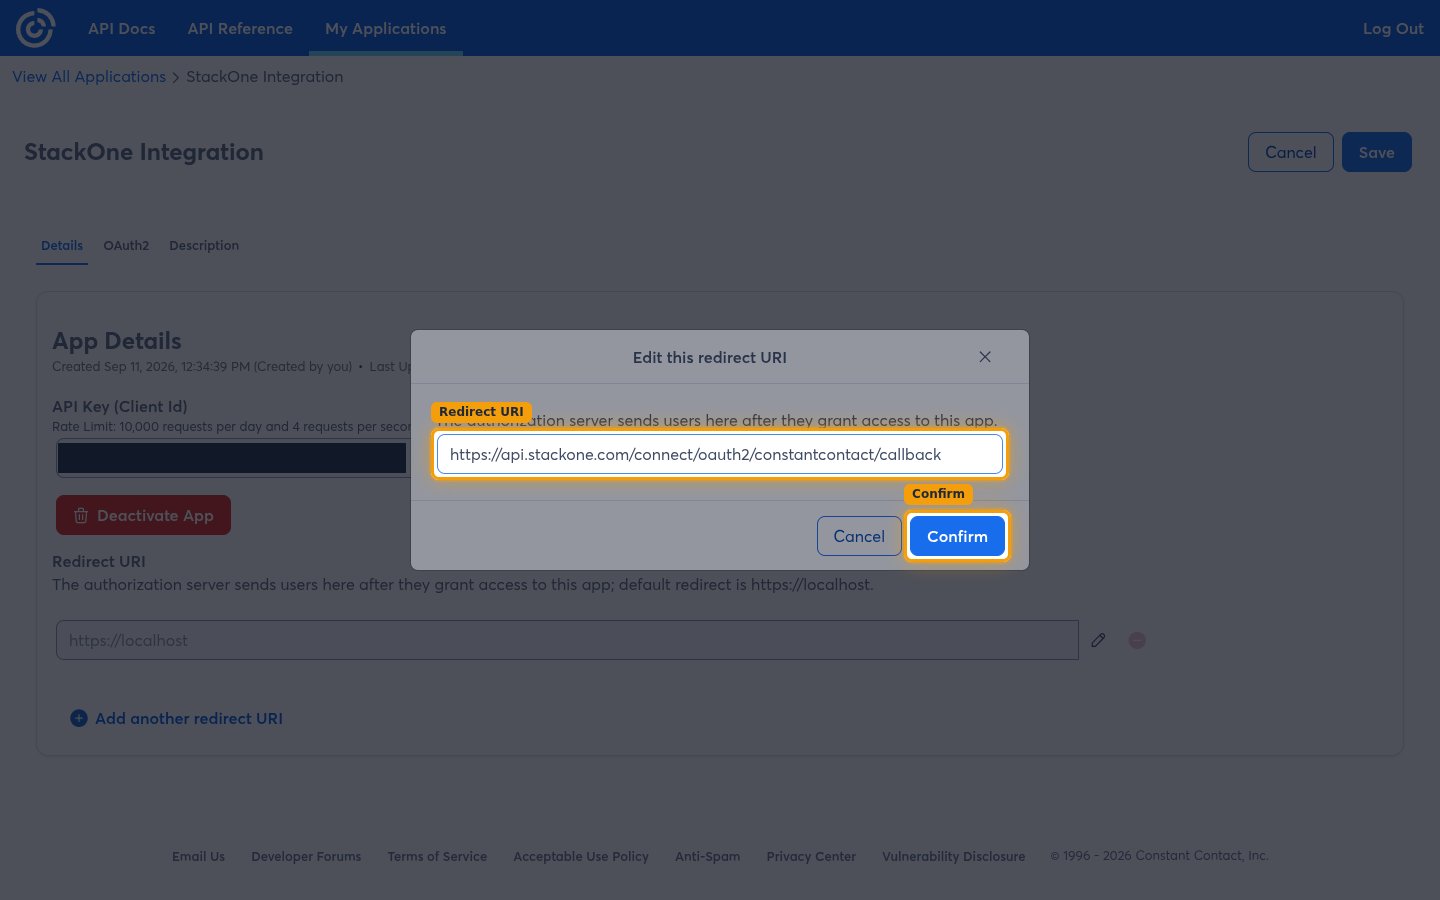
The Edit this redirect URI dialog opens. Replace the value with StackOne’s callback URL, then click Confirm.
- Enter exactly:
https://api.stackone.com/connect/oauth2/constantcontact/callback
Save the application
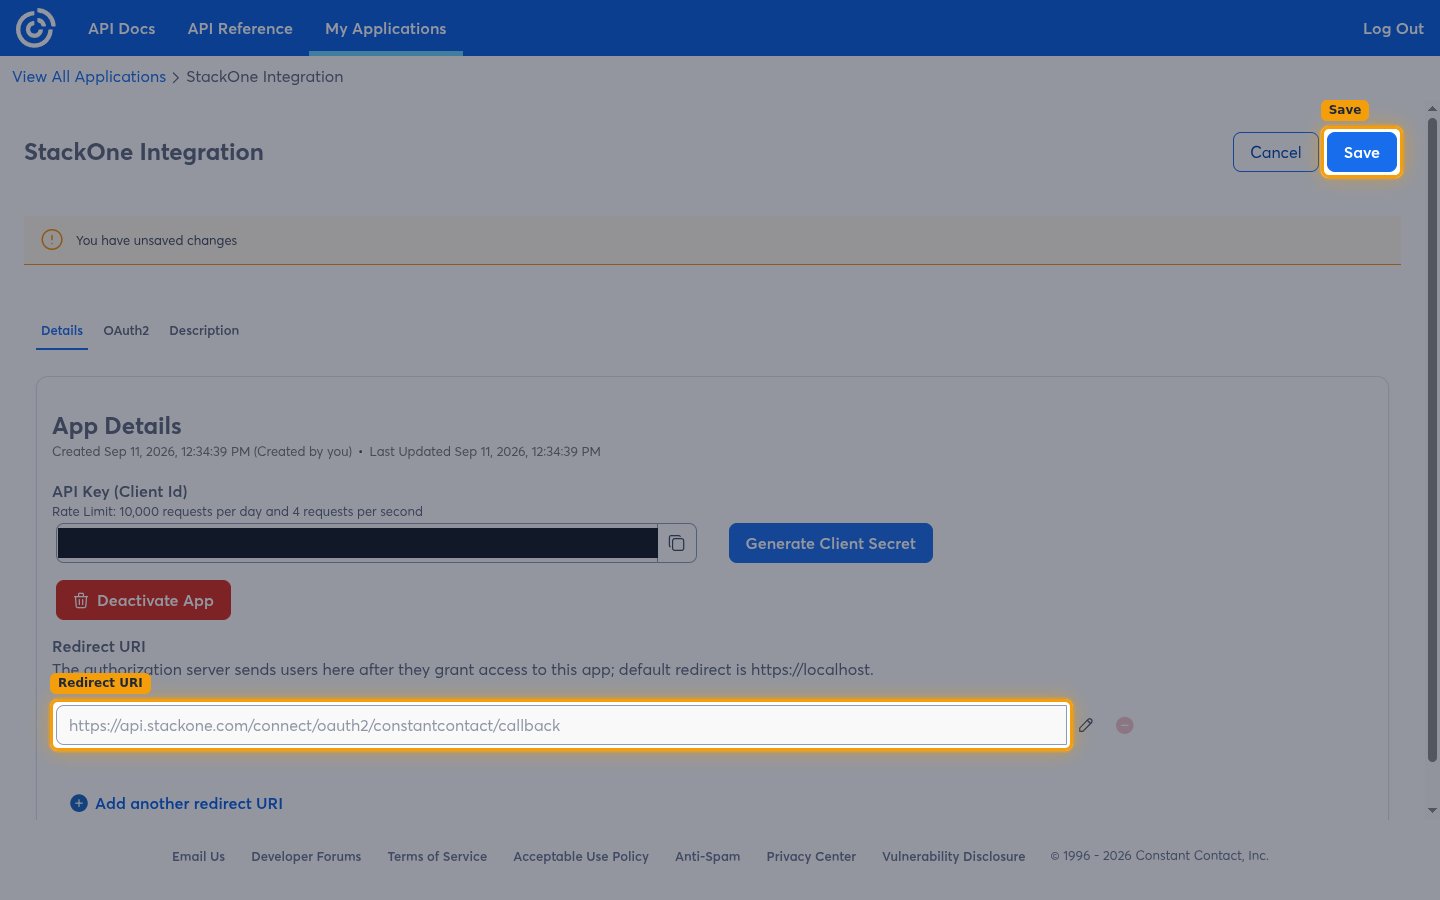
Confirming the dialog only stages the change — the page shows You have unsaved changes until you click Save.
- Click Save to apply the new redirect URI.
Copy your API Key and Client Secret
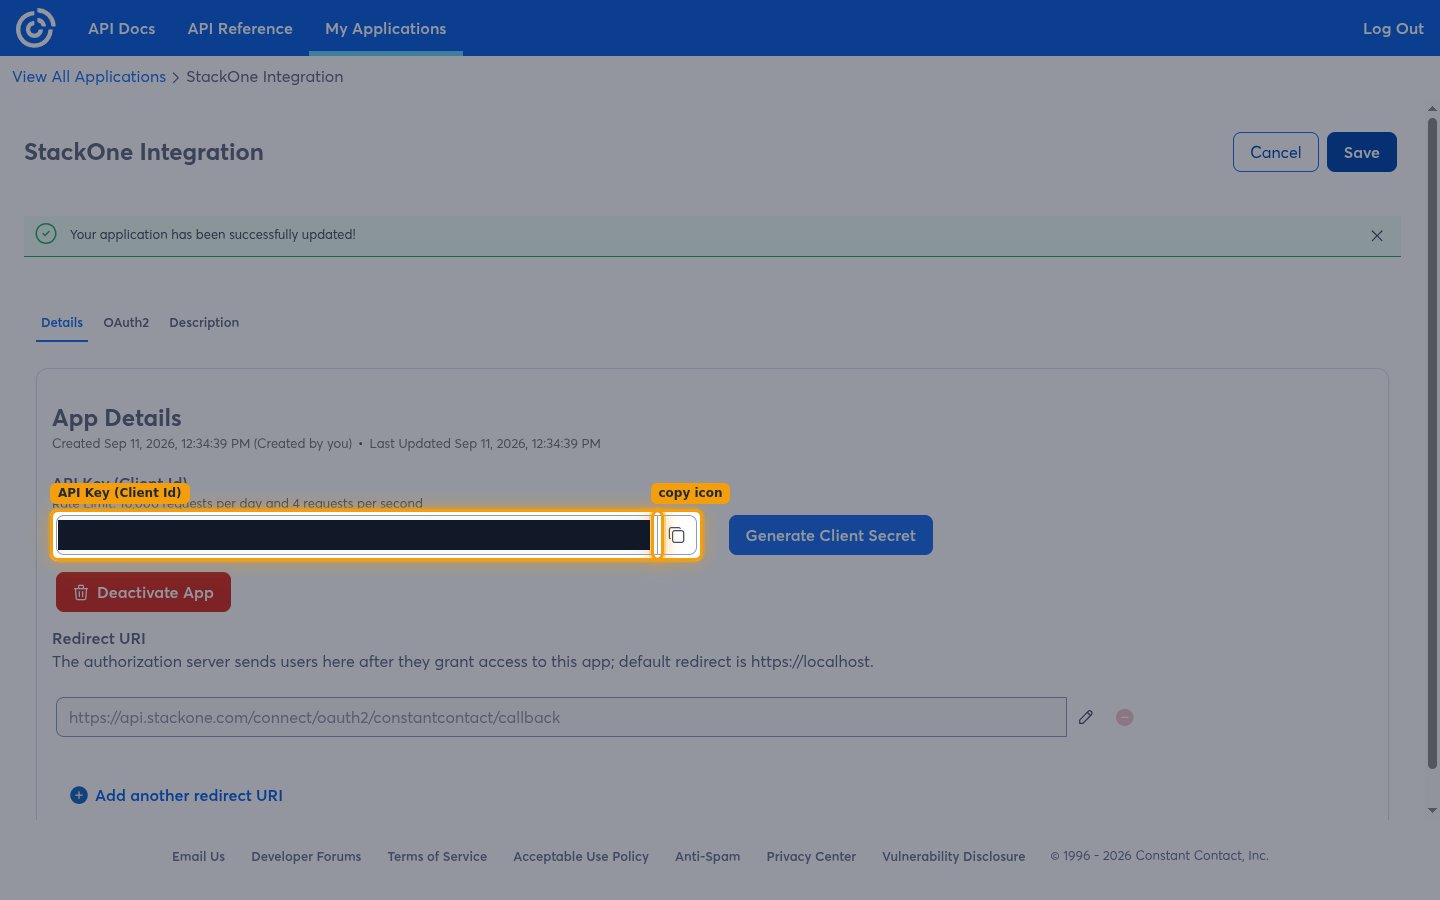
The application details page holds both values StackOne needs. The API Key is visible at any time; the Client Secret is generated on demand and displayed only once.
Copy the API Key
In the App Details section, copy the value under API Key (Client Id) using the copy icon beside it.
- Paste it into the API Key (Client ID) field in the StackOne Connector profile.
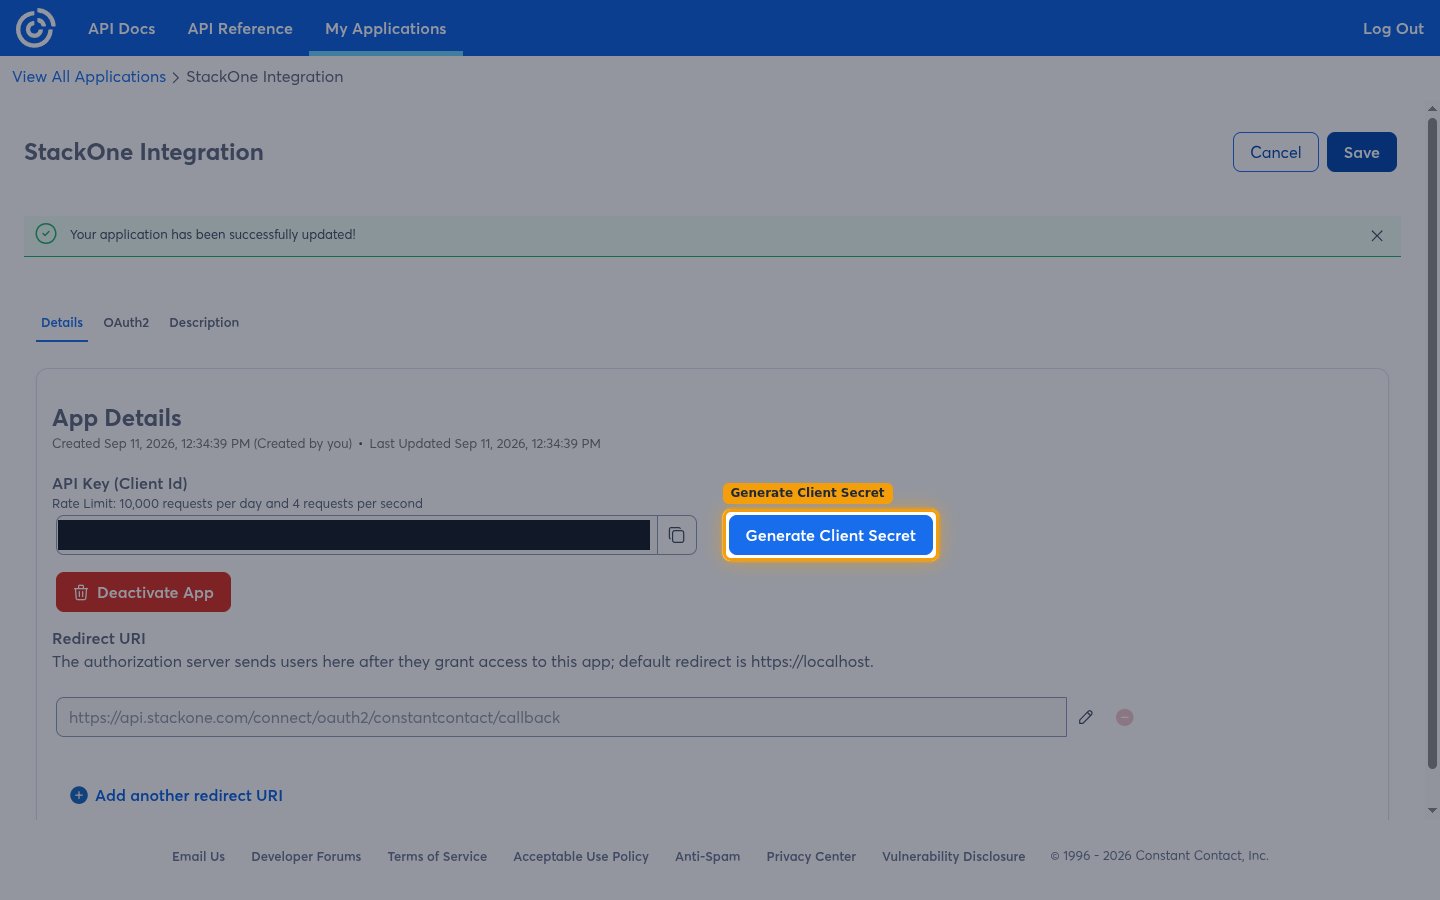
Generate a Client Secret
Click Generate Client Secret beside the API Key.
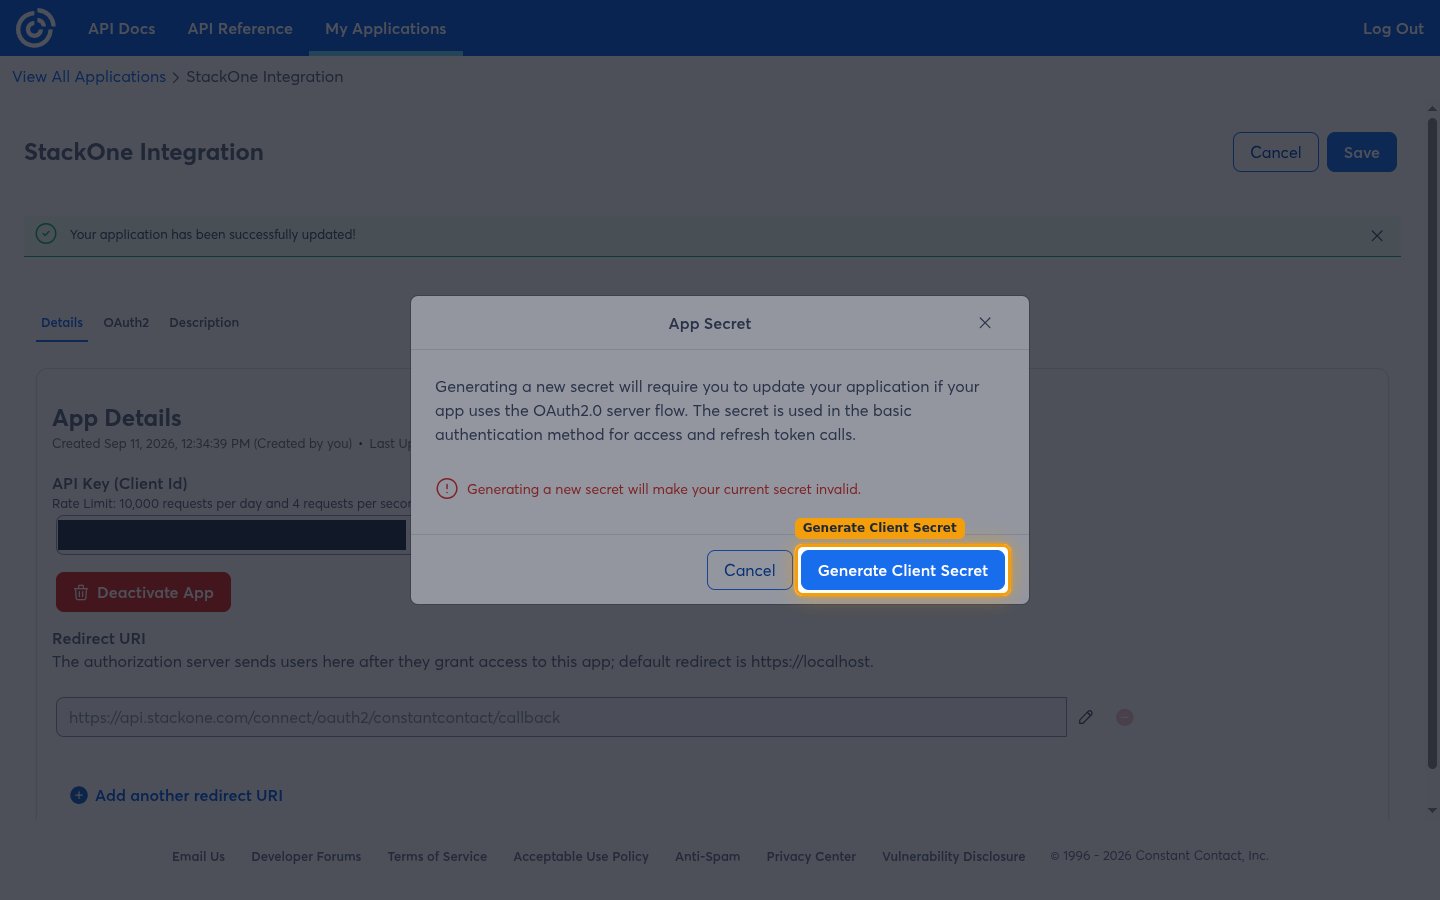
Confirm generating the secret
The App Secret dialog explains that the secret is used in the basic authentication method for access and refresh token calls. Click Generate Client Secret to confirm.
- Generating a new secret will make your current secret invalid.
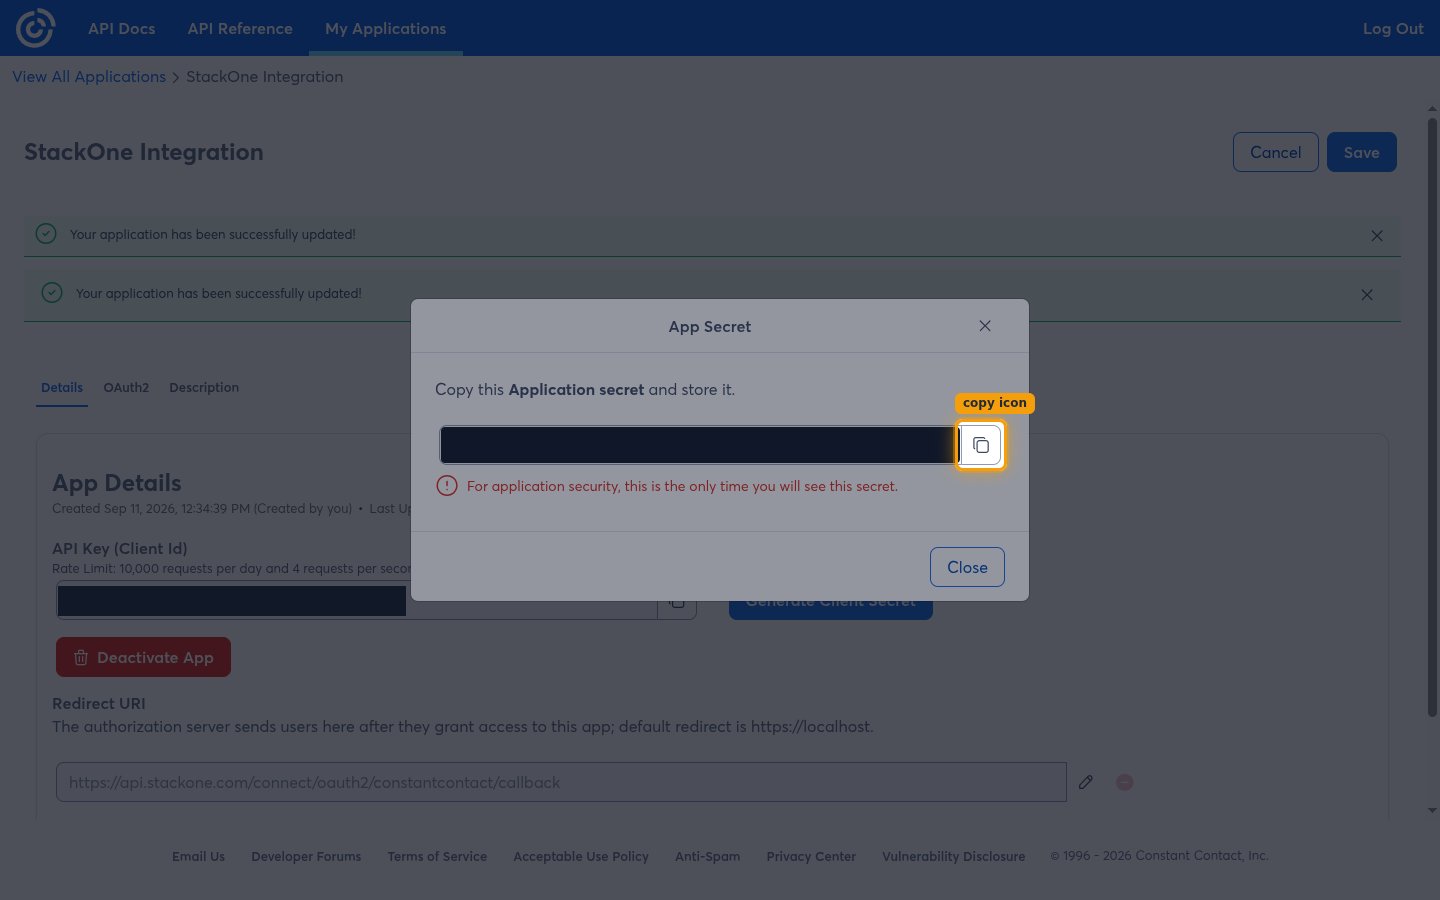
Copy the Client Secret
The dialog shows the generated secret with the prompt Copy this Application secret and store it. Use the copy icon to copy it, then click Close.
- For application security, this is the only time you will see this secret.
- Store it securely and paste it into the Client Secret field in the StackOne Connector profile.
Select the scopes to grant
Constant Contact checks a separate scope for each area of its API, and StackOne requests these scopes when you authorize the connection. Enter them as a space-separated list in the Scopes field in the StackOne Connector profile, or leave that field empty to request all of them. See the Constant Contact scopes documentation for the full reference.
Choose the scopes this connection needs
Select the scopes below. Keep offline_access — without it Constant Contact returns no refresh token, and the connection stops working once the access token expires. Calling an endpoint without its scope returns a 403 error, so grant every scope the actions you plan to use require.
Creating the StackOne Connector Profile
To create the Connector Profile in StackOne for Constant Contact:Open the connector
Choose actions and events
- Click Add Profile.
- If the connector offers more than one authentication method, set the Auth Method filter to OAuth 2.0.
- Select the actions, and any events, to enable for this Connector Profile.
- Click Continue.
Set up authentication
- Select Authentication Type as OAuth 2.0.
- Fill out the fields using details retrieved from your provider:
- API Key (Client ID)
- Client Secret
- Scopes (Optional)
- Click Create Profile.