

Create an OAuth application
Clear Books uses OAuth 2.0. You create a confidential OAuth application in the Clear Books developer portal to obtain a Client ID and Client Secret, then paste them into the StackOne Connector profile.
Sign in to Clear Books
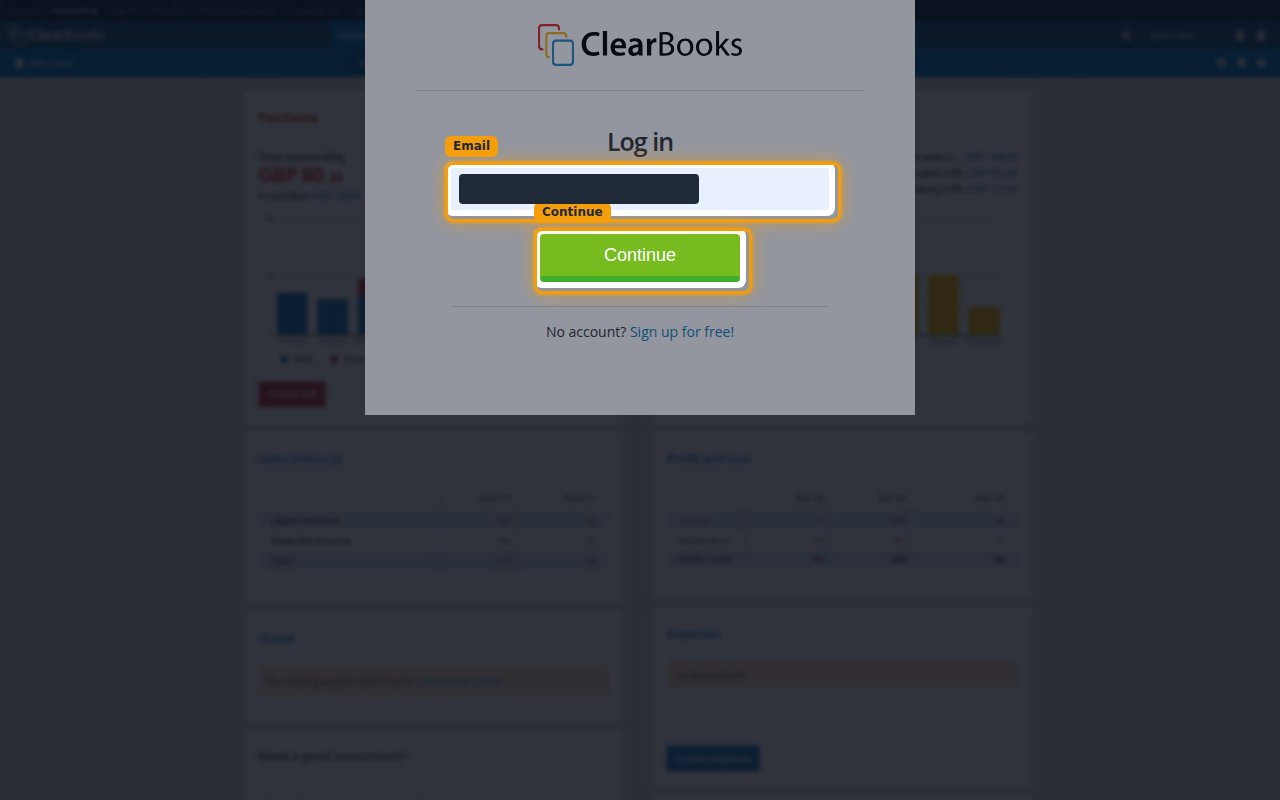
Sign in to your Clear Books account.
- Enter your Email and click Continue, then enter your password.
- The developer portal is only available to the account owner or a user with access to the business.
Enable multi-factor authentication
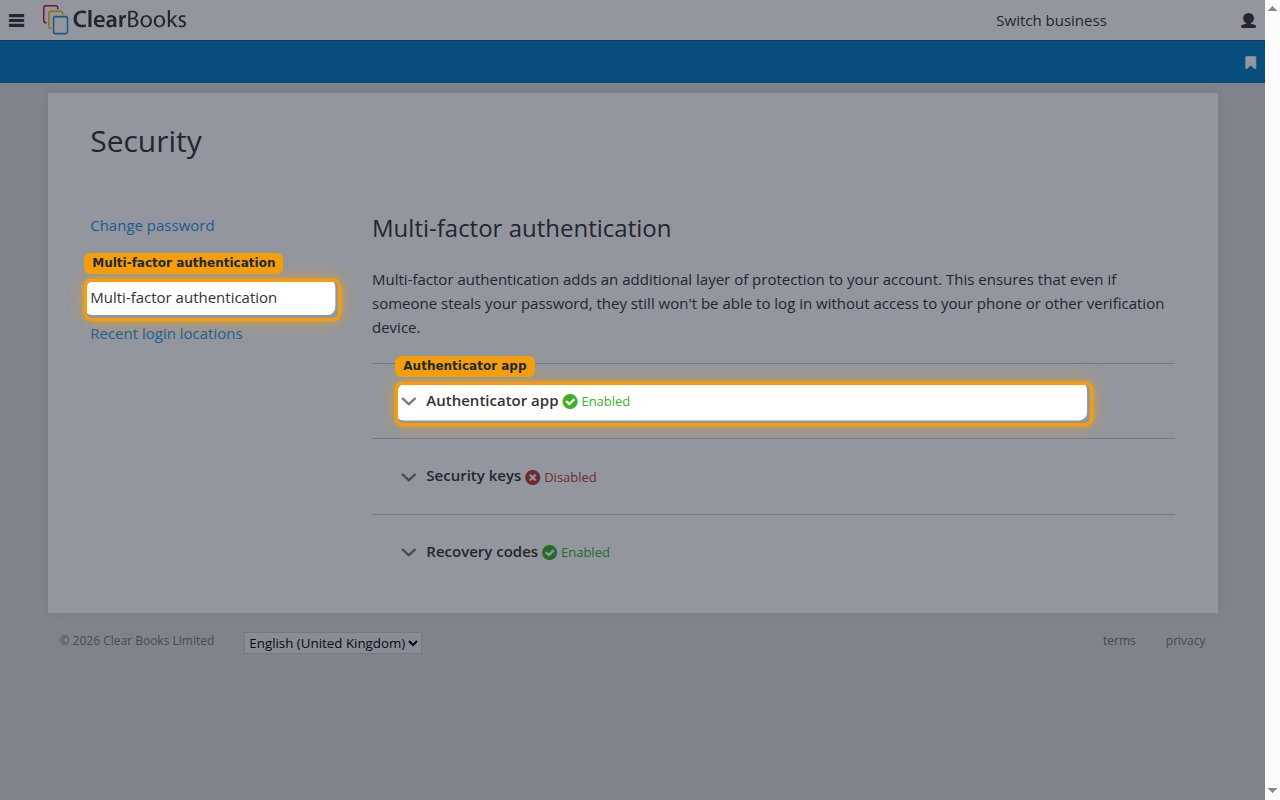
Clear Books requires multi-factor authentication before you can open the developer portal. Open your account Security settings, select Multi-factor authentication, and make sure Authenticator app is enabled.
- If it is not already enabled, expand Authenticator app, scan the QR code with an authenticator app, and enter the generated code to turn it on.
- Without multi-factor authentication, Clear Books blocks access to the developer portal.
Create a new app
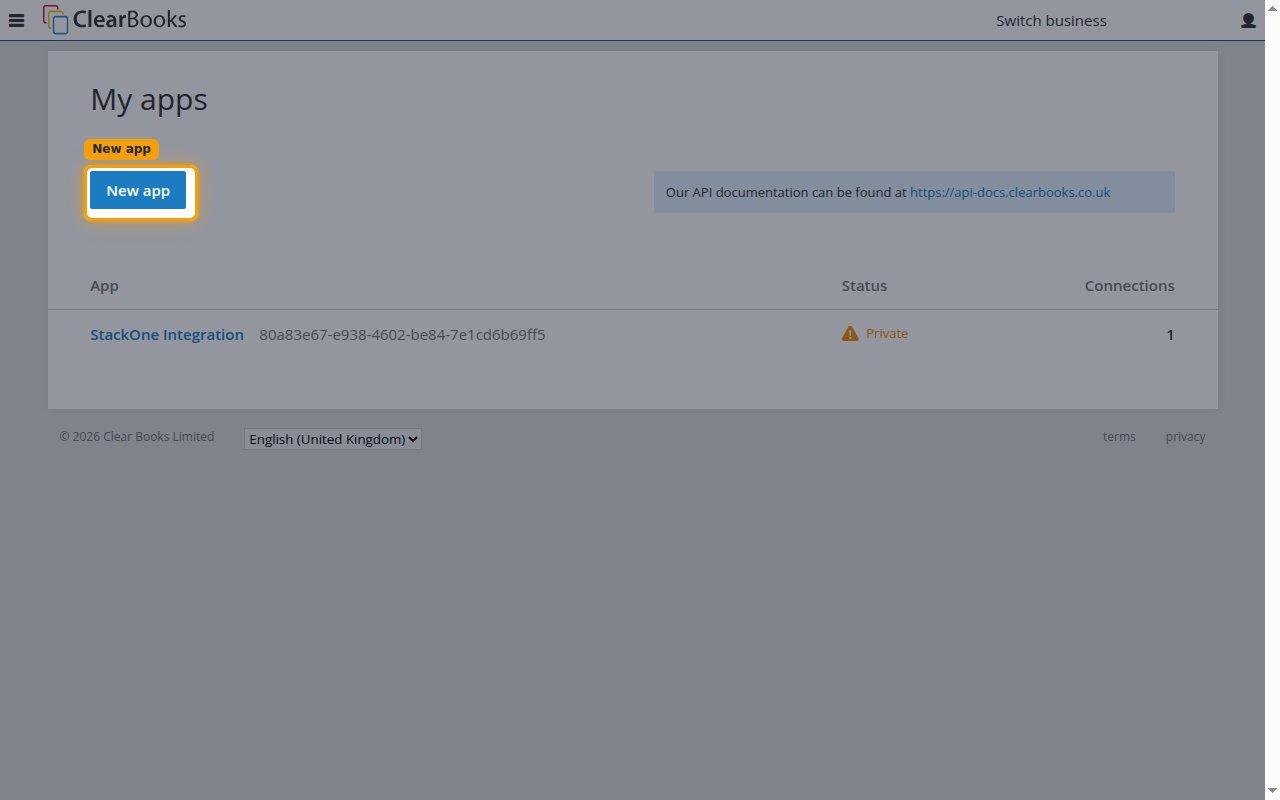
Open the Clear Books developer portal and, on the My apps page, click New app.
Enter the app details
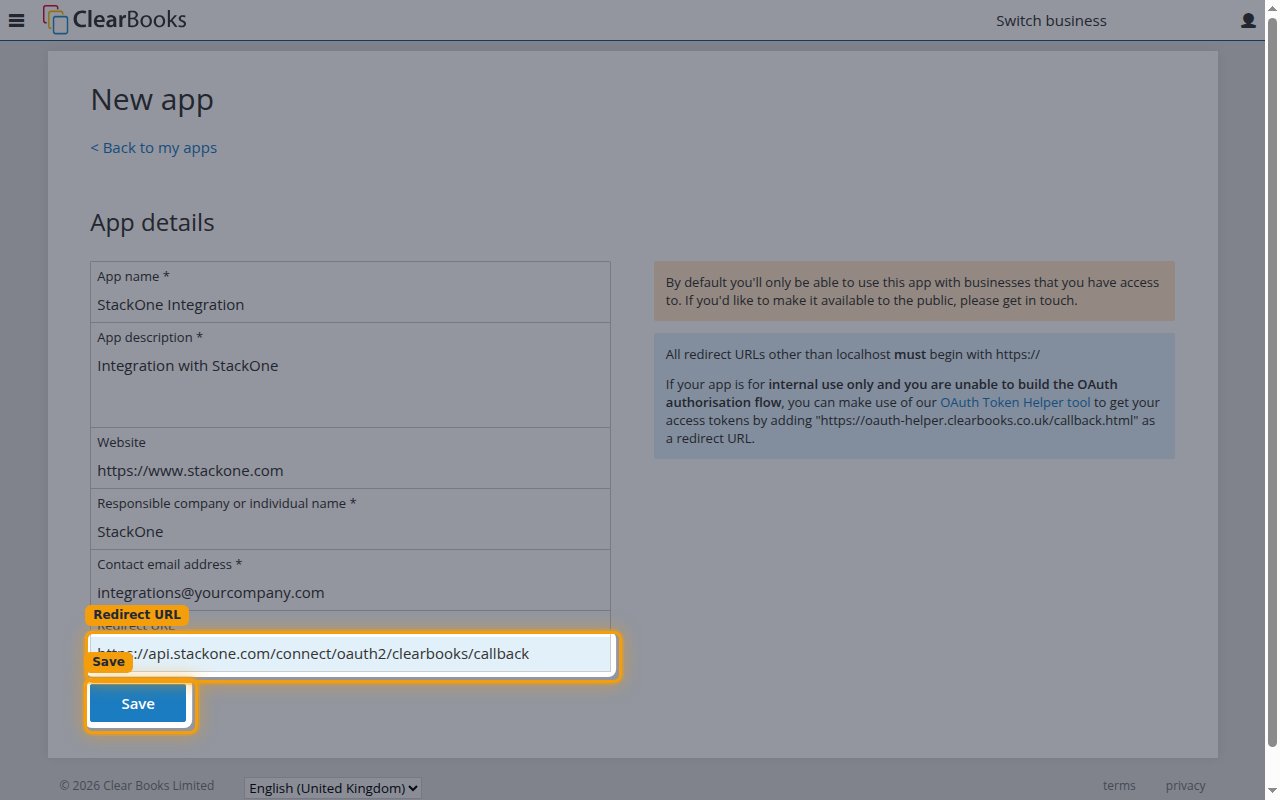
Complete the App details form, set the Redirect URL, and click Save.
- App name — a name for the application, such as
StackOne Integration. - App description — a short description of the integration.
- Responsible company or individual name and Contact email address — your company name and a contact email.
- Set the Redirect URL to:
https://api.stackone.com/connect/oauth2/clearbooks/callback - Only confidential clients using the authorization code grant are supported.
Copy your Client ID and Client Secret
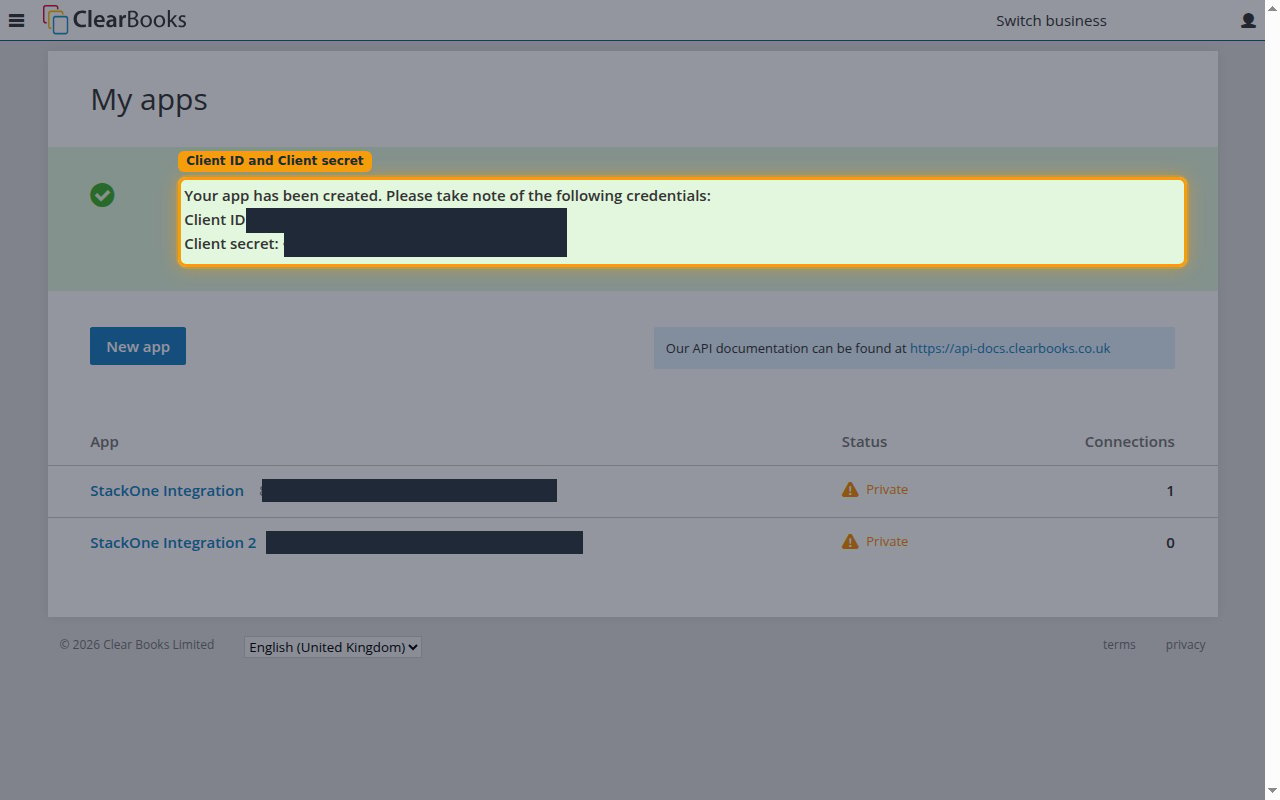
After you save, Clear Books displays your Client ID and Client secret. Copy both and paste them into the Client ID and Client Secret fields in the StackOne Connector profile.
- The Client secret is only displayed once and cannot be retrieved later, so store it securely for use later.
- You can find the Client ID again later on the app’s Manage app page.
Regenerate the client secret
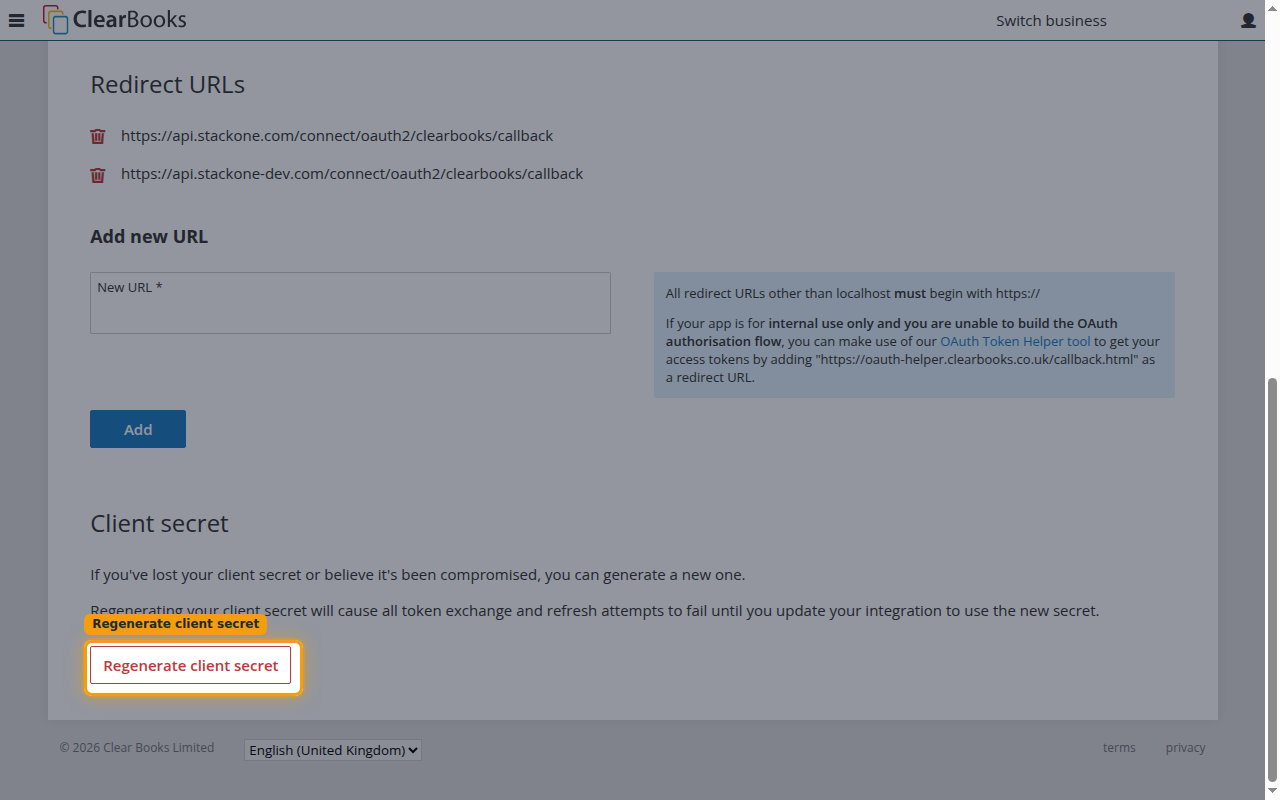
If you lose the Client Secret, open the app’s Manage app page and click Regenerate client secret to generate a new one.
- Regenerating the secret causes all token exchange and refresh attempts to fail until you update the connection with the new secret.
Permissions
When you connect, StackOne requests the Clear Books permissions its actions need. You can narrow this set using the optional Scopes field in the StackOne Connector profile; leave it blank to request the full set below.
Grant the required permissions
Authorize the following permissions so the connector can read and write account codes, allocations, bank accounts, businesses, customers, payments, purchase documents, sales documents, suppliers, and VAT reference data.
Creating the StackOne Connector Profile
To create the Connector Profile in StackOne for Clear Books:Open the connector
Choose actions and events
- Click Add Profile.
- If the connector offers more than one authentication method, set the Auth Method filter to OAuth 2.0.
- Select the actions, and any events, to enable for this Connector Profile.
- Click Continue.
Set up authentication
- Select Authentication Type as OAuth 2.0.
- Fill out the fields using details retrieved from your provider:
- Client ID
- Client Secret
- Scopes (Optional)
- Click Create Profile.