

Registering an OAuth application
Campaign Monitor issues a Client ID and Client Secret when you register an OAuth application on your account.
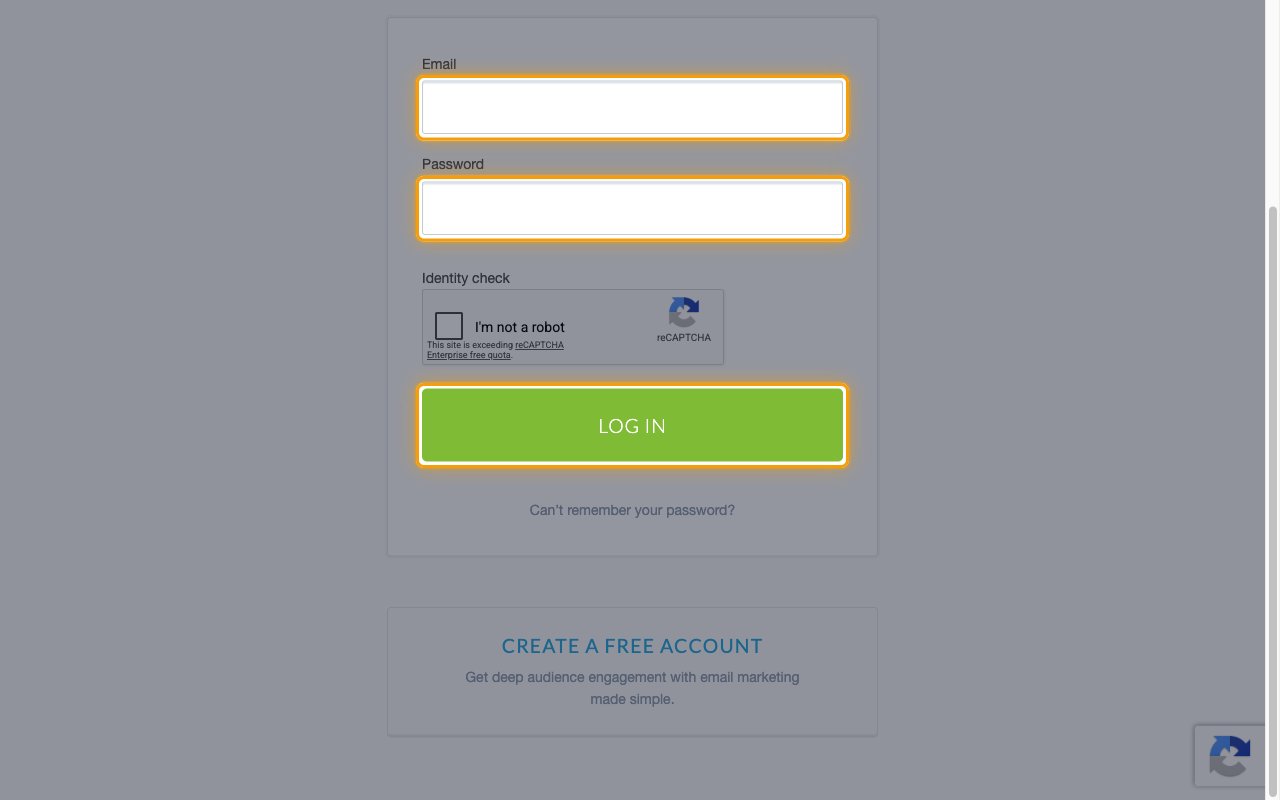
Sign in to Campaign Monitor
Sign in to your Campaign Monitor account.
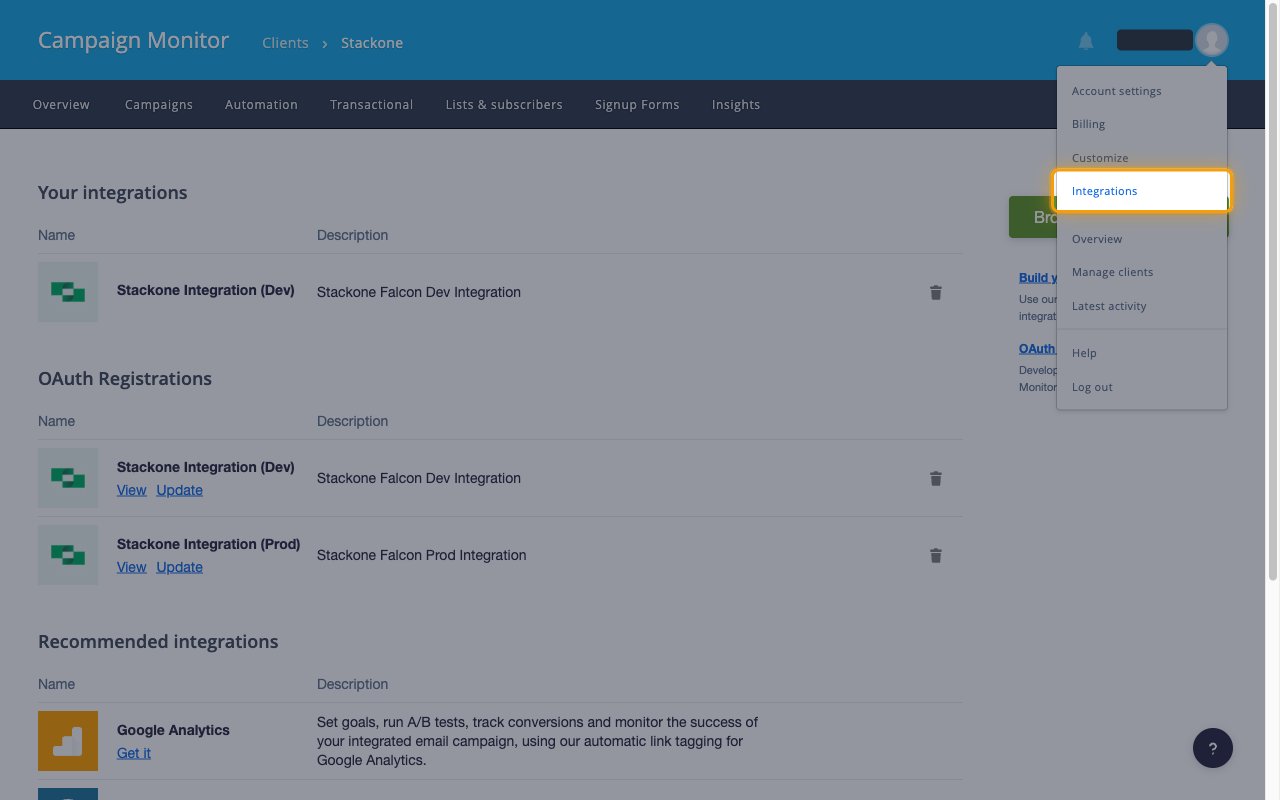
Open the Integrations page
Click your profile image in the top right corner, then select Integrations.
- You can also get there from Account settings > API & integrations by clicking the integrations link at the foot of the page.
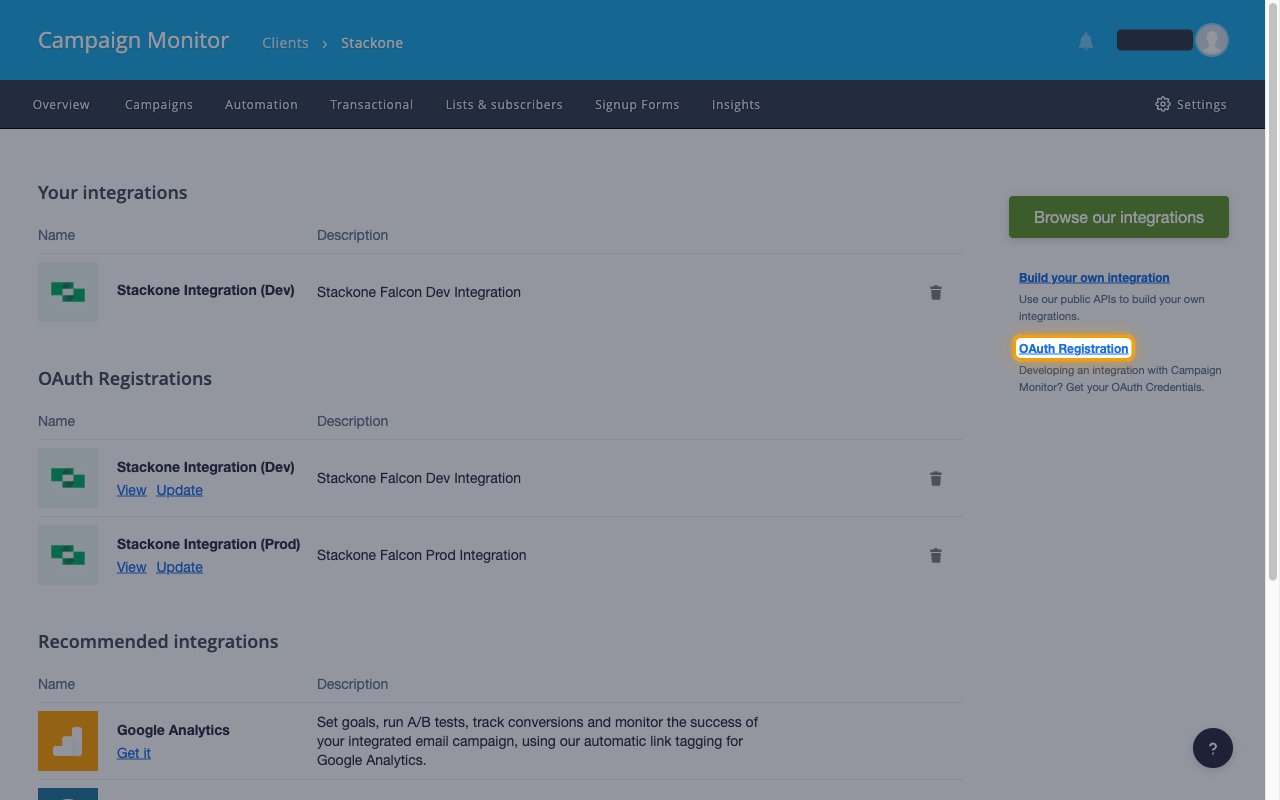
Open OAuth Registration
On the Your integrations page, click OAuth Registration in the right sidebar, under Build your own integration.
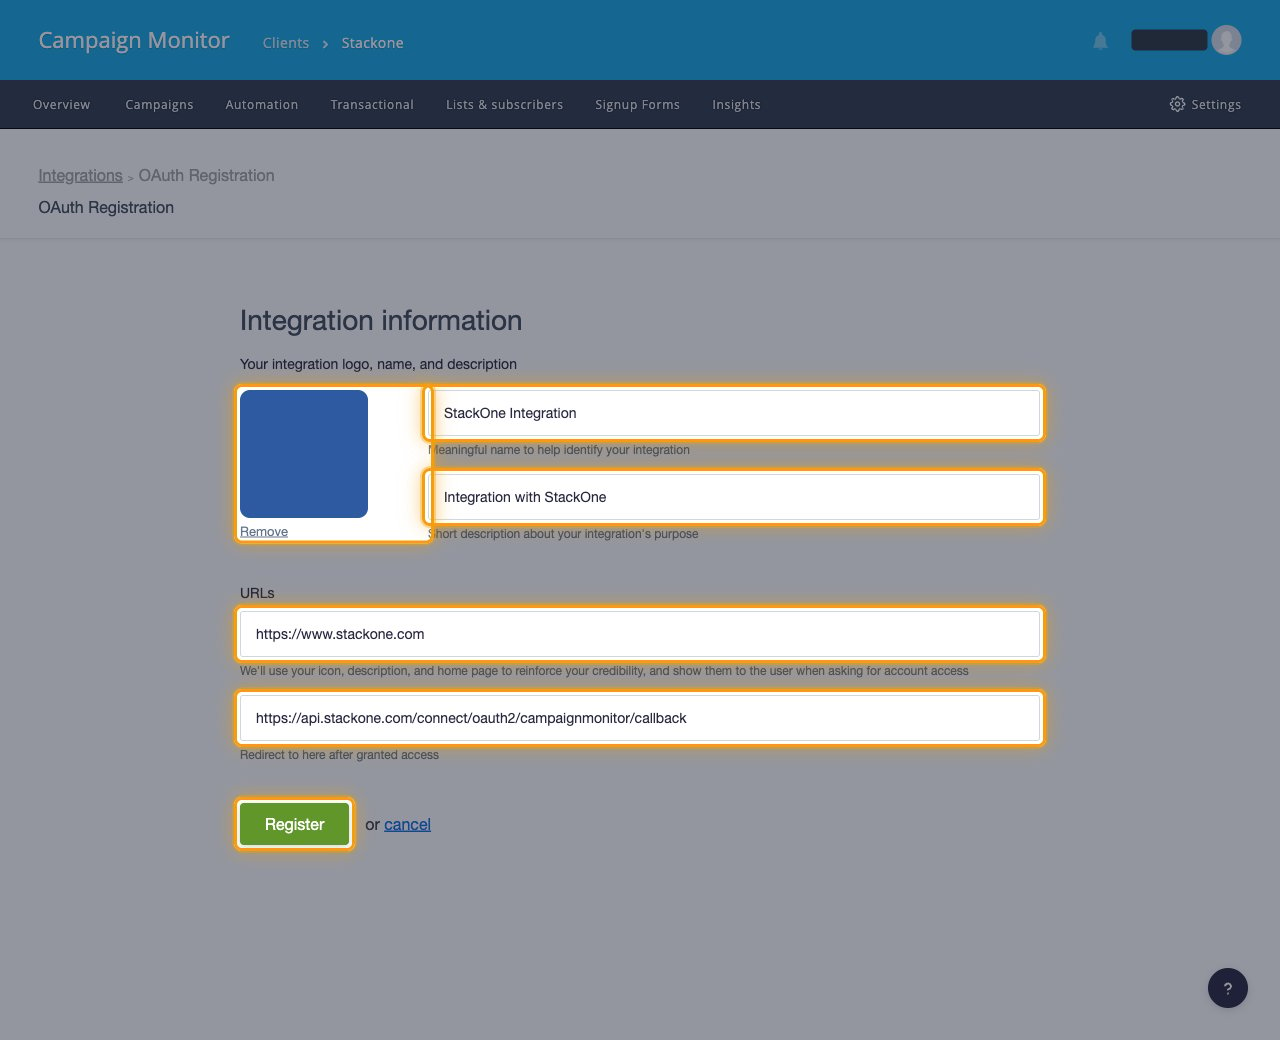
Complete the registration form
Fill in Integration information, then click Register. Redirect after completion url is where Campaign Monitor expects the OAuth callback URL, so it takes the StackOne redirect URL below.
- Upload logo is required — Register stays inactive until an image is attached. Accepted formats are
.png,.gif,.bmp,.jpeg, and.jpg, up to 500KB and 1279x1279 pixels. - Integration name:
StackOne Integration - Description:
Integration with StackOne - Home page url:
https://www.stackone.com - Redirect after completion url:
https://api.stackone.com/connect/oauth2/campaignmonitor/callback
Copy your credentials
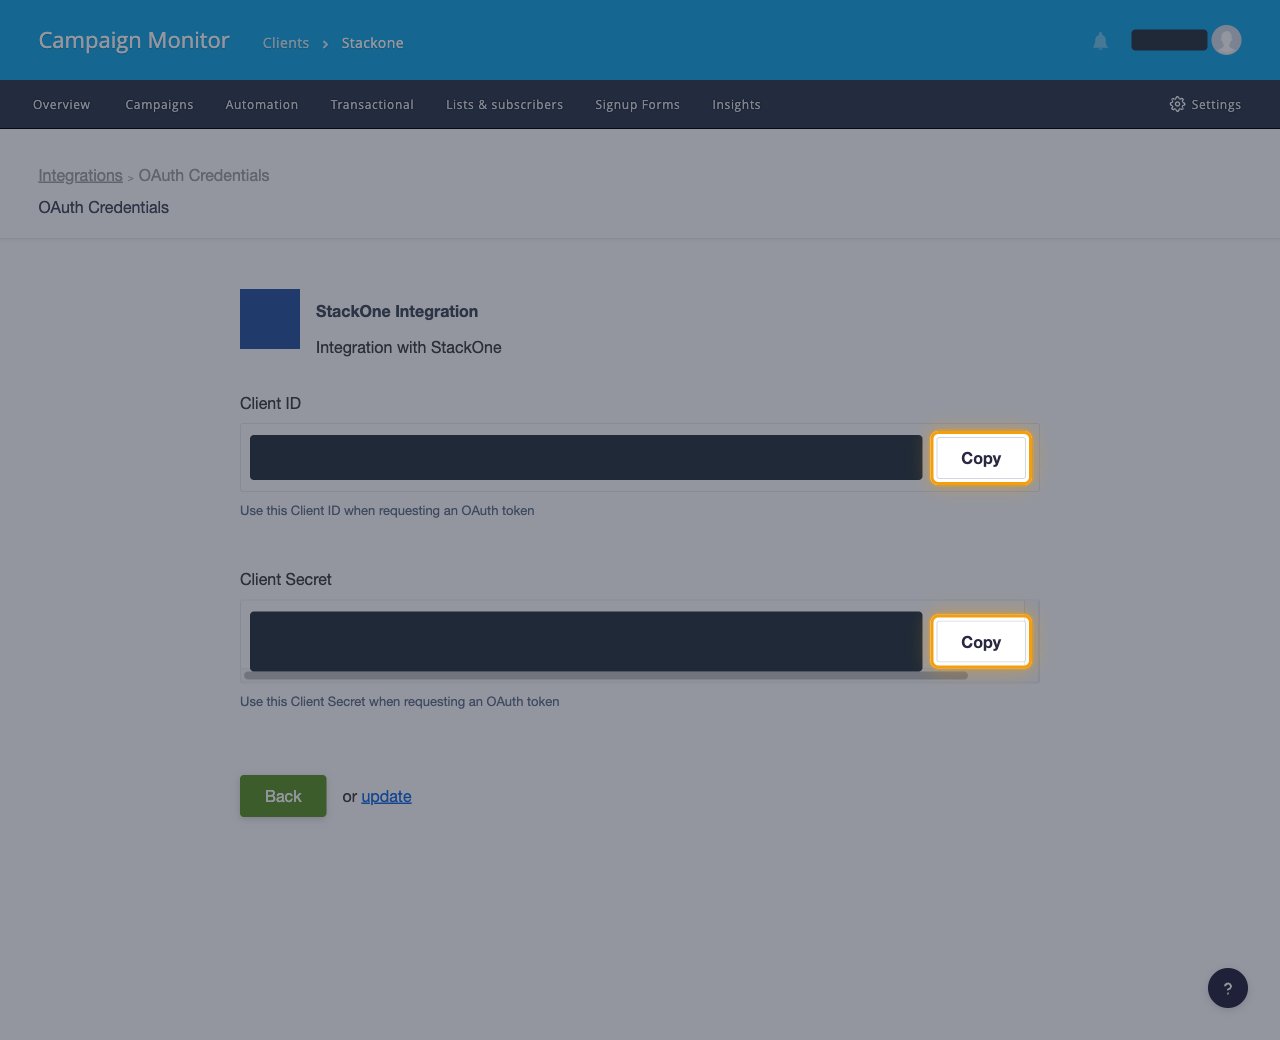
Campaign Monitor opens the OAuth Credentials page for the new application as soon as you register. Click Copy beside Client ID and Client Secret, and store both securely for use later.
- Paste them into the Client ID and Client Secret fields in the StackOne Connector profile.
- Reopen this page at any time from Your integrations by clicking View on the application under OAuth Registrations.
Choosing permissions
Campaign Monitor asks for no permissions while you register the application, so there is nothing to select in the portal. Scopes are requested when an account is connected, and the Scopes field in the StackOne Connector profile decides which ones.
Select the scopes to request
Leave Scopes empty to request the connector’s default set, or enter a space-separated list of the permissions below.
Creating the StackOne Connector Profile
To create the Connector Profile in StackOne for Campaign Monitor:Open the connector
Choose actions and events
- Click Add Profile.
- If the connector offers more than one authentication method, set the Auth Method filter to OAuth 2.0.
- Select the actions, and any events, to enable for this Connector Profile.
- Click Continue.
Set up authentication
- Select Authentication Type as OAuth 2.0.
- Fill out the fields using details retrieved from your provider:
- Client ID
- Client Secret
- Scopes (Optional)
- Click Create Profile.