

Prerequisites
The connector should already be set up, with a Connector Profile and a Linked Account. See Getting Started on the Vtiger connector page.Copy your Native Webhook URL
Before configuring Vtiger, copy the Native Webhook URL from this connection in StackOne Hub. This is the address Vtiger will POST events to. You will paste it into the URL to Notify field when you add the Webhook action in the steps below.
Open Workflows in Vtiger
Sign in to Vtiger and open the Workflows area under CRM Settings.
Sign in to Vtiger
Sign in to your Vtiger CRM account with an admin user who can manage CRM Settings.
Open Settings, Automation and Workflows
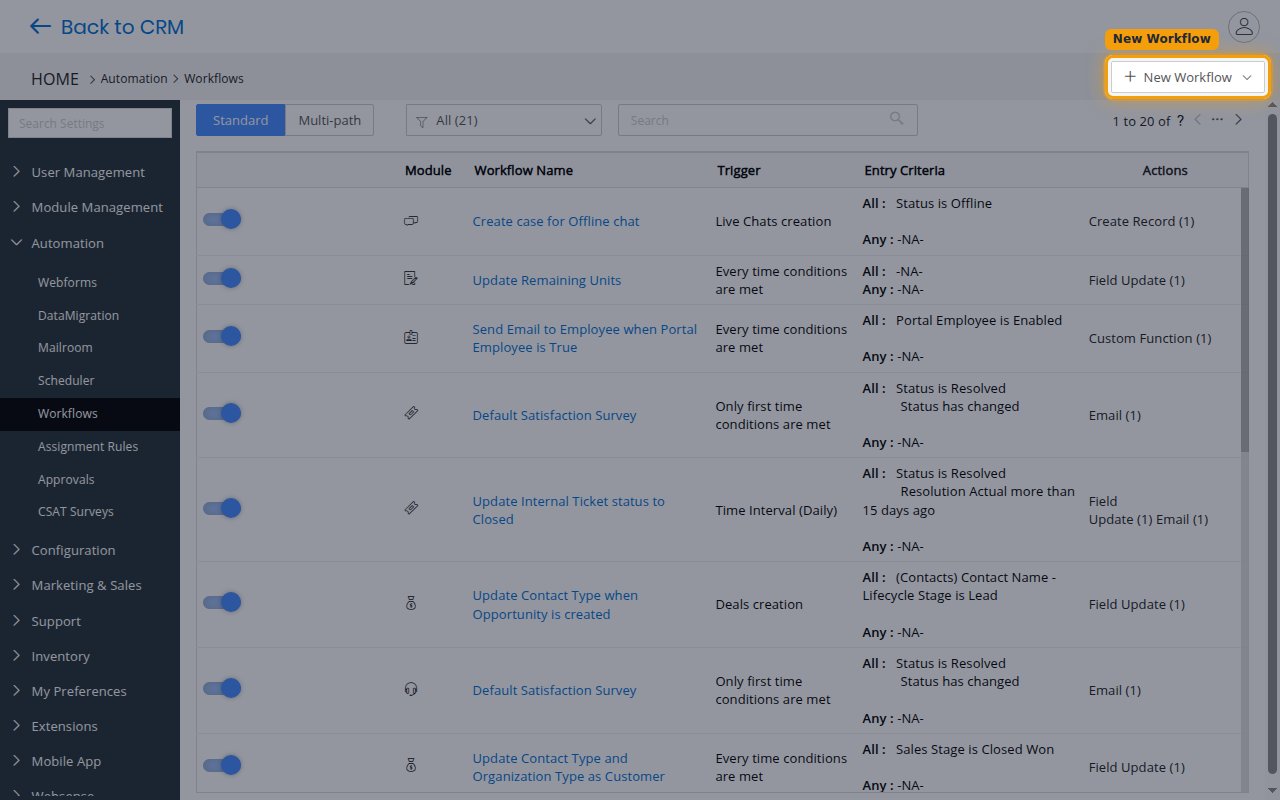
Open CRM Settings, expand Automation, and click Workflows. Then click New Workflow and choose Standard to create a single-path workflow.
Create the workflow
Configure which records and changes should trigger the webhook.
Set the workflow details
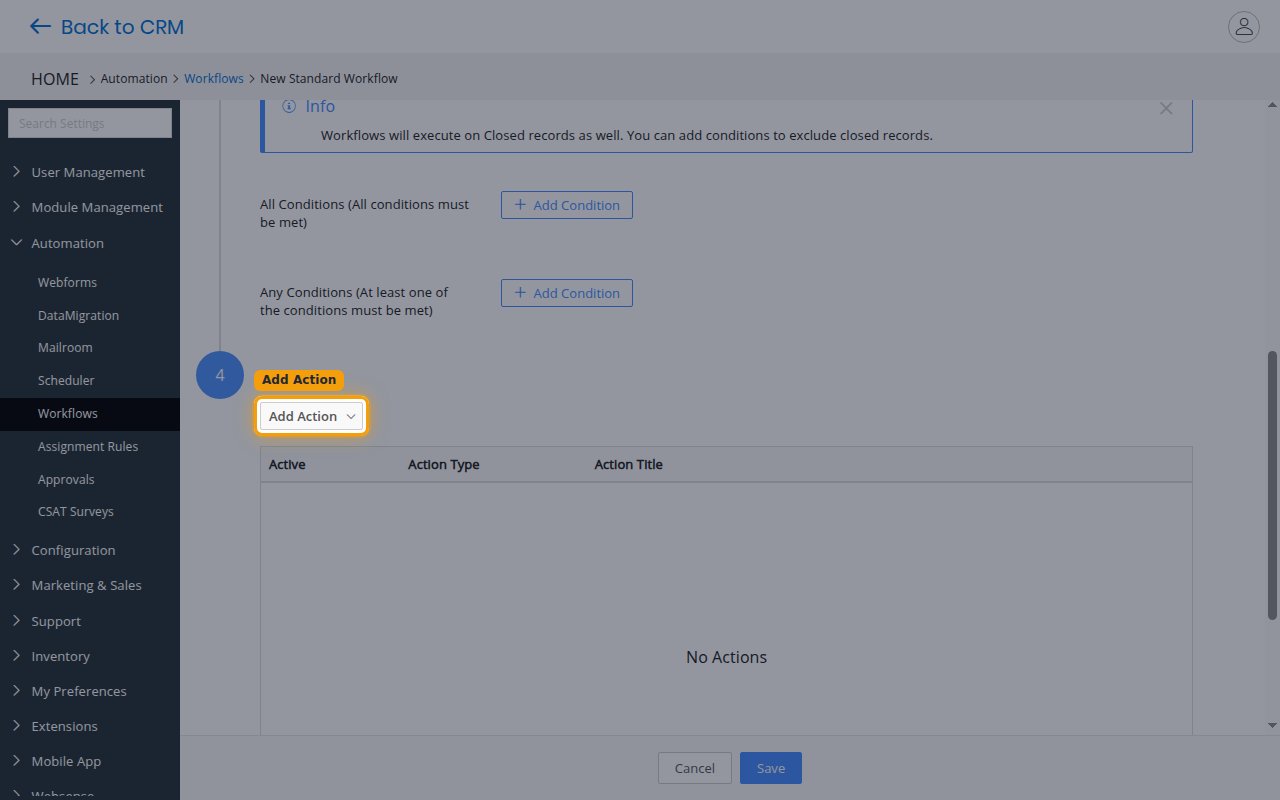
At the top of the form, enter a Workflow Name (for example, StackOne Integration), choose the Target Module whose records you want to send (for example, Contacts, Leads, or Organizations), and select when it runs under Trigger Workflow On (for example, on record creation or update). Then scroll down to optionally narrow which records match under All Conditions or Any Conditions, and click Add Action.
Add a Webhook action
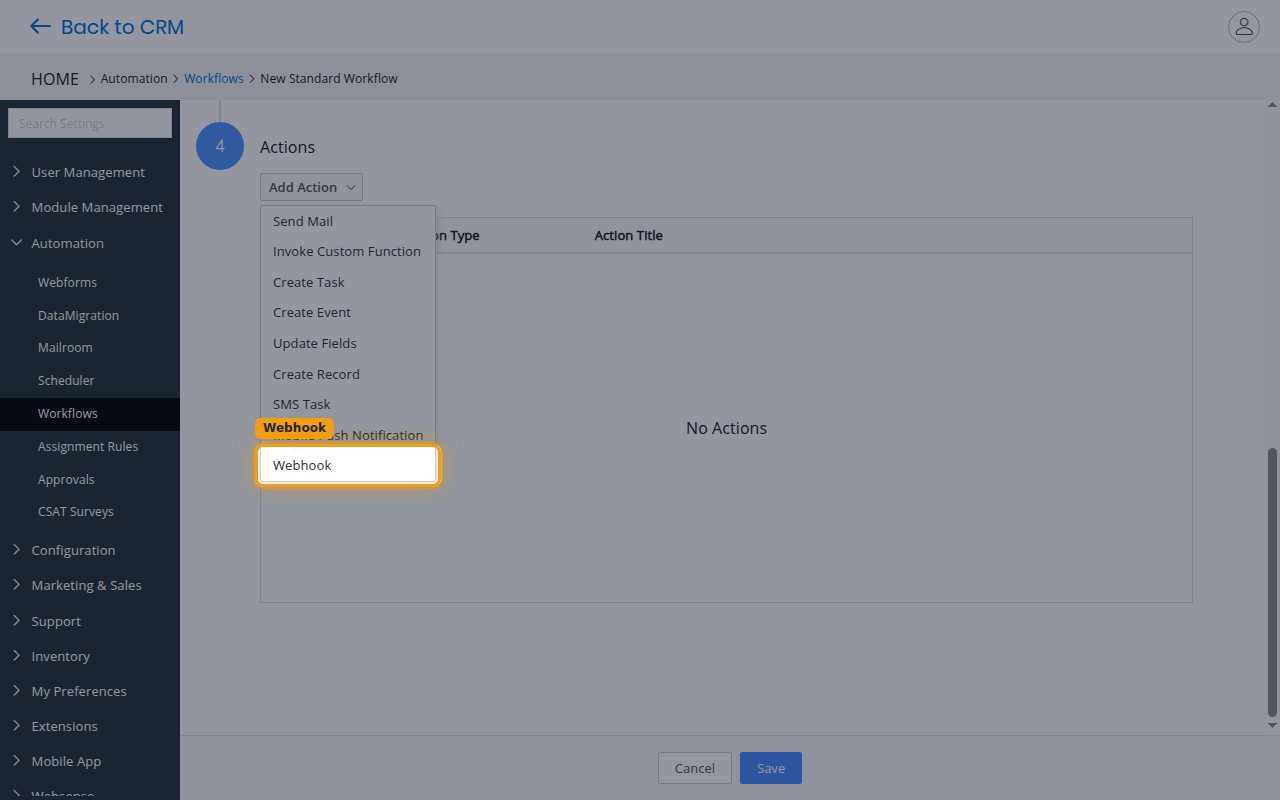
From the Add Action menu, choose Webhook.
Configure the Webhook action
Point the webhook at StackOne and choose which fields to send.
Paste the Native Webhook URL
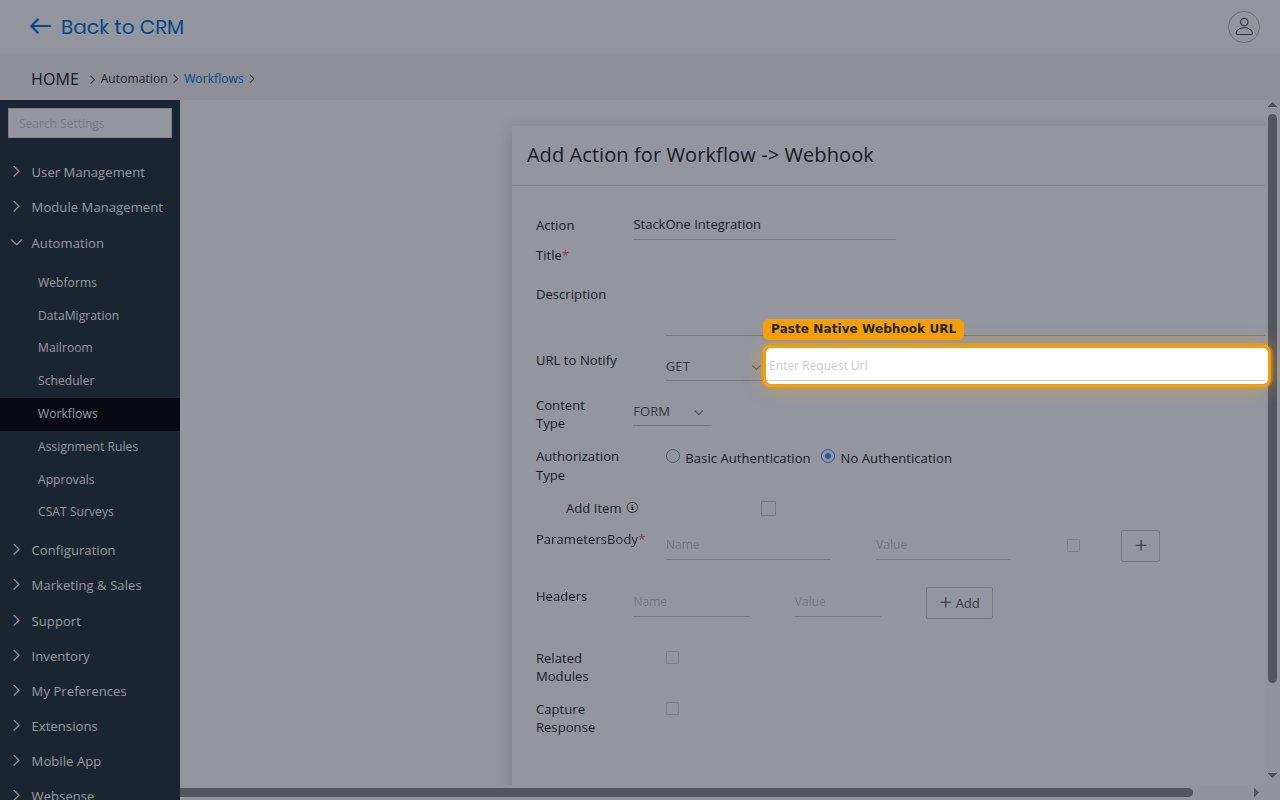
In the URL to Notify field, paste the Native Webhook URL you copied from StackOne Hub, and set the method to POST.
Set the content type and fields
Set Content Type to JSON. Under Authorization Type, leave No Authentication selected — the unguessable Native Webhook URL is the security boundary. Under Parameters, add the record fields you want to send in the Body, including an id field such as crmid so StackOne can identify the record, plus modifiedtime for the event timestamp.
Save the action and the workflow
Save the Webhook action, then save the workflow. Vtiger will POST the selected fields to the Native Webhook URL whenever the workflow’s trigger and conditions are met.
Available webhook events
Vtiger delivers webhooks through Workflow actions rather than a fixed set of named events, so the connector exposes a single generic event. Which records and changes it fires on is determined entirely by the workflow you configure above.
Record events
Fired by any Vtiger Workflow that has a Webhook action.
- Record Event (
record_event) — Fired when a Vtiger Workflow with a Webhook action runs against a record (for example a Lead, Contact, Organization, or Opportunity create or update matching the workflow’s conditions).
Delivery format
Details of how Vtiger delivers events to StackOne.
Review the admin-selected payload
Vtiger sends only the fields you select in the Webhook action, as a single JSON object per triggered record (not a batched array). There is no fixed module or event-type field, so StackOne reports every delivery as a generic Record Event and forwards the full payload. Include crmid so the event carries a record identifier.