

Generate an API key
Create a Developer API key from your Squarespace site settings to authenticate Commerce API requests.
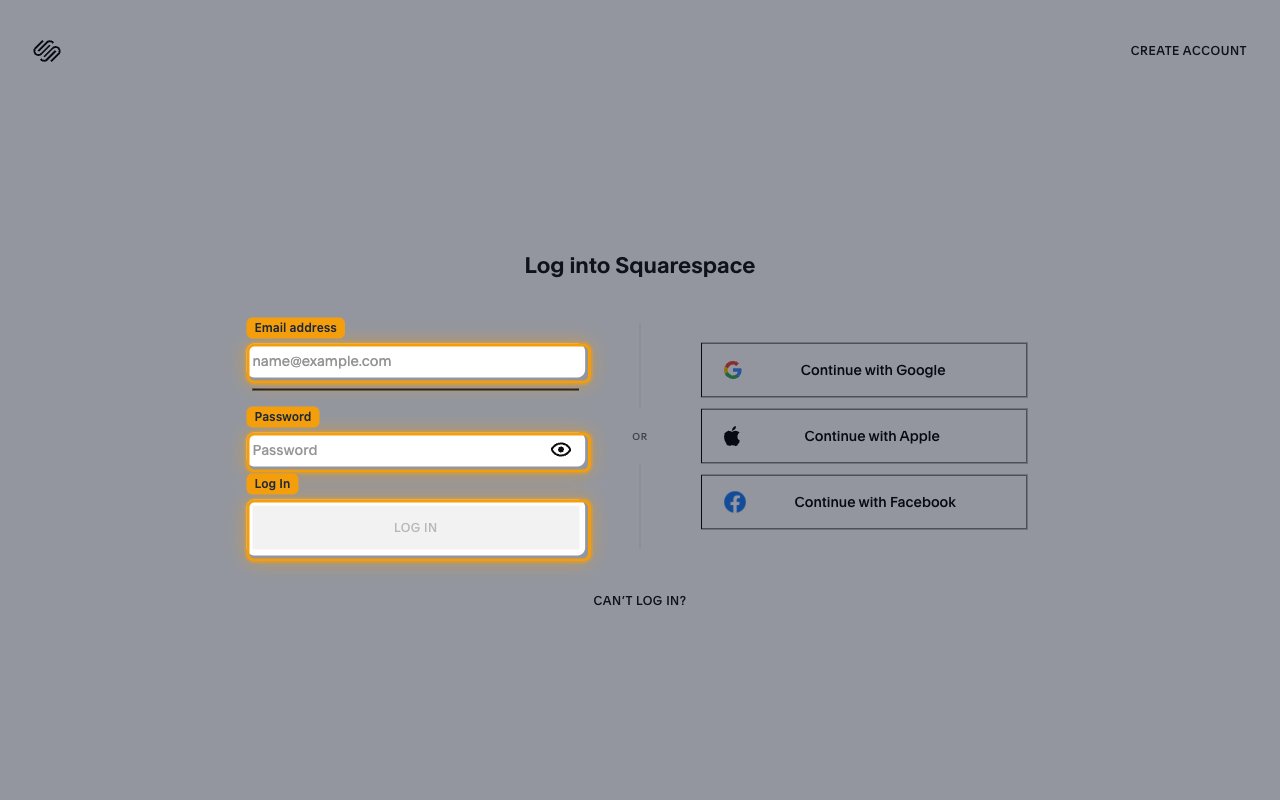
Sign in to Squarespace
Sign in at the Squarespace login page and open the site you want to connect.
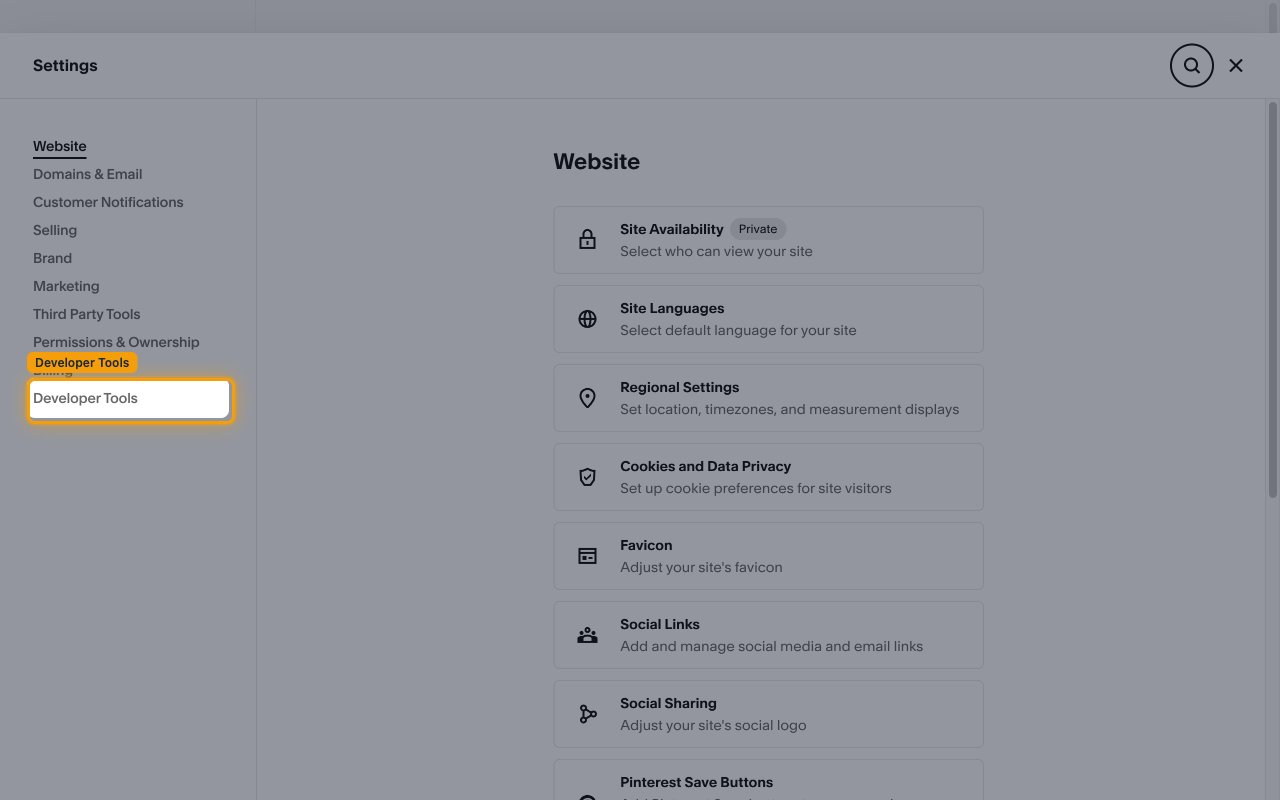
Open Developer Tools
In your site dashboard, open Settings, then select Developer Tools from the settings menu.
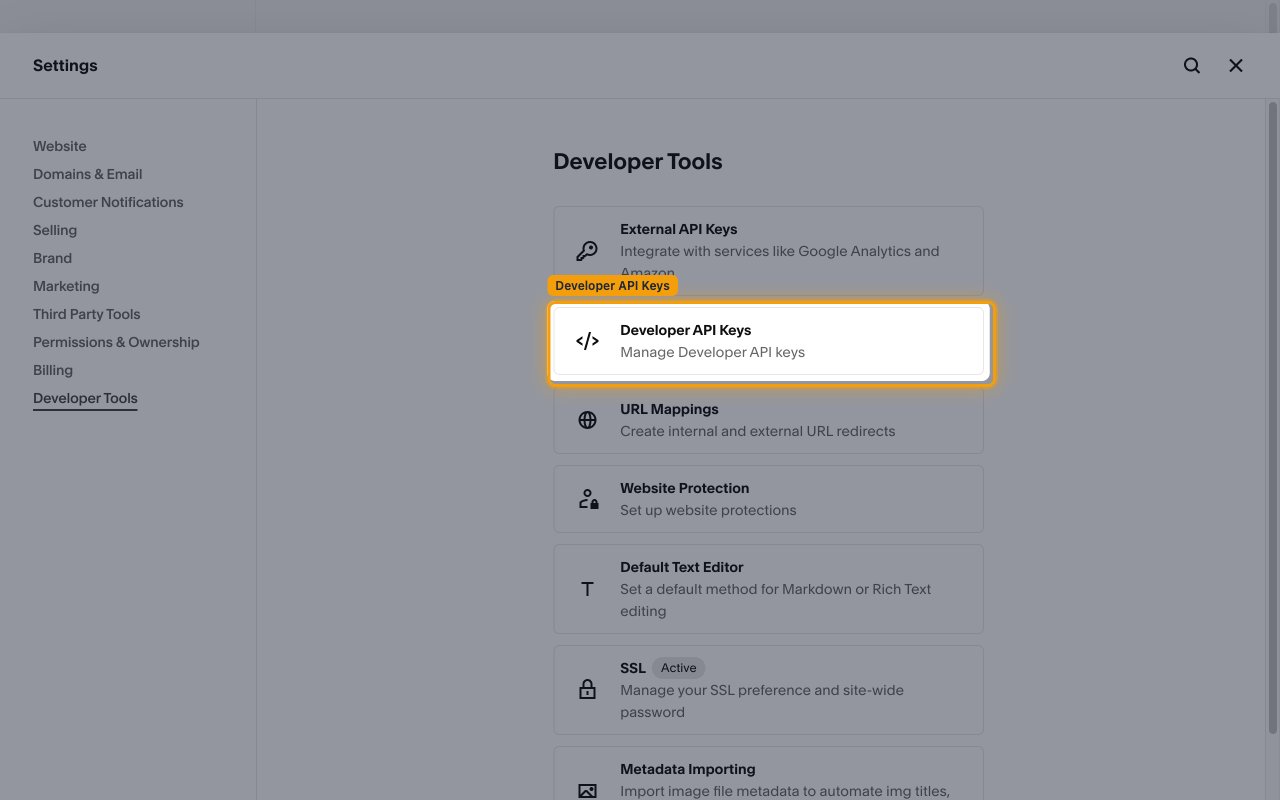
Open Developer API Keys
Under Developer Tools, click Developer API Keys (Manage Developer API keys).
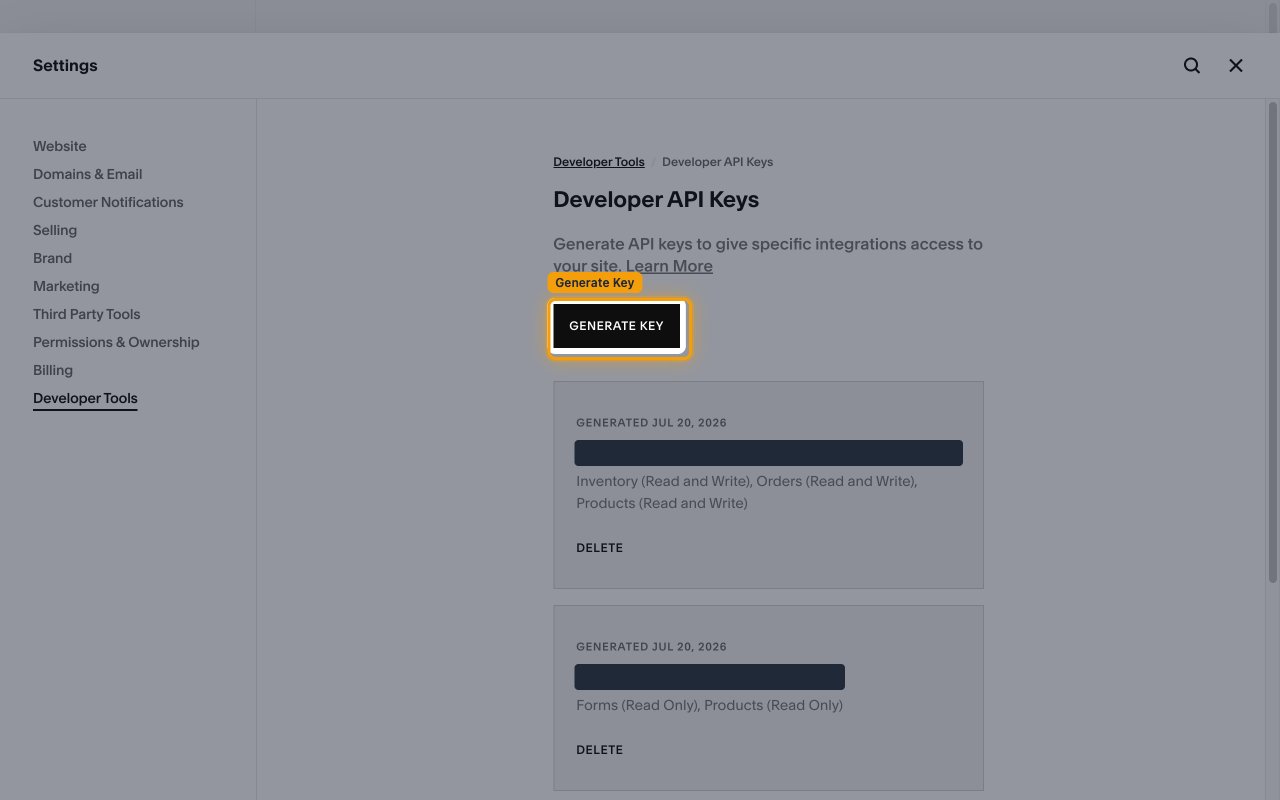
Generate a new key
On the Developer API Keys page, click GENERATE KEY to open the key dialog.
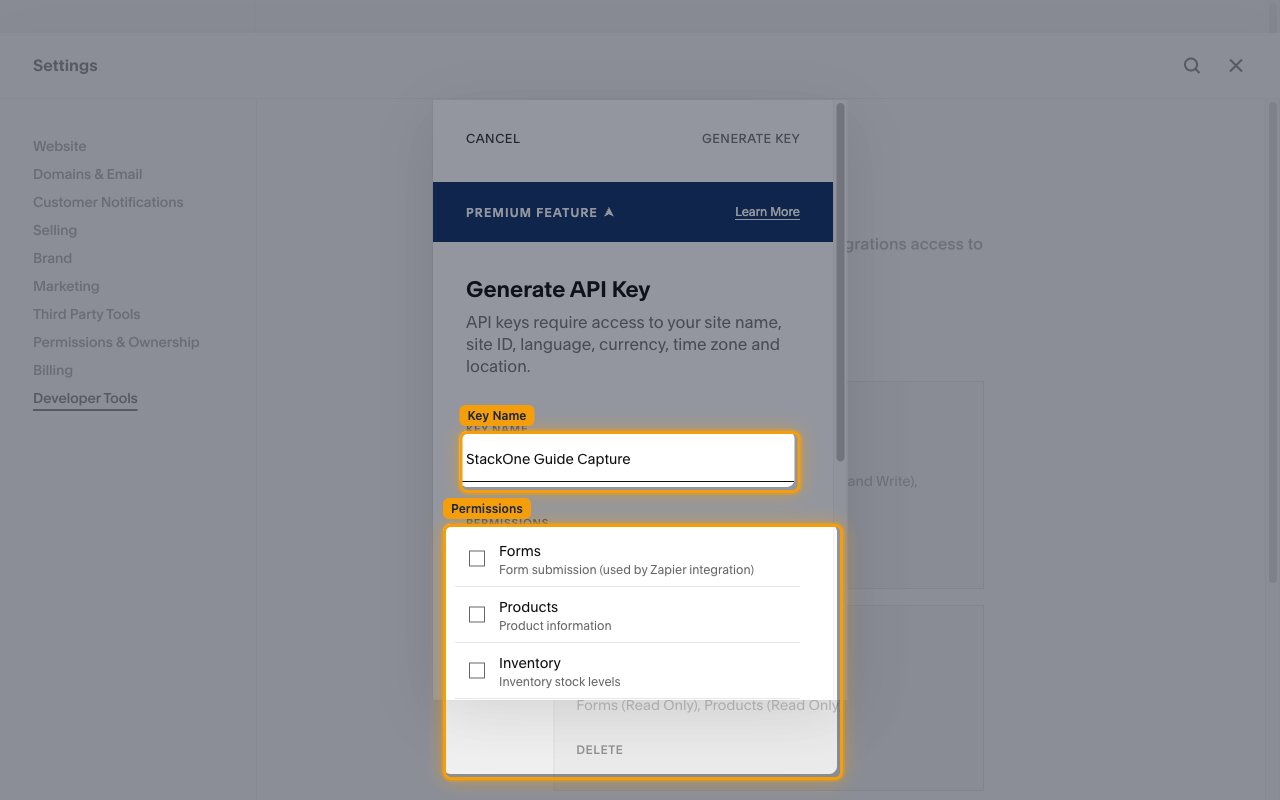
Enter a key name and select permissions
In the Generate API Key dialog, enter a Key Name to identify the integration. Under Permissions, tick the checkbox for each category this connector needs — for example Products, Inventory, Orders, Transactions, and Profiles. The scope identifiers listed below are StackOne references only — they map to these Squarespace categories (and the access levels set in the next step). You do not type them into Squarespace; just tick the matching category checkboxes.
- Key Name — a label for the key, e.g.
StackOne Integration(or any name you prefer).
Set the access level for each permission
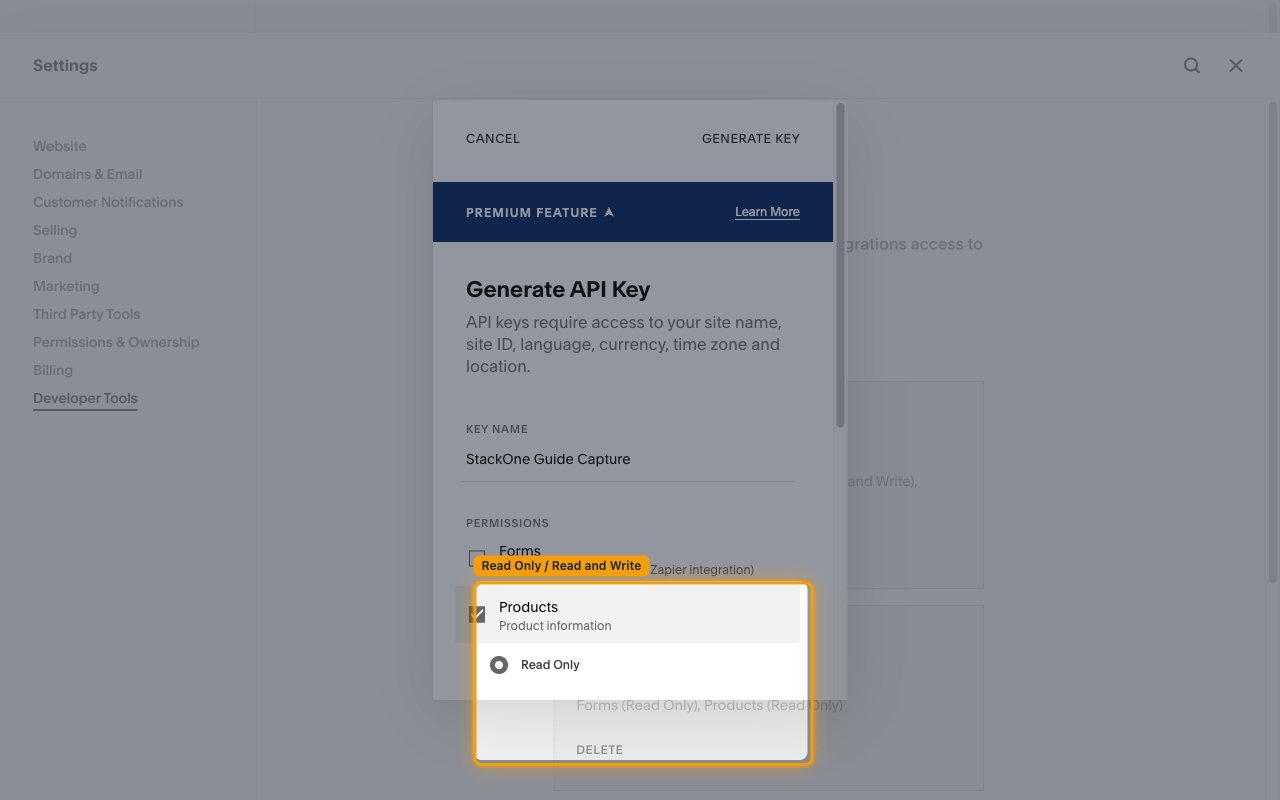
After ticking a category, choose its access level — Read Only or Read and Write.
Use the scopes above as a guide: a scope ending in .read (for example products.read) only needs Read Only, while a scope without the .read suffix (for example products, inventory, or orders) needs Read and Write.
Create and copy the API key
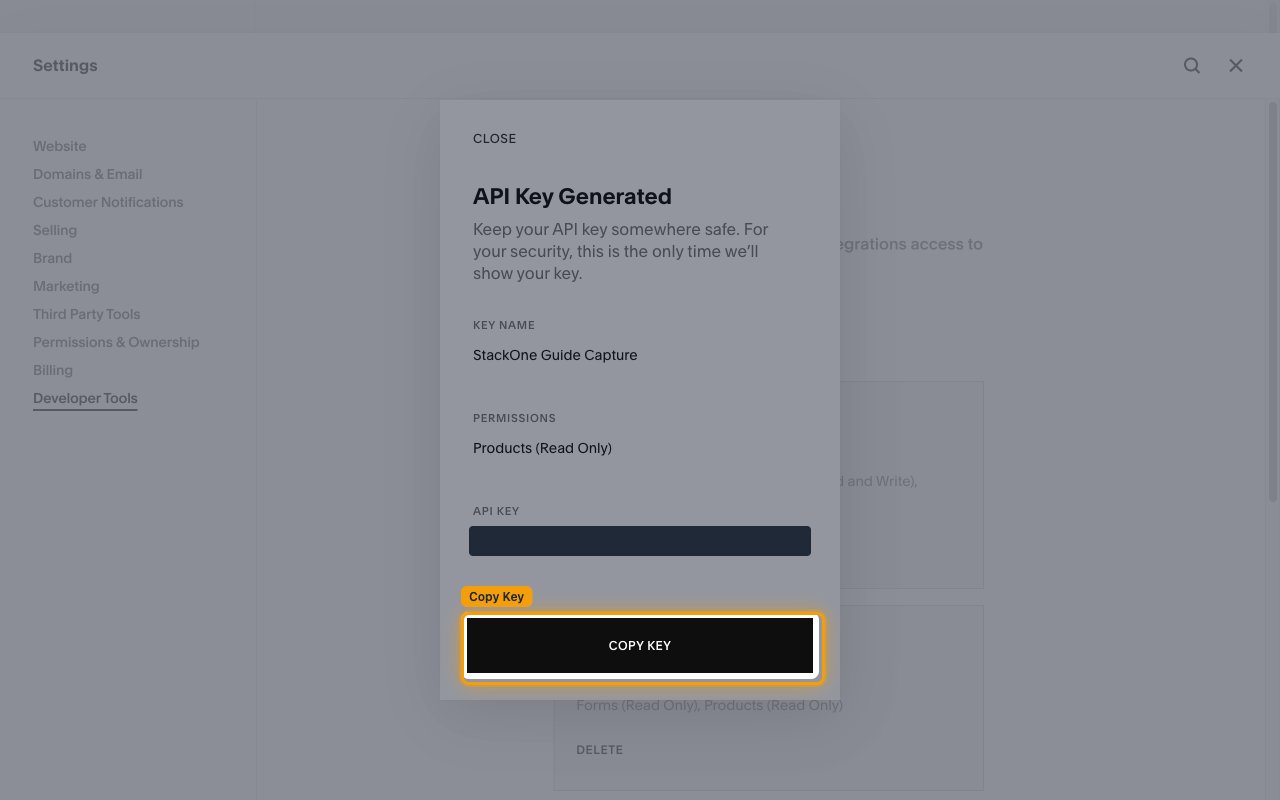
Click GENERATE KEY in the dialog to create the key. On the API Key Generated screen, click COPY KEY and store the value securely, then paste it into the API Key field in StackOne Hub.
- Keep your API key somewhere safe. For your security, this is the only time we’ll show your key. The key cannot be retrieved again once you close this screen.
- API keys do not expire as long as your site remains active.
Linking the Account from the Hub
Navigate to the Hub
Fill out the fields
- API Key
Connect
- Click Connect
- If applicable, the provider will redirect you to a sign-in or authorization page. Complete the provider’s authorization flow.
- Once authorization is successful, you will see a confirmation popup
If the account linking is successful, you will see the newly linked account in your Accounts page.
Next Steps
Webhooks setup
Configure receiving Events for Squarespace into StackOne.