

Find your API Server
SAP SuccessFactors uses a different API server host for each data center. You look up the API server that corresponds to your tenant domain, and paste it into the API Server field in StackOne Hub.
- Open the SAP SuccessFactors API server list (SAP note 2215682) and find your tenant domain in the table.
- For example, if your domain is
https://pmsalesdemo8.successfactors.com, look upsalesdemo8in the table. - Copy the value in the API Server column and remove the trailing forward slash.
- Example:
https://apisalesdemo8.successfactors.com
Find your username and Company ID
Your username and Company ID are both available from the account menu in the upper-right corner of SAP SuccessFactors.
Sign in and open the account menu
Sign in to your SAP SuccessFactors instance as an administrator, then select your profile image in the upper-right corner of the screen.
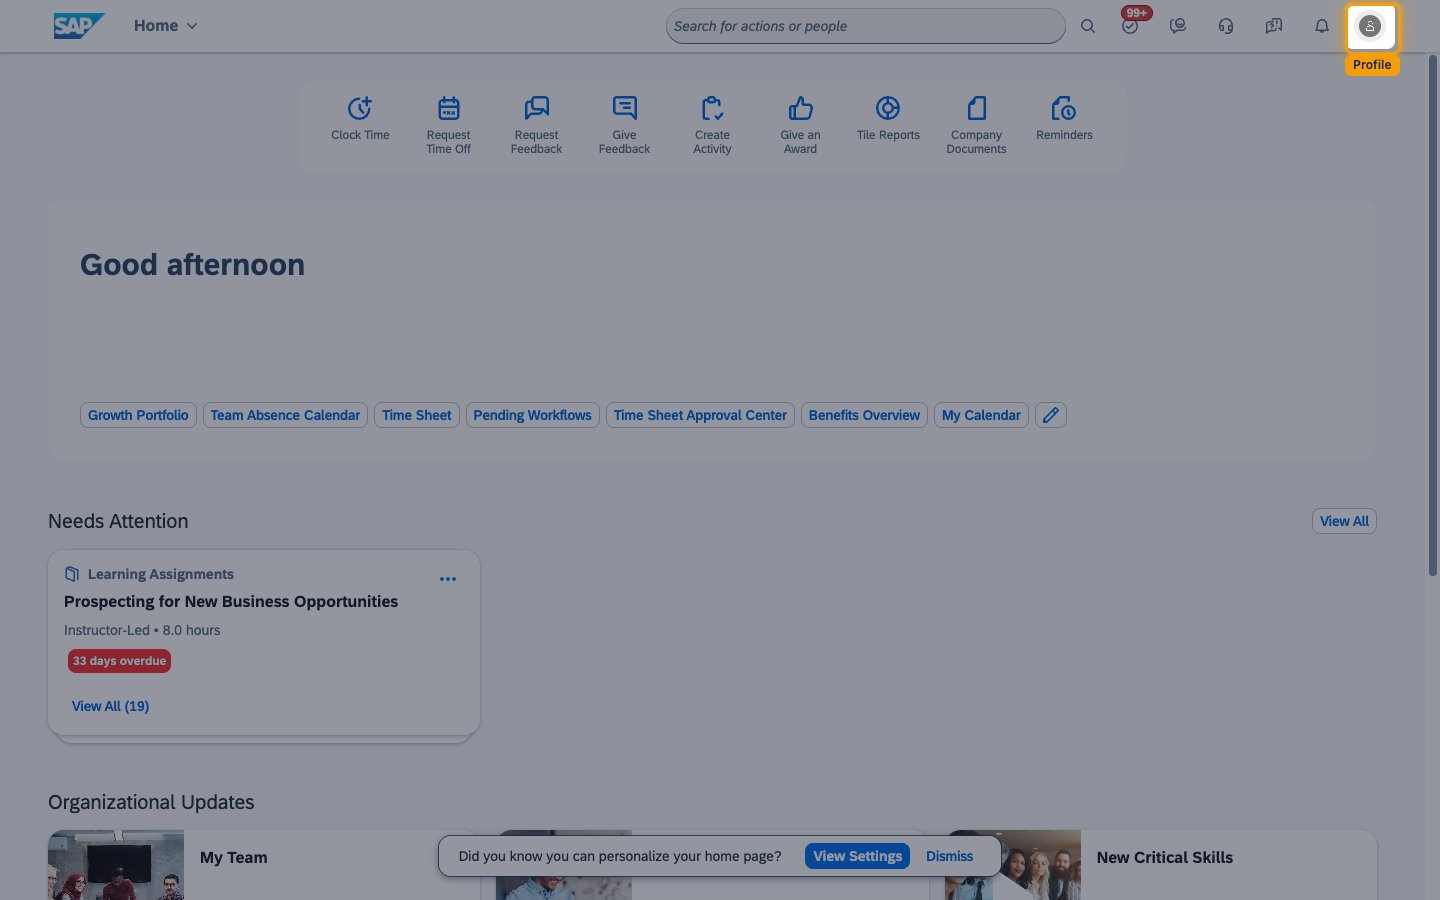
Copy your username
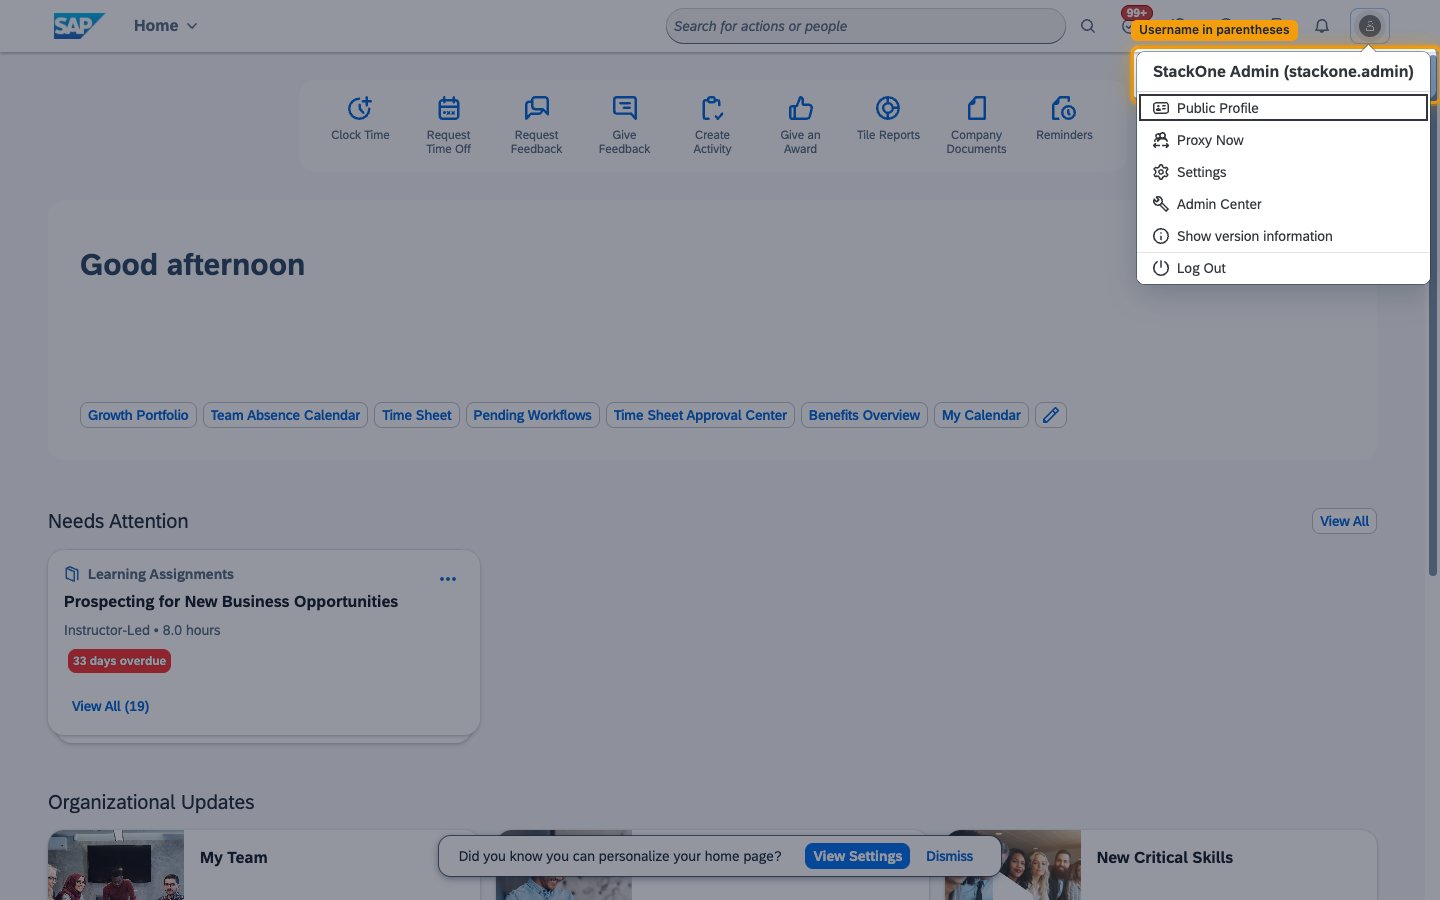
In the account menu, your username is the value shown in parentheses next to your name. Copy it and paste it into the Username field in StackOne Hub.
- Example: for a user shown as ‘John Smith (jsmith)’, the username is
jsmith.
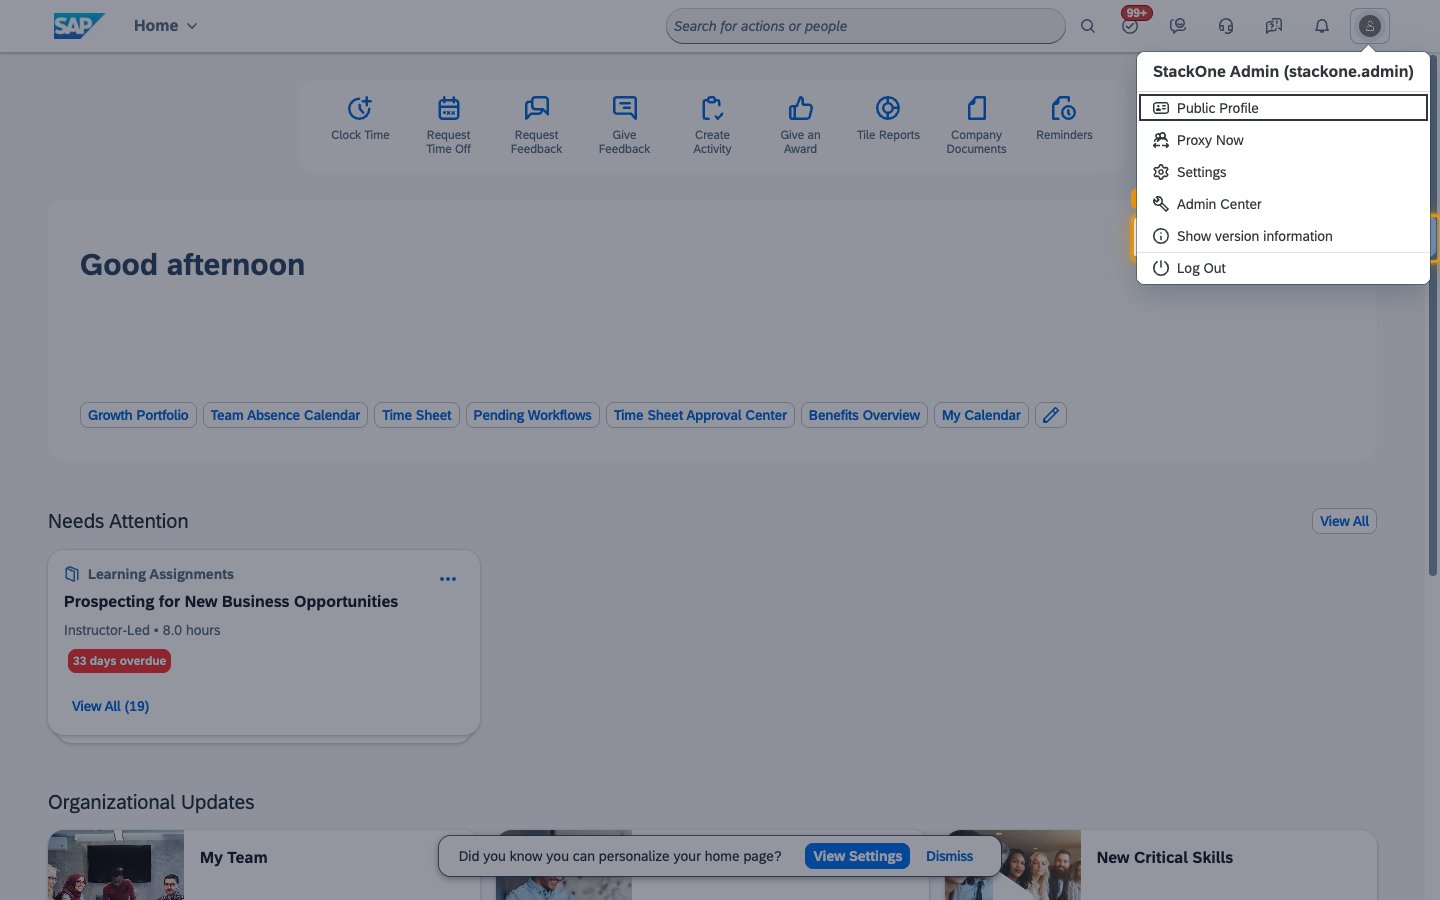
Open version information
In the same account menu, select Show version information.
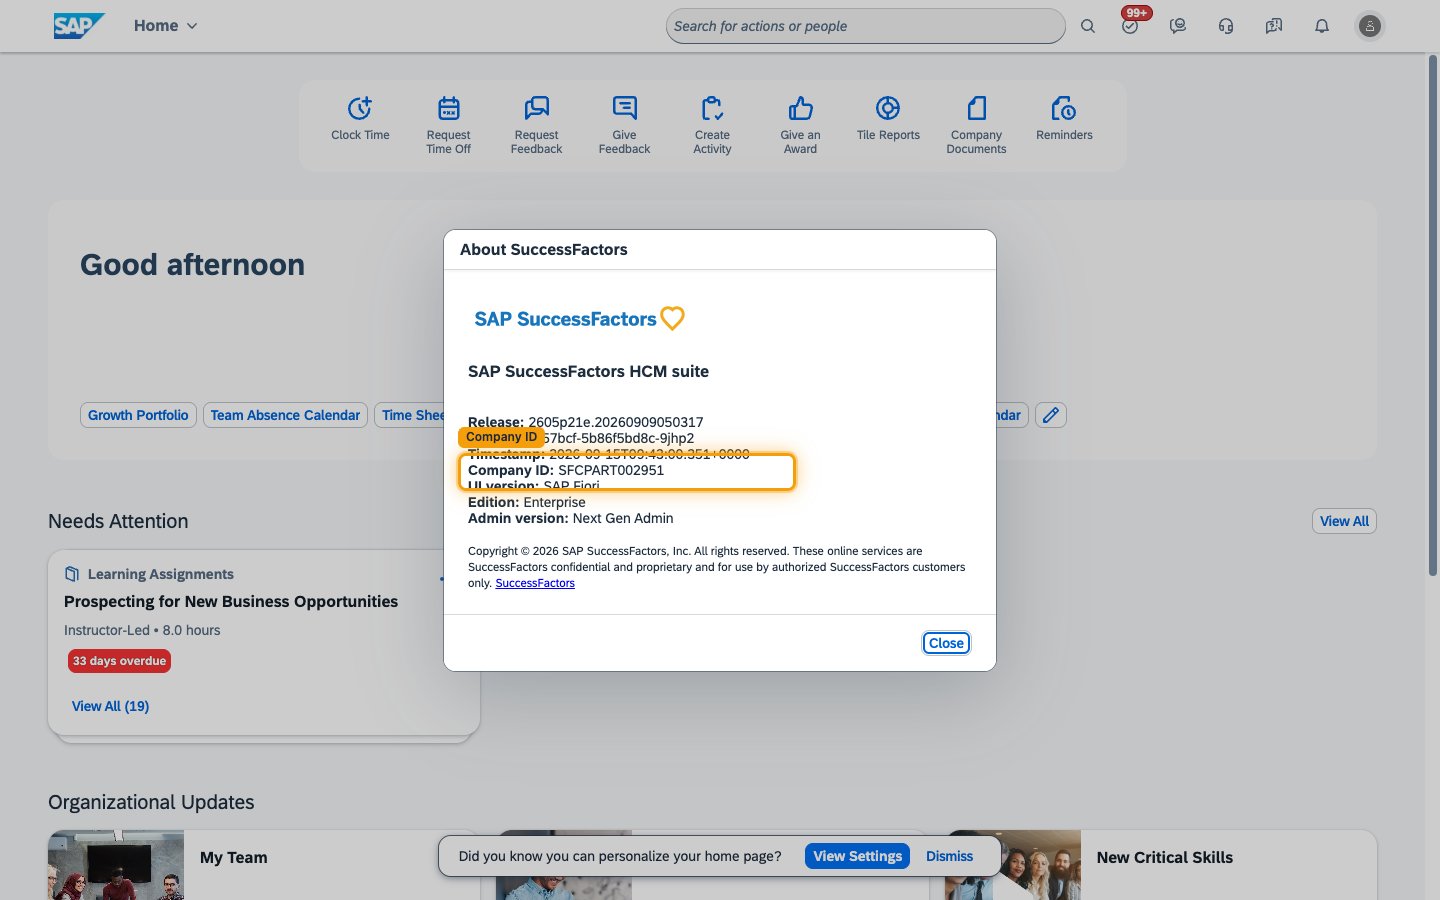
Copy your Company ID
In the About SuccessFactors dialog, locate and copy the Company ID. Paste it into the Company ID field in StackOne Hub.
- Example format:
SFPART123456
Register an OAuth2 client application
Register an OAuth2 client application in the Admin Center to obtain your API Key, X.509 certificate, and private key.
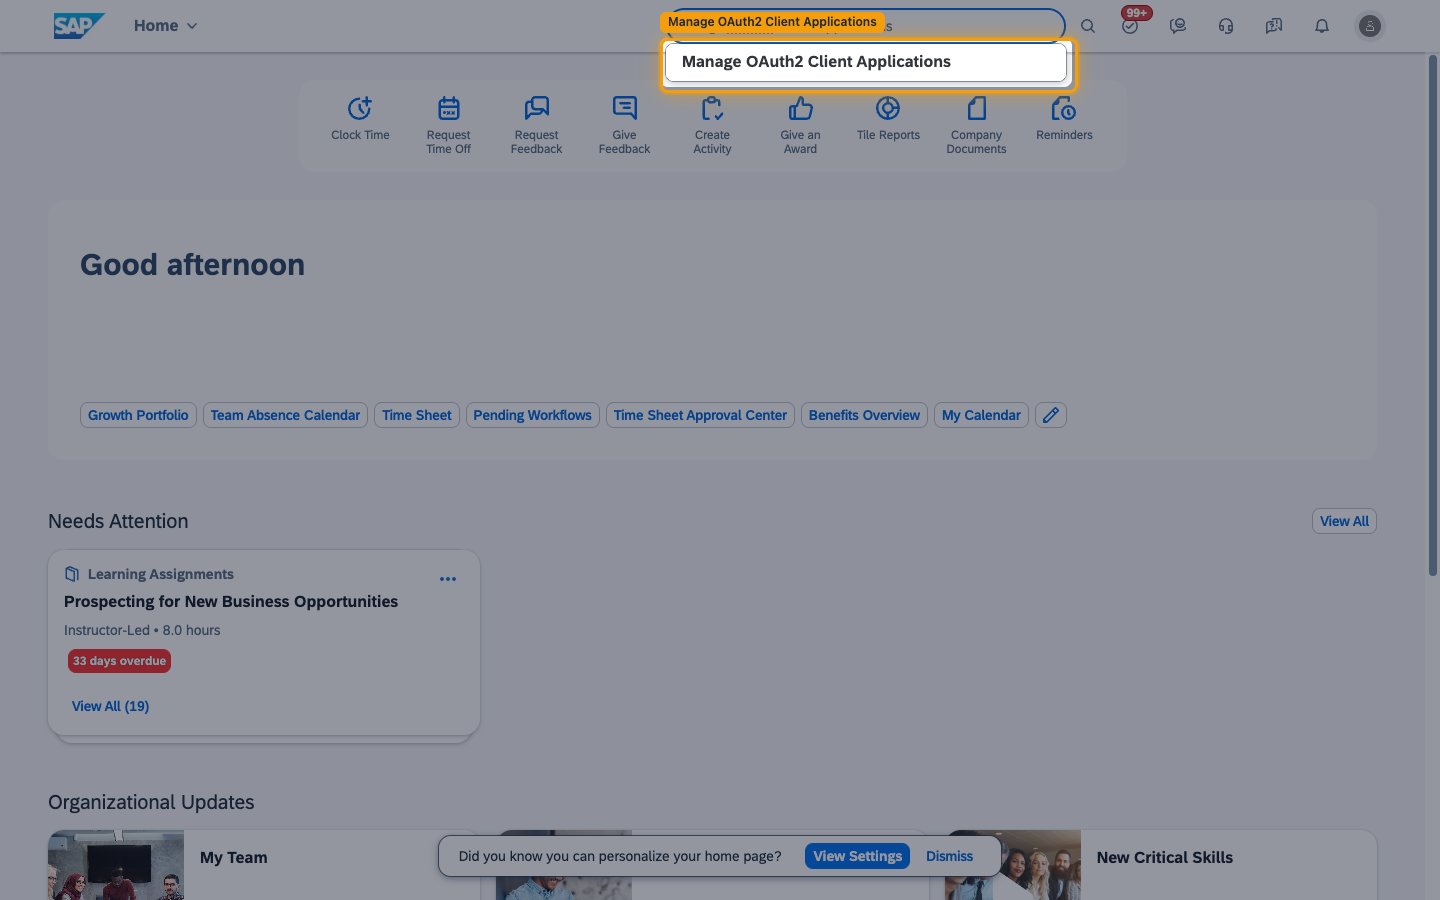
Open Manage OAuth2 Client Applications
In the top search bar, search for Manage OAuth2 Client Applications and select the matching result.
Register a new client application
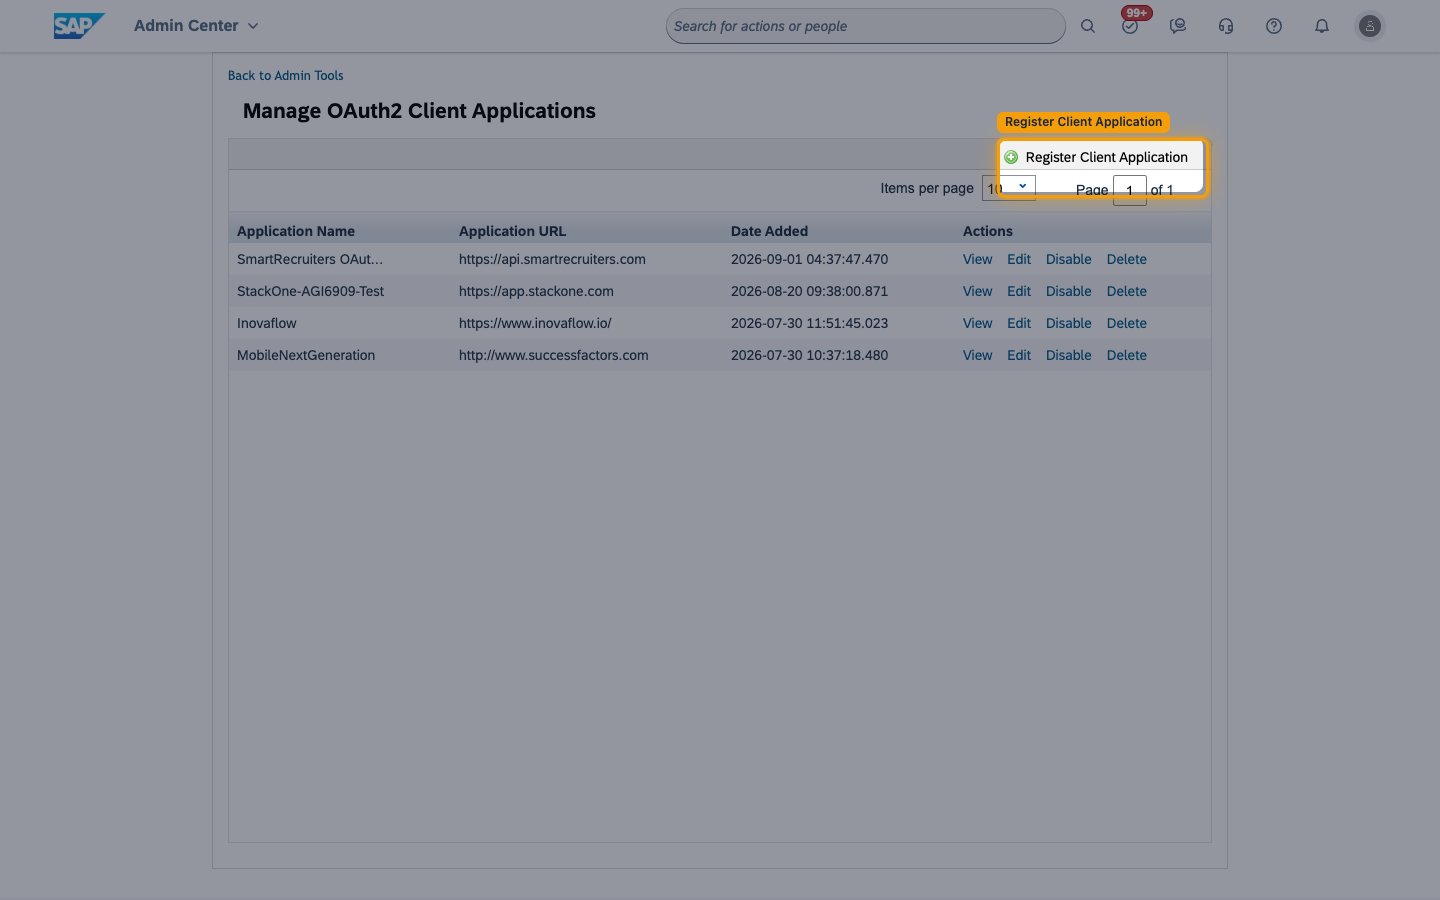
Click Register Client Application.
Enter the application details
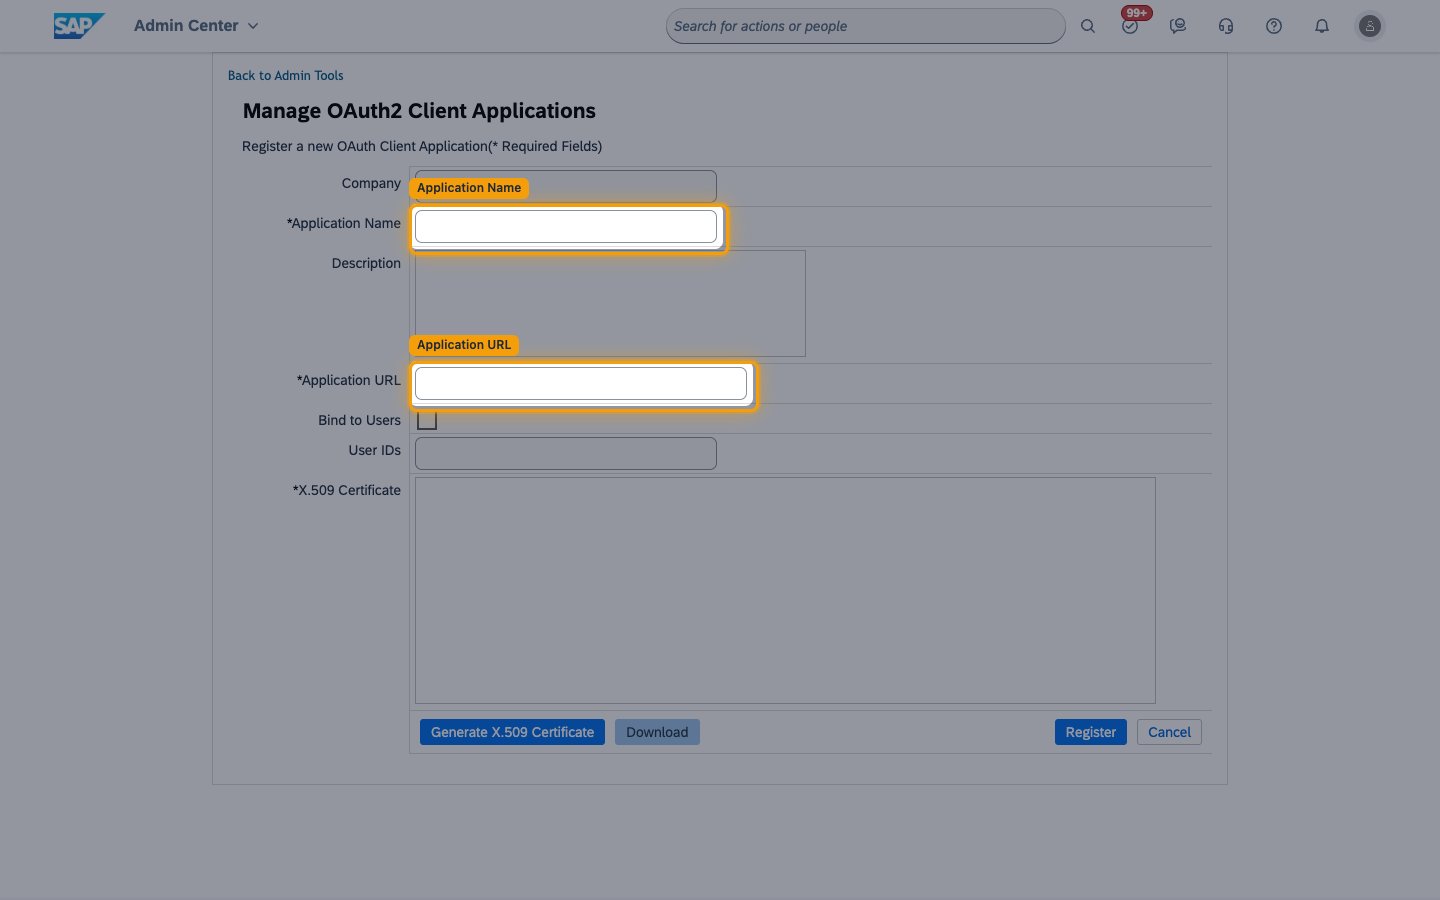
Enter an Application Name and an Application URL.
- Application Name:
StackOne Integration - The Application URL can be any valid URL and is not used in this integration.
Generate the X.509 certificate
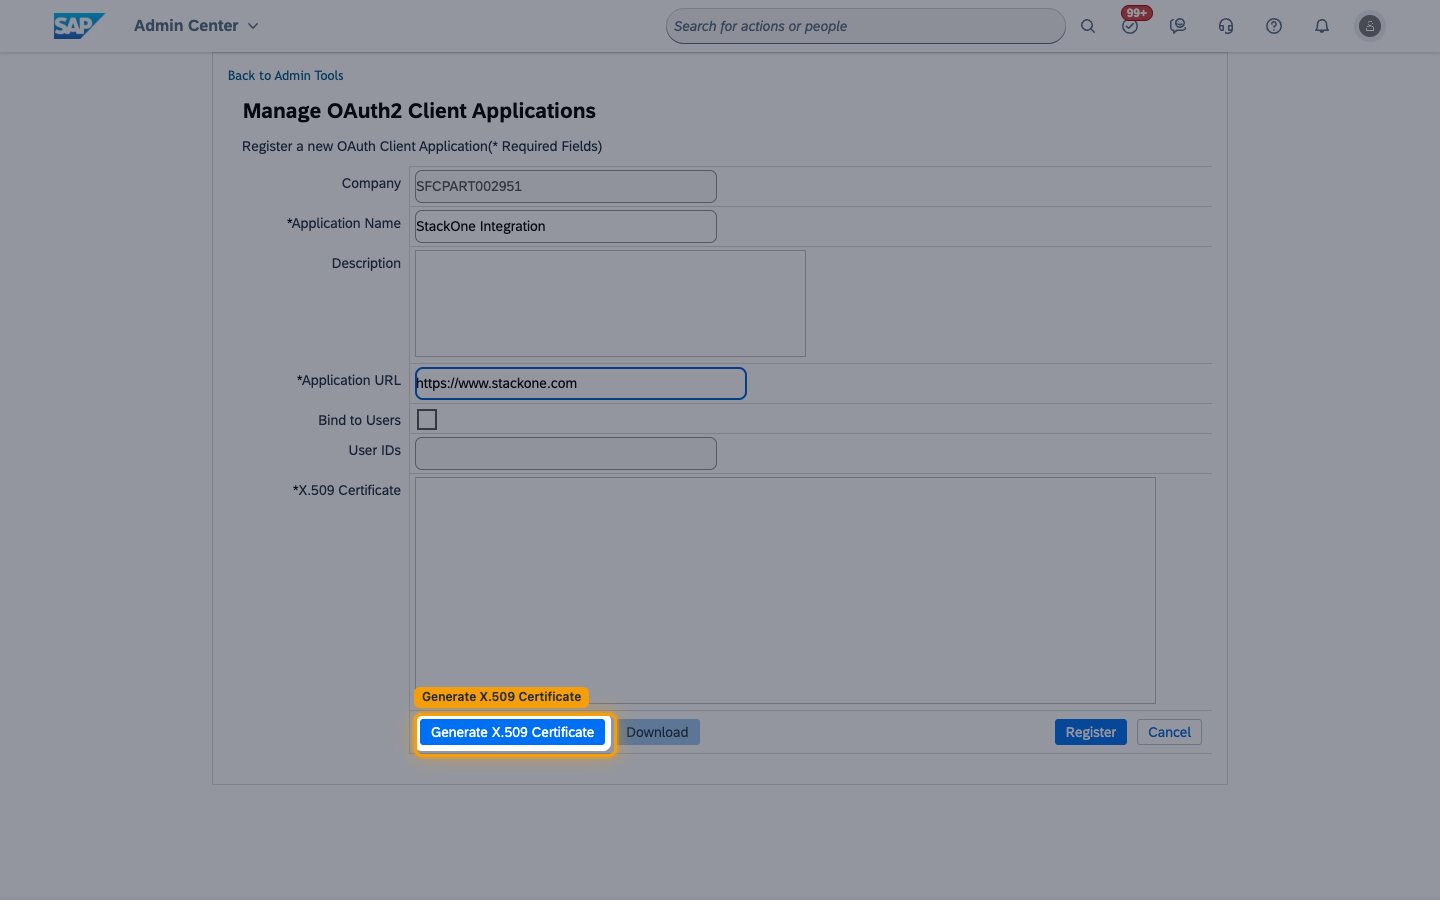
SAP SuccessFactors generates the certificate for you. Click Generate X.509 Certificate.
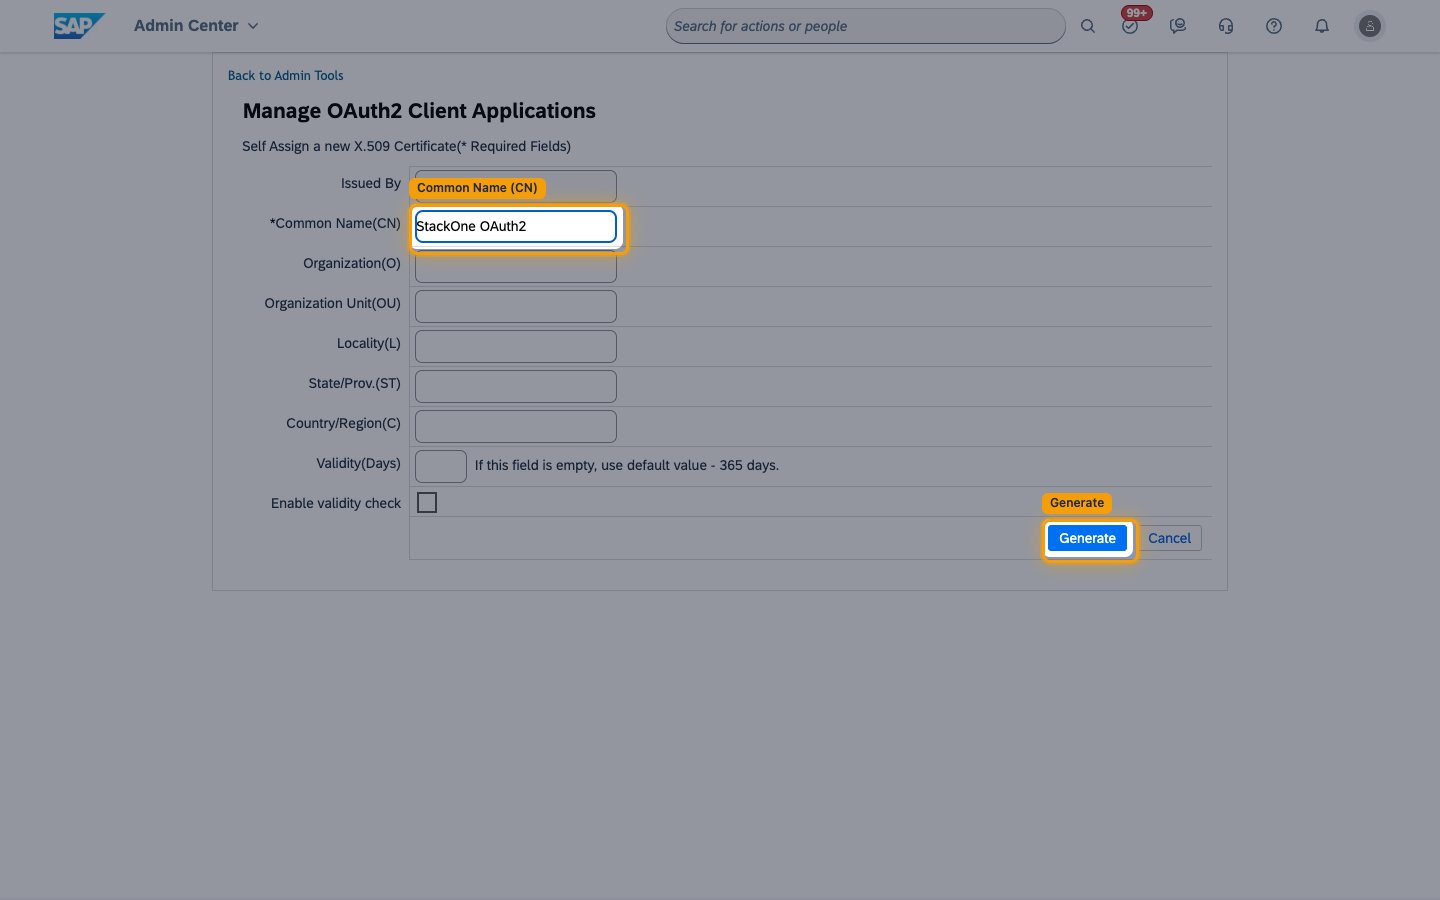
Enter a Common Name and generate
Enter a Common Name(CN) for the certificate, then click Generate.
- Common Name(CN):
StackOne OAuth2
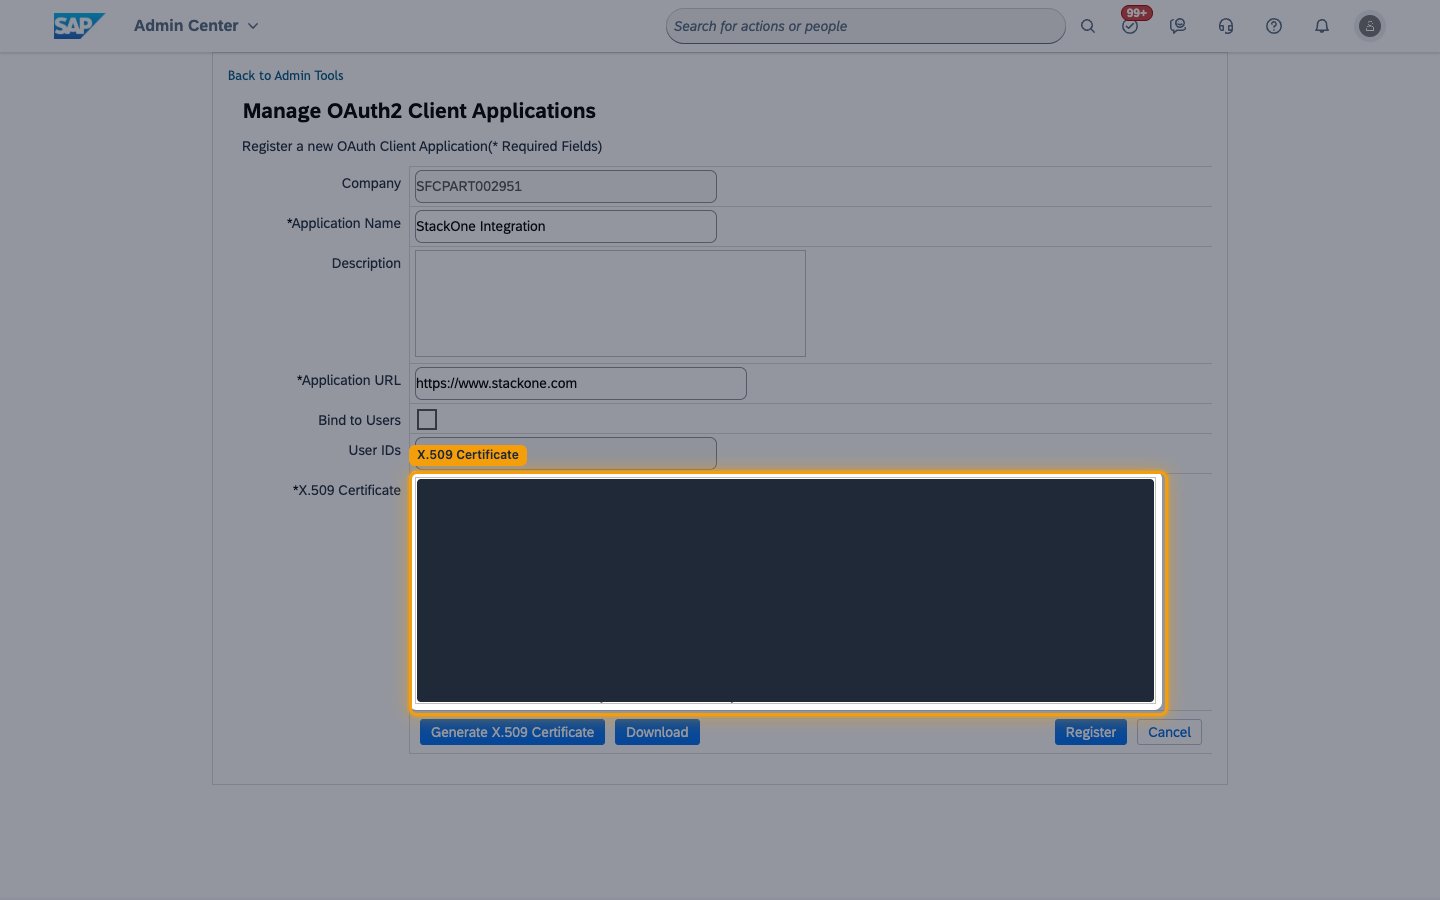
Copy the X.509 certificate
Copy the entire value shown in the X.509 Certificate box. This is your x509 Certificate value — store it securely for use later, and paste it into the x509 Certificate field in StackOne Hub.
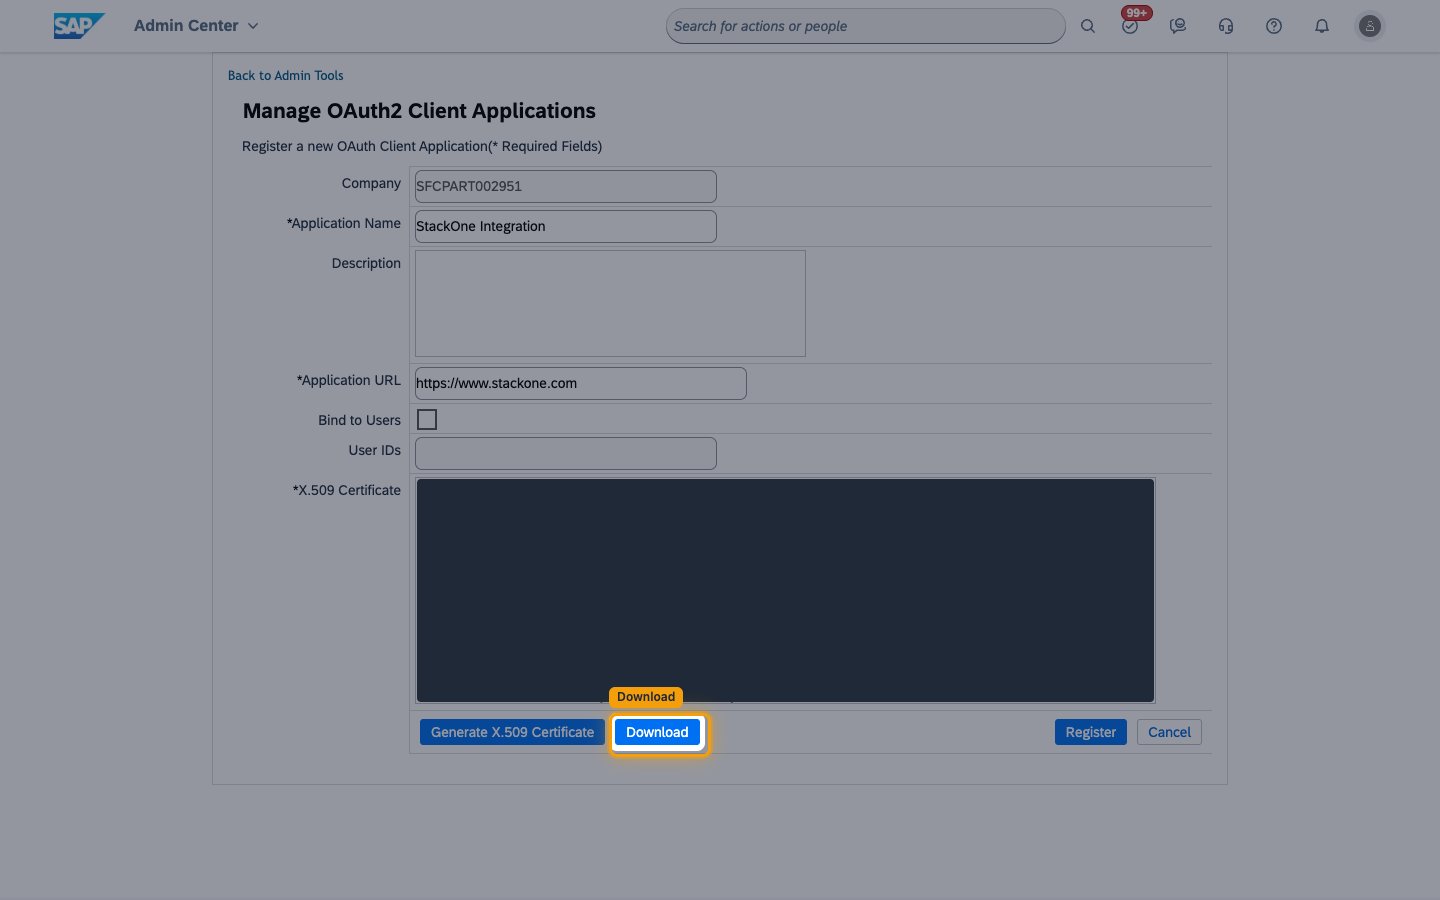
Download the private key
Click Download to save the file containing your private key.
- Caution: the downloaded file contains your private key — handle it securely.
- Open the file and copy only the text between
-----BEGIN ENCRYPTED PRIVATE KEY-----and-----END ENCRYPTED PRIVATE KEY-----, excluding the markers themselves. - This is your Private Key value — store it securely for use later, and paste it into the Private Key field in StackOne Hub.
Register the application
Click Register to save the client application.
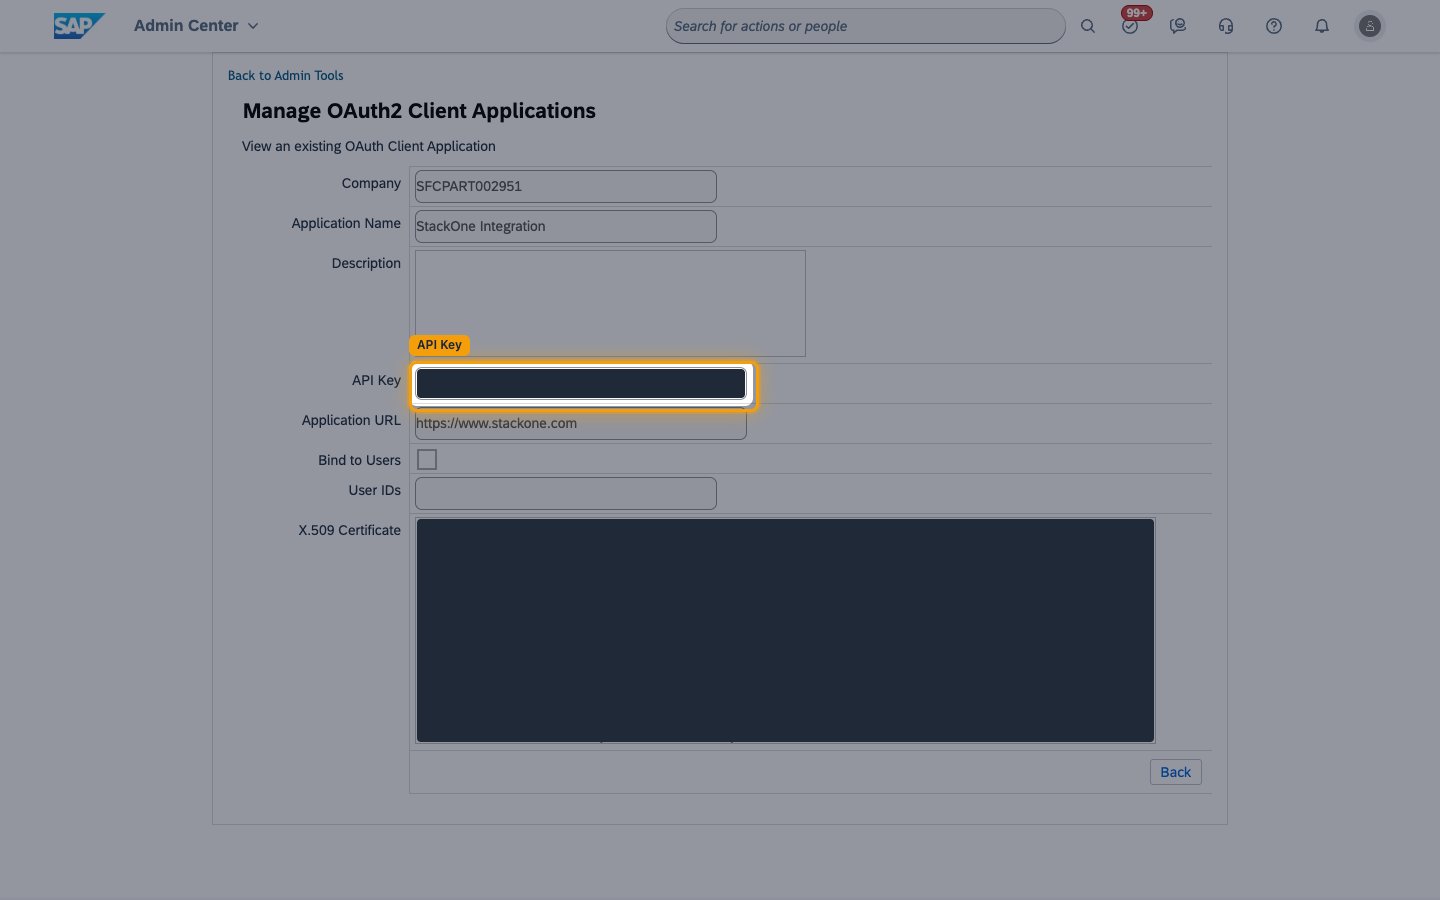
Copy the API Key
Open the application by clicking View. The API Key is displayed above the X.509 Certificate. Copy it and paste it into the API Key field in StackOne Hub.
- Note: copy this value immediately, as it may not be shown again.
Configure OData API permissions
Make sure the OData API entities you need are enabled for your instance.
- Navigate to Admin Center > Company Settings > OData API Data Dictionary.
- Verify that the entities you need — for example
Employee,Candidate,JobRequisition, andJobApplication— are enabled for the OData API. - Enable Upsert operations if you need to update records (optional, and not available in all instances).
Find your Learning domain URL (optional)
Your Learning domain URL is required only for Learning or OCN actions, such as course import and completion tracking. This is the user-facing URL, not the API server URL. Leave the Learning Domain URL field blank if you only use HRIS actions.
- Navigate to the Learning module in SAP SuccessFactors and look at the URL in your browser’s address bar.
- Copy the base URL (everything before
/learning). - Example: if your URL is
https://salesdemo8.successfactors.com/learning/admin, your Learning domain URL ishttps://salesdemo8.successfactors.com - Note: the Learning domain URL has no
apiprefix, unlike the API server URL. Both use the same OAuth credentials.
Linking the Account from the Hub
Navigate to the Hub
Fill out the fields
- API Server
- Learning Domain URL (Optional)
- Company ID
- API Key
- Username
- Private Key
- x509 Certificate
Connect
- Click Connect
- If applicable, the provider will redirect you to a sign-in or authorization page. Complete the provider’s authorization flow.
- Once authorization is successful, you will see a confirmation popup
If the account linking is successful, you will see the newly linked account in your Accounts page.