

Connect Request Tracker with your account credentials
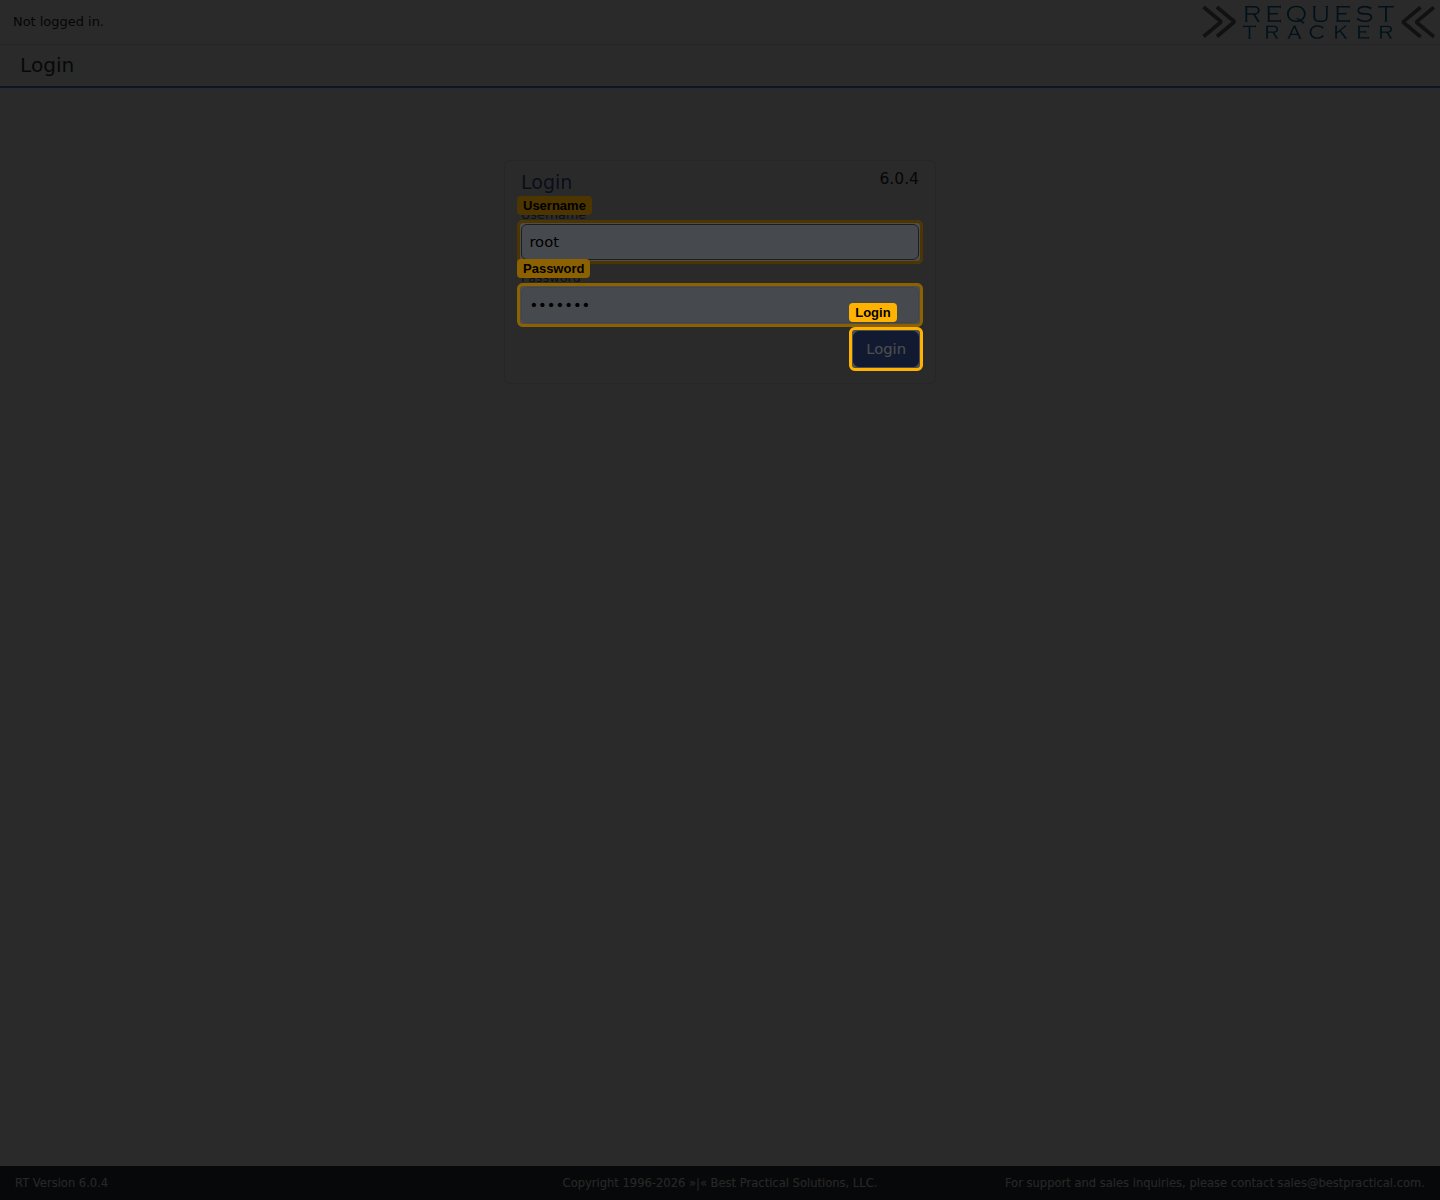
StackOne connects to your self-hosted Request Tracker (RT) instance using the same Username and Password you use to sign in on RT’s Login screen, plus your Instance URL.
1
Find your Instance URL and account credentials
Open your organization’s RT instance in a browser and sign in on the Login screen.
- Your Instance URL is the base address of your RT instance shown in the browser address bar.
- Format:
https://{your-rt-host} - Example:
https://rt.example.com - Copy the Instance URL across.
- Copy the Username you sign in with across.
- Copy the same Password you sign in with across.
Link the Account
1
Connect
- Click Connect.
- If applicable, the provider will redirect you to a sign-in or authorization page. Complete the provider’s authorization flow.
- Once authorization is successful, you will see a confirmation popup.
2
Use Actions
Connect an AI platform to the linked account’s actions. See AI Platforms.Other ways to call actions are listed in Protocols & SDKs.