

Create your NCBI API key
The NCBI E-utilities API that powers this connector works without any credentials at a rate of 3 requests/second per IP address. Adding an NCBI API key is optional and raises that limit to 10 requests/second. Follow the steps below to generate a key from your NCBI account and add it in StackOne Hub.
Sign in to your NCBI account
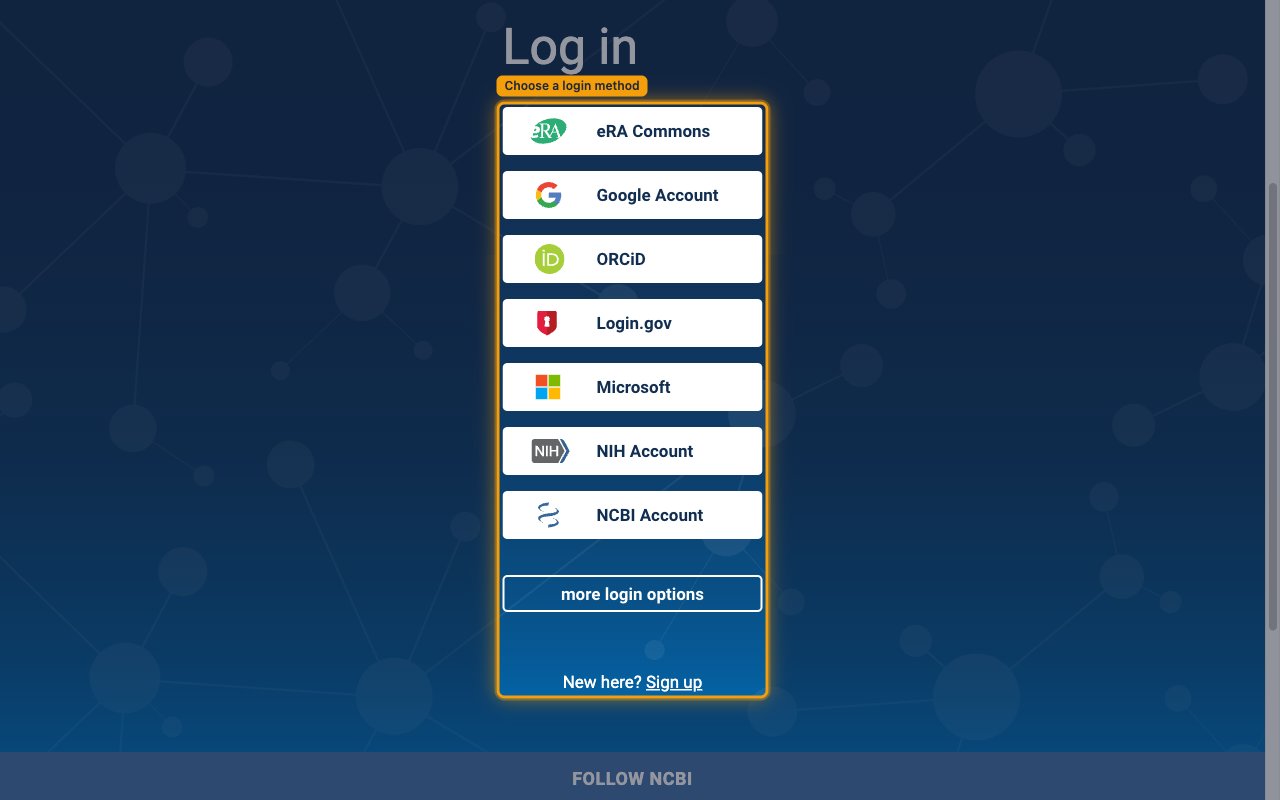
Open the NCBI account login page and sign in. NCBI does not use a password of its own — pick one of the third-party login methods on the Log in screen:
- eRA Commons
- Google Account
- ORCiD
- Login.gov
- Microsoft
- NIH Account
- NCBI Account
- If you do not yet have an NCBI account, use more login options or Sign up to create one first.
Open Account settings
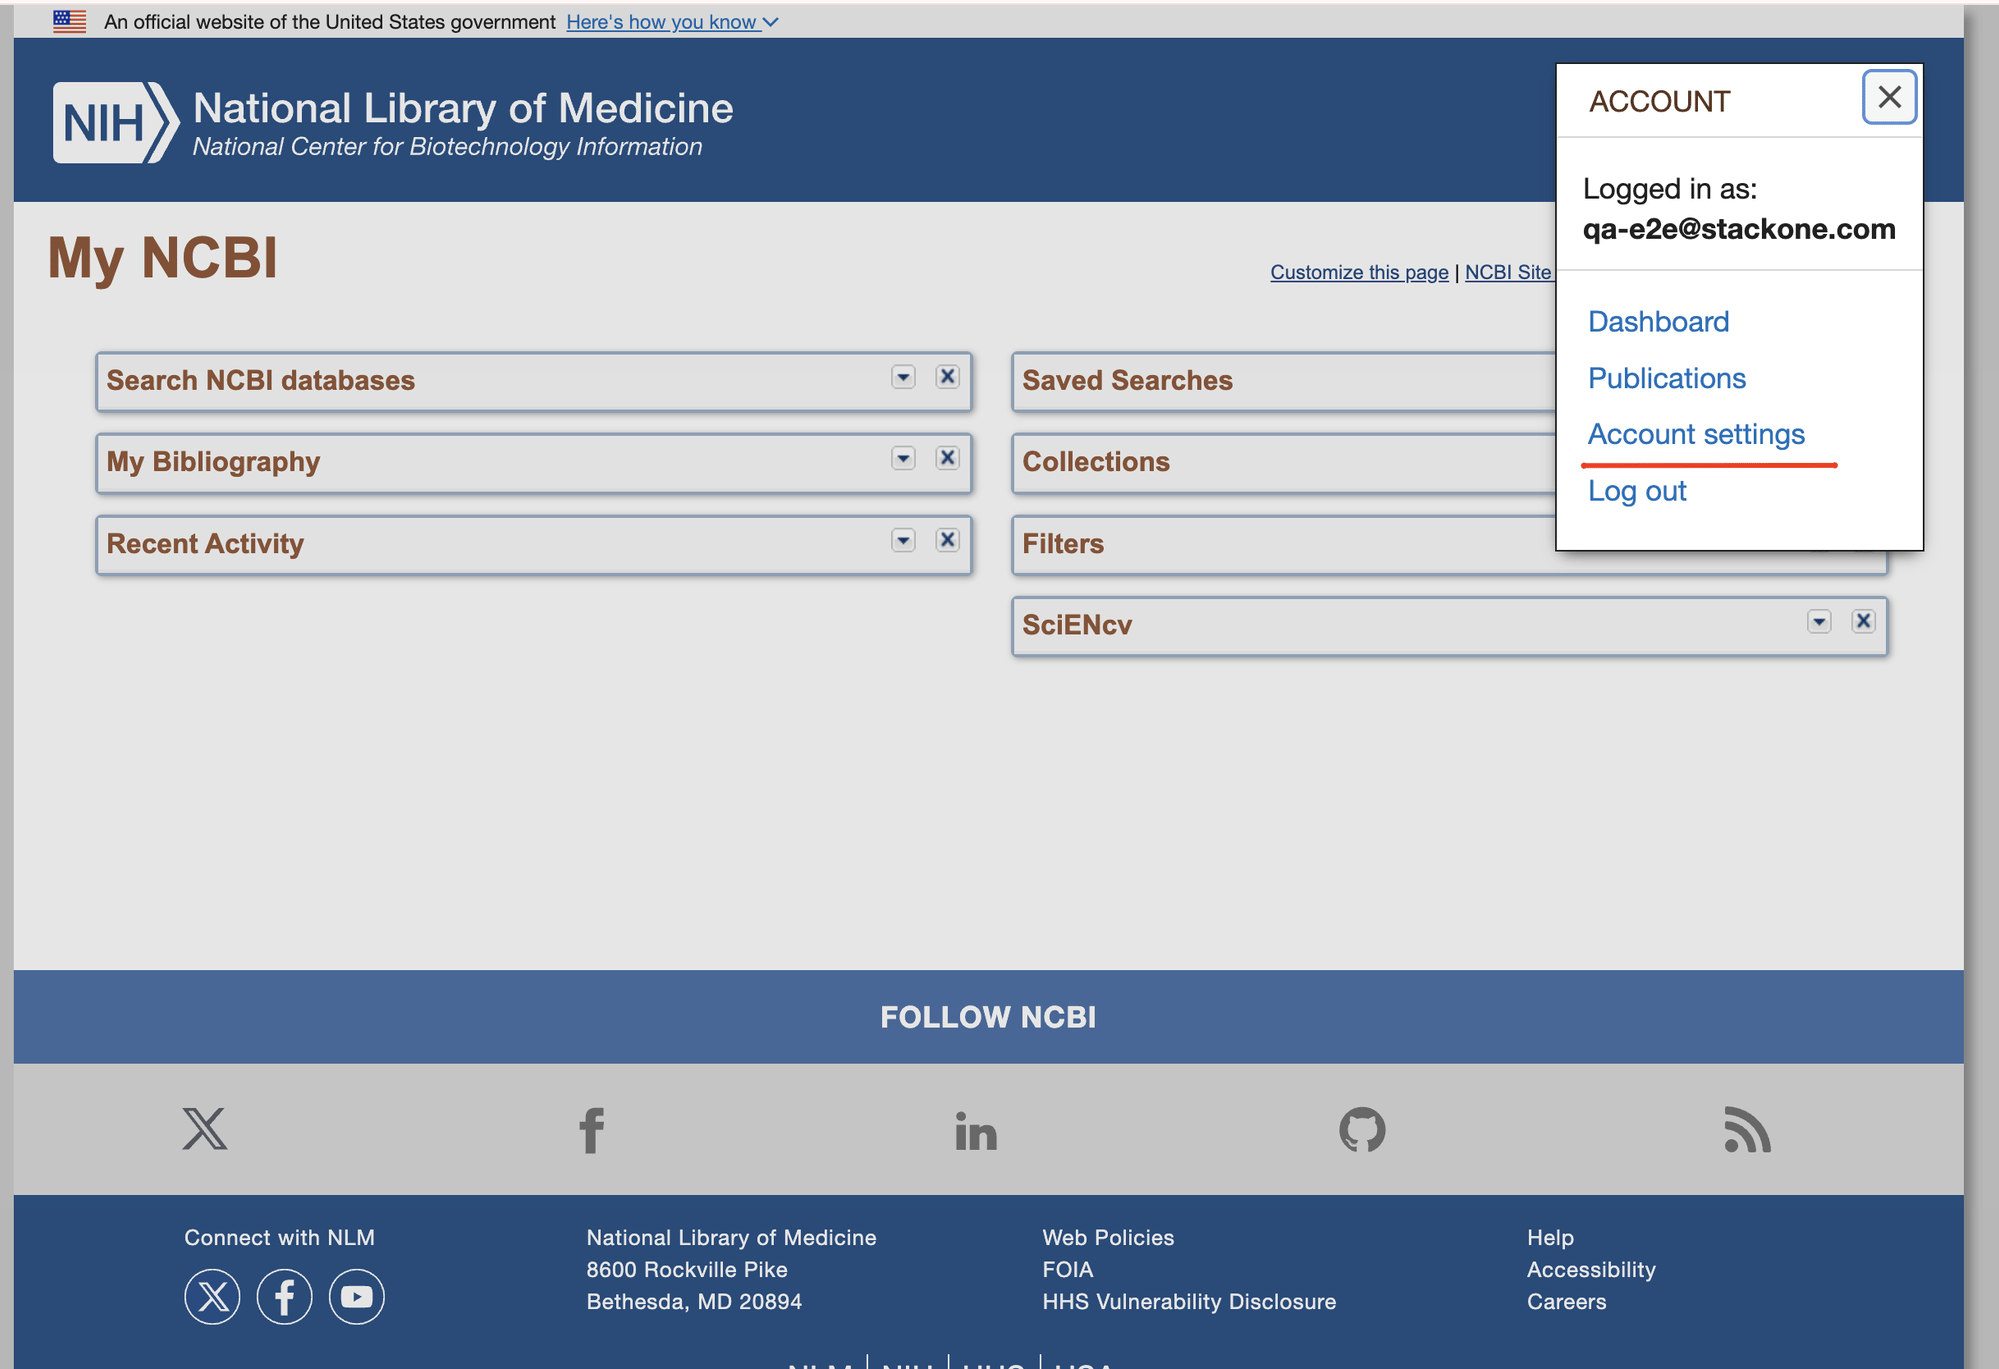
Once signed in, click your profile email at the top right, then select Account settings from the dropdown menu (you can also open it directly at the NCBI account settings page). The Account settings page opens.
Create or copy your API key
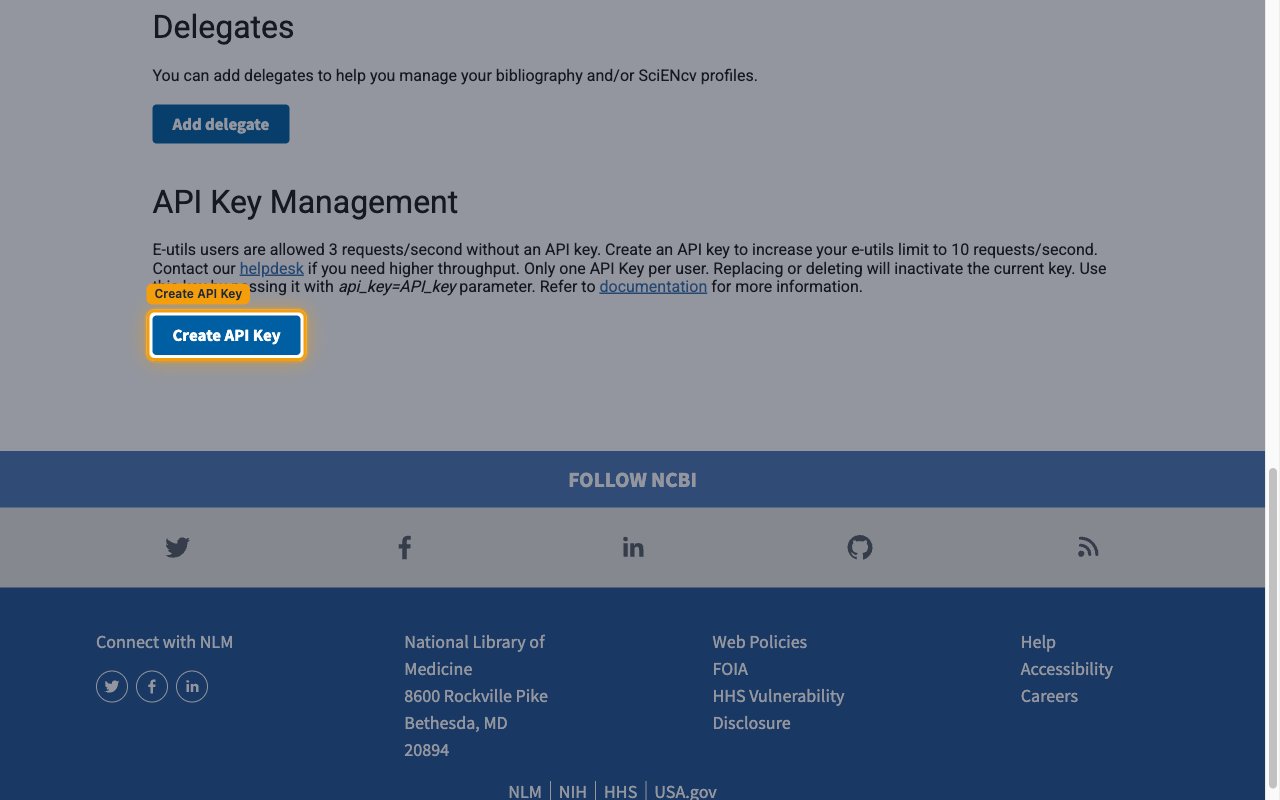
Scroll down to the API Key Management section. If you have no key yet, click Create API Key and NCBI generates a single key for your account. If a key already exists there is no Create API Key button — the existing key is shown in the API Key row with Replace and Remove options; simply copy that existing key instead of creating a new one.
- The section confirms: E-utils users are allowed 3 requests/second without an API key. Create an API key to increase your e-utils limit to 10 requests/second.
- Only one API Key per user. Replacing or deleting will inactivate the current key.
- The key is used by passing it as the
api_key=API_keyrequest parameter — StackOne does this for you automatically.
Copy your API key into StackOne Hub
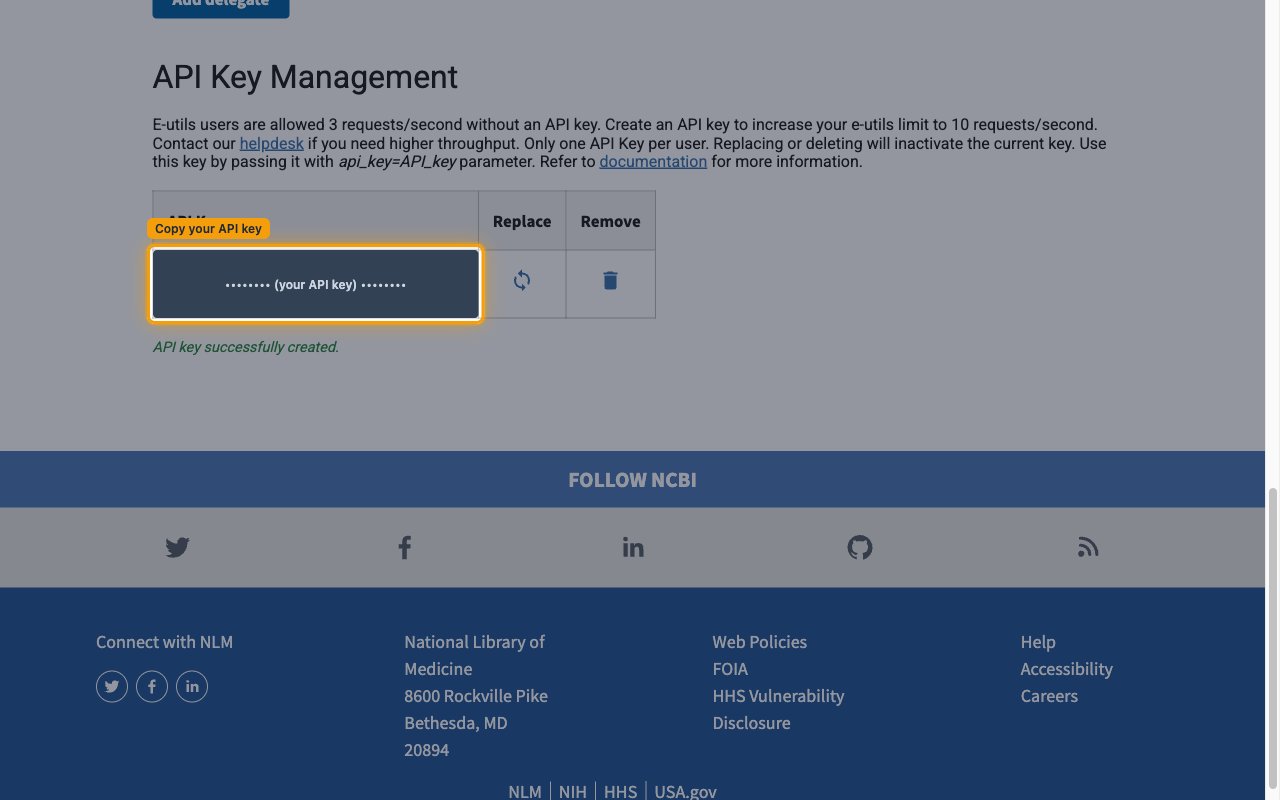
After you click Create API Key, the message API key successfully created. appears and your key is shown in the API Key row. Copy that value and paste it into the API Key field in StackOne Hub.
- API Key — the NCBI key you just generated. Copy the value shown in the API Key row and paste it into the API Key field in StackOne Hub. It is required for this connection.
- Contact Email — optional. Enter the maintainer email address NCBI should use to contact you before throttling heavy usage, in the Contact Email field in StackOne Hub.
- Your key stays available in API Key Management — return here any time to copy it again, use Replace API key to rotate it, or Remove API key to delete it.
Linking the Account from the Hub
Navigate to the Hub
Fill out the fields
- API Key
- Contact Email (Optional)
Connect
- Click Connect
- If applicable, the provider will redirect you to a sign-in or authorization page. Complete the provider’s authorization flow.
- Once authorization is successful, you will see a confirmation popup
If the account linking is successful, you will see the newly linked account in your Accounts page.