

Create an API application
Coevera (Pipeliner CRM) issues API credentials to an application you create in the Administration module, so each integration gets its own credentials and permissions.
Sign in to Coevera
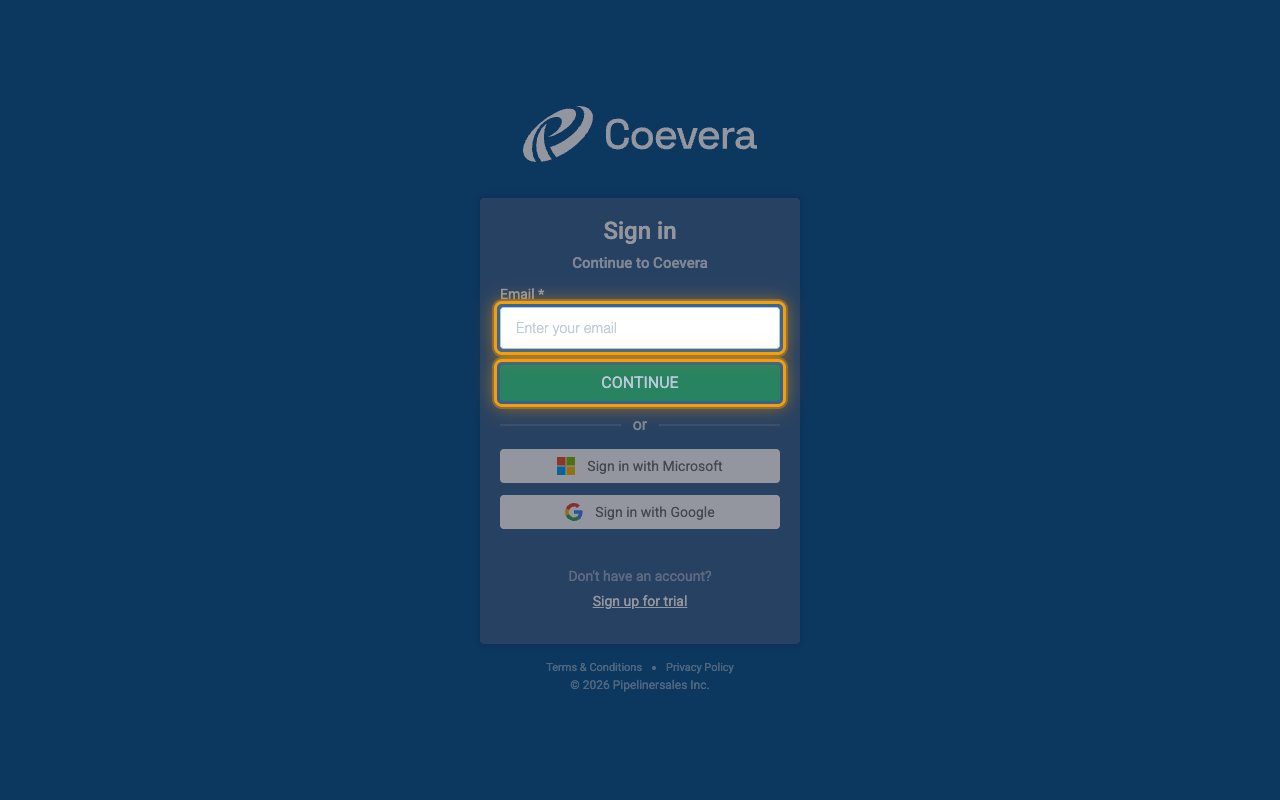
Sign in to your Coevera account.
- Enter your email address and click Continue, then complete your password or single sign-on prompt.
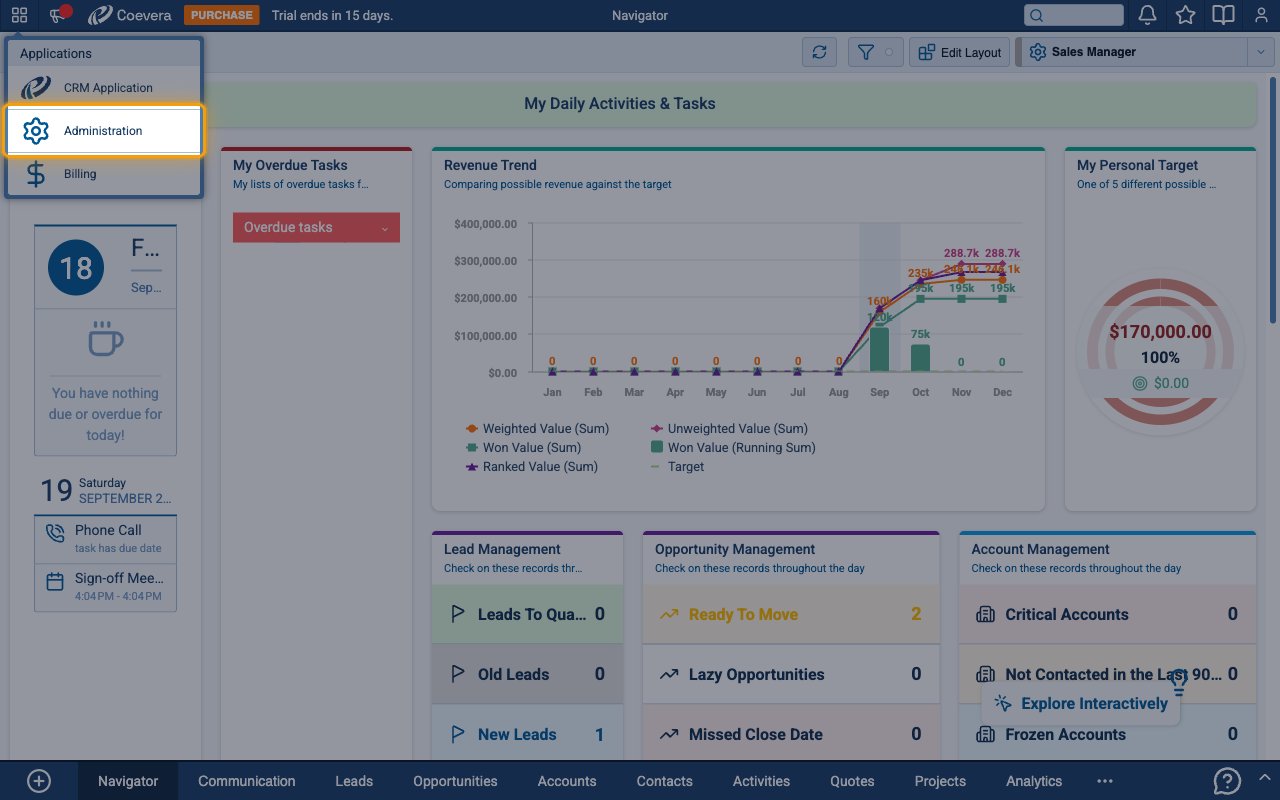
Open the Administration application
Click the grid icon in the top-left corner of the CRM to open the application menu.
- Under Applications, select Administration.
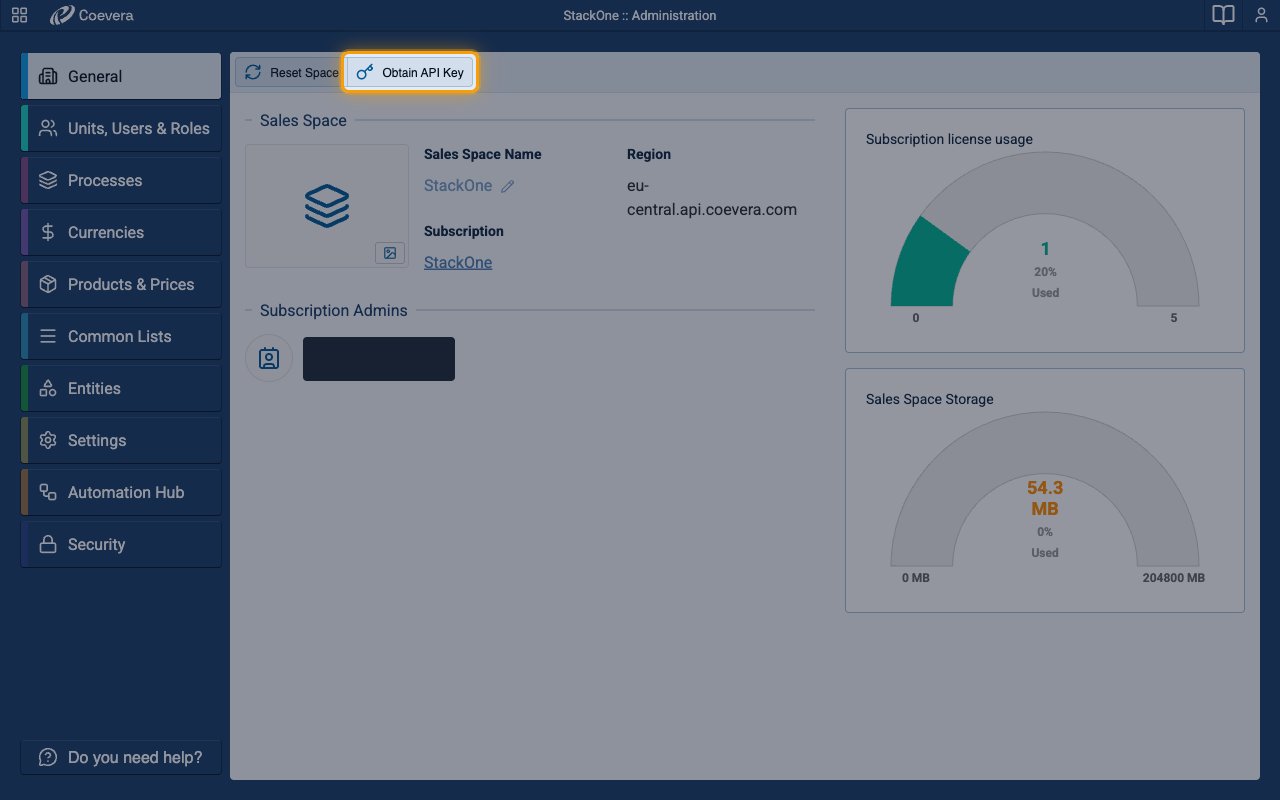
Open the Applications list
On the General tab of the Administration module, click Obtain API Key.
- This opens Units, Users & Roles > Applications, where API applications are managed.
- The Region shown under Sales Space tells you which regional host serves your space.
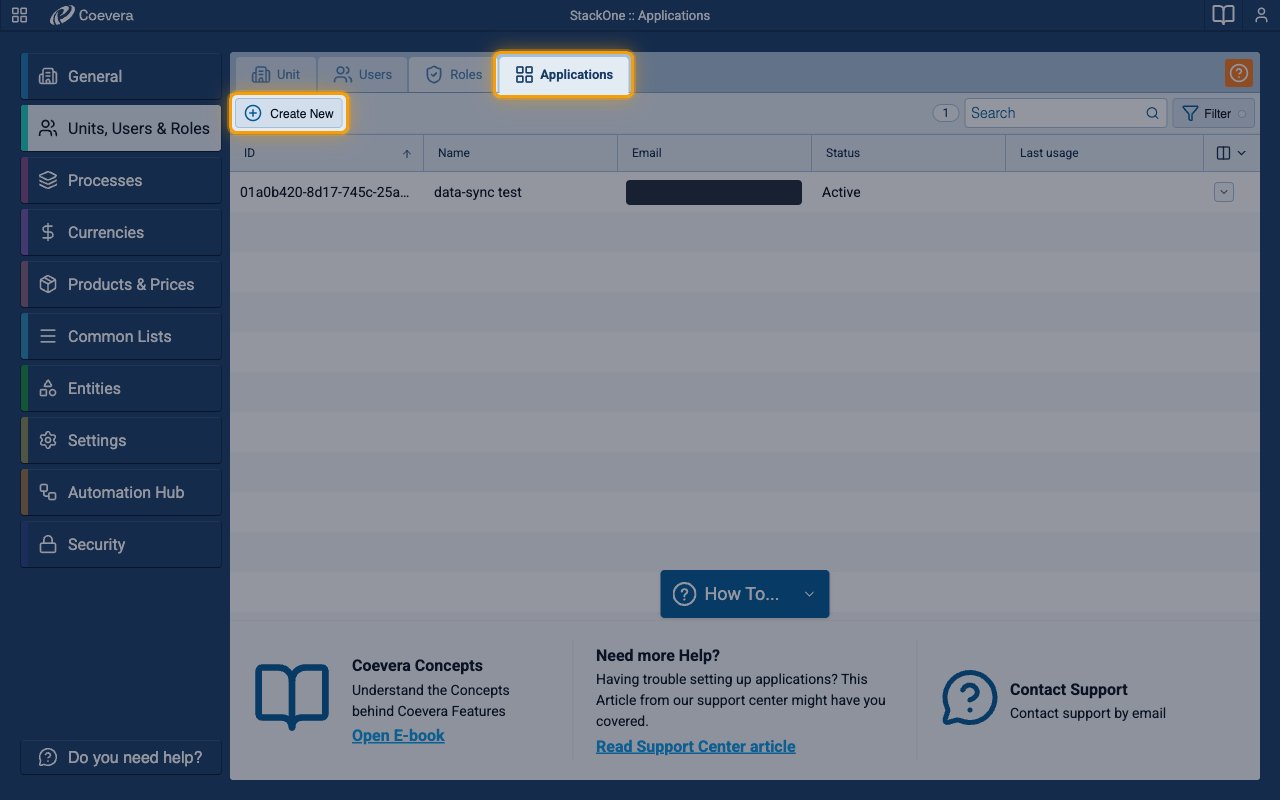
Create a new application
On the Applications tab, click Create New.
Name the application
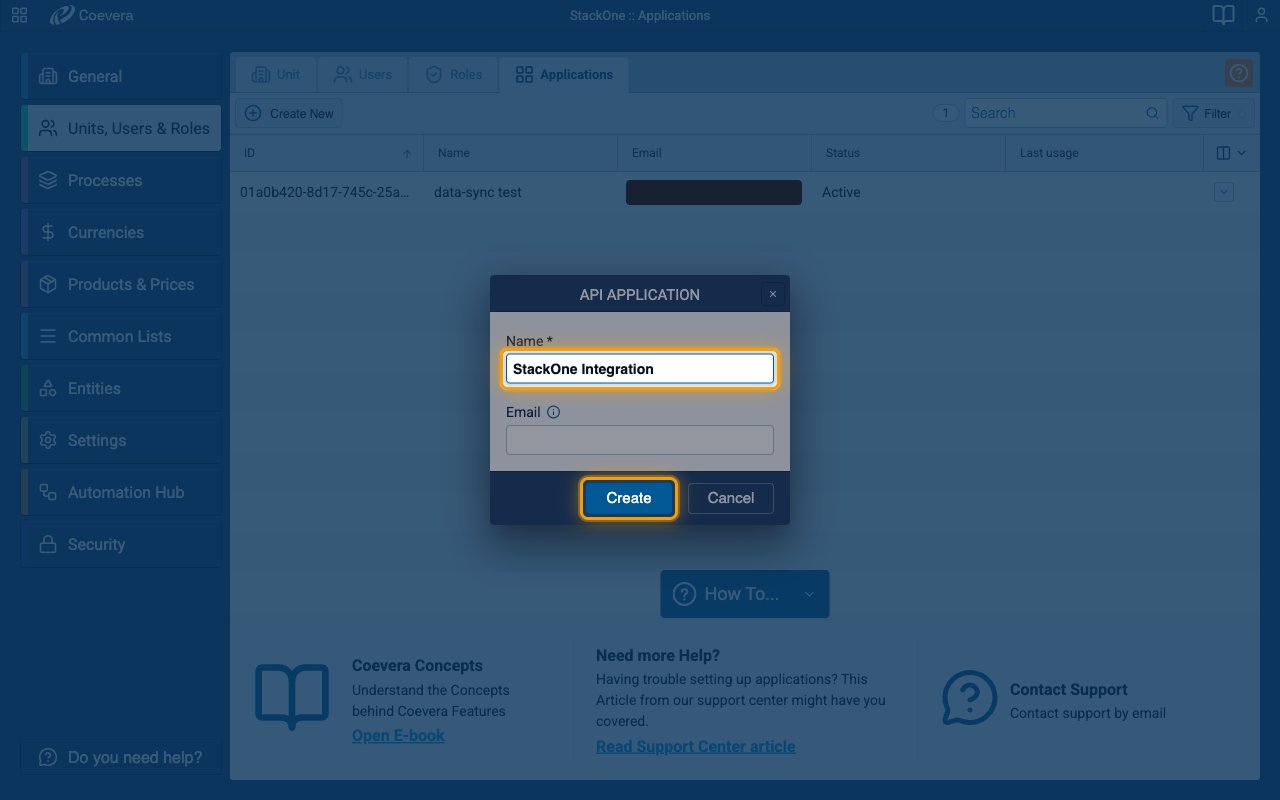
Complete the API Application dialog, then click Create.
- Name:
StackOne Integration - Email is optional — leave it empty, or enter an address that should receive notices about this application.
Configure application permissions
Permissions decide which records and settings the application can reach through the API, so grant everything you want StackOne to read or write.
Open the permission editor
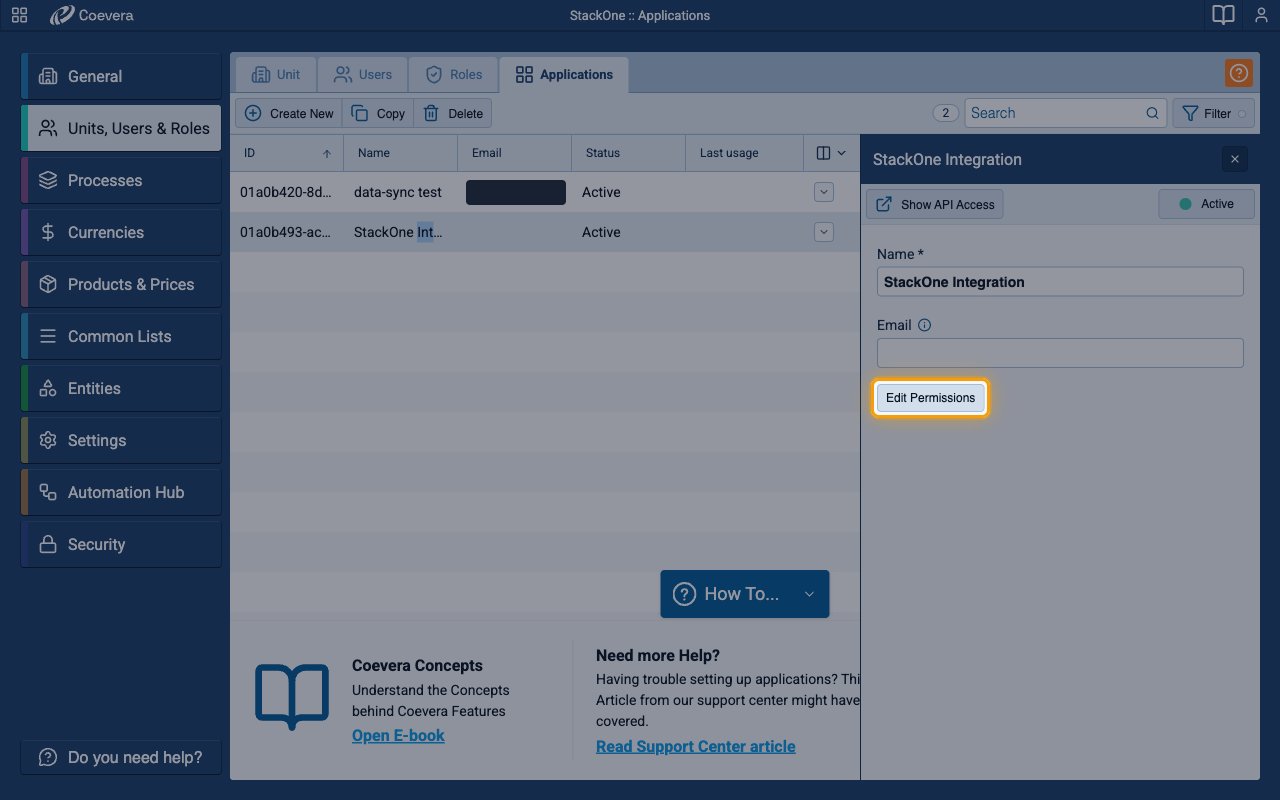
Select the application in the list, then click Edit Permissions in its detail panel.
Grant the required permissions
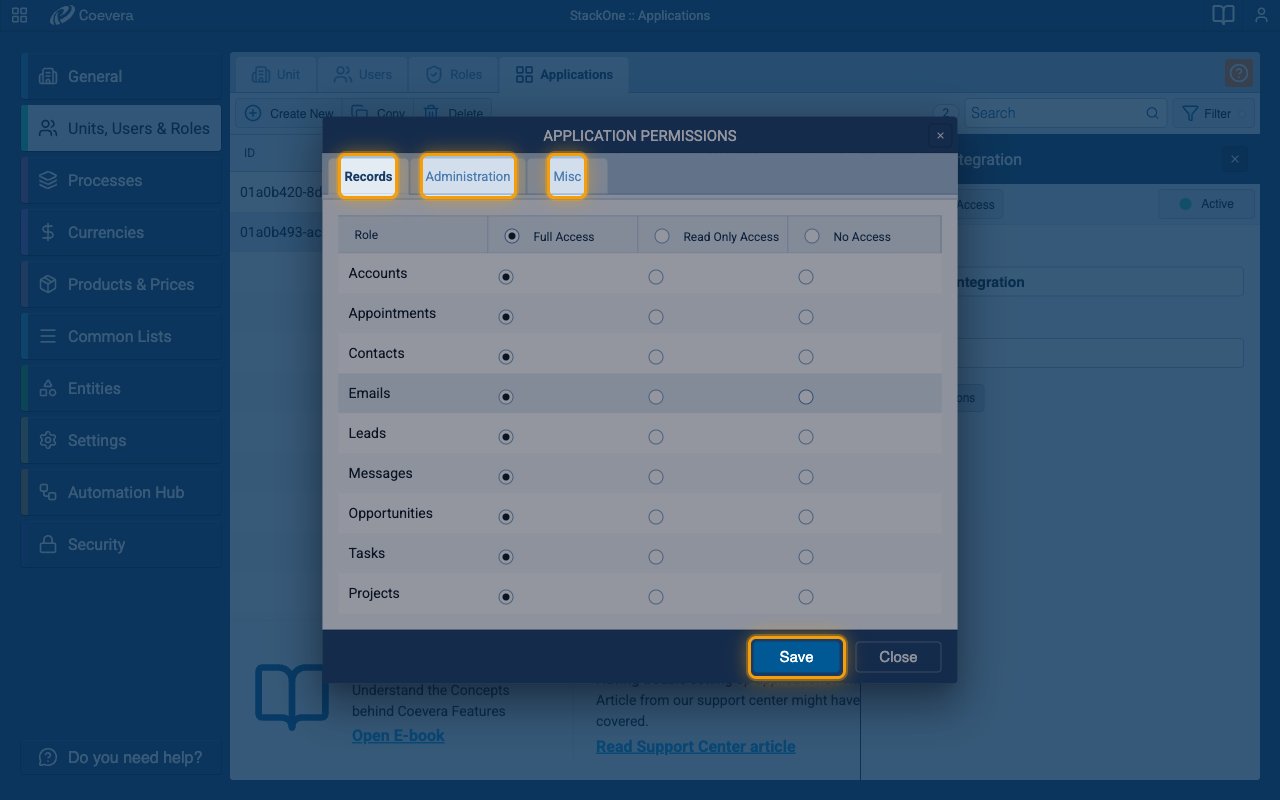
The Application Permissions dialog groups access into the Records, Administration, and Misc tabs. Set each entry to Full Access, Read Only Access, or No Access, then click Save.
- On Records, grant access to every record type StackOne reads — Accounts, Appointments, Clients, Contacts, Leads, Notes, Opportunities, Oppty Product Relations, Products, and Tasks. Linking an account reads all of them, so any left at No Access fails the connection test.
- Choose Full Access for the record types StackOne should also create, update, or delete; Read Only Access is enough for read-only syncing.
- On Administration, grant at least Read Only Access to Common Lists, Currencies, Pipelines, Products & Prices, and Units, Users & Roles, which supply supporting data such as account types, tags, steps, pipelines, sales units, and currencies. These are read during the connection test too.
- On Misc, leave Data and Others enabled so related record data stays reachable.
Retrieve your API credentials
The API Access dialog holds the four values StackOne needs to connect to your space.
Open API access
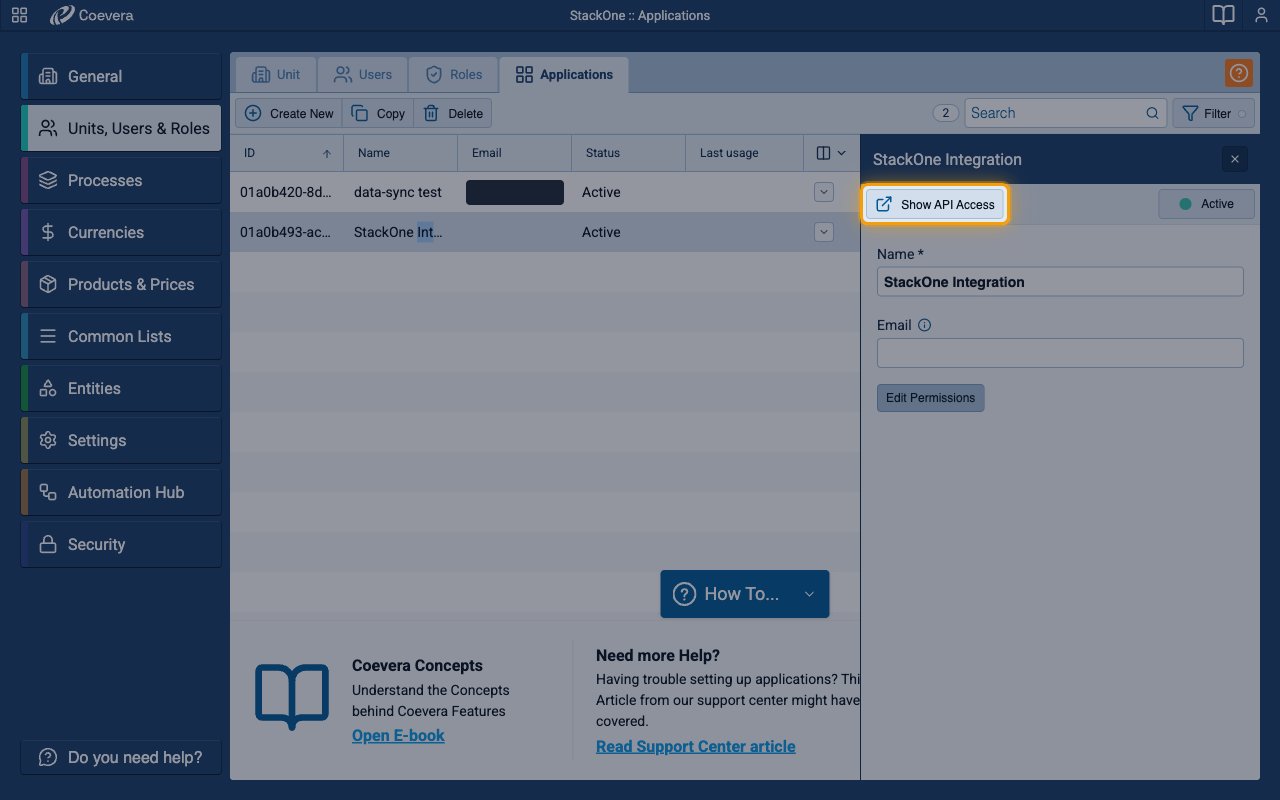
In the application detail panel, click Show API Access.
Generate the password
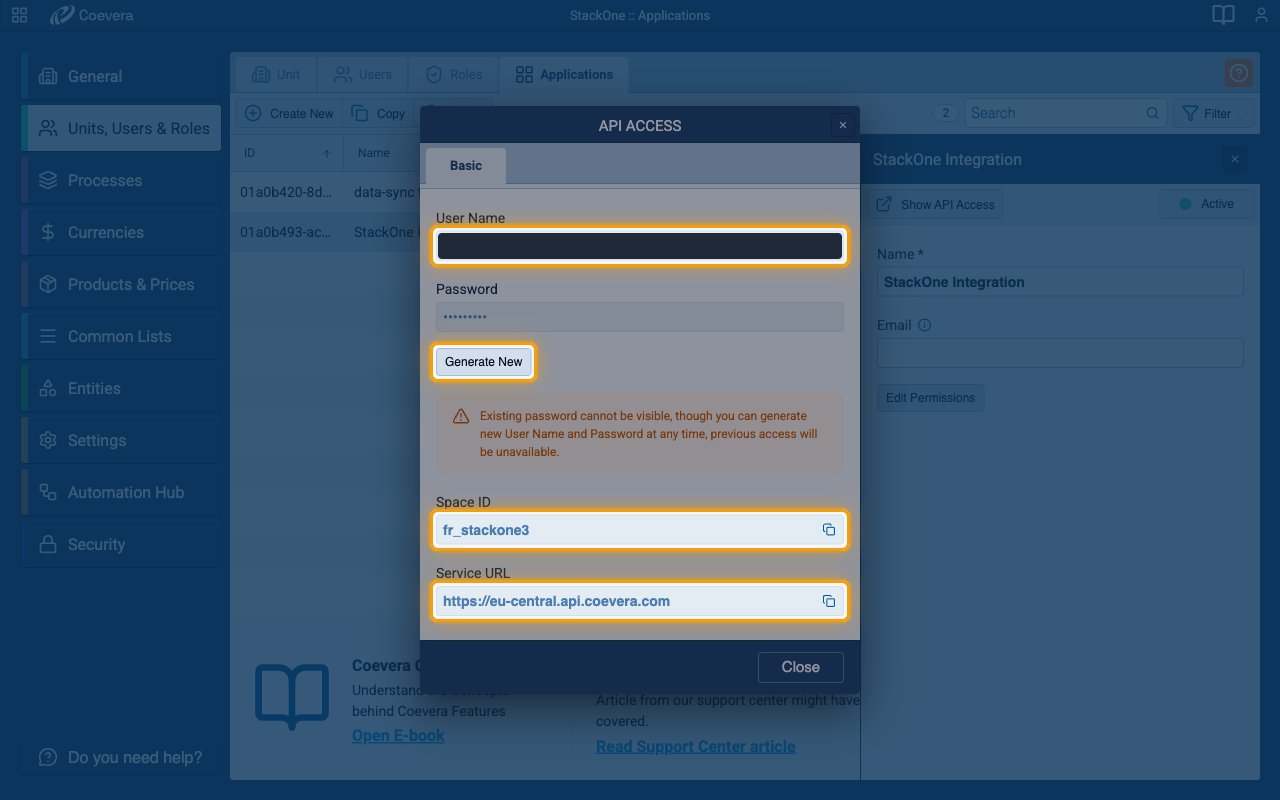
On the Basic tab, click Generate New and then Confirm to issue a User Name and Password pair.
- The password is shown only once and an existing password cannot be retrieved later, so copy it before closing the dialog.
- Generating new credentials revokes the previous User Name and Password, so only do this when you are ready to connect.
Copy the credential values
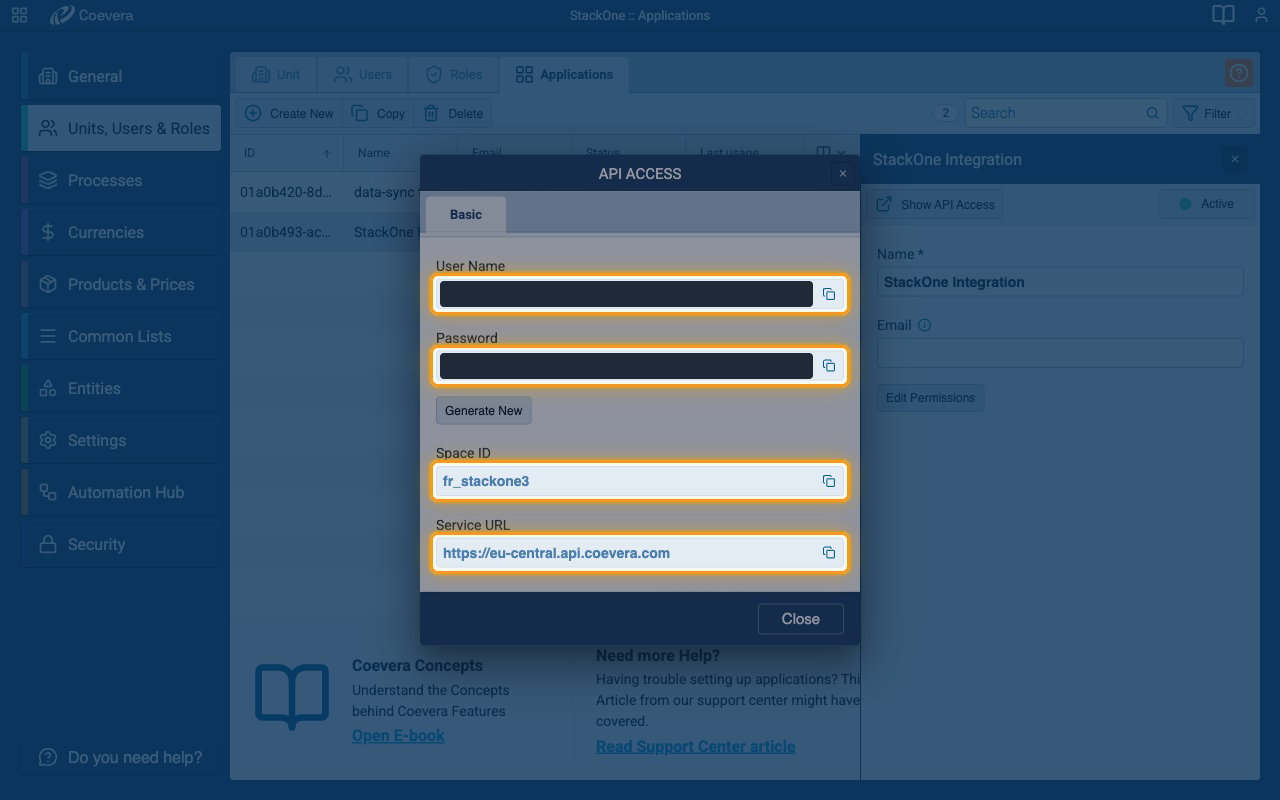
Copy each value with the copy icon beside it and paste it into the matching field in StackOne Hub.
- User Name — paste into the API Username field.
- Password — paste into the API Password field.
- Space ID — the identifier of the space you are connecting; paste into the Space ID field.
- Service URL — the regional host that serves your space, including the protocol; paste into the Service URL field.
- Example Service URL:
https://eu-central.api.coevera.com - Store all four values securely for use later.
Linking the Account from the Hub
Navigate to the Hub
Fill out the fields
- API Username
- API Password
- Space ID
- Service URL
Connect
- Click Connect
- If applicable, the provider will redirect you to a sign-in or authorization page. Complete the provider’s authorization flow.
- Once authorization is successful, you will see a confirmation popup
If the account linking is successful, you will see the newly linked account in your Accounts page.
Next Steps
Webhooks setup
Configure receiving Events for Pipeliner CRM into StackOne.