

Add API credits
The Perplexity API draws from a prepaid API credit balance that is separate from any Perplexity subscription. Add a payment method and load credits before creating a key.
Sign in to the Perplexity API Console
Sign in to the Perplexity API Console.
- In the left sidebar under Group, click Billing.
Add a payment method and buy credits
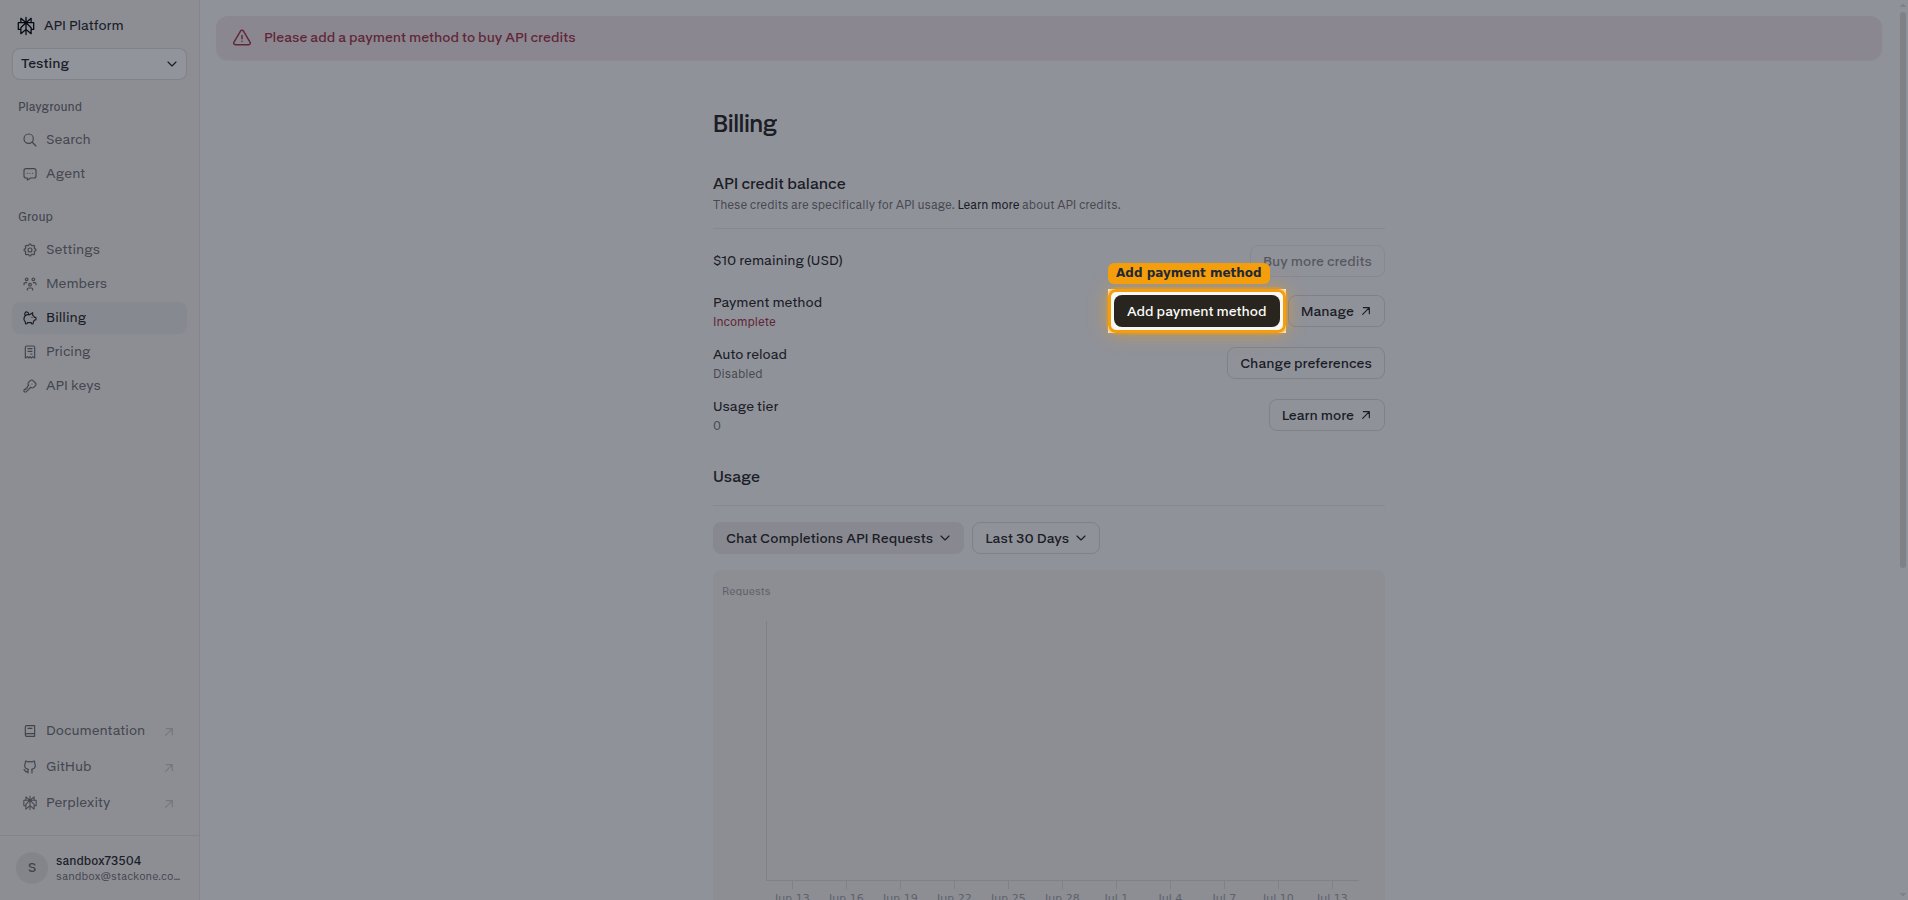
On the Billing page, the API credit balance shows your remaining balance. Add a payment method, then load credits.
- Click Add payment method, enter your card details, and save it.
- The Buy more credits button is disabled until you have filled in valid card details and saved a payment method. Only after the payment method is successfully added does the Buy more credits button become enabled.
- Click Buy more credits and choose an amount to load (there is no minimum; a small amount is enough to start).
Create your API key
Generate an API key in the API Console and copy its value.
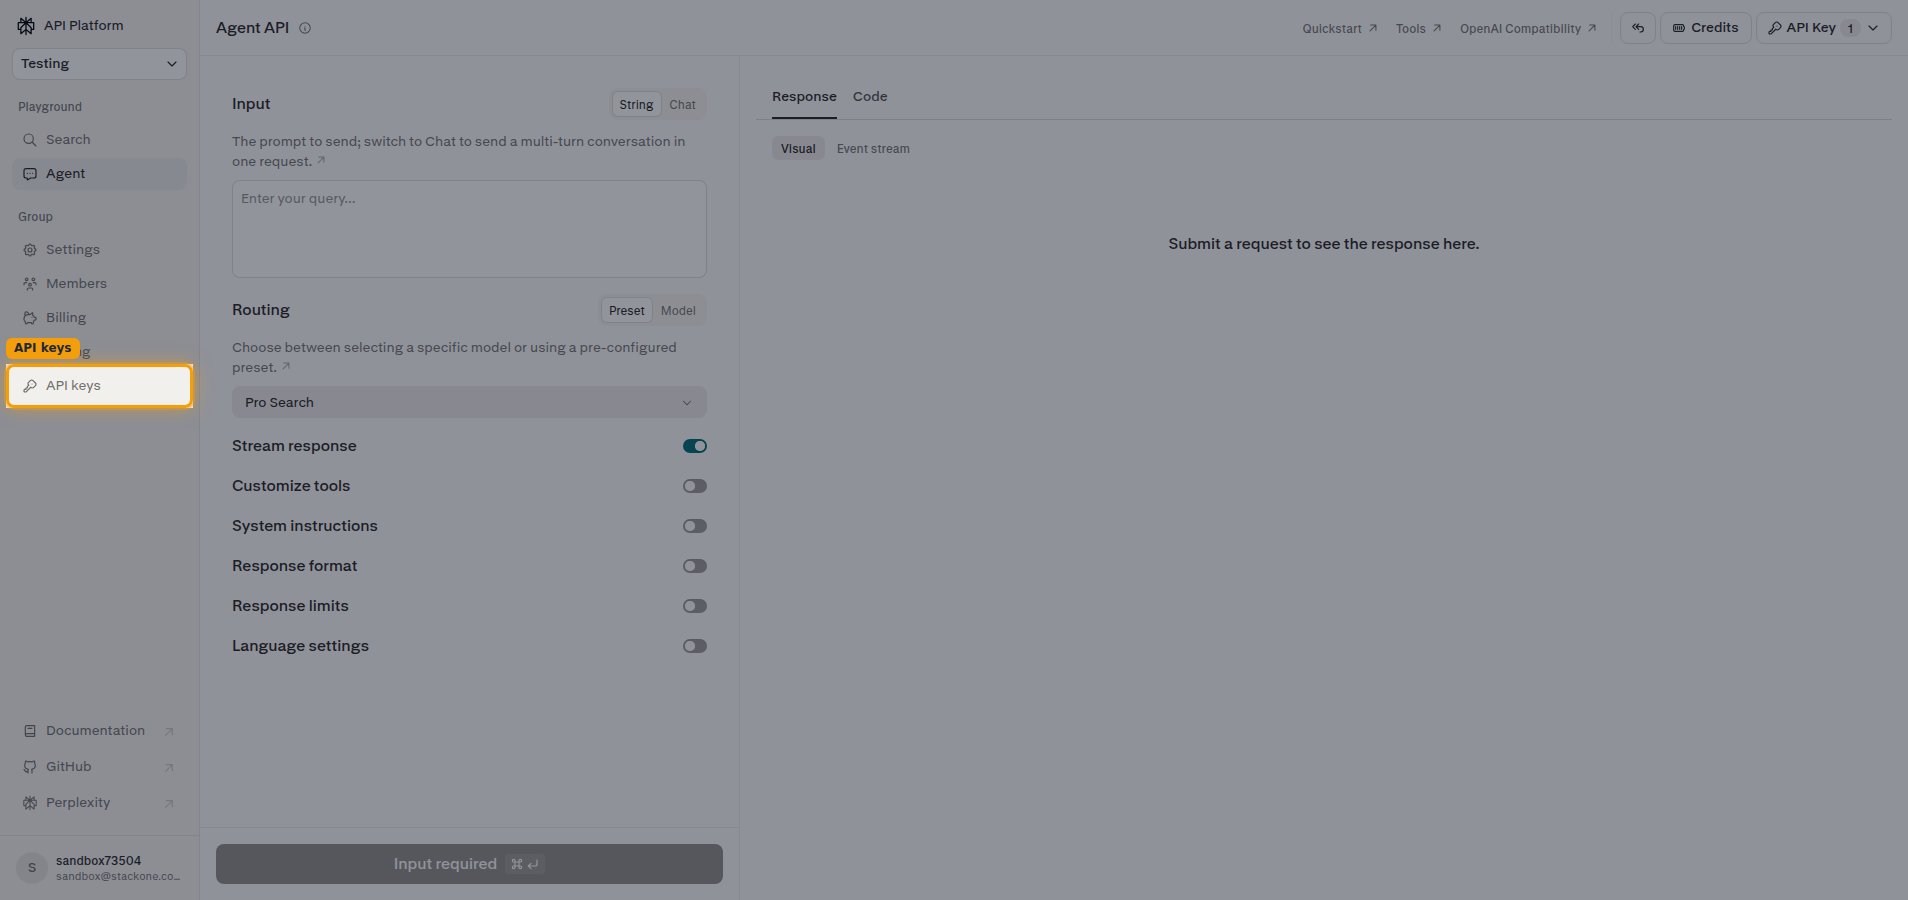
Open the API keys tab
In the left sidebar under Group, click API keys.
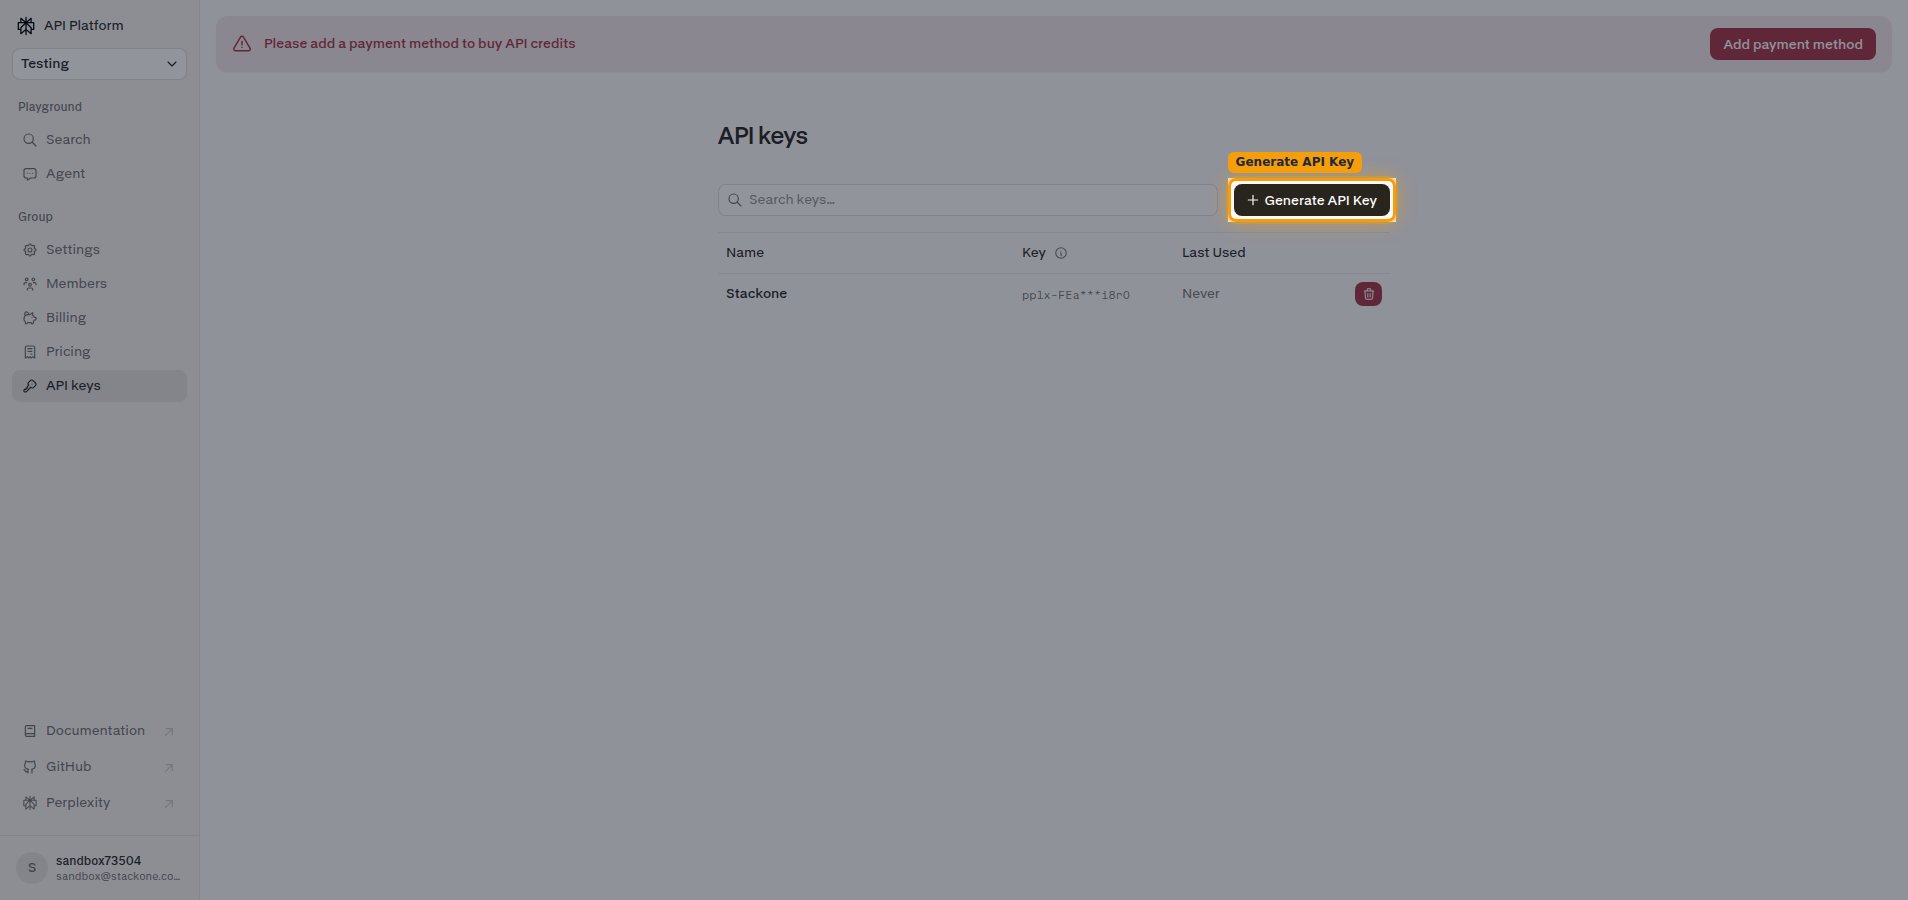
Generate a new key
On the API keys page, click + Generate API Key.
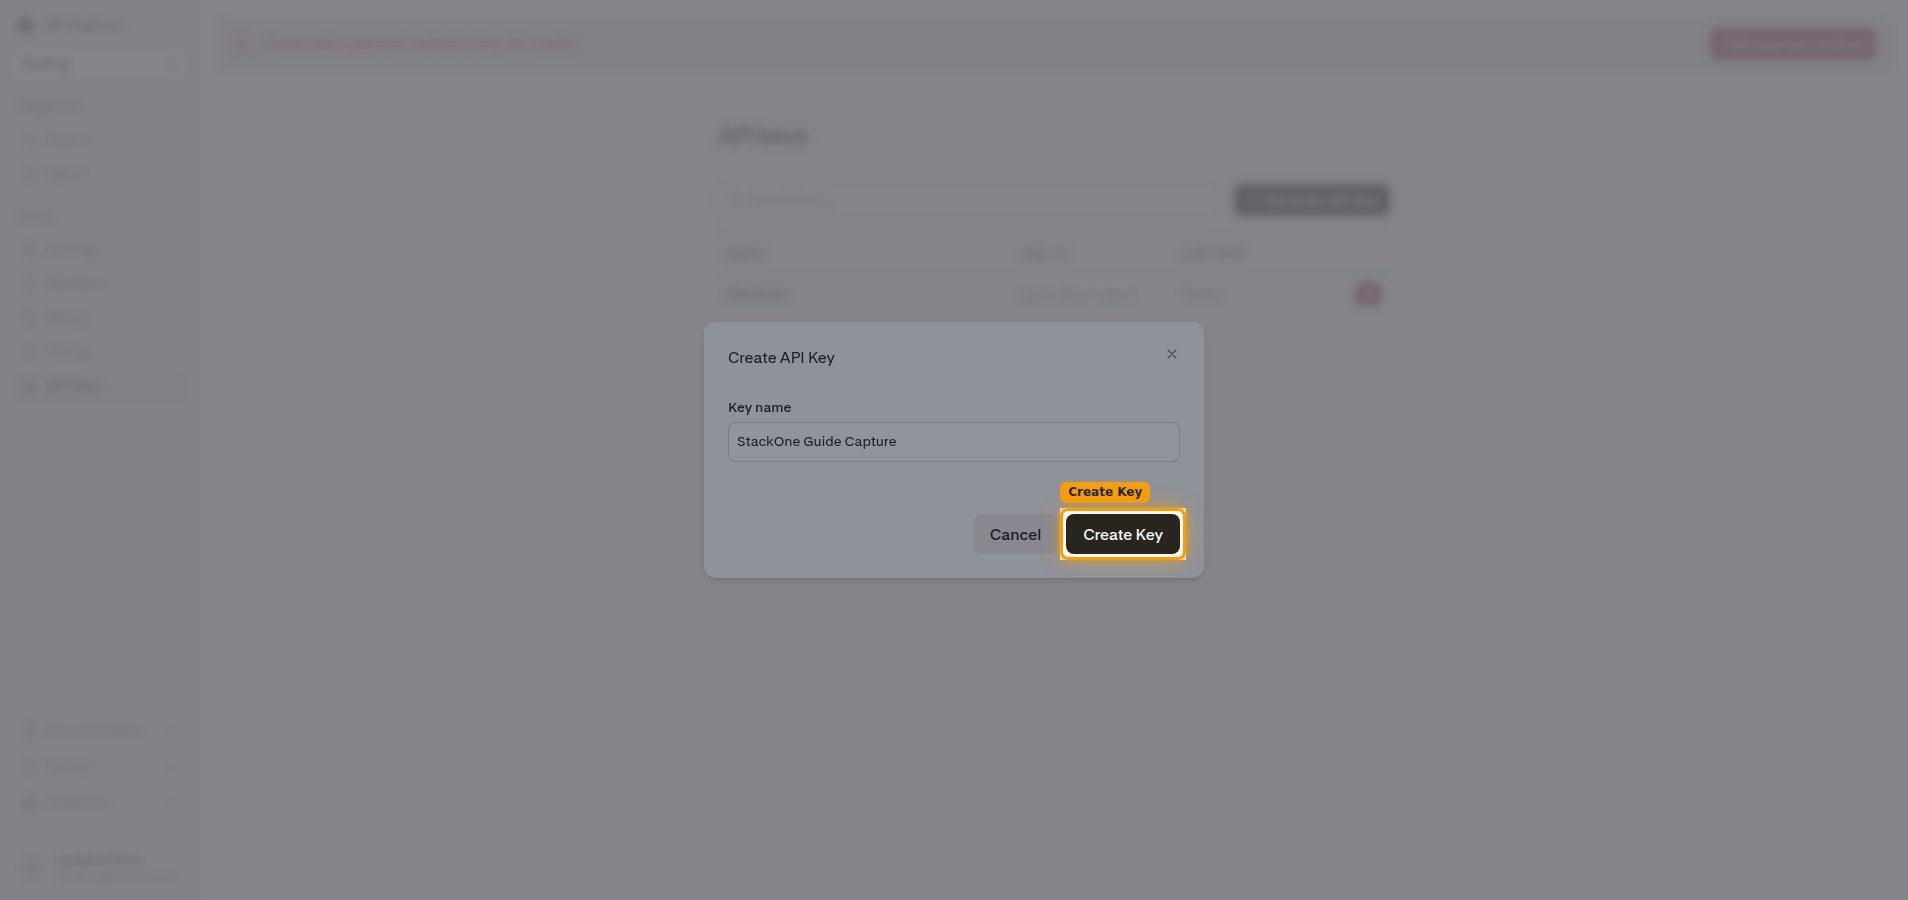
Create the API key
In the Create API Key dialog, type a name in the Key name field, then click Create Key.
Copy your API key
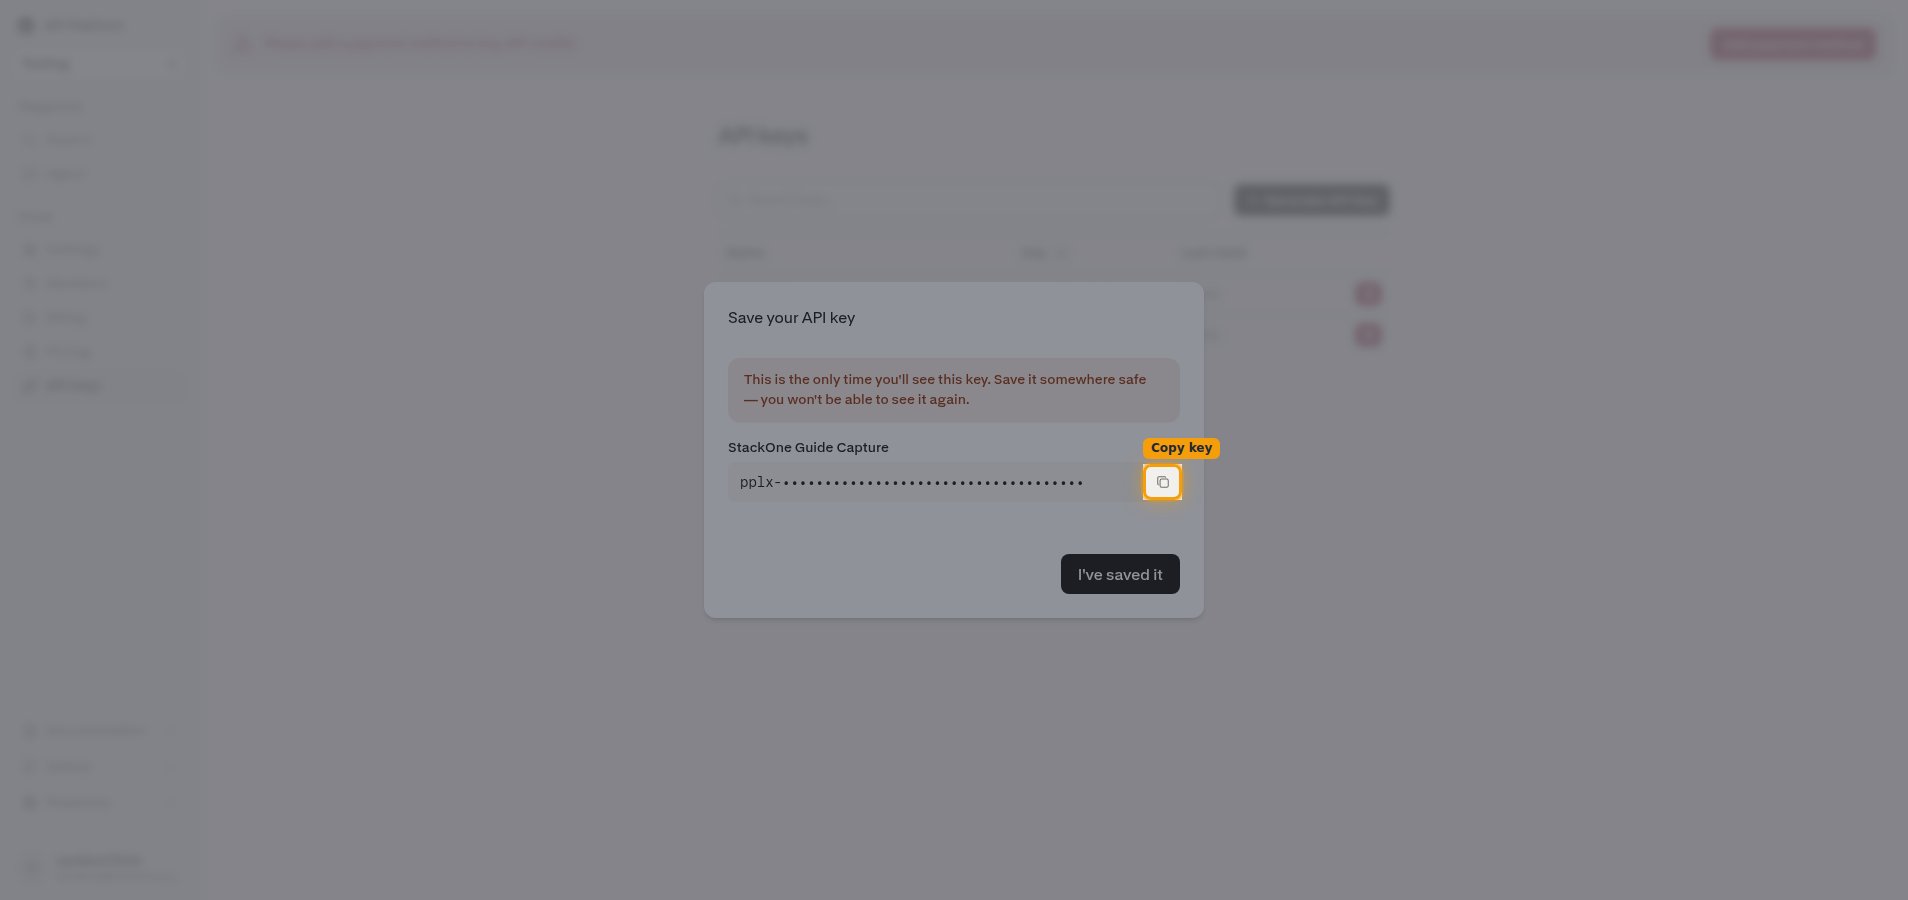
On the Save your API key screen, click the copy icon (the clipboard button next to the API key field — it has no text label) to copy the value (it starts with pplx-), then click I’ve saved it. Paste the key into the API Key field in StackOne Hub.
- The full key is shown only once and cannot be retrieved later — copy it now.
Linking the Account from the Hub
Navigate to the Hub
Fill out the fields
- API Key
Connect
- Click Connect
- If applicable, the provider will redirect you to a sign-in or authorization page. Complete the provider’s authorization flow.
- Once authorization is successful, you will see a confirmation popup
If the account linking is successful, you will see the newly linked account on your Accounts page.