

Prerequisites
The connector should already be set up, with a Connector Profile and a Linked Account. See Getting Started on the Make connector page.Get your Native Webhook URL
StackOne generates a per-connection webhook URL. You will paste it into a Make scenario’s HTTP module so the scenario delivers events to StackOne.
- On this connection in StackOne, copy the read-only Native Webhook URL. It contains a secure per-connection token that identifies your account, so treat it like a secret. Make’s HTTP module sends the full URL (including that token), so no auth header is needed.
Create a scenario and add the HTTP module
Events reach StackOne from a Make scenario that makes an outbound HTTP request. Sign in to Make and build a scenario whose final module POSTs to the Native Webhook URL.
Create a scenario
In Make, click + Create scenario (top-right). Add a first (trigger) module for whatever should start the scenario — a Scheduler, a Custom webhook, or any app event. For a one-off test you can skip the trigger and use Run once on the HTTP module alone.
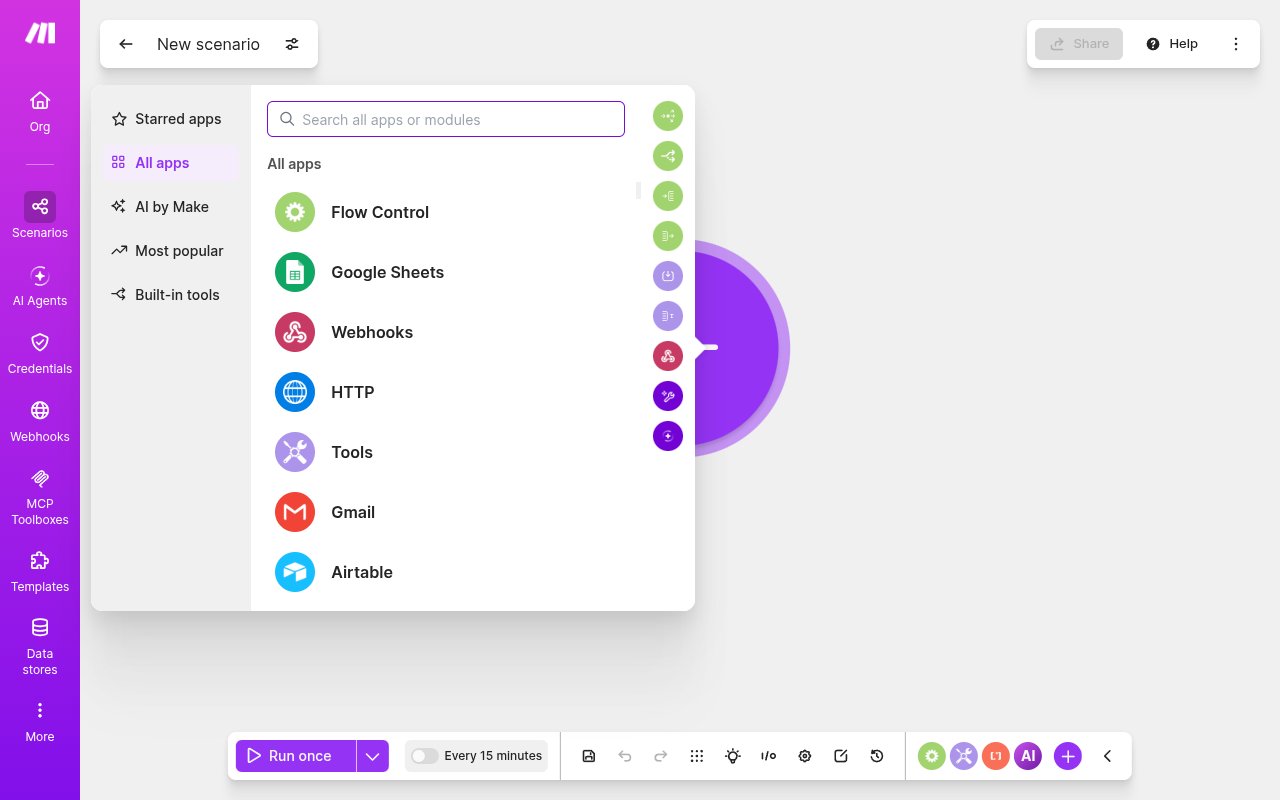
Add the HTTP app (not Webhooks)
Click the + to add a module and choose the HTTP app. Do NOT pick the Webhooks app — that one is for Make to receive incoming webhooks (a trigger URL Make listens on), not to send events out to StackOne.
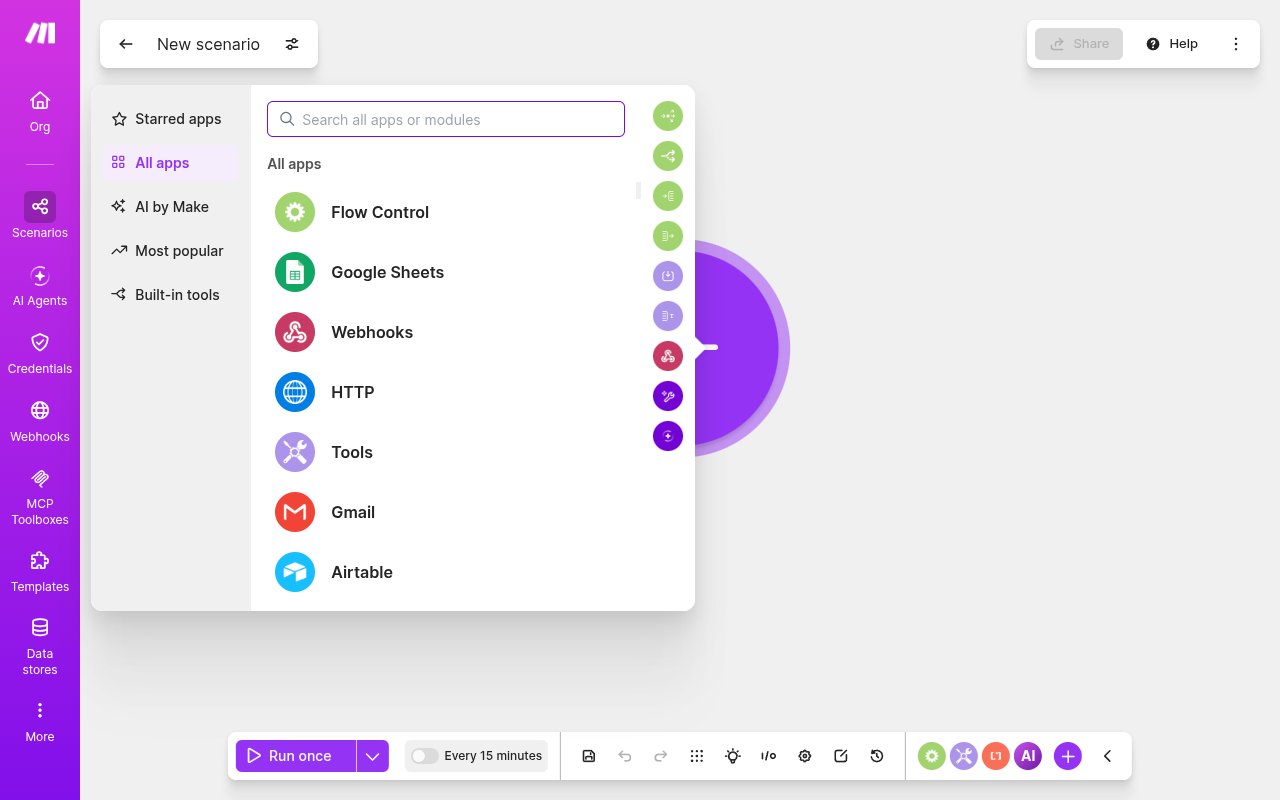
Choose "Make a request"
Under HTTP, select the Make a request module (“Sends an HTTP request to call any API, download a webpage, or trigger a webhook”).
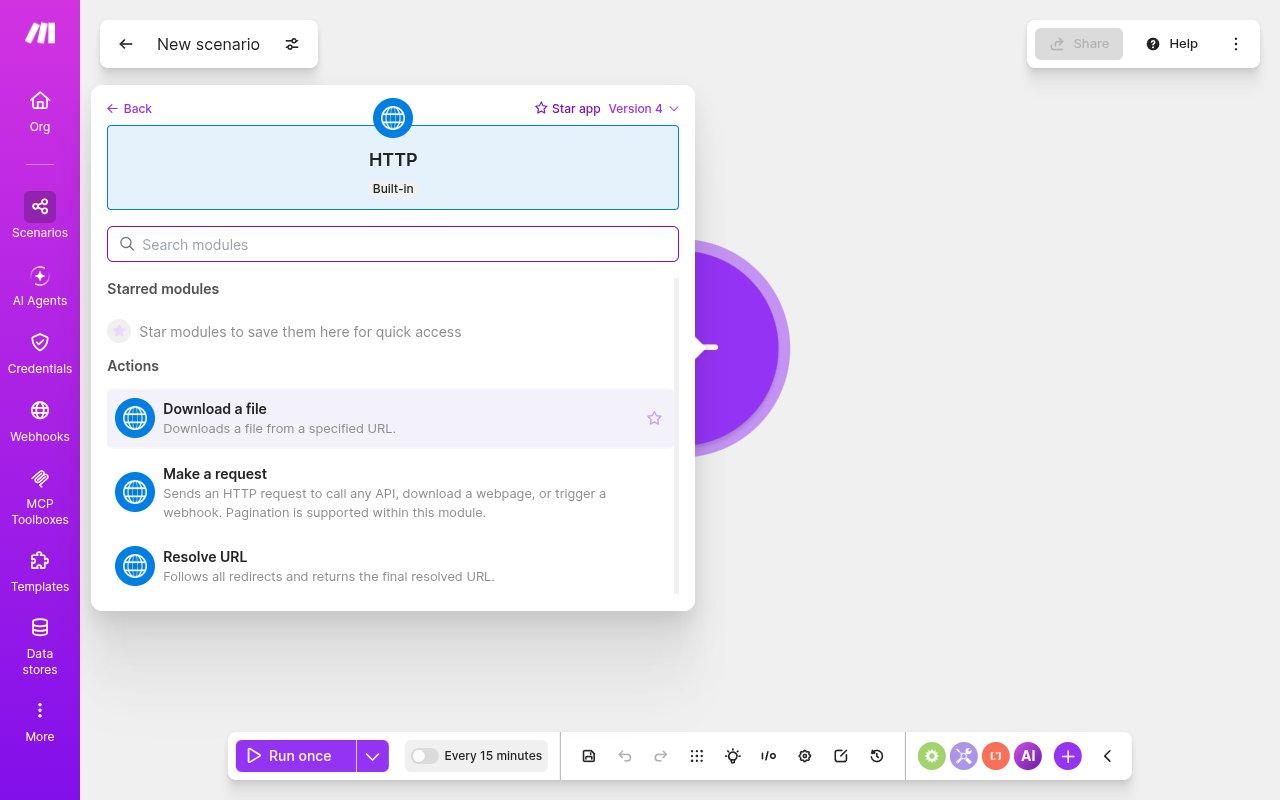
Configure the HTTP request
Point the module at the Native Webhook URL and send a JSON body describing the event.
Set the URL and method
In the module, set URL to the StackOne Native Webhook URL and Method to POST. Set Authentication type to No authentication (it is a required field; the ?token= in the URL identifies the account, so no auth header is needed).
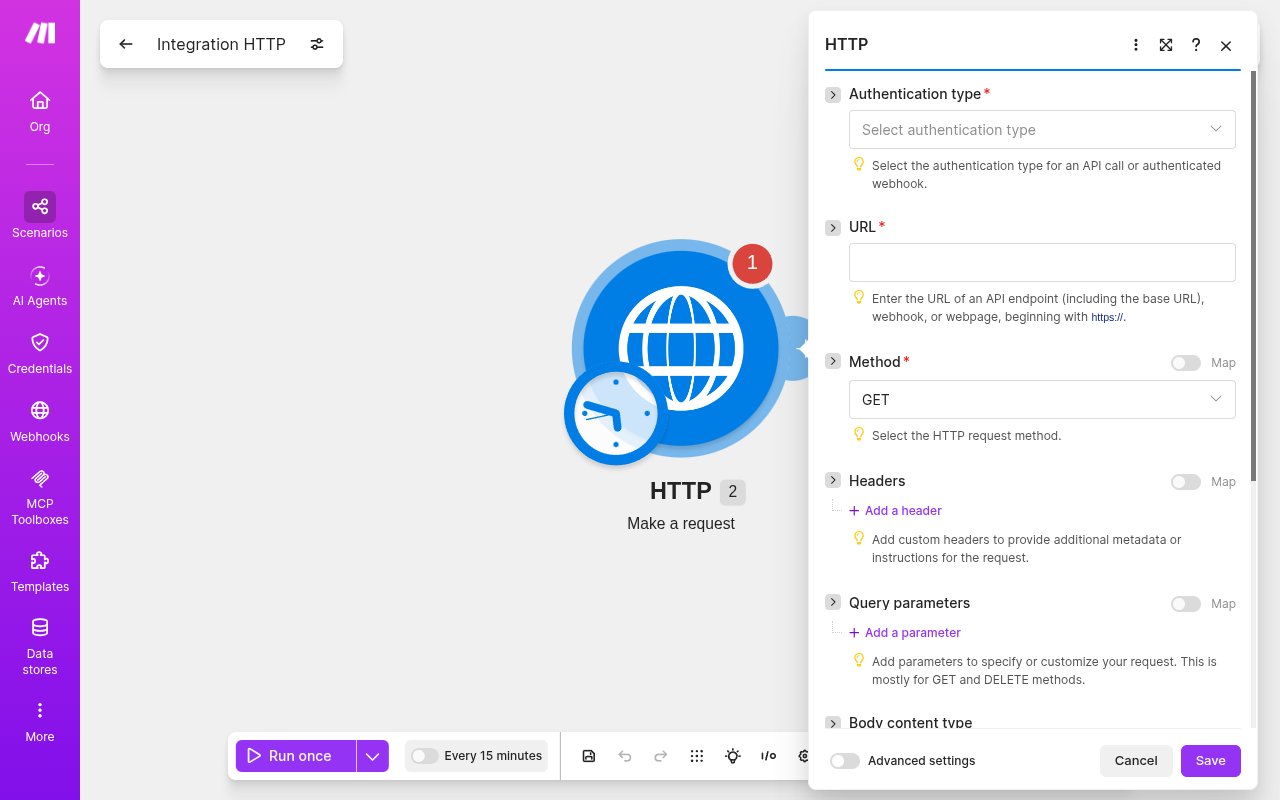
Add a JSON body with an id
Set Body content type to JSON (application/json), then in Request content enter the JSON to deliver. Include an id (used as the event’s record id) and optionally a type; everything you send is passed through to StackOne as the event data. In a real scenario, map dynamic values from earlier modules rather than hardcoding — click the field and pick the upstream outputs, which Make inserts as {{moduleId.field}} tokens (e.g. {"id":"{{1.id}}","type":"record.updated","data":{{1}}}, where {{1.id}} is the id from the trigger module). A static example for a quick test — {"id":"make-test-1","type":"scenario.run","data":{"hello":"world"}}. Click Save.
Run the scenario
Click Run once to fire it immediately, or turn the scenario On so its trigger fires it automatically. Each run POSTs the body to StackOne, which returns HTTP 200.
Available webhook events
The connector maps every scenario delivery to a single event type — the body you send in the HTTP module is what varies.
- Make Event (
make.event) — fired whenever a Make scenario POSTs to the Native Webhook URL. Theidfield of your JSON body becomes the event’s record id; put atype(or any discriminator) in the body to distinguish events downstream.
Delivery format
StackOne emits eventType make.event; the record id comes from the body’s id (falling back to eventId/executionId/scenarioId/hookId, then empty), and the full JSON body you posted is passed through as the event data. Outbound delivery to your StackOne webhook endpoint is HMAC-signed (x-stackone-signature).