

Get your Primary API Key and Secret Key
Your Mailjet API Key and Secret Key act as the username and password for the API. Both are found in the Primary API Key section of the API Key Management page.
Sign in to Mailjet
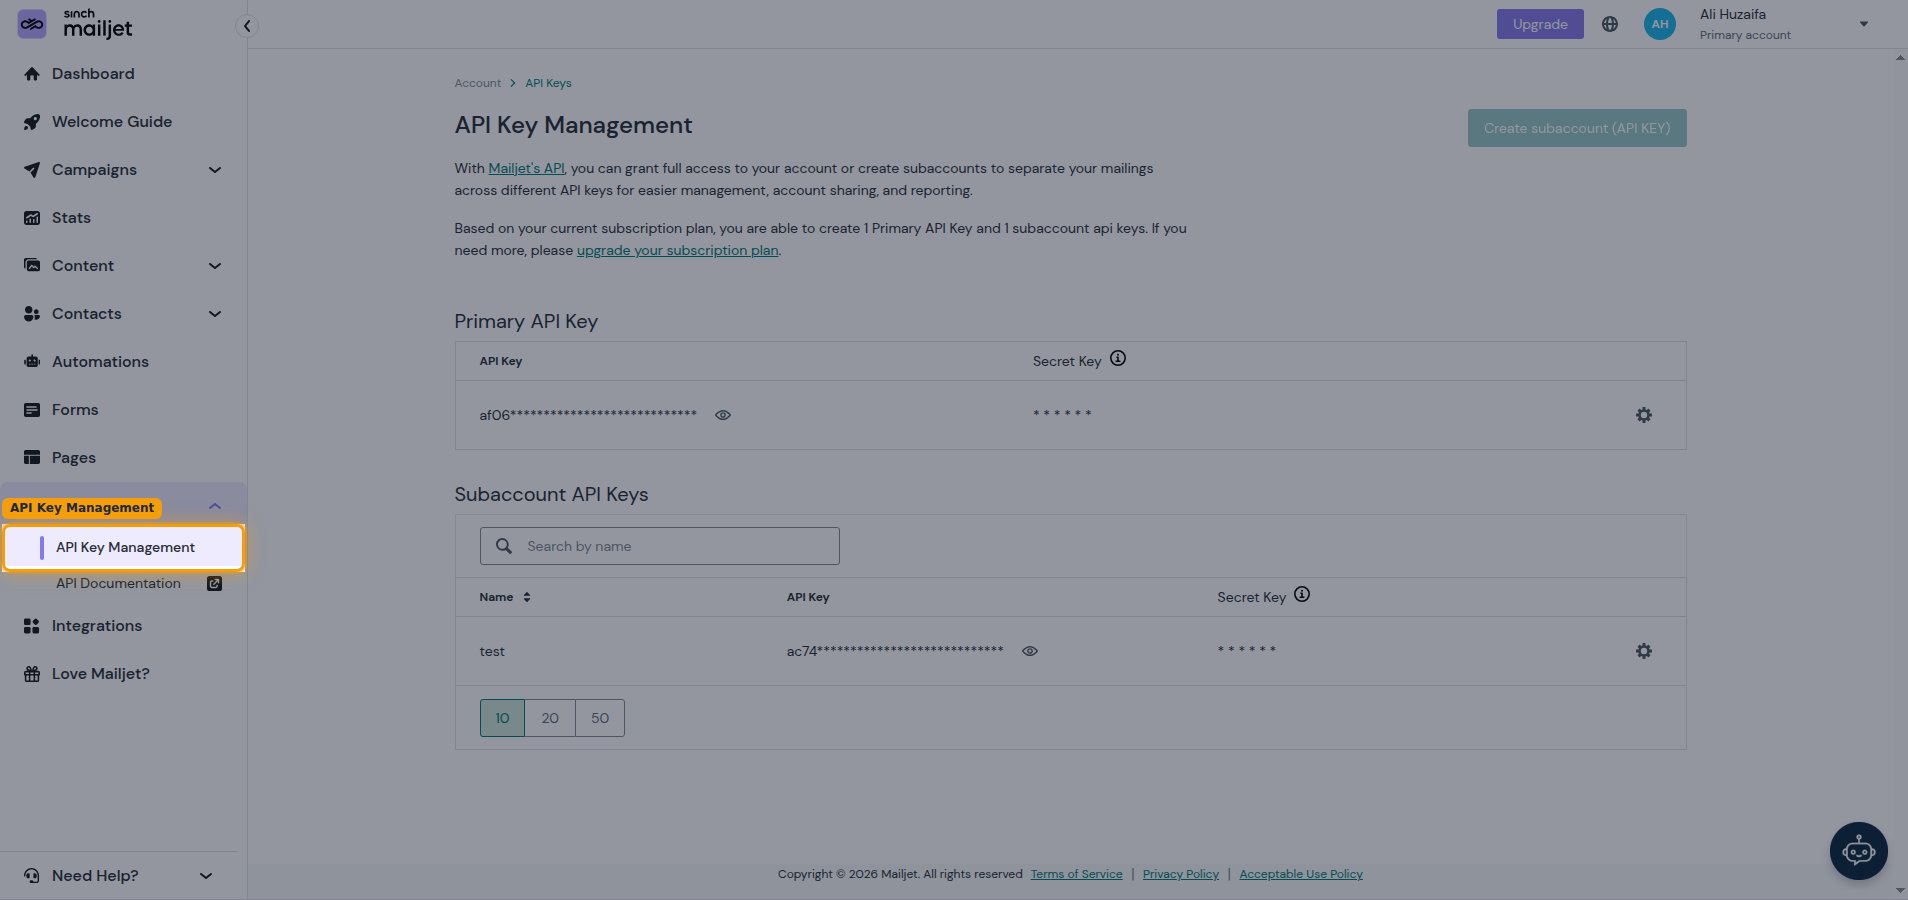
Sign in to your Mailjet account, then open the API Key Management page.
- Expand API in the left sidebar.
- Click API Key Management.
Generate your Secret Key
In the Primary API Key section, generate your Secret Key. The modal that appears also shows your API Key, so you can copy both at once — no need to reveal the masked value separately.
- Click Generate Secret Key in the Primary API Key section.
- A modal titled New Primary API Key opens, showing your full API Key and Secret Key together, with a warning that the Secret Key is displayed only once.
- Copy the API Key into the API Key field and the Secret Key into the Secret Key field in StackOne Hub.
- Click Done to close the modal. The Secret Key cannot be retrieved later, so make sure you have copied it first.
Copy or reset an existing key
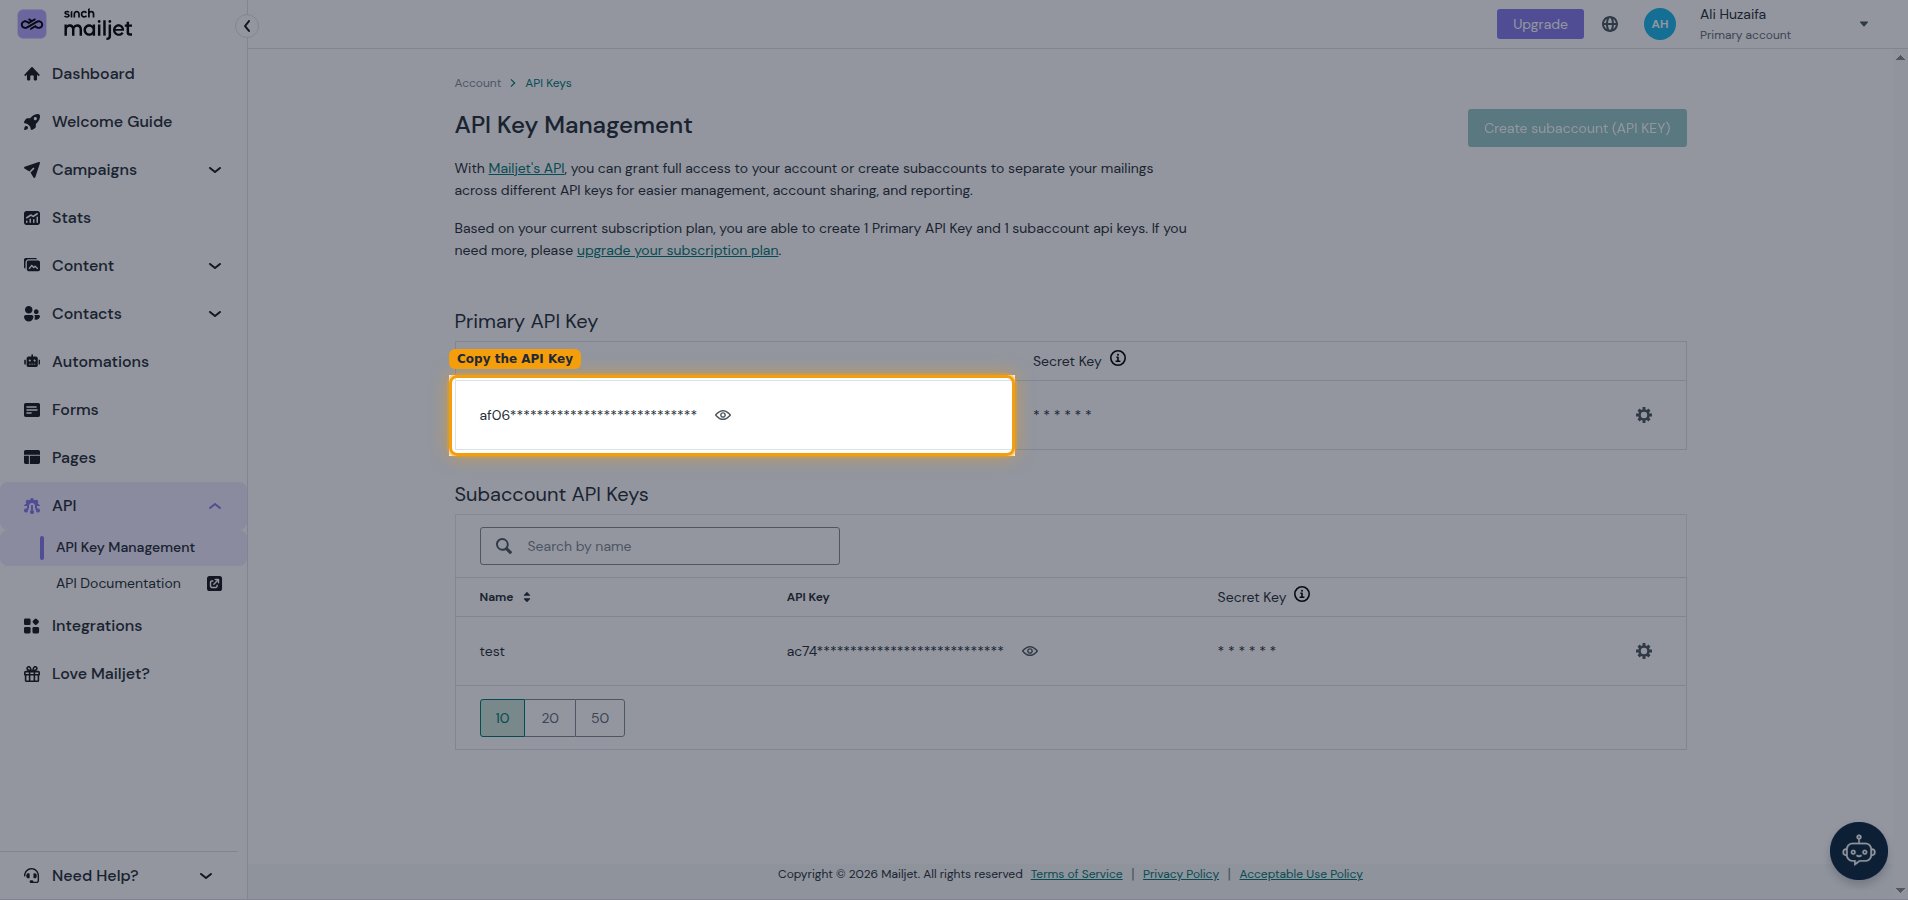
If a Secret Key has already been generated, the Generate Secret Key button is no longer shown — the API Key appears masked and the Secret Key is hidden.
- Click the eye icon next to the masked API Key to reveal it, then copy it into the API Key field in StackOne Hub.
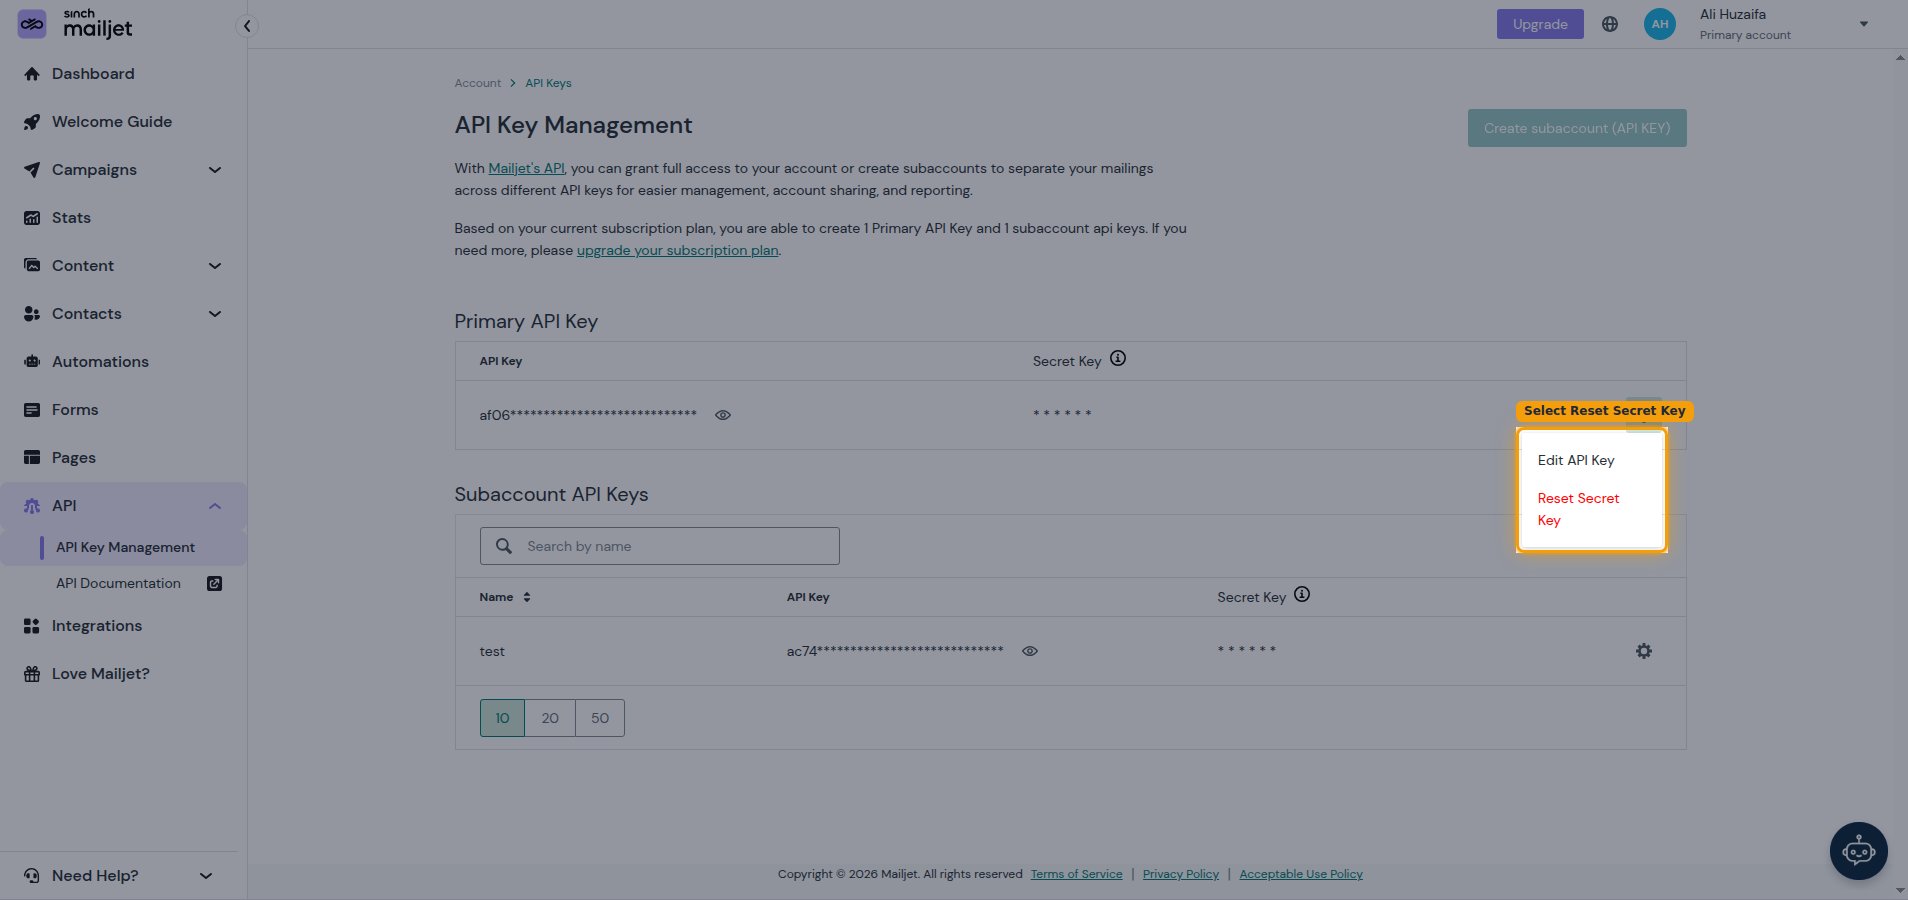
- To issue a new Secret Key, click the settings (gear) icon on the right of the key row and select Reset Secret Key.
- In the confirmation dialog, type RESET in the Confirmation Phrase field and click Reset. This invalidates the current Secret Key, so update anything already using it. The API Key stays the same.
- The new Secret Key is shown once in a modal with a Copy to clipboard button — copy it into the Secret Key field in StackOne Hub, then click Done.
Create a Subaccount API Key (optional)
Instead of the primary key, you can use a dedicated subaccount key with its own API Key and Secret Key. Create it from the same API Key Management page; it then appears under the Subaccount API Keys section.
Create a subaccount API Key
On the API Key Management page, create a new subaccount key and copy its credentials.
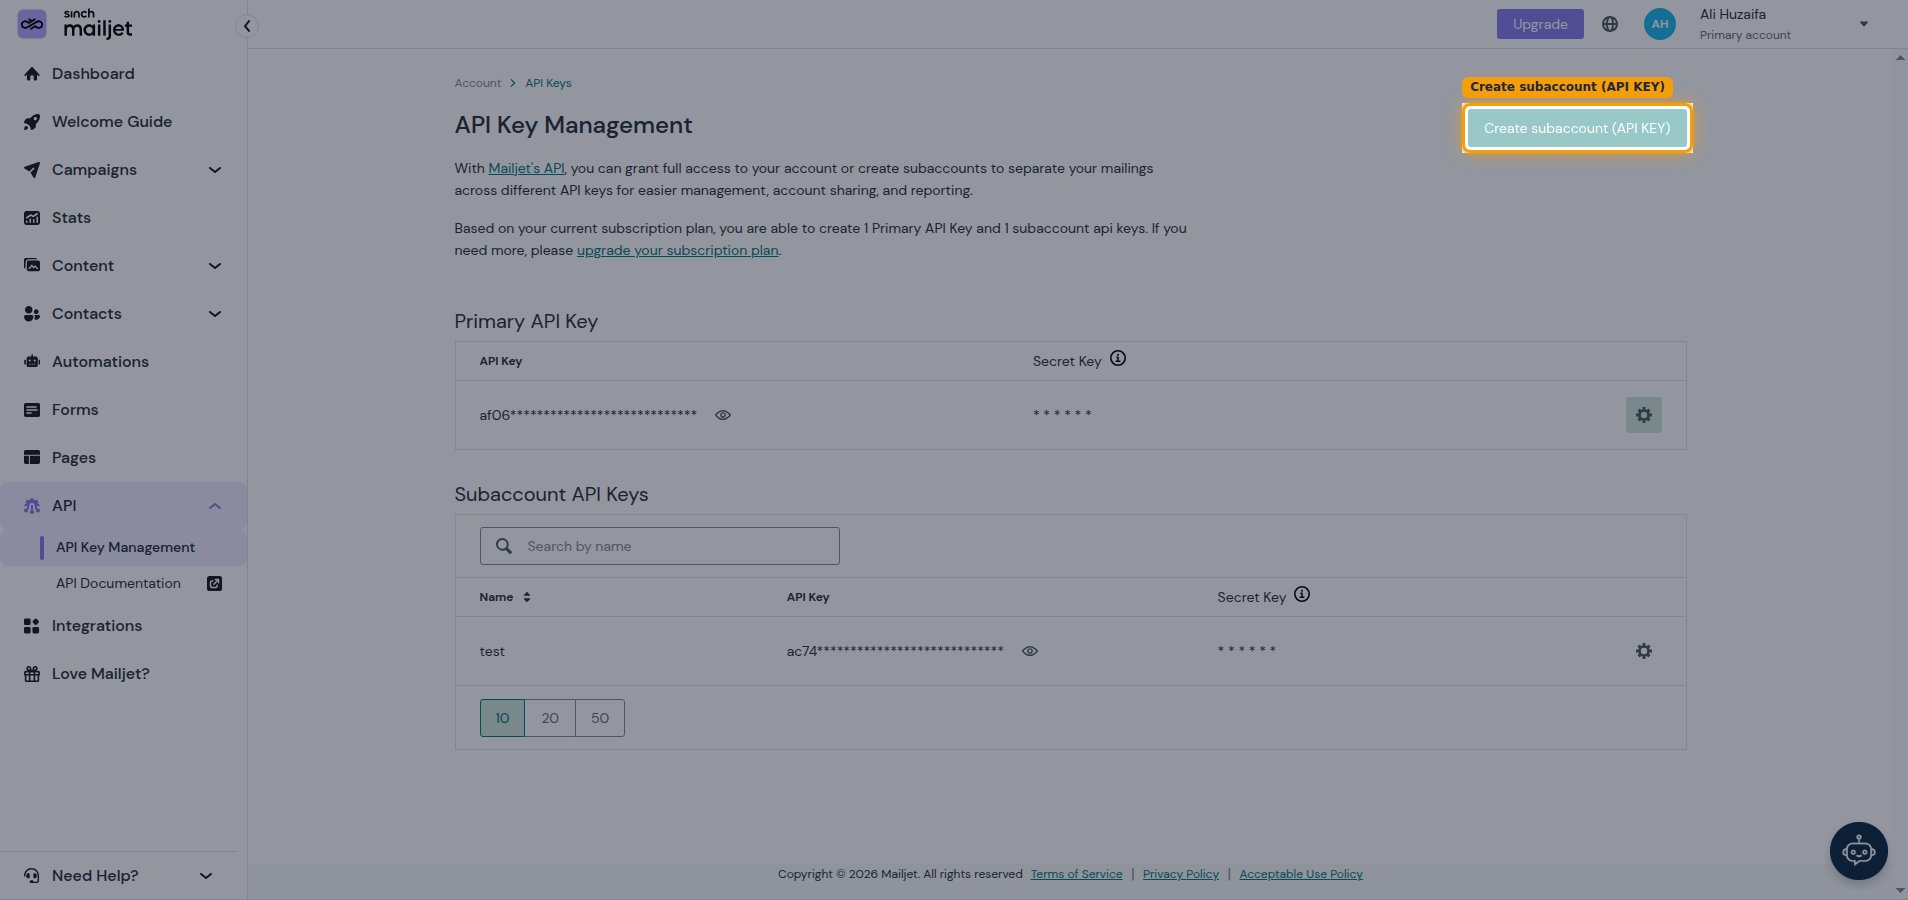
- Click Create subaccount (API KEY) in the top right corner of the page.
- Enter a name for the API Key and confirm to create it.
- A new API Key and Secret Key are generated for the subaccount. Copy both and store them securely.
- Note: the Free and Essential plans allow only one subaccount; higher plans allow more.
Generate a new subaccount Secret Key
If you lose a subaccount Secret Key, reset it from its row in the Subaccount API Keys section. The API Key stays the same.
- Click the settings (gear) icon on the right of the subaccount row, then select Reset Secret Key.
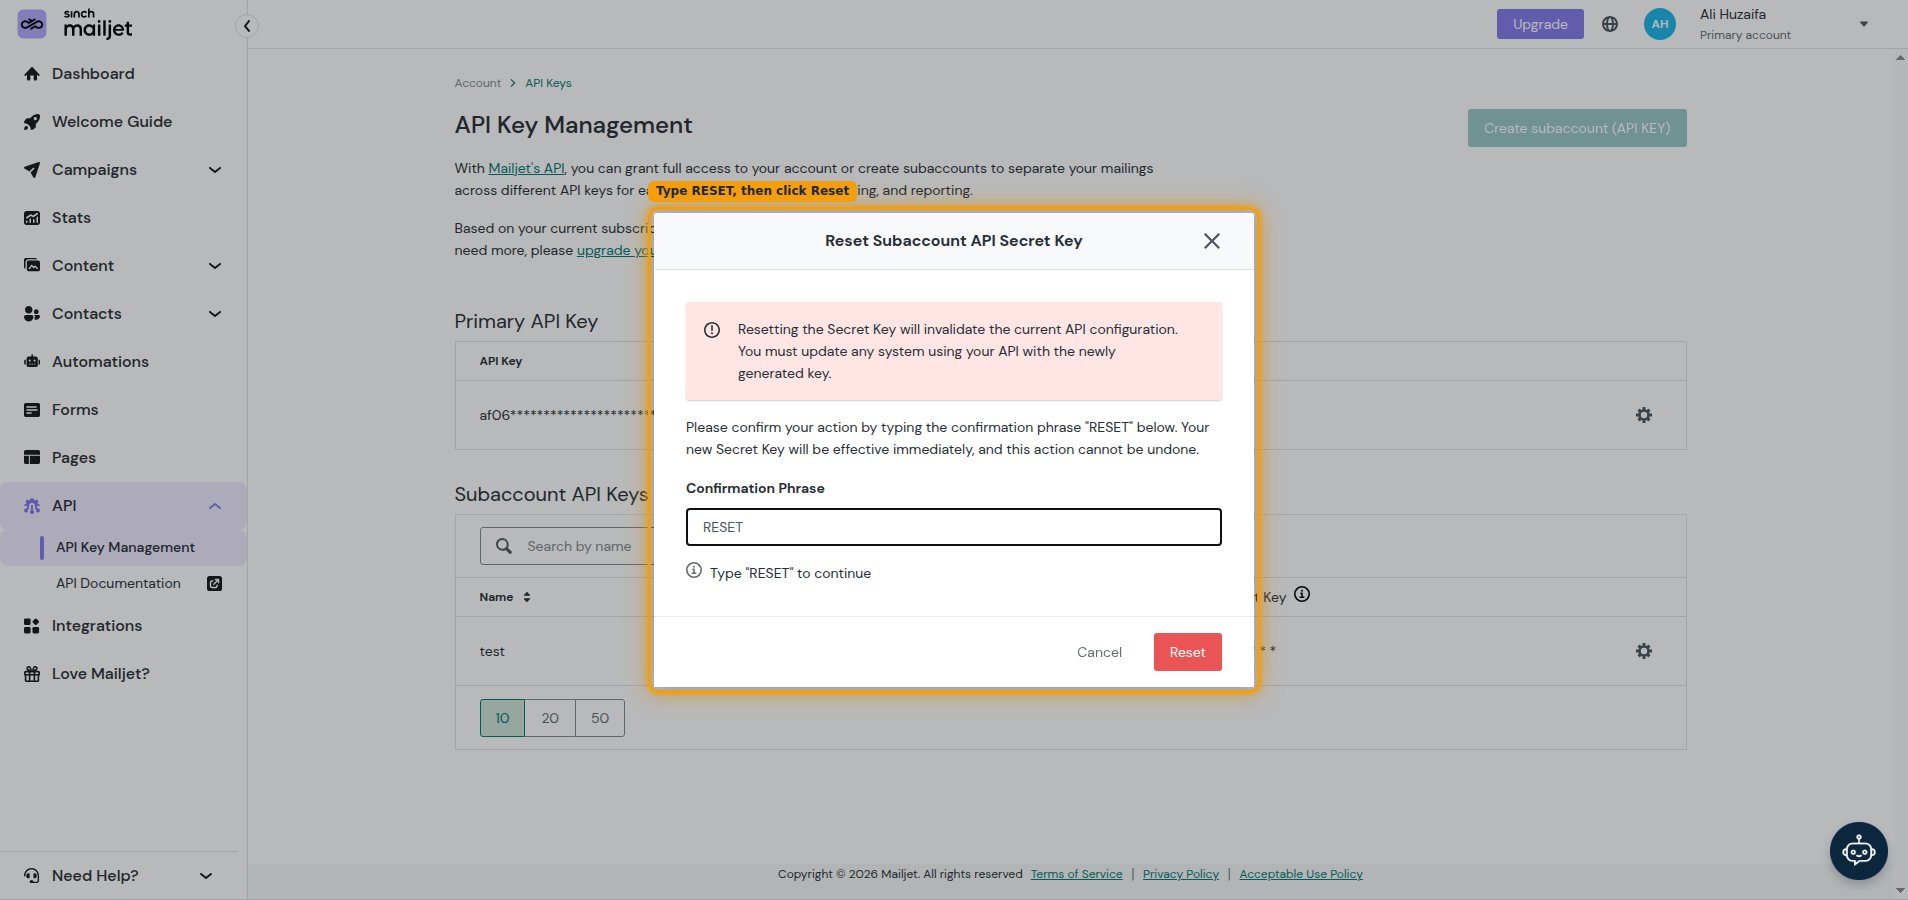
- In the Reset Subaccount API Secret Key dialog, type RESET in the Confirmation Phrase field, then click Reset.
Copy the regenerated keys
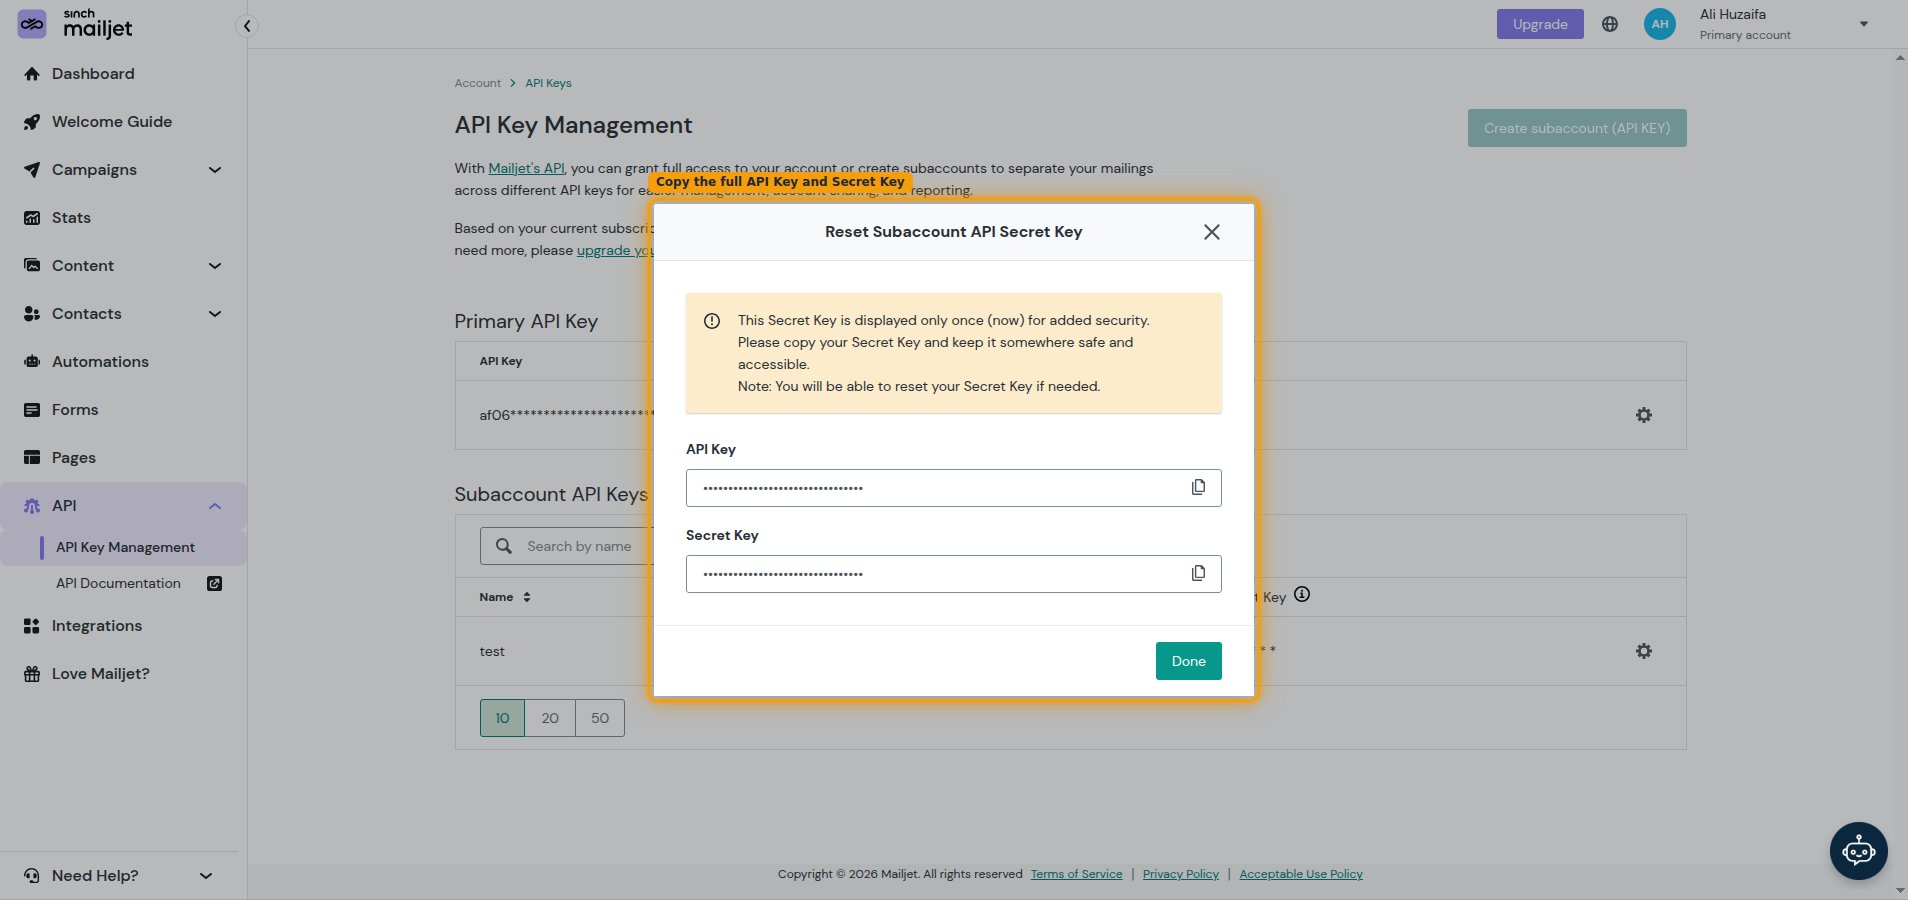
A modal displays the subaccount’s full API Key and Secret Key together, each with a Copy to clipboard button.
- Click Copy to clipboard next to the API Key and next to the Secret Key, and paste them into the matching fields in StackOne Hub.
- The Secret Key is displayed only once and cannot be retrieved later — copy it before you click Done.
- Click Done to close the modal.
Linking the Account from the Hub
Navigate to the Hub
Fill out the fields
- API Key
- Secret Key
Connect
- Click Connect
- If applicable, the provider will redirect you to a sign-in or authorization page. Complete the provider’s authorization flow.
- Once authorization is successful, you will see a confirmation popup
If the account linking is successful, you will see the newly linked account in your Accounts page.
Next Steps
Webhooks setup
Configure receiving Events for Mailjet into StackOne.