

Create an access token
An access token authenticates StackOne with your LaunchDarkly account.
1
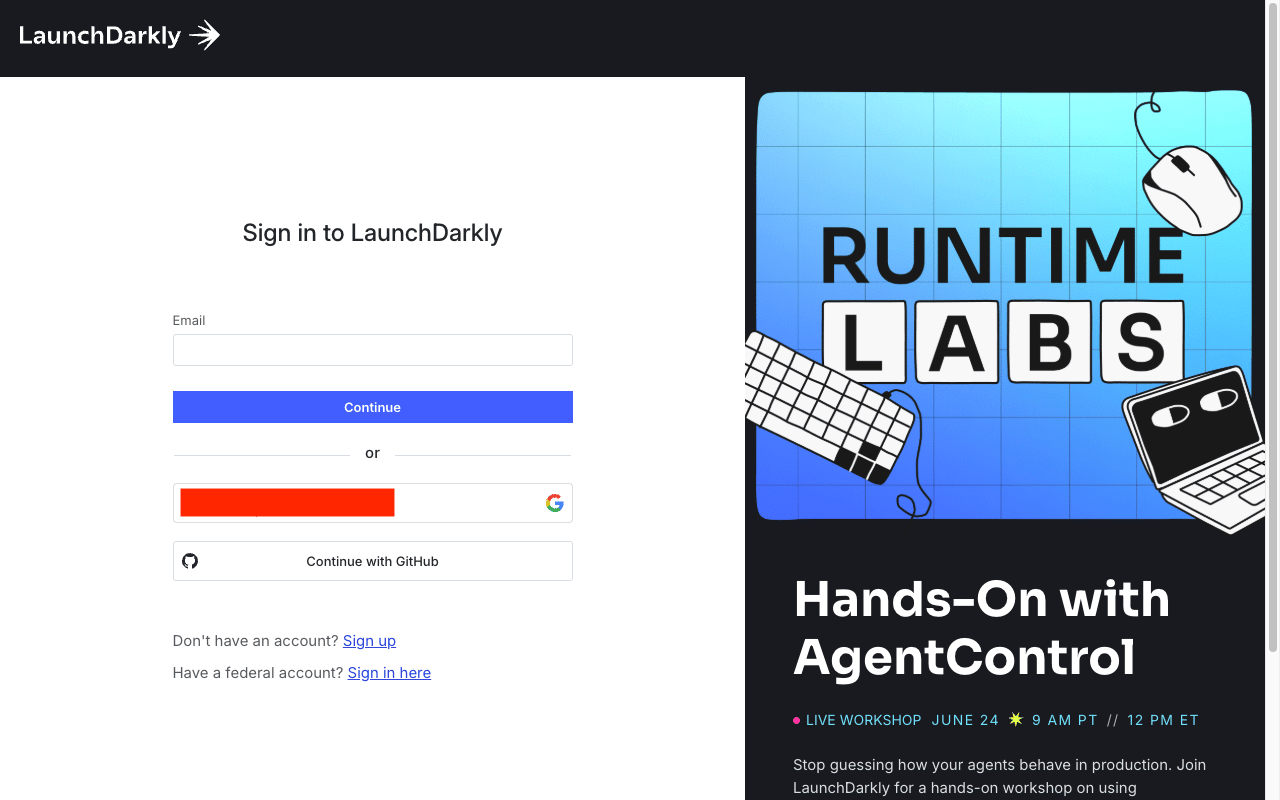
Sign in to LaunchDarkly
Sign in to your LaunchDarkly account.
2
Navigate to Authorization settings
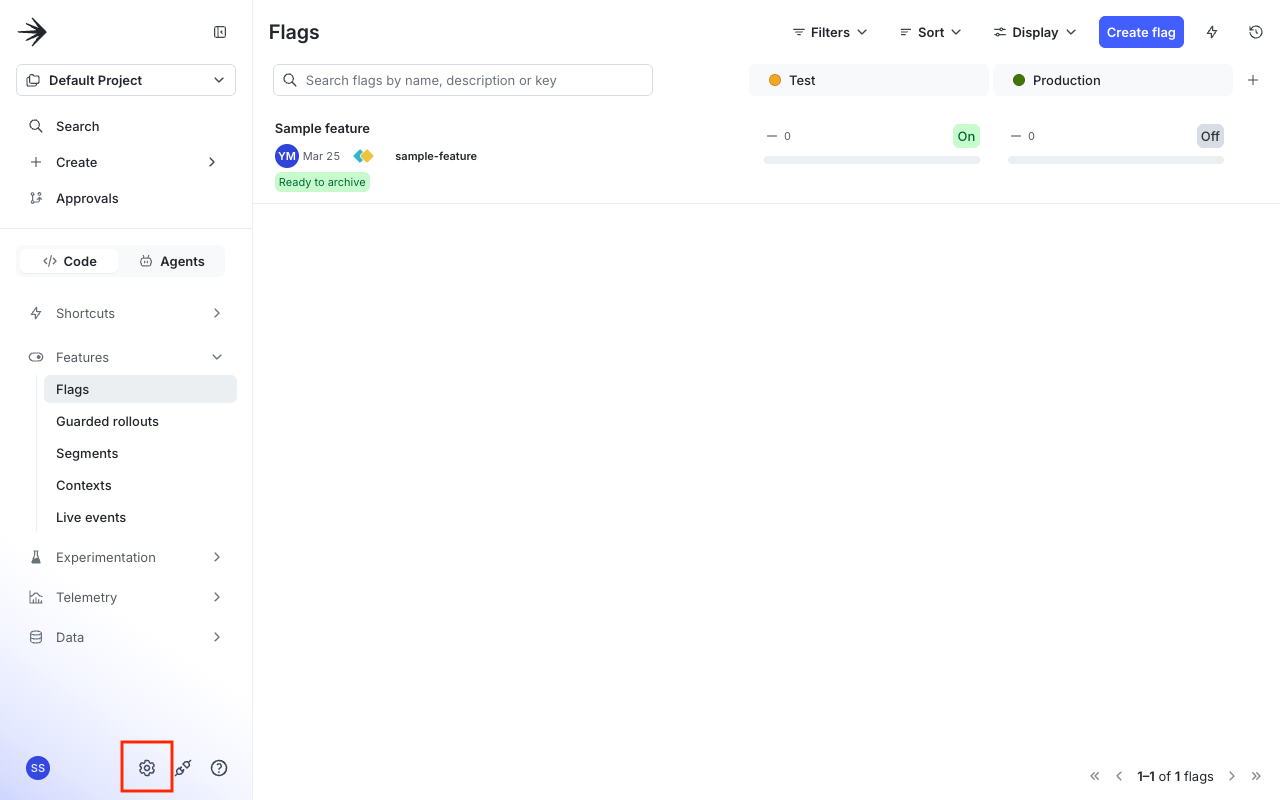
Navigate to the Authorization page in your Organization settings.
- Click the gear icon at the bottom of the left sidebar to open Organization settings.
3
Create a new token
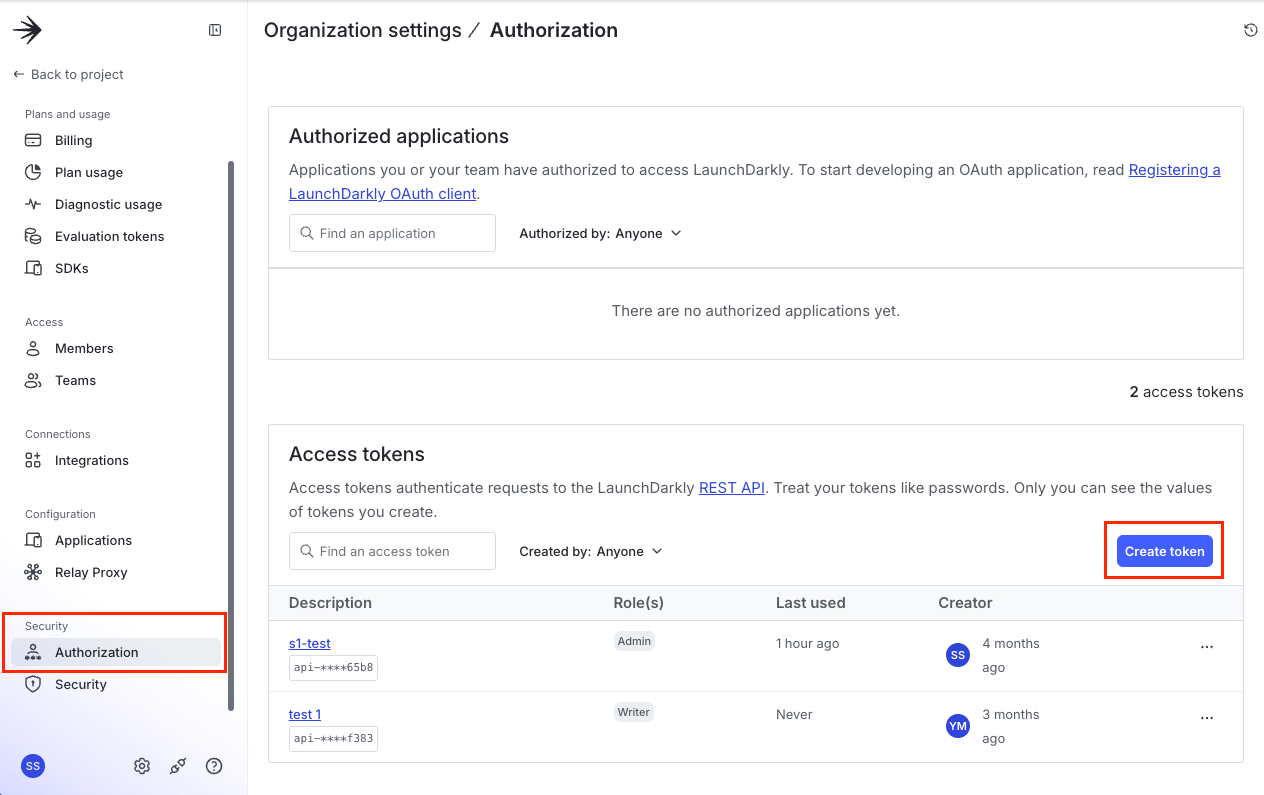
In the sidebar, under the Security heading, click Authorization.
- In the Access tokens section, click Create token to open the token creation dialog.
4
Configure token settings
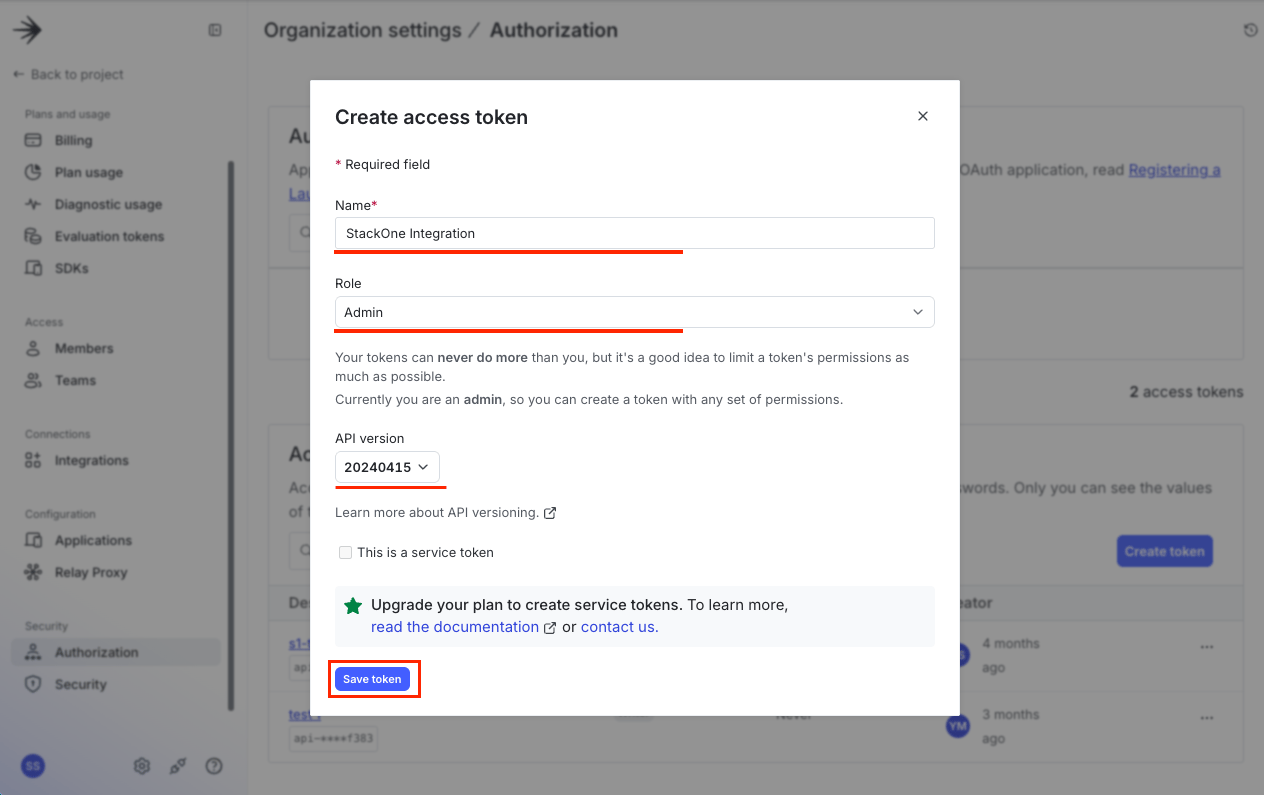
Fill in the token creation form.
- Name: Enter a descriptive name (e.g.,
StackOne Integration) - Role: Select Admin (recommended) to grant StackOne full access. Alternatively, select Writer for read and modify access, or Reader for read-only access
- API version: Leave the default version selected (e.g.,
20240415) - Click Save token.
5
Copy the access token
Copy the access token immediately and store it securely.
- Important: The token is only displayed once. If you leave or refresh the page, it will be obscured and cannot be retrieved.
- Format:
api-xxxxxxxx-xxxx-xxxx-xxxx-xxxxxxxxxxxx
Linking the Account from the Hub
1
Navigate to the Hub
Use one of the three Linking Account Methods to access the Hub.
2
Fill out the fields
Fill out the following fields using details from your provider:
- Access Token
3
Connect
- Click Connect
- If applicable, the provider will redirect you to a sign-in or authorization page. Complete the provider’s authorization flow.
- Once authorization is successful, you will see a confirmation popup
If the account linking is successful, you will see the newly linked account in your Accounts page.
Next Steps
Webhooks setup
Configure receiving Events for LaunchDarkly into StackOne.