

Create or access a YouTrack instance
YouTrack is JetBrains’ issue tracker, and you connect one specific YouTrack instance to StackOne. Make sure you have access to an instance before you continue.
- If your team already uses YouTrack, ask your administrator for the instance URL and sign in with your account.
- If you do not have one yet, create an instance from JetBrains YouTrack — choose YouTrack Cloud for a hosted
your-org.youtrack.cloudinstance, or YouTrack Server to self-host.
Find your YouTrack base URL
Your base URL identifies your organization’s YouTrack instance. You will paste it into the YouTrack Base URL field in StackOne Hub.
- Check your browser address bar when signed in to YouTrack.
- New cloud — if your URL is
https://acme.youtrack.cloud/issues, your base URL ishttps://acme.youtrack.cloud - Legacy cloud — if your URL is
https://acme.myjetbrains.com/youtrack/issues, your base URL ishttps://acme.myjetbrains.com/youtrack - Self-hosted — use your server URL, for example
https://youtrack.example.com - Enter the base URL without a trailing
/api— StackOne appends it automatically.
Generate a permanent token
A permanent token authenticates REST API calls on behalf of your account without an OAuth flow. You will paste its value into the Permanent Token field in StackOne Hub.
Sign in to YouTrack
Sign in to your YouTrack account instance with your username and password.
- Open your instance URL directly if you know it, for example
https://acme.youtrack.cloud.
Open your profile
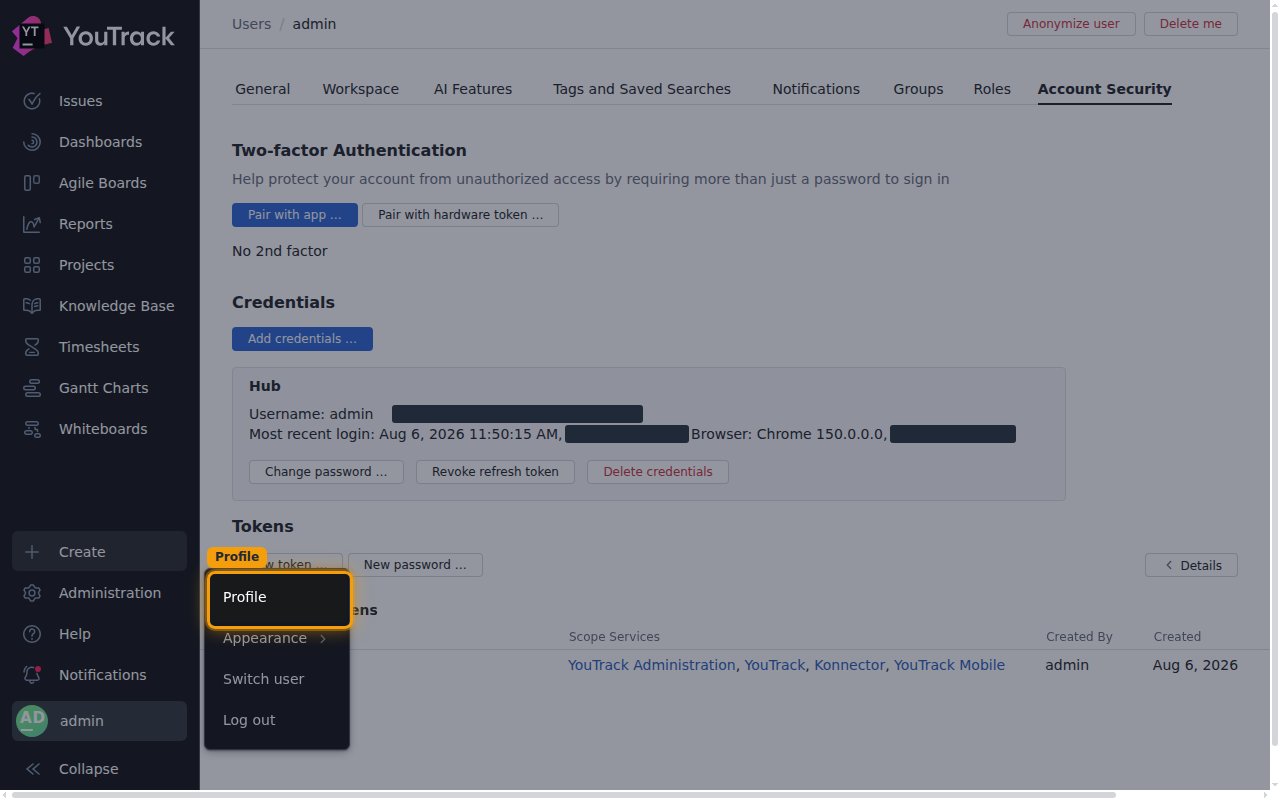
Open the user menu from the application sidebar.
- Click your avatar at the bottom of the left sidebar.
- Select Profile from the menu.
Open Account Security
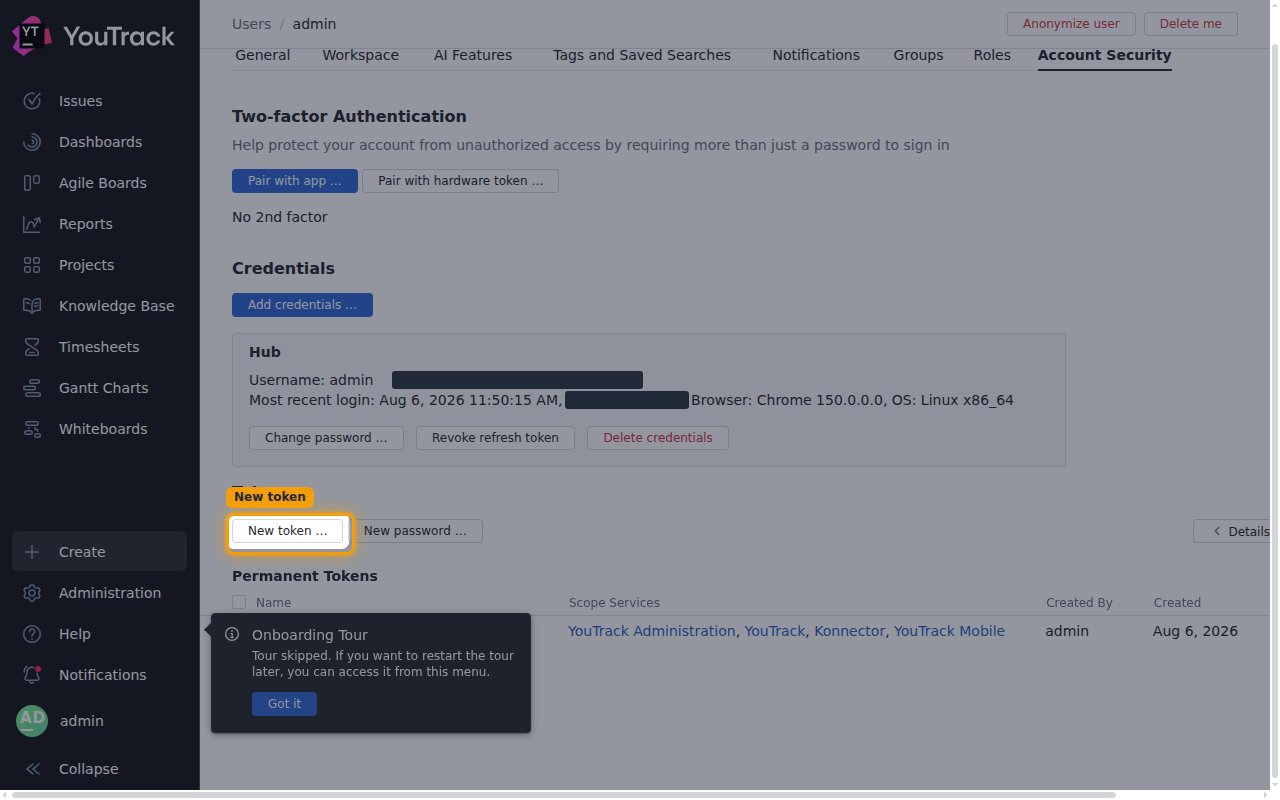
On your profile page, open the security settings where permanent tokens are managed.
- Open the Account Security tab.
- Scroll to the Tokens section and click New token under Permanent Tokens.
Create the token
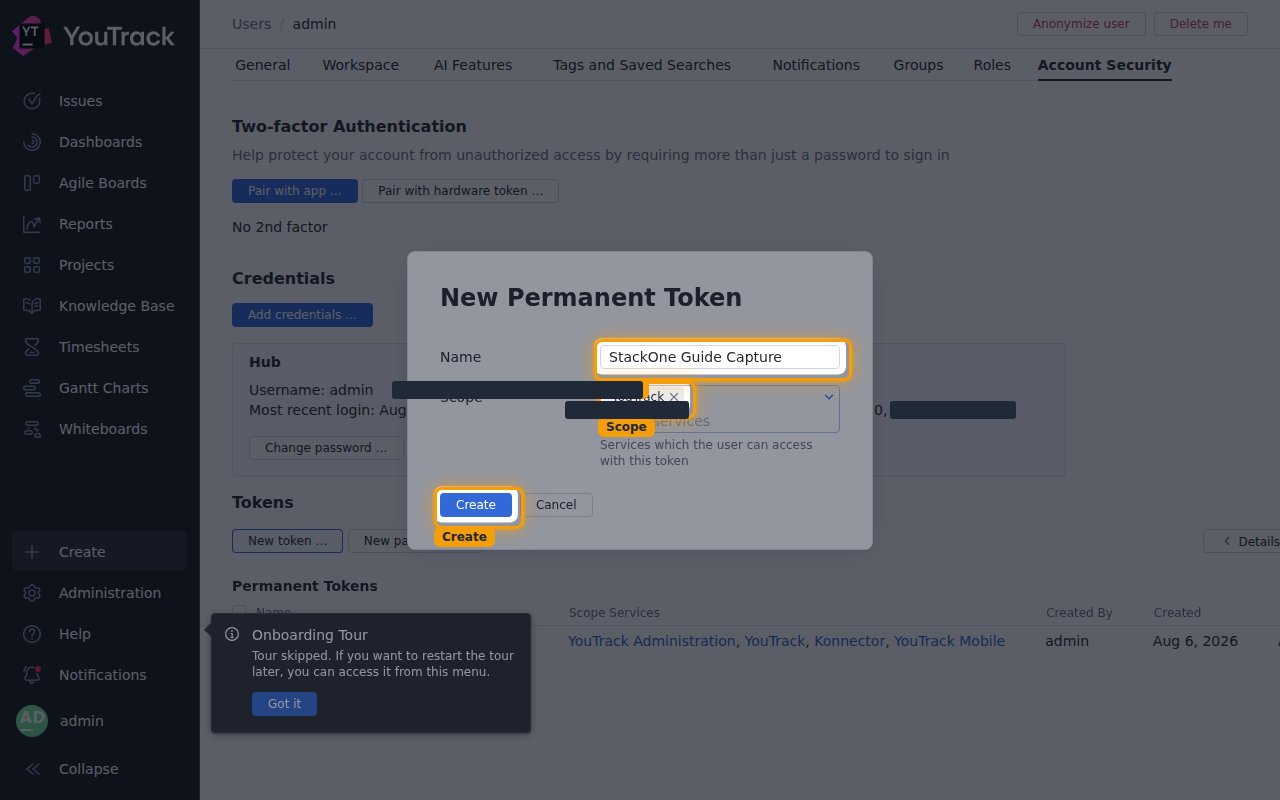
Complete the New Permanent Token dialog.
- In the Name field, enter a name such as
StackOne. - Under Scope, select YouTrack (add YouTrack Administration only if you need admin-level actions).
- Click Create.
Copy the token
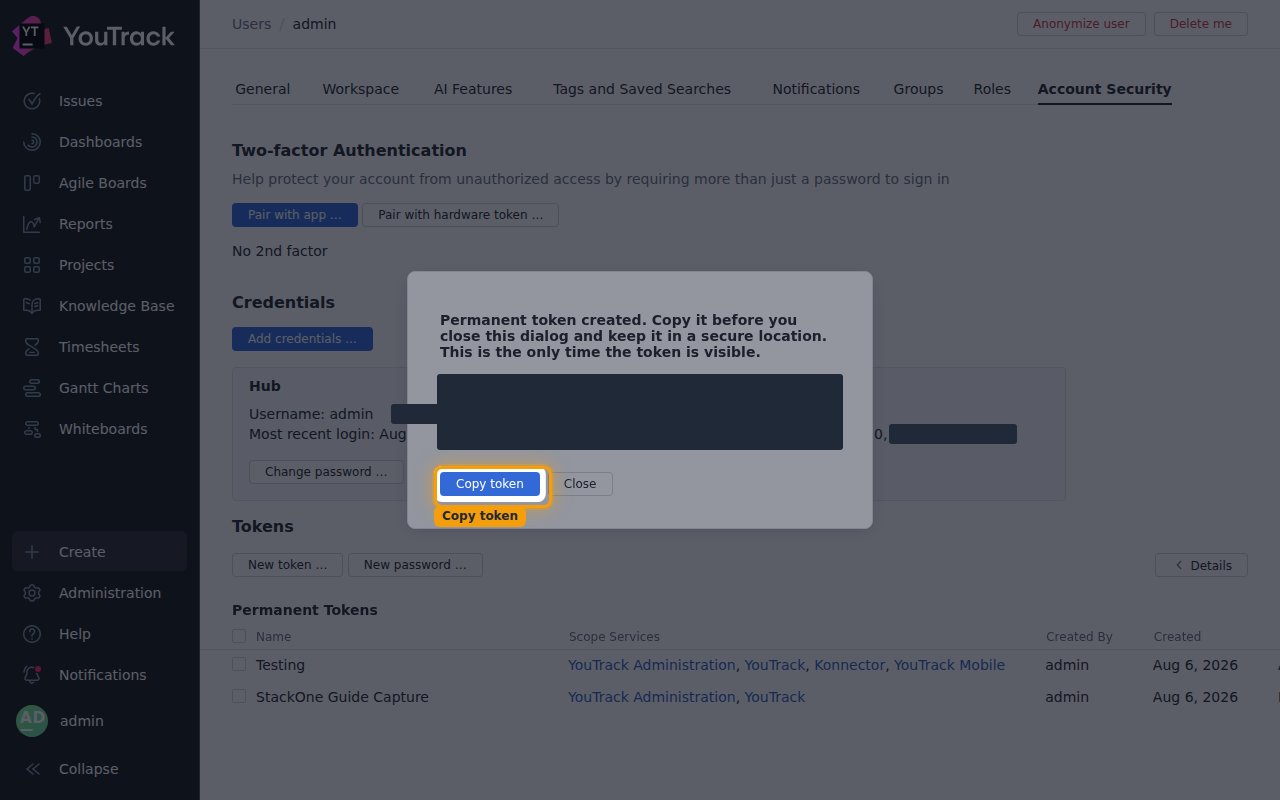
YouTrack displays the token only once, so copy it immediately.
- The dialog reads: Permanent token created. Copy it before you close this dialog and keep it in a secure location. This is the only time the token is visible.
- The token is shown only once and cannot be retrieved after you close the dialog.
- Click Copy token and store it securely for use later.
- The token starts with the
perm:prefix — include the full value, prefix and all.
Linking the Account from the Hub
Navigate to the Hub
Fill out the fields
- YouTrack Base URL
- Permanent Token
Connect
- Click Connect
- If applicable, the provider will redirect you to a sign-in or authorization page. Complete the provider’s authorization flow.
- Once authorization is successful, you will see a confirmation popup
If the account linking is successful, you will see the newly linked account in your Accounts page.
Next Steps
Webhooks setup
Configure receiving Events for JetBrains YouTrack into StackOne.