A Hugging Face account is required to register the OAuth application. The application owner may be your personal account or an organization.

Register an OAuth application

Create an OAuth application on Hugging Face to obtain a Client ID and Client Secret.

1

Sign in to Hugging Face

Sign in on the Hugging Face log-in page with your Username or Email address and Password, then click Login.
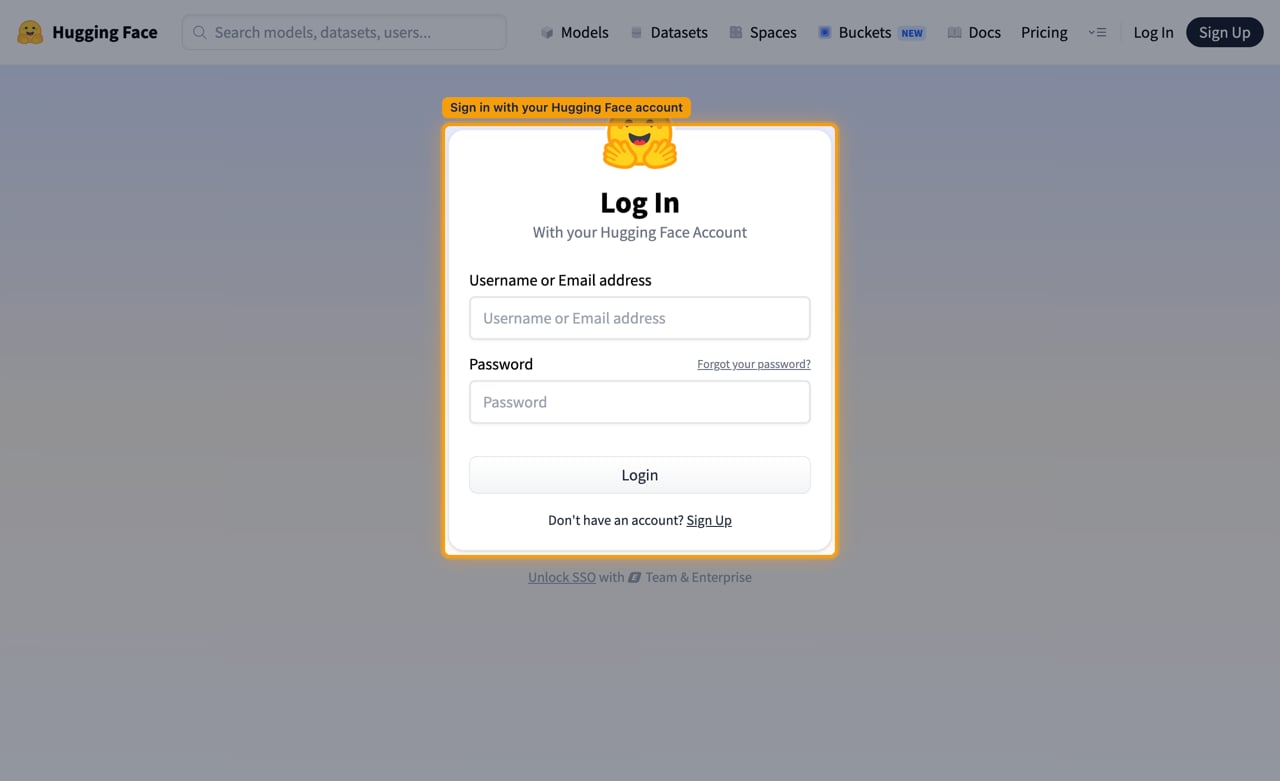
Hugging Face log in page with the sign-in card highlighted
2

Fill in the application details

Open the new OAuth application form. On Create an OAuth app, type a name into Application Name, then untick Public app (no client secret) — use PKCE / device code flow for authentication.

  • Public app (no client secret) is ticked by default, and a public application issues no client secret, which this connector requires.
  • Homepage URL, Logo and Token Expiration are optional and can be left at their defaults.
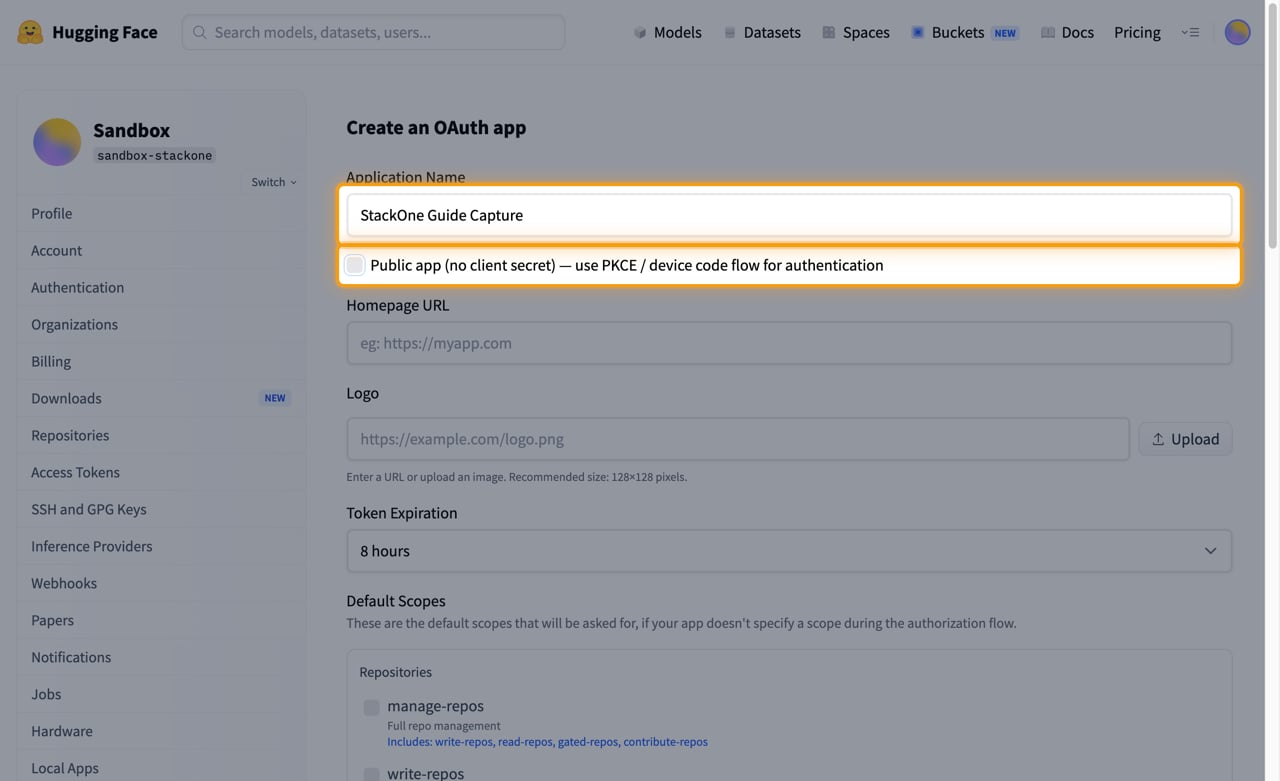
Create an OAuth app form with the Application Name field and the Public app checkbox highlighted
3

Select the default scopes

Enables actions: Add Collection Item, Batch Update Collection Items, Check Dataset Upload Method, Check Model Upload Method, Check Space Upload Method, Commit To Dataset, Commit To Model, Commit To Space, Compare Dataset Revisions, Compare Model Revisions, Compare Space Revisions, Create Collection, Create Dataset Branch, Create Dataset Tag, Create Discussion, Create Discussion Comment, Create Model Branch, Create Model Tag, Create Repository, Create Space Branch, Create Space Tag, Delete Collection, Delete Collection Item, Delete Dataset Branch, Delete Dataset Large File, Delete Dataset Large Files, Delete Dataset Tag, Delete Discussion, Delete Model Branch, Delete Model Large File, Delete Model Large Files, Delete Model Tag, Delete Pull Request Ref, Delete Repository, Delete Space Branch, Delete Space Large File, Delete Space Large Files, Delete Space Secret, Delete Space Tag, Delete Space Variable, Delete Space Volumes, Duplicate Repository, Get Collection, Get Current User, Get Dataset, Get Dataset At Revision, Get Dataset Folder Size, Get Dataset Leaderboard, Get Dataset Paths Info, Get Dataset Security Status, Get Discussion, Get Model, Get Model At Revision, Get Model Folder Size, Get Model Paths Info, Get Model Security Status, Get My Inference Session Usage, Get My Jobs Usage, Get My Usage, Get Organization Inference Session Usage, Get Organization Usage, Get Organization Usage By Resource Group, Get Pull Request Storage Estimate, Get Space, Get Space At Revision, Get Space Folder Size, Get Space Paths Info, Get Space Security Status, List Collections, List Dataset Commits, List Dataset Files, List Dataset Large Files, List Dataset Parquet Files, List Dataset References, List Datasets, List Discussions, List Model Commits, List Model Files, List Model Large Files, List Model References, List Models, List My Repositories, List Organization Members, List Organization Repositories, List Space Commits, List Space Files, List Space Large Files, List Space References, List Space Secrets, List Space Variables, List Spaces, Merge Pull Request, Move Repository, Pin Discussion, Set Space Volumes, Squash Dataset History, Squash Model History, Squash Space History, Update Collection, Update Dataset Settings, Update Discussion Status, Update Discussion Title, Update Model Settings, Update Space Settings, Upsert Space Secret, Upsert Space Variable

Under Default Scopes, tick the permissions this integration needs. Hugging Face applies them only when an authorization request does not name its own scopes, and StackOne always names them, so what you tick here does not cap or change what a connection receives. Tick them anyway so the application’s own settings page reflects what it is used for. The scopes that take effect are the ones in the Scopes field in the StackOne Connector profile.
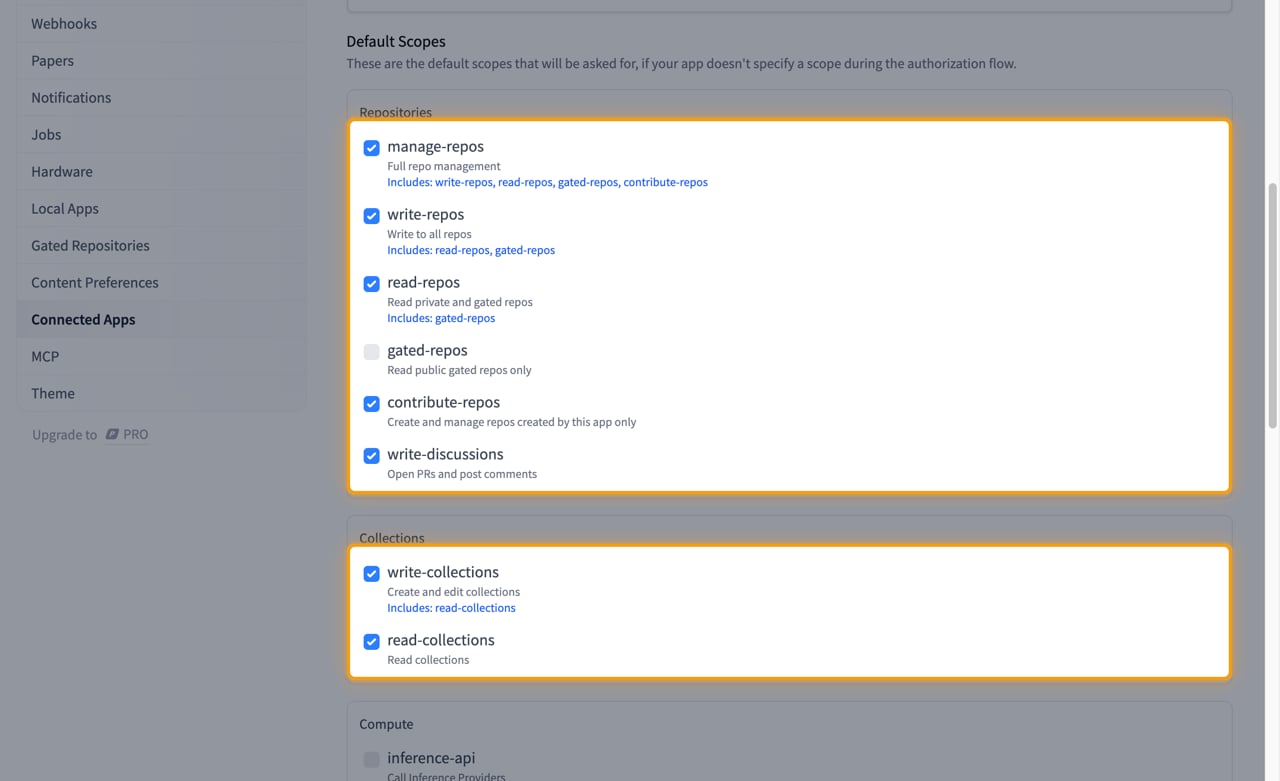
Default Scopes section with the Repositories and Collections scope groups ticked and highlighted
4

Add the redirect URL and create the application

Under Redirect URLs, paste the StackOne callback URL exactly as shown, then click Create application.

  • Callback URL: https://api.stackone.com/connect/oauth2/huggingface/callback
  • The redirect URL must match exactly — Hugging Face rejects any mismatch.
  • Use the + button beside Redirect URLs if you need to register more than one.
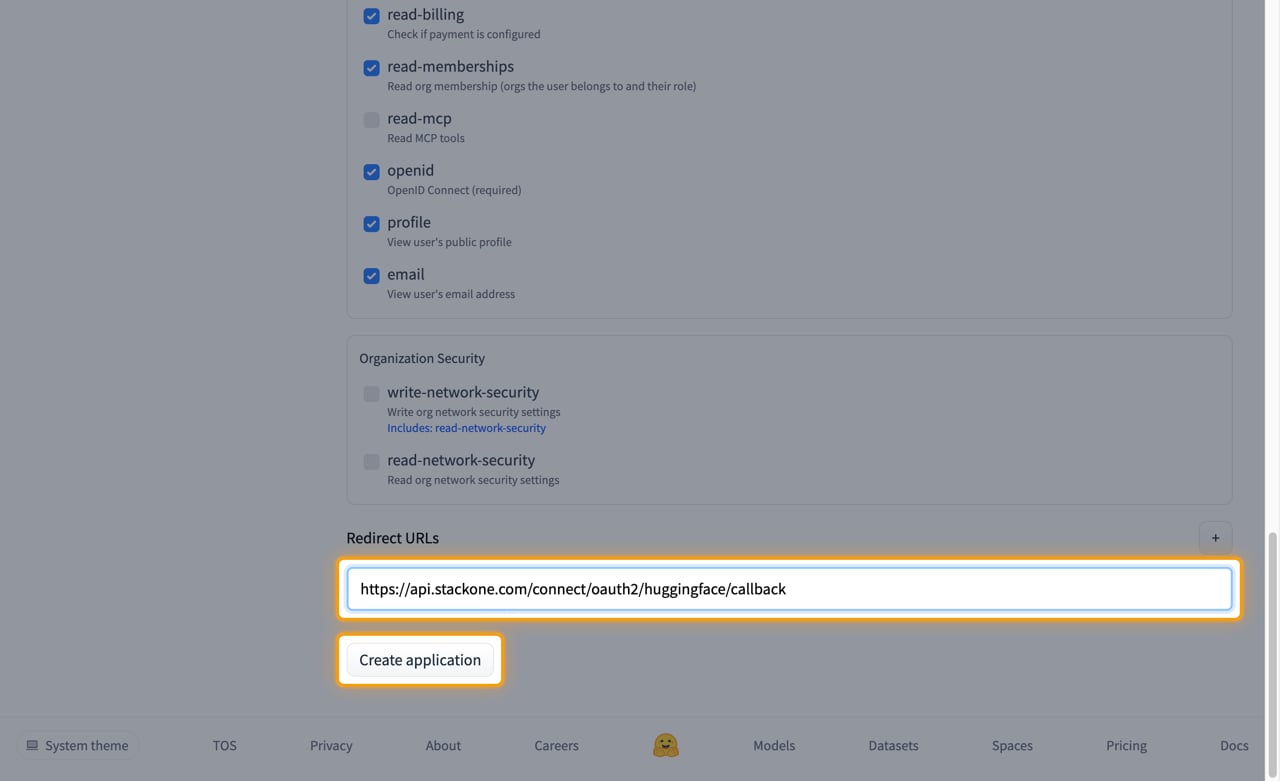
Redirect URLs field holding the StackOne callback URL, with the Create application button highlighted
5

Copy the Client Secret

Hugging Face shows Save your Client Secret with the value and a Copy button. Copy it, then paste it into the Client Secret field in the StackOne Connector profile.

  • The client secret is only displayed once and cannot be retrieved later — close the modal with Done only after you have copied it.
  • If it is lost, use Rotate secret on the application’s settings page to issue a new one.
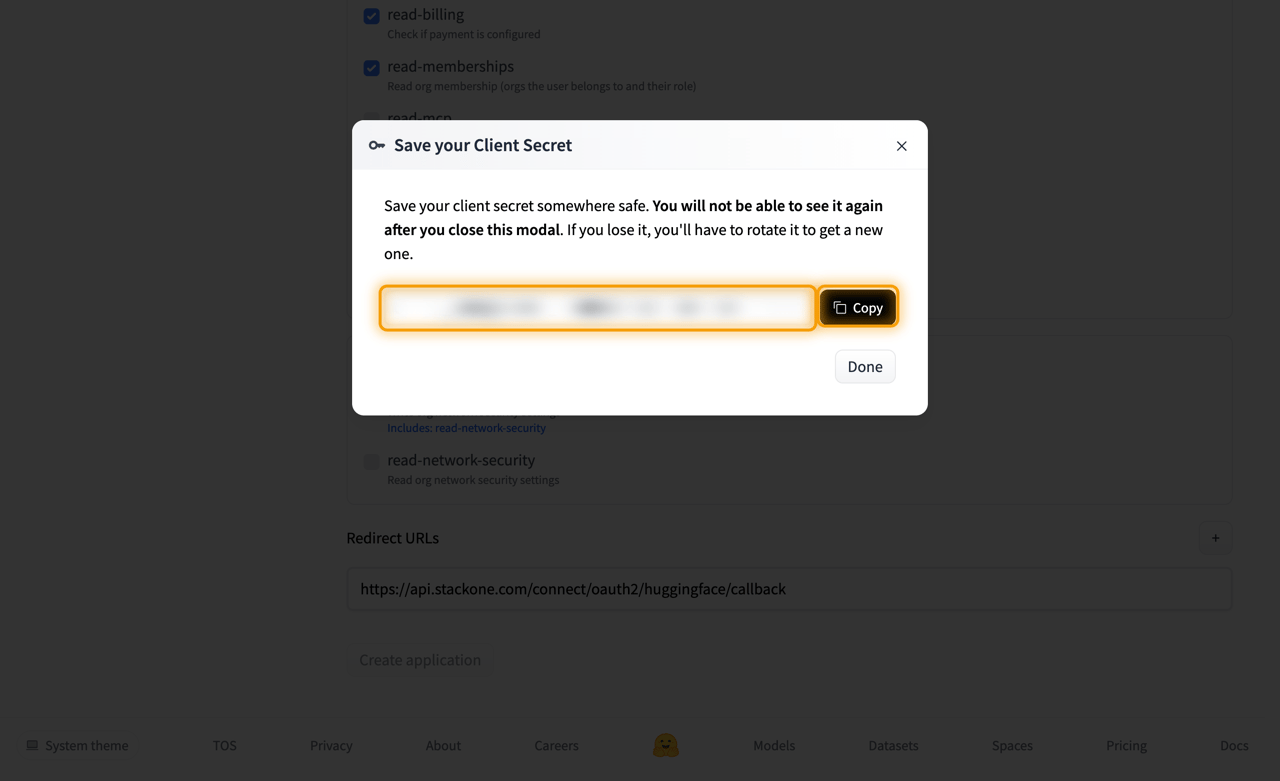
Save your Client Secret modal with the secret redacted and the Copy button highlighted
6

Copy the Client ID

On the application’s settings page, the Credentials panel shows Client ID with a copy button beside it. Copy it, then paste it into the Client ID field in the StackOne Connector profile.

  • Under Client Secret the page states that a client secret is set and was only displayed once; Rotate secret issues a new one and Remove secret turns the application back into a public app.
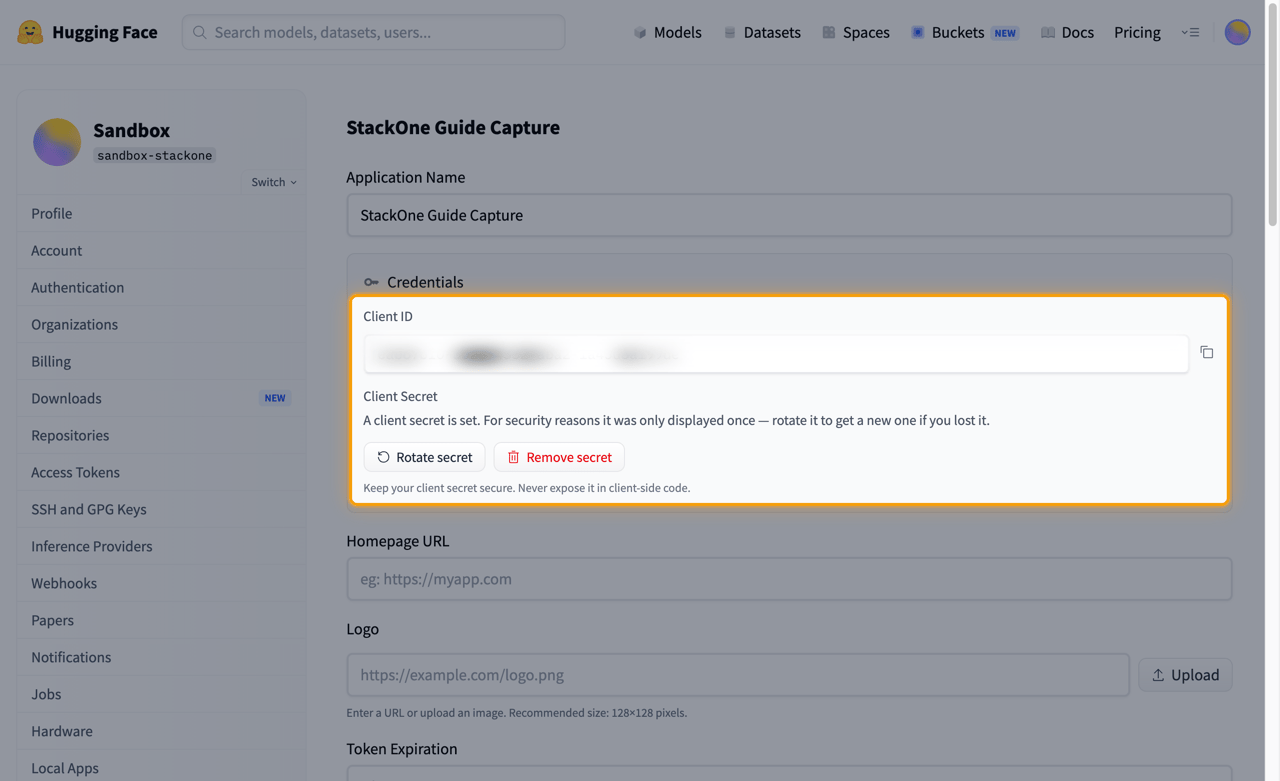
Application settings Credentials panel with the Client ID redacted and the panel highlighted

Granting access to an organization

Scopes such as read-repos and read-billing also apply to organizations.

  • The user chooses which of their organizations to grant access to during consent.
  • Access to an organization’s private repositories requires the user to select that organization at consent time.

Creating the StackOne Connector Profile

To create the Connector Profile in StackOne for Hugging Face:
1

Navigate to Connector Profiles

Login to StackOne and navigate to Connector Profiles
2

Create New Connector Profile

  • Click + Connector Profile
  • Search for and select Hugging Face
  • Select Type as OAuth 2.0
  • Fill out the fields using details retrieved from your provider:
    • Client ID
    • Client Secret
    • Scopes (Optional)
  • (Optional) Select Actions to be enabled for this Connector Profile
  • Click Create profile
Congratulations! The new Connector Profile will now show up in your project ready to be used. You can now continue to Link Accounts for Hugging Face.