

Create a HubSpot Private App
Generate a private app access token from your HubSpot account. Private apps are now managed under Development > Legacy Apps; the older Settings > Integrations > Private Apps path now redirects there.
Navigate to Legacy Apps
Log in to your HubSpot account at https://app.hubspot.com. HubSpot may first land you on the Accounts Dashboard — if so, select the account you want to configure to open its main portal.
- In the left sidebar, click More, then select Development (it is nested under the More menu, not a top-level item).
- Within the Development section, click Legacy Apps. The list shows existing Public and Private legacy apps; only the Private ones expose an Access Token (PAT).
- Click Create legacy app in the upper right of the Legacy Apps page.
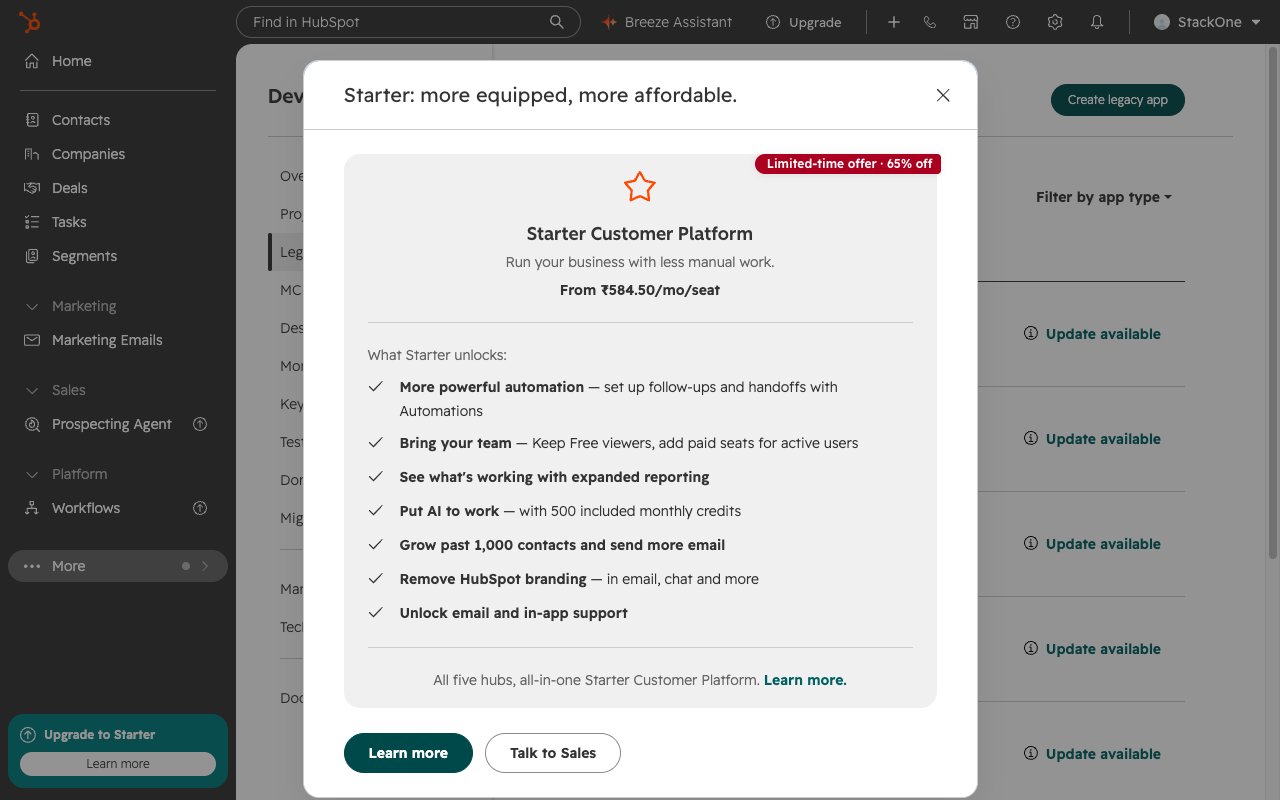
Pick Private and confirm the legacy path
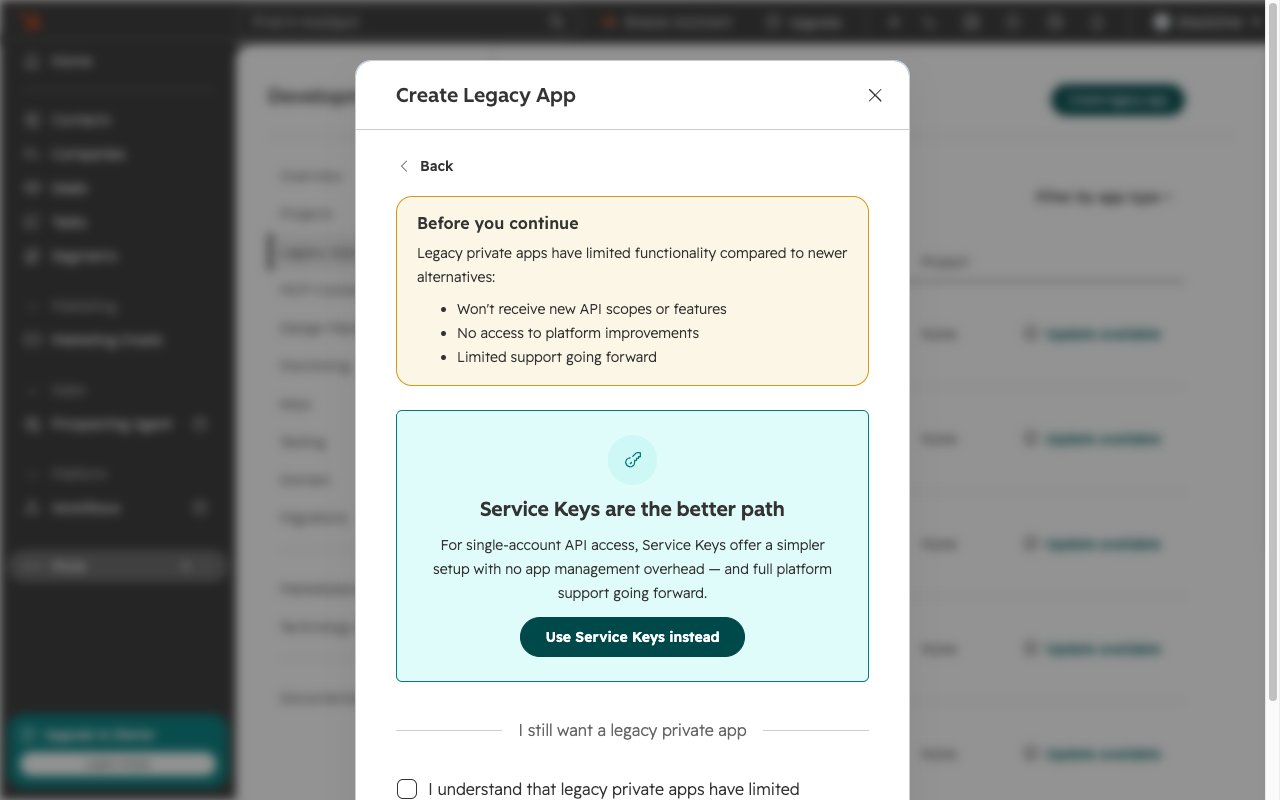
HubSpot now shows two confirmation modals before letting you create a legacy private app — it actively recommends the modern Service Keys path instead.
- In the first modal (“What kind of legacy app do you want to create?”), click Private (For one account). The Public option is for OAuth apps, not PATs.
- HubSpot then shows a “Service Keys are the better path” screen. Service Keys are not yet supported by the StackOne connector, so to continue with the PAT flow tick “I understand that legacy private apps have limited functionality and won’t receive future platform updates.” and click Continue with legacy private app.
Fill in Basic info
The app creation page has three tabs across the top — Basic info, Scopes, Webhooks. Start on Basic info.
- Enter a Name (e.g., “StackOne Integration”). The name must be unique within the portal.
- Optionally upload a square logo and add a description — both are cosmetic.
Add scopes
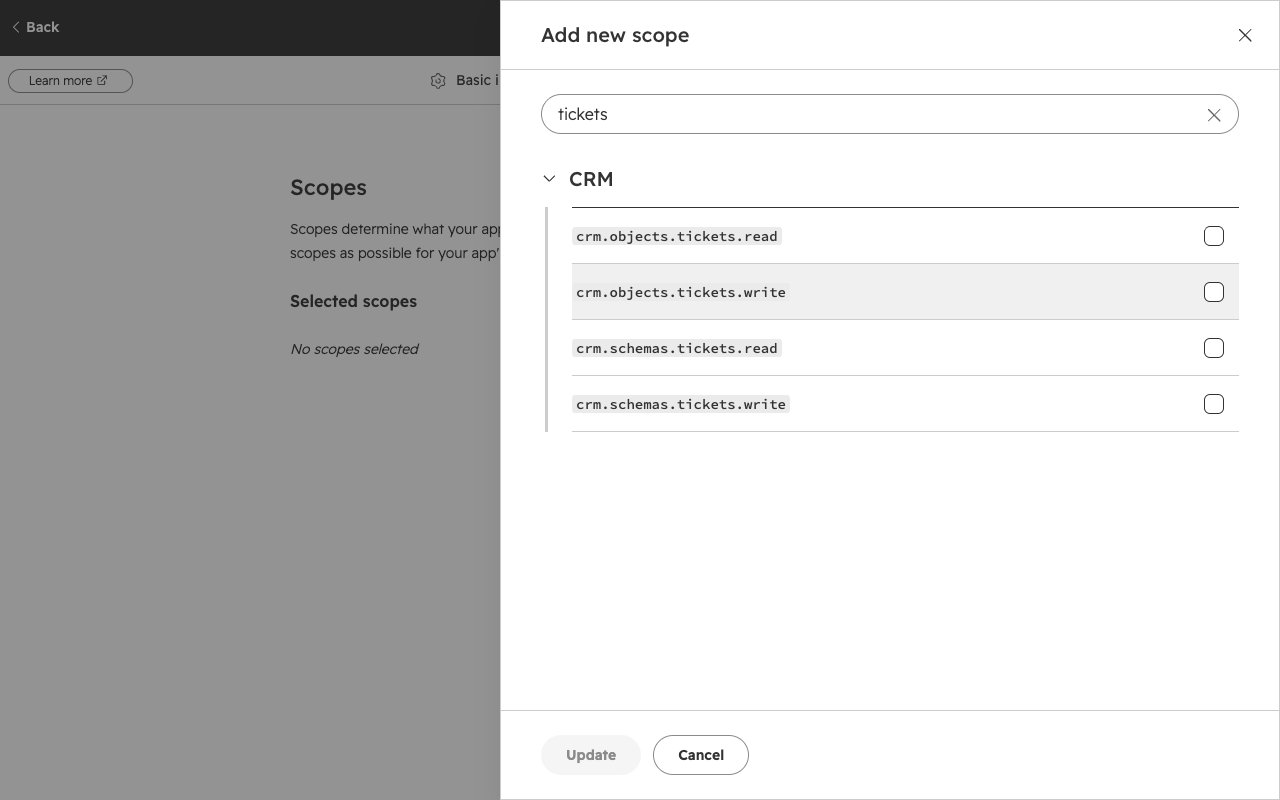
Switch to the Scopes tab and click + Add new scope to add each scope you need. The scope picker is search-based — type a keyword like companies or contacts to filter, then tick the scopes from the search results.
- Only add the scopes required by the StackOne actions you plan to call — the connector enforces scope requirements per action at runtime, so a PAT missing a scope causes the affected action to fail with
403 Forbidden. - For Companies coverage: add
crm.objects.companies.readandcrm.objects.companies.write. For association support: also addcrm.objects.contacts.read(andcrm.objects.contacts.writeif you’ll create contacts in the same flow). - For property discovery (used by
get_object_propertiesand to manage custom properties on standard objects), HubSpot exposescrm.schemas.companies.read/.write,crm.schemas.contacts.read/.write, etc. These are HubSpot-side scopes only — they don’t appear in this connector’sscopeDefinitions. - For Tickets: the legacy
ticketsscope is not offered in the private-app scope picker. Searchticketsand addcrm.objects.tickets.readandcrm.objects.tickets.writeinstead — these grant the same ticket API access for a PAT. - Marketing scopes require a subscription.
marketing.campaigns.read/.writeandcontentneed a HubSpot Marketing Hub plan; if your account lacks it, the picker shows “Your account doesn’t have access to this scope” and you can skip them (only the Campaigns and Marketing Emails actions depend on them). - The Webhooks tab on this app is optional and can be configured later — leave it for now unless you plan to deliver events through this PAT.
- See HubSpot scopes documentation for the full list of available scopes (including ones not modeled by this connector).
Scopes used by this connector
Below is the full set of HubSpot scopes that the StackOne HubSpot connector actions reference. Add the subset that matches the actions you intend to call — there is no “request only what you need” runtime behavior for PATs like there is for OAuth optional scopes; whatever you tick here becomes the static permission boundary of the token.
Create the app and copy the access token
Click Create app in the top right of the editor and confirm in the dialog.
- After creation you land on the app detail page. Click the Auth tab.
- In the Access token section, click Show token then Copy. This is the value to paste into the StackOne “Private App Access Token” field below.
- The token begins with
pat-na1-(US) orpat-eu1-(EU) depending on your portal region. - The Auth tab also shows a Client secret — StackOne uses bearer-token auth only and does not use the client secret, so you can ignore it.
- The token can be re-revealed from this Auth tab anytime, or rotated via the Rotate button next to the token (rotating immediately invalidates the previous token).
Linking the Account from the Hub
Navigate to the Hub
Fill out the fields
- Private App Access Token
Connect
- Click Connect
- If applicable, the provider will redirect you to a sign-in or authorization page. Complete the provider’s authorization flow.
- Once authorization is successful, you will see a confirmation popup
If the account linking is successful, you will see the newly linked account in your Accounts page.