

Generate a personal access token
A personal access token authenticates a single Harvest user and also reveals the Account ID you need.
Create a new personal access token
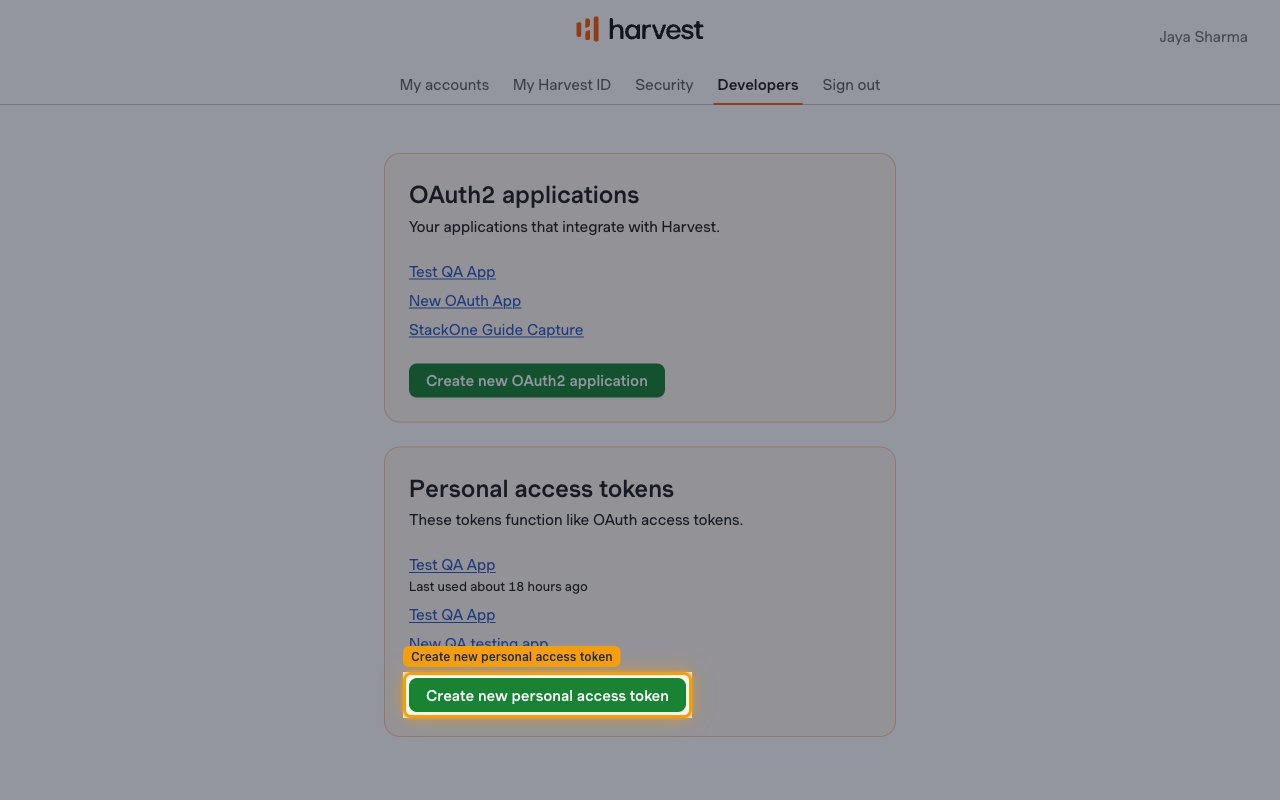
Sign in to your Harvest ID account and open the Developer tools page. Under Personal access tokens, click Create new personal access token.
- Enter a Name for the token (for example,
StackOne Integration). - Click Create personal access token.
Copy the token and Account ID
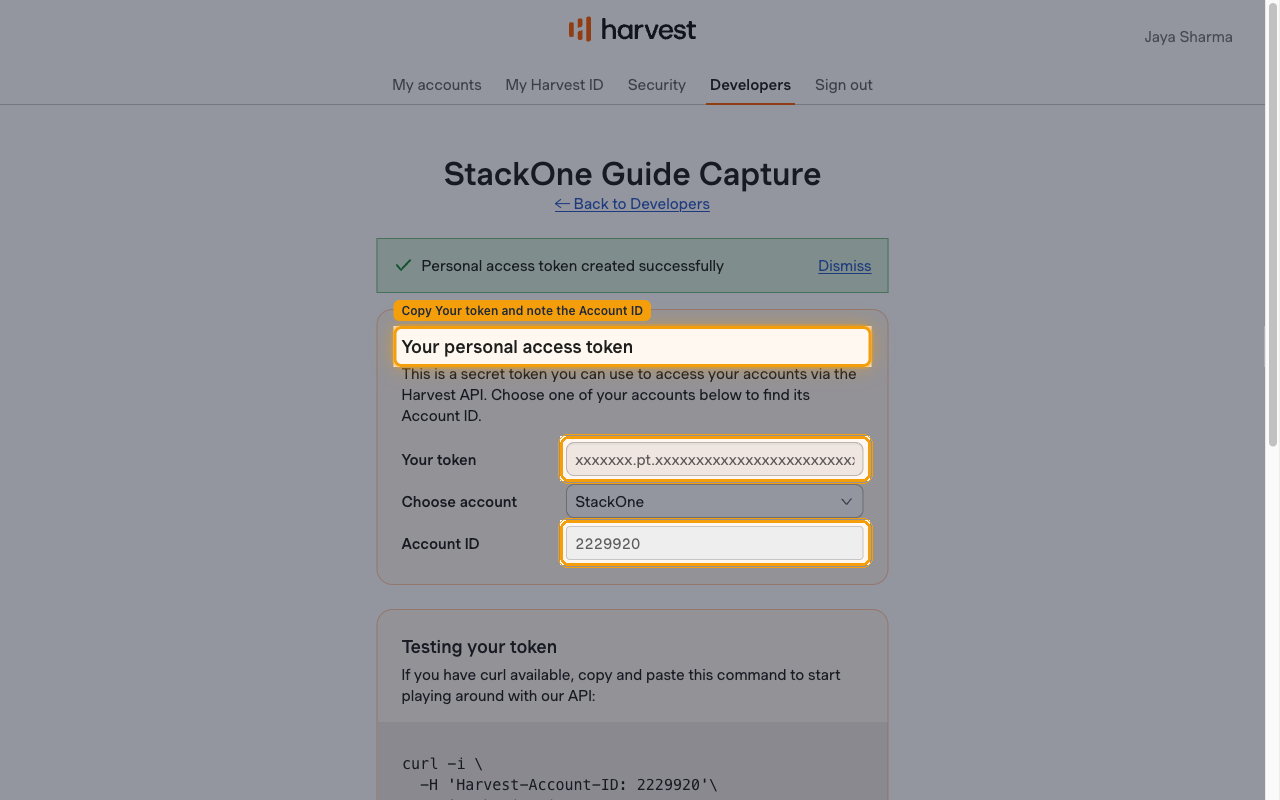
On the Your personal access token page, Harvest shows the token and the matching Account ID.
- If you belong to more than one account, use the Choose account dropdown to select the Harvest account this connection should access; the Account ID updates to match.
- Copy the value under Your token and paste it into the Personal Access Token field in StackOne Hub.
- Copy the number shown under Account ID (for example,
2229920) and paste it into the Account ID field in StackOne Hub. - Store the token securely — treat it like a password.
Set the User-Agent value
Harvest requires a User-Agent header on every API request. It must include both the name of your application and a link to your application or a contact email address — requests without a User-Agent are rejected with a 400 Bad Request.
Enter a User-Agent value
Fill in the User-Agent field in StackOne Hub with your application name followed by a link or email in parentheses.
- Format:
Application Name (link or contact email) - Example:
John's Harvest Integration (john@example.com) - Example:
Trello (http://trello.com/contact) - Using a non-standard value or deviating from this pattern may cause connectivity issues with the Harvest API.
Linking the Account from the Hub
Navigate to the Hub
Fill out the fields
- Personal Access Token
- Account ID
- User-Agent
Connect
- Click Connect
- If applicable, the provider will redirect you to a sign-in or authorization page. Complete the provider’s authorization flow.
- Once authorization is successful, you will see a confirmation popup
If the account linking is successful, you will see the newly linked account in your Accounts page.