

Generate a Harness API key token
Create a personal API key and token in Harness. The token is the API Key value StackOne needs.
Sign in to Harness
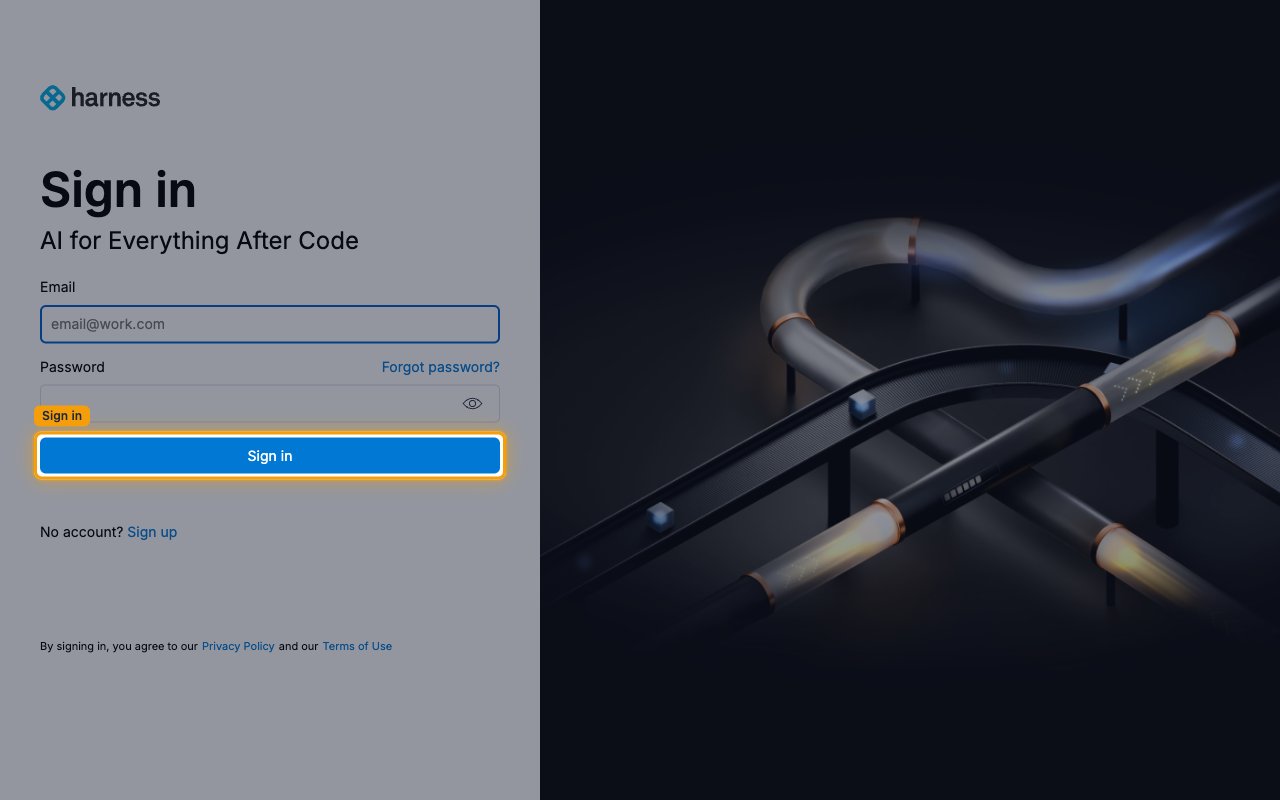
Sign in on the Harness sign-in page with your Email and Password, then click Sign in.
Open your Profile Overview
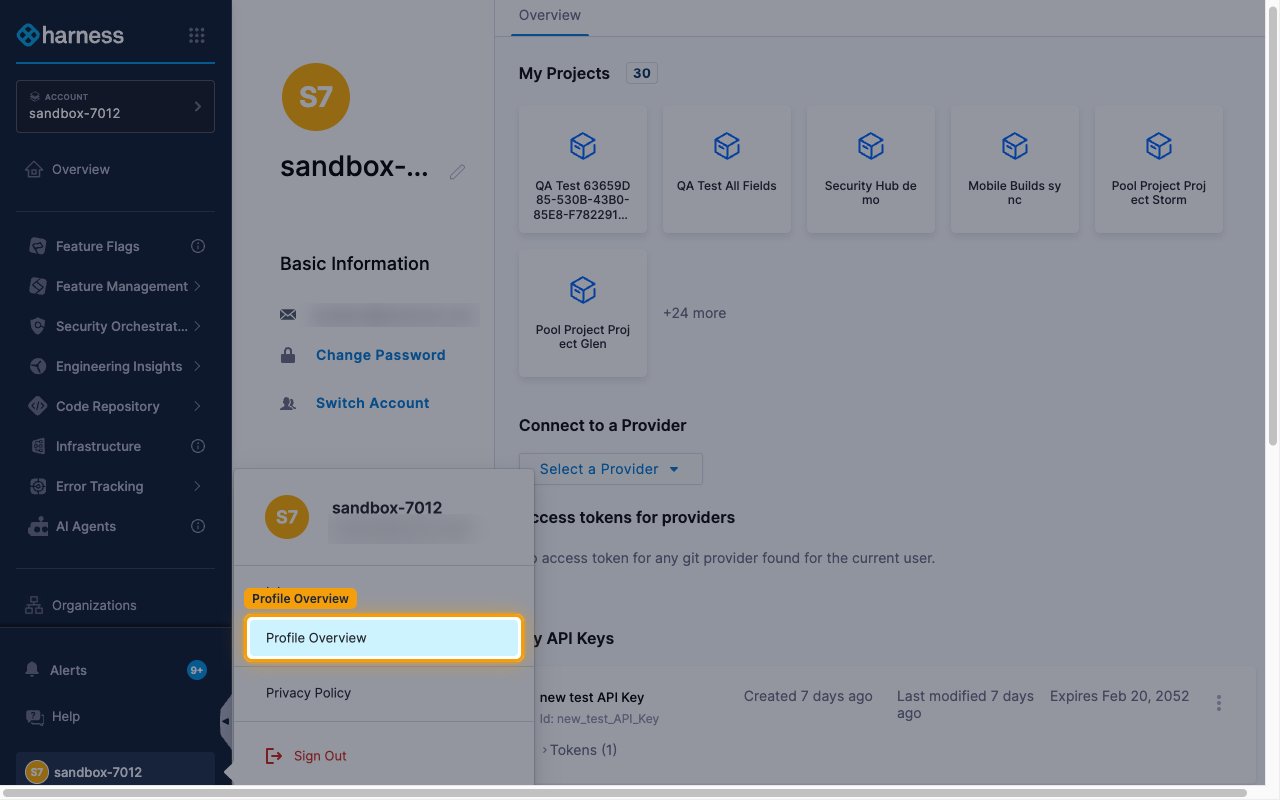
Click your profile icon in the bottom-left corner of the navigation, then click Profile Overview in the menu that opens.
Create a new API key
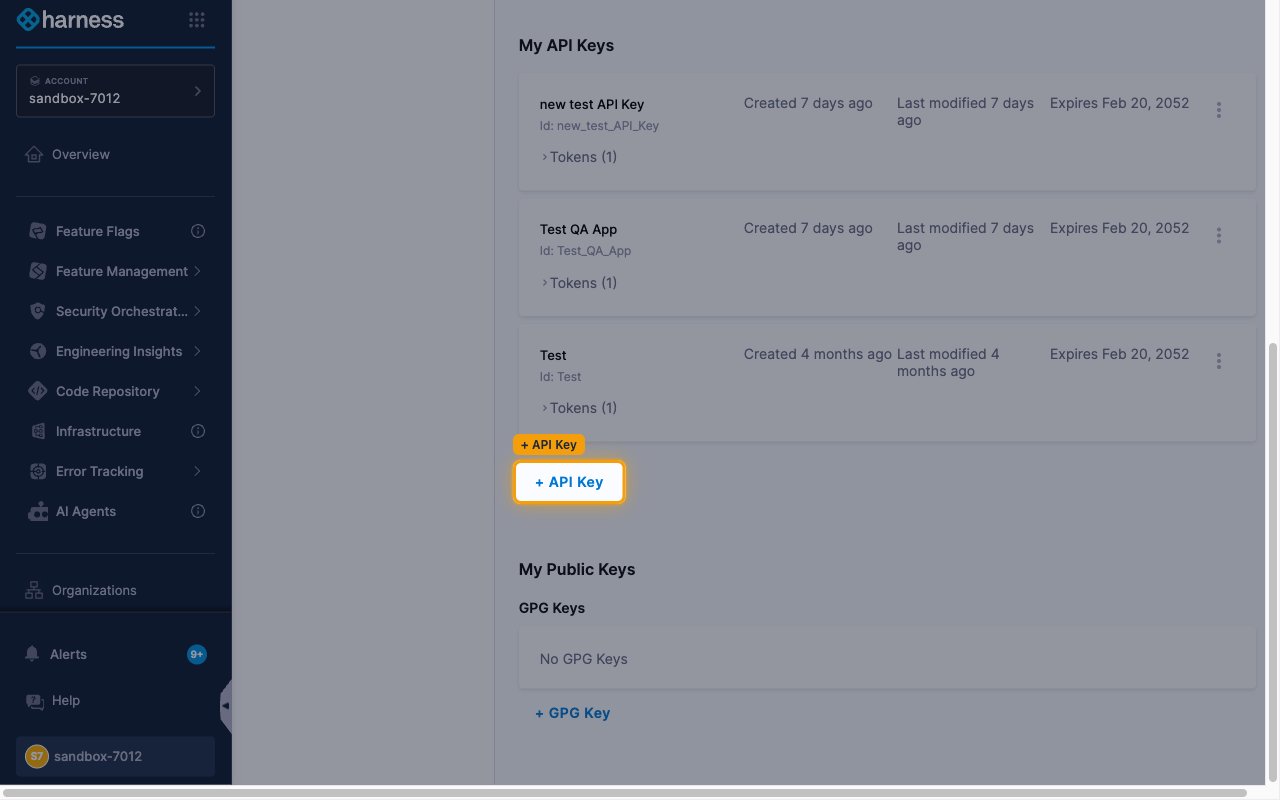
On your Profile Overview page, find the My API Keys section and click + API Key.
- In the New API Key dialog, enter a Name for the key.
- Click Save.
Generate a token
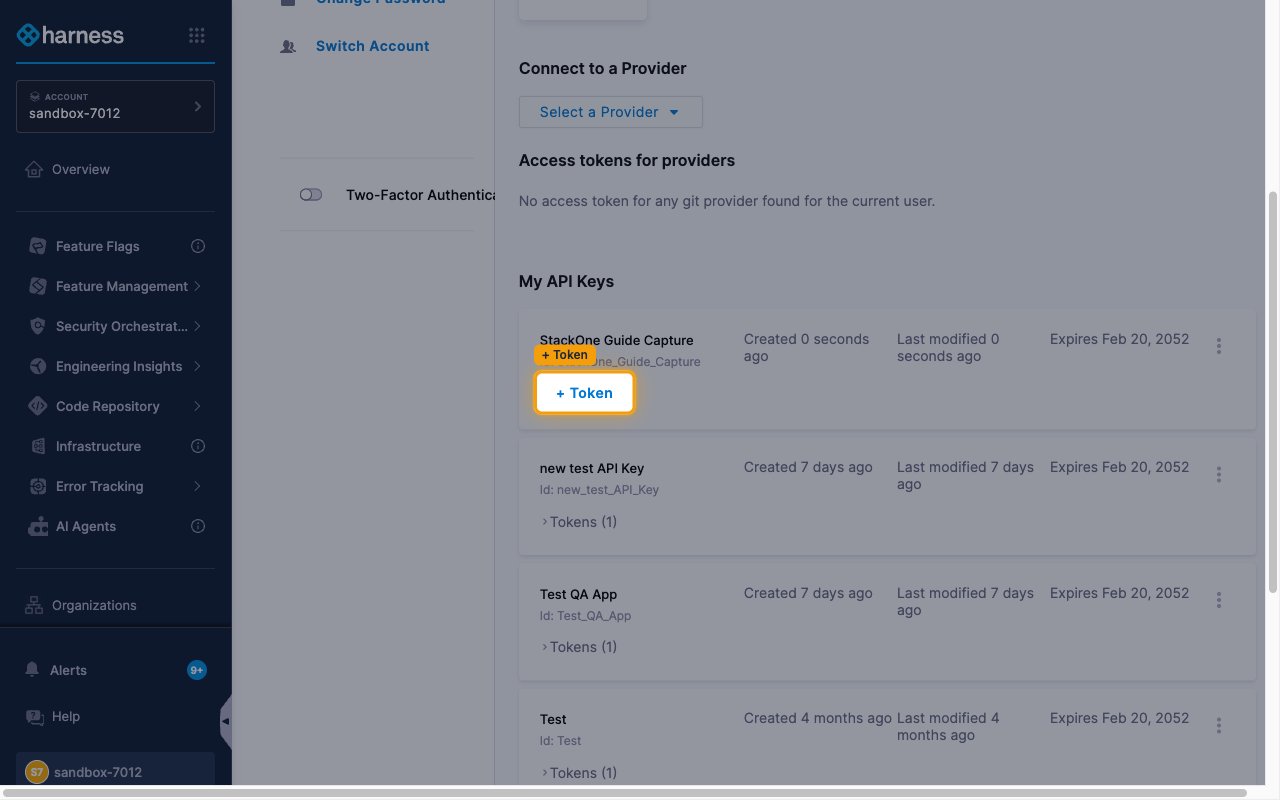
Click + Token under the API key you just created.
- In the New Token dialog, enter a Name for the token.
- Set the Expiration — the dialog shows the exact date the token will expire.
- Click Generate Token.
Copy the token value
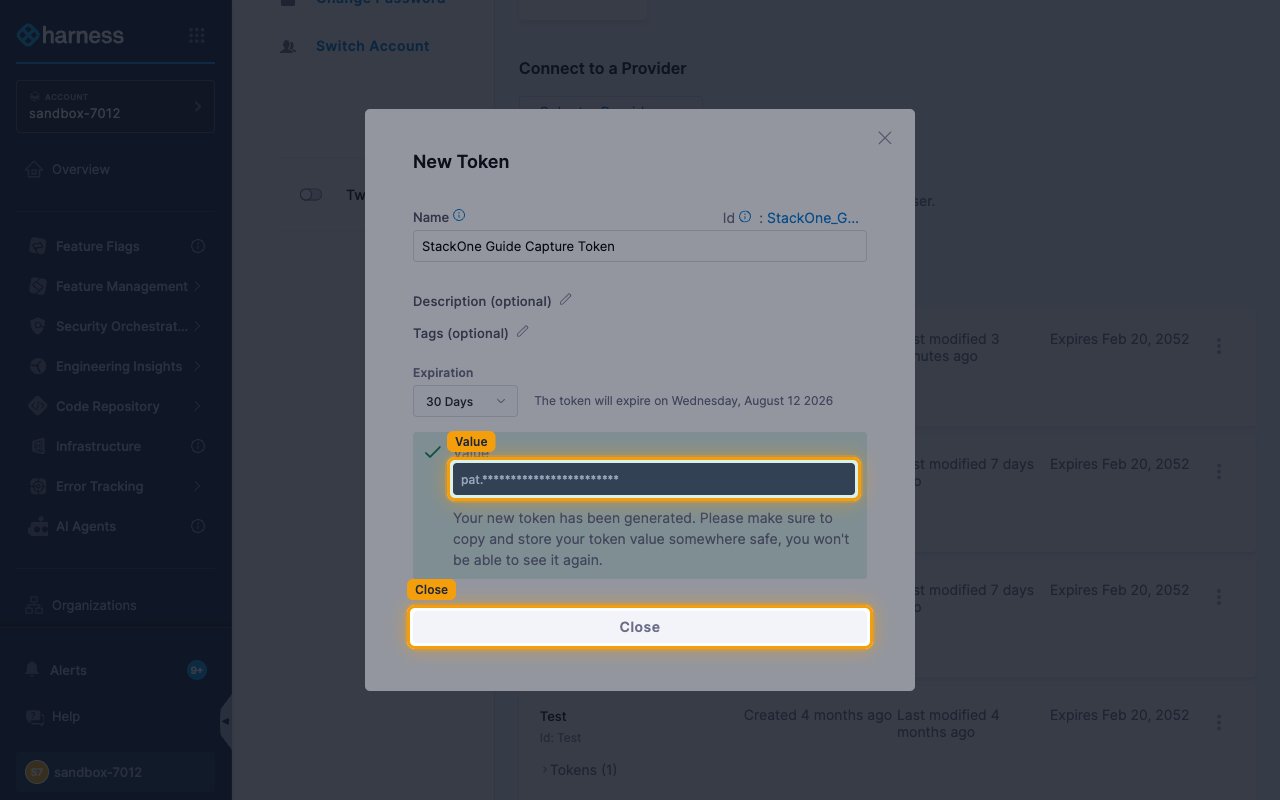
The token Value is displayed once — “Your new token has been generated. Please make sure to copy and store your token value somewhere safe, you won’t be able to see it again.”
- Copy the token value — it starts with
pat.(for examplepat.xxxx.xxxx.xxxx) — and paste it into the API Key field in StackOne Hub. - The token value is shown only once and cannot be retrieved later.
- Click Close.
Find your account identifier
Your Account Id uniquely identifies your Harness account — StackOne needs it as the
Account Identifier.
Open Account Settings
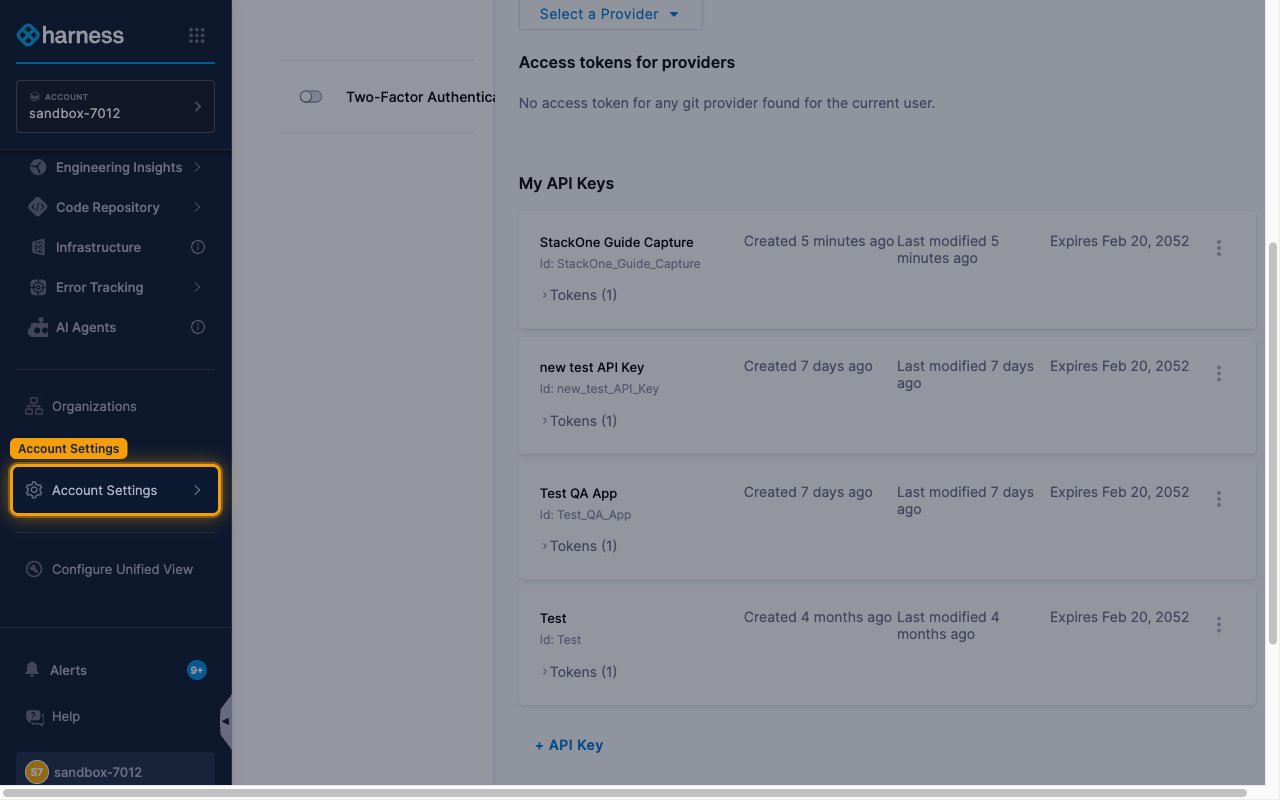
Click Account Settings in the left navigation.
Open Account Details
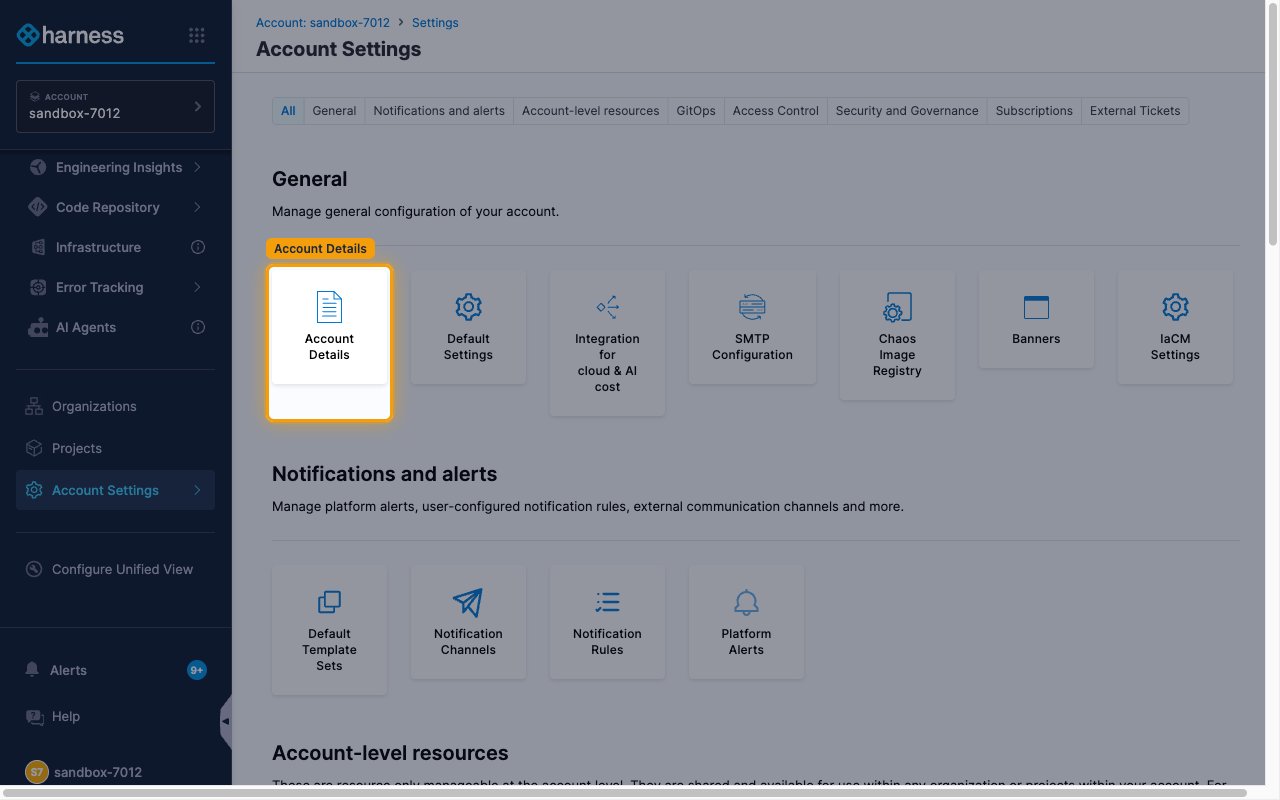
On the Account Settings page, under General, click Account Details.
Copy the Account Id
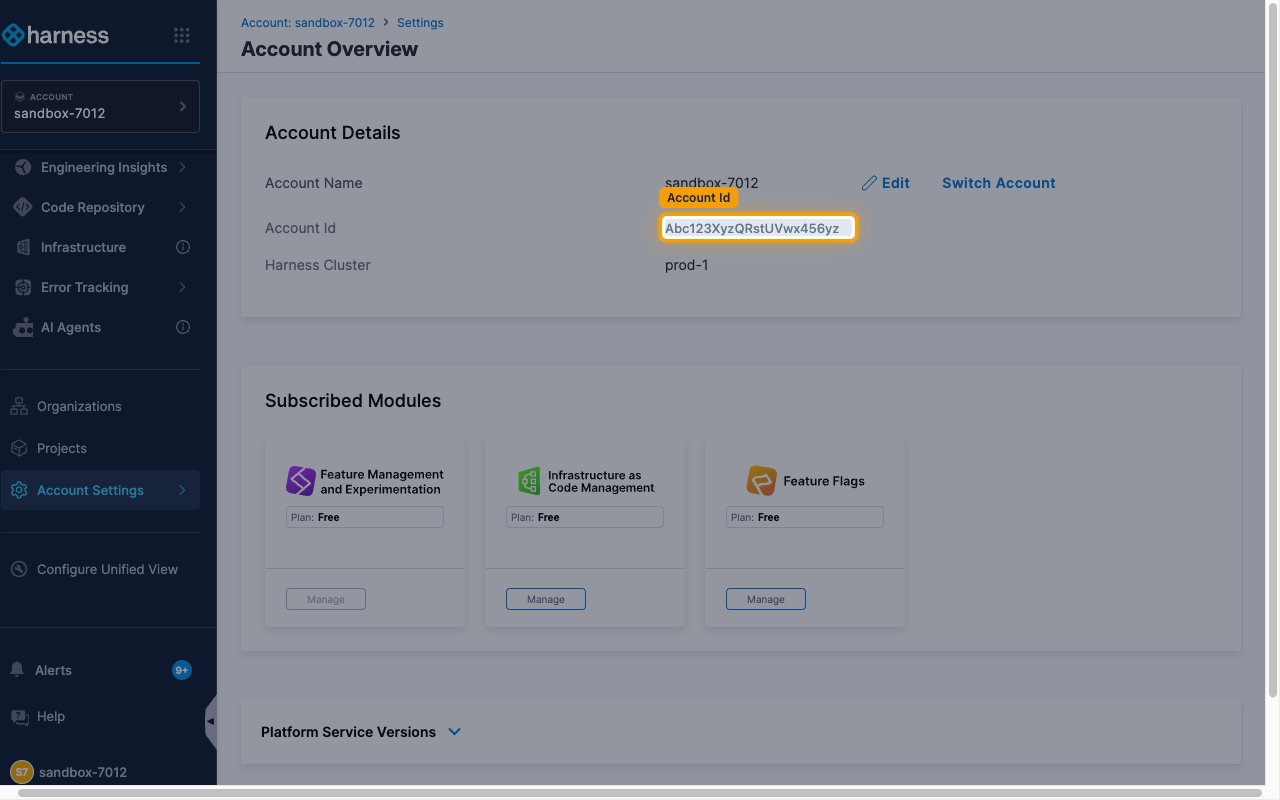
On the Account Overview page, copy the Account Id value and paste it into the
Account Identifier field in StackOne Hub.
- Example:
Abc123XyzQRstUVwx456yz - Alternatively, copy it from your browser URL after /account/ (e.g.
app.harness.io/ng/account/YOUR_ACCOUNT_ID/...).
Linking the Account from the Hub
Navigate to the Hub
Fill out the fields
- API Key
- Account Identifier
Connect
- Click Connect
- If applicable, the provider will redirect you to a sign-in or authorization page. Complete the provider’s authorization flow.
- Once authorization is successful, you will see a confirmation popup
If the account linking is successful, you will see the newly linked account in your Accounts page.