

Creating an API application
Applications on the G-P Developer Portal issue the Client ID and Client Secret that authorize API access. Credentials are not available on the G-P Platform itself.
Sign in to G-P
Sign in to the G-P Developer Portal for the environment you are connecting.
- Production — G-P Developer Portal
- UAT — G-P UAT Developer Portal
- Integration — G-P Integration Developer Portal
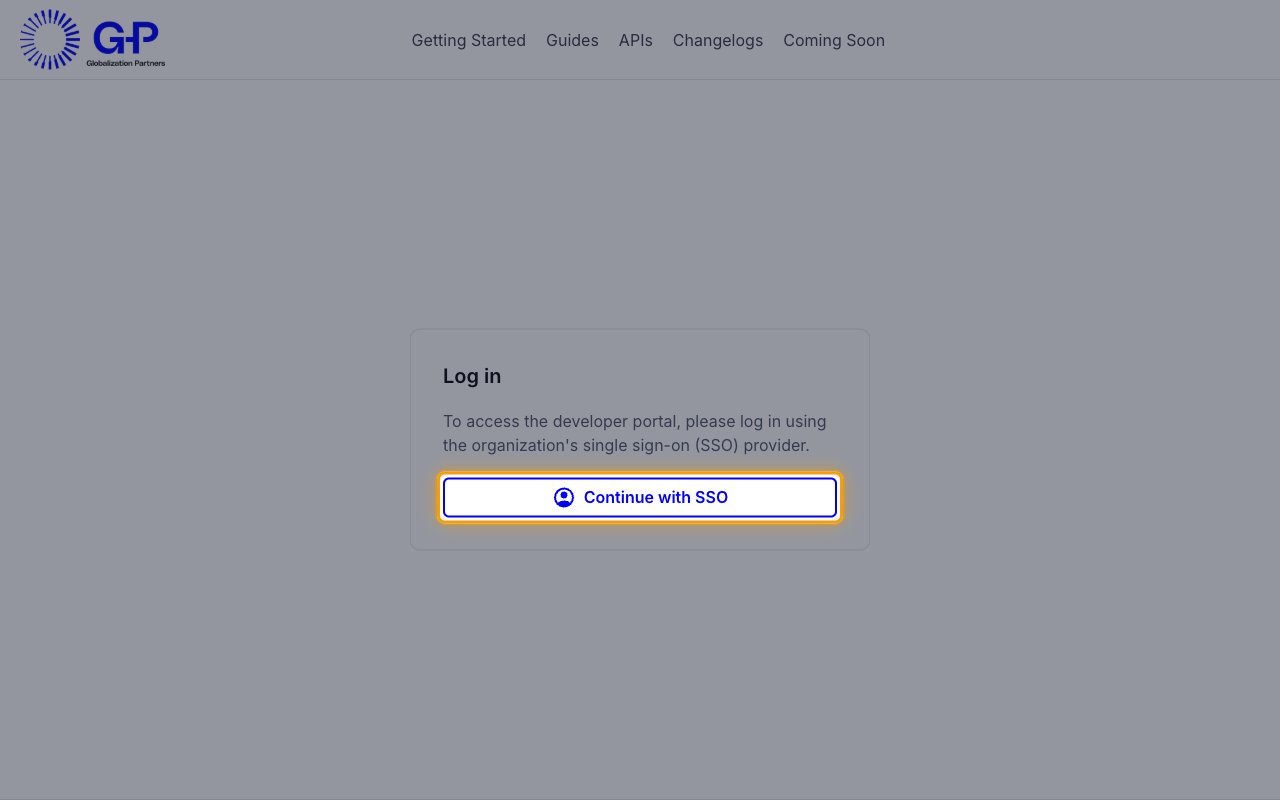
- Click Log in, then click Continue with SSO and authenticate with your organization’s single sign-on provider.
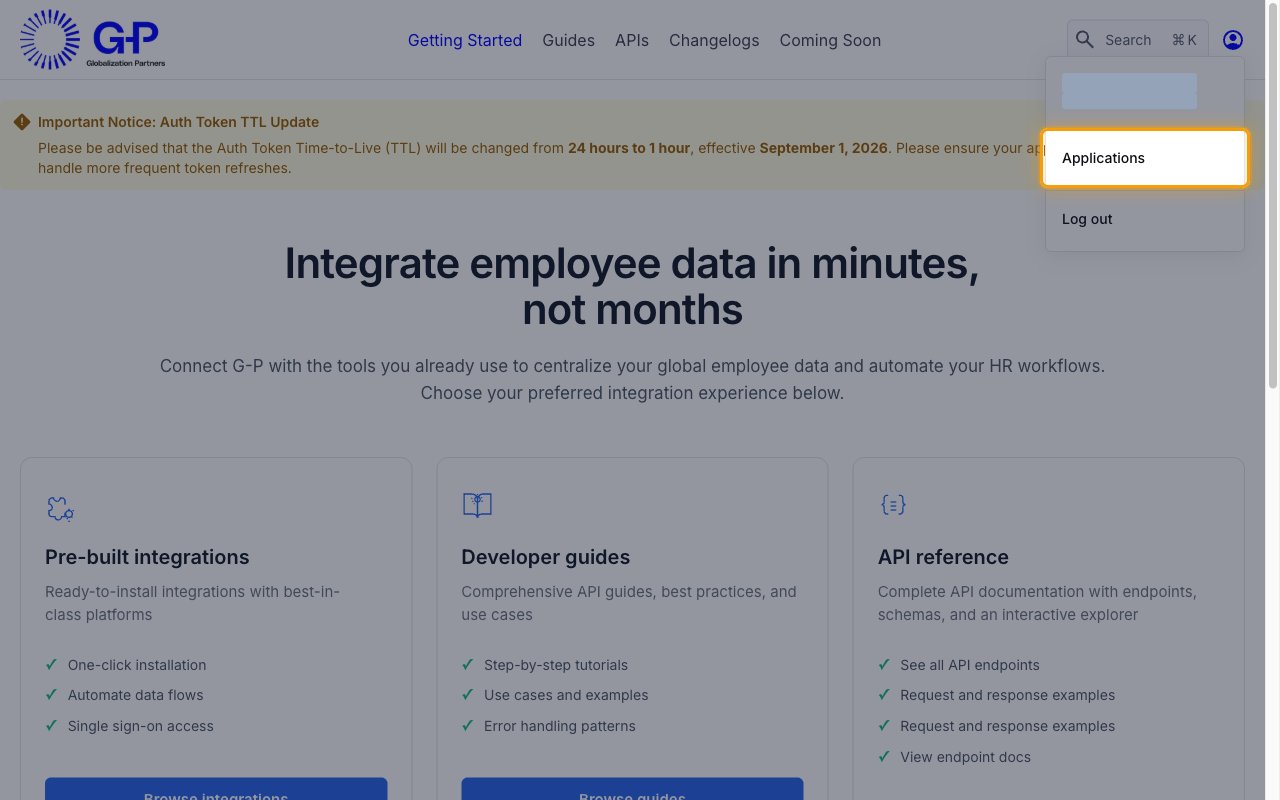
Open your applications
Open the account menu in the upper right corner and select Applications.
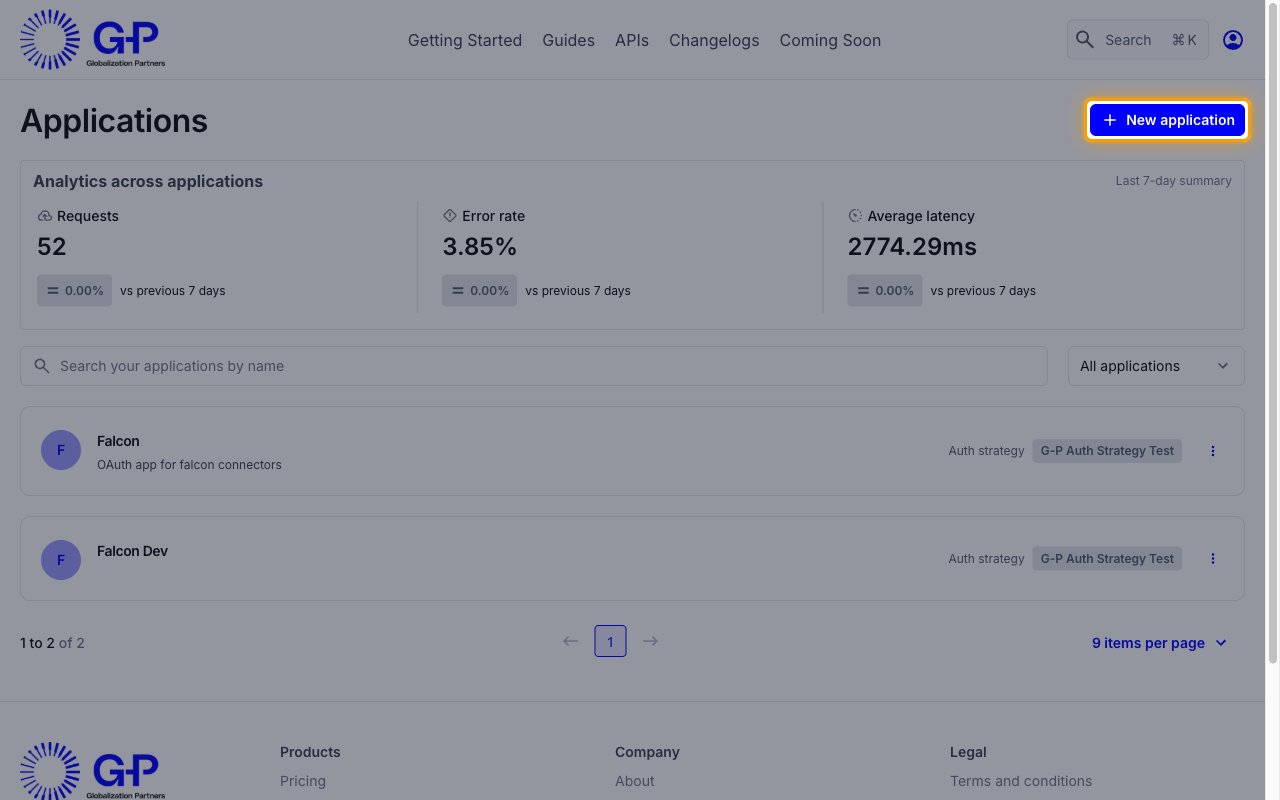
Create a new application
On the Applications page, click New application to open the Create an Application form.
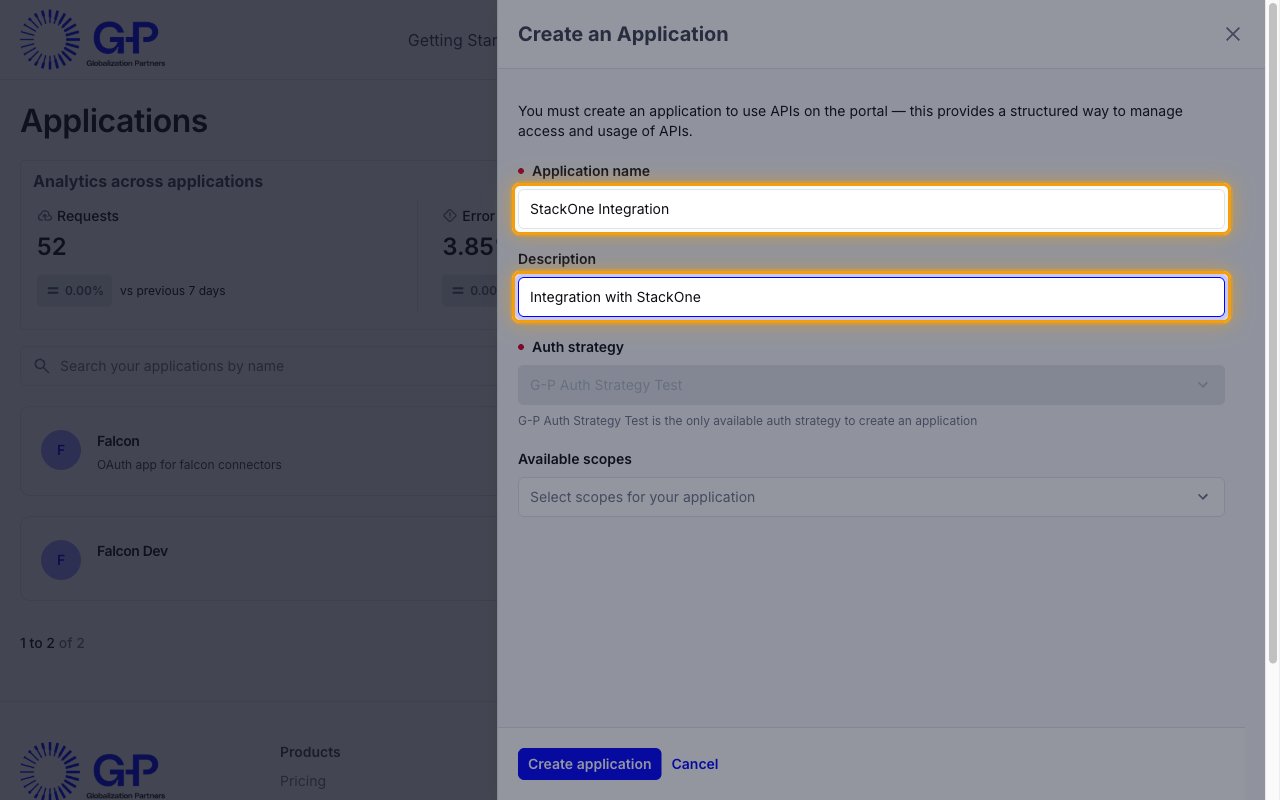
Enter the application details
Complete the Create an Application form.
- Application name:
StackOne Integration - Description: optional — for example,
Integration with StackOne - Auth strategy is preselected and cannot be changed.
Select the application scopes
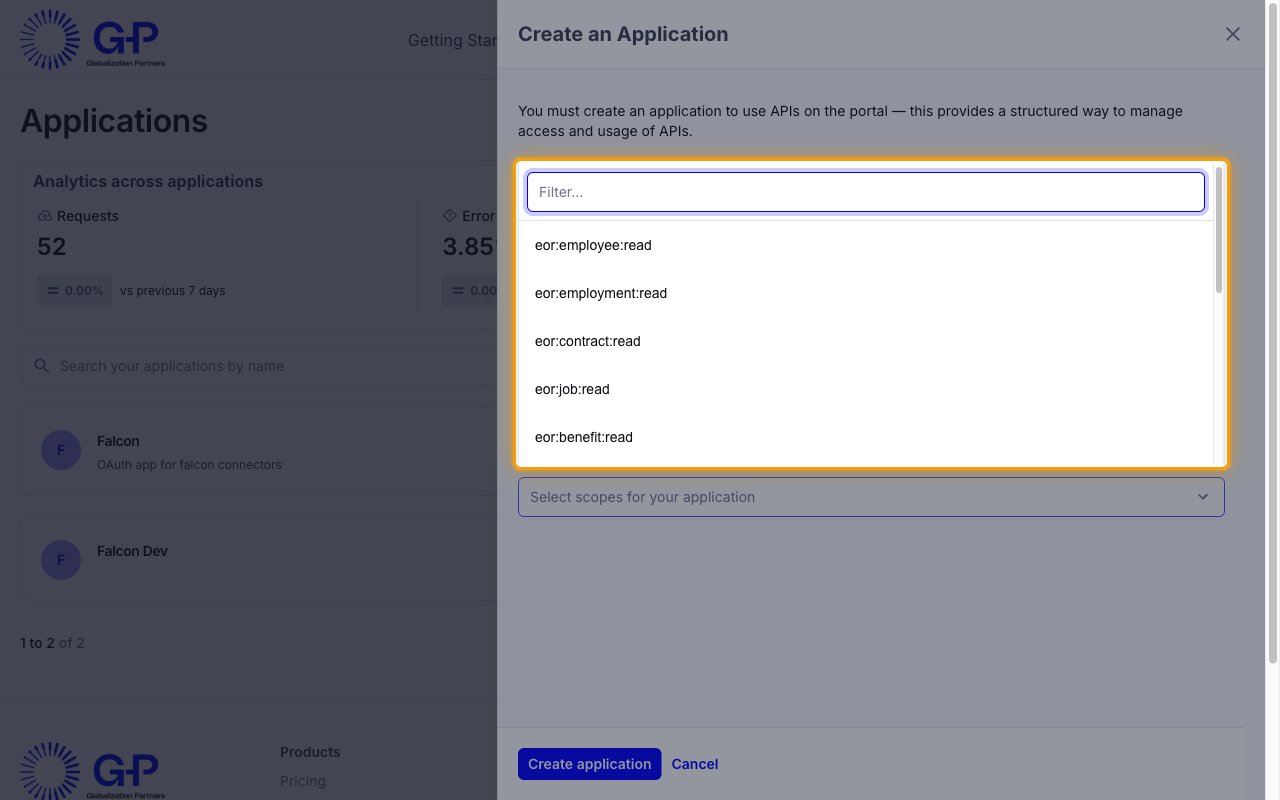
Open Available scopes and select the scopes this integration needs. Use Filter… to narrow the list, and select each scope individually.
Create the application and copy the credentials
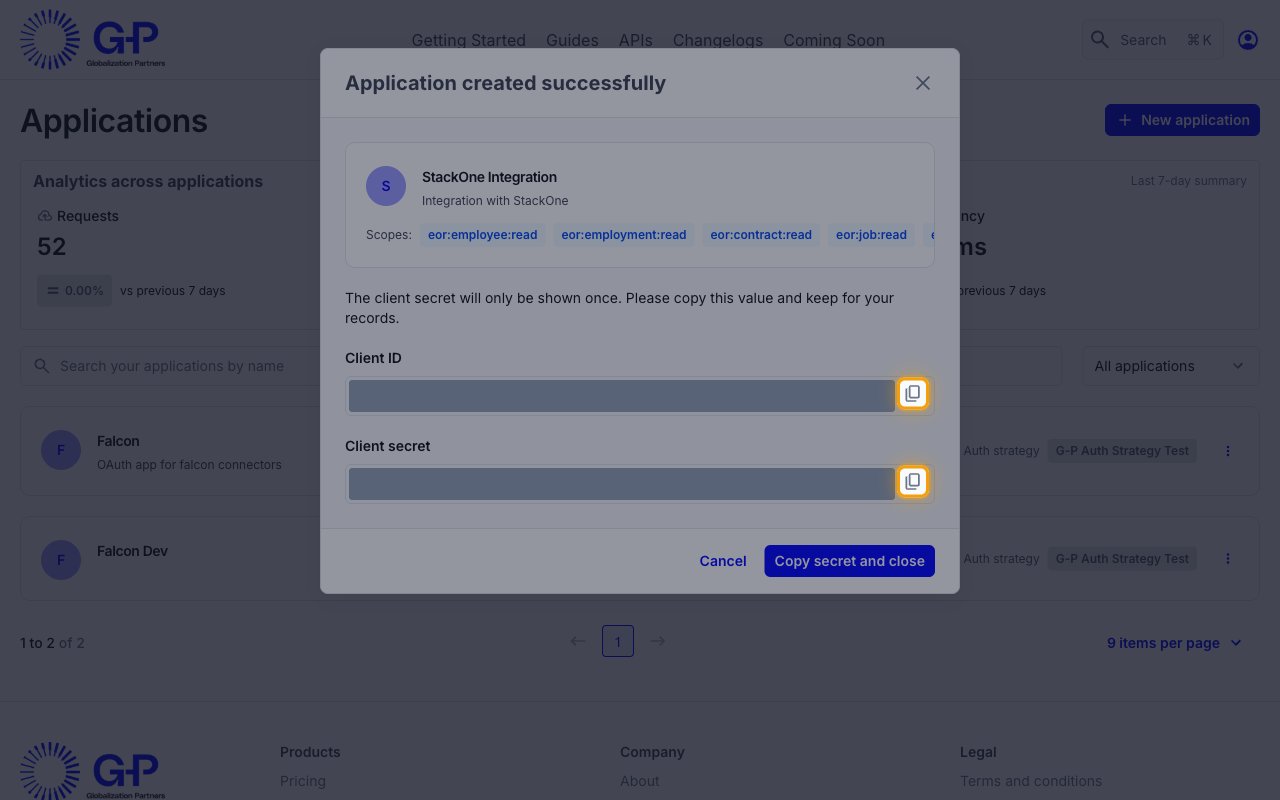
Click Create application. The Application created successfully dialog displays the credentials for the new application. Copy both values and store them securely for use later.
- Client ID — the public identifier of the application. Click the copy icon beside it and paste the value into the Client ID field in StackOne Hub.
- Client secret — the confidential key that authorizes the application. Click the copy icon beside it and paste the value into the Client Secret field in StackOne Hub.
- The client secret will only be shown once. Please copy this value and keep for your records.
- Click Copy secret and close to dismiss the dialog.
Registering the G-P APIs
An application cannot call an API until that API is registered to it. Register the API sets that cover the scopes you selected.
Open the APIs tab
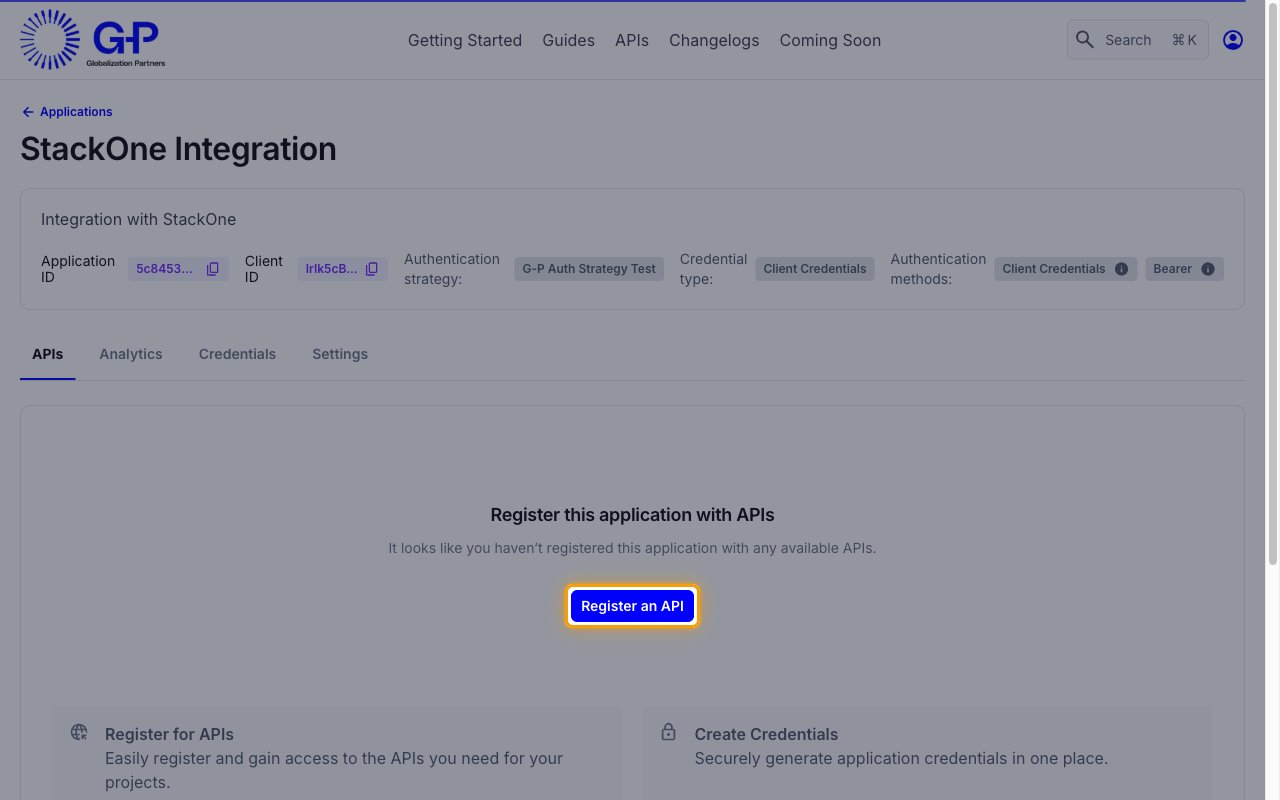
On the application page, open the APIs tab and click Register an API.
Register the EOR and Contractor APIs
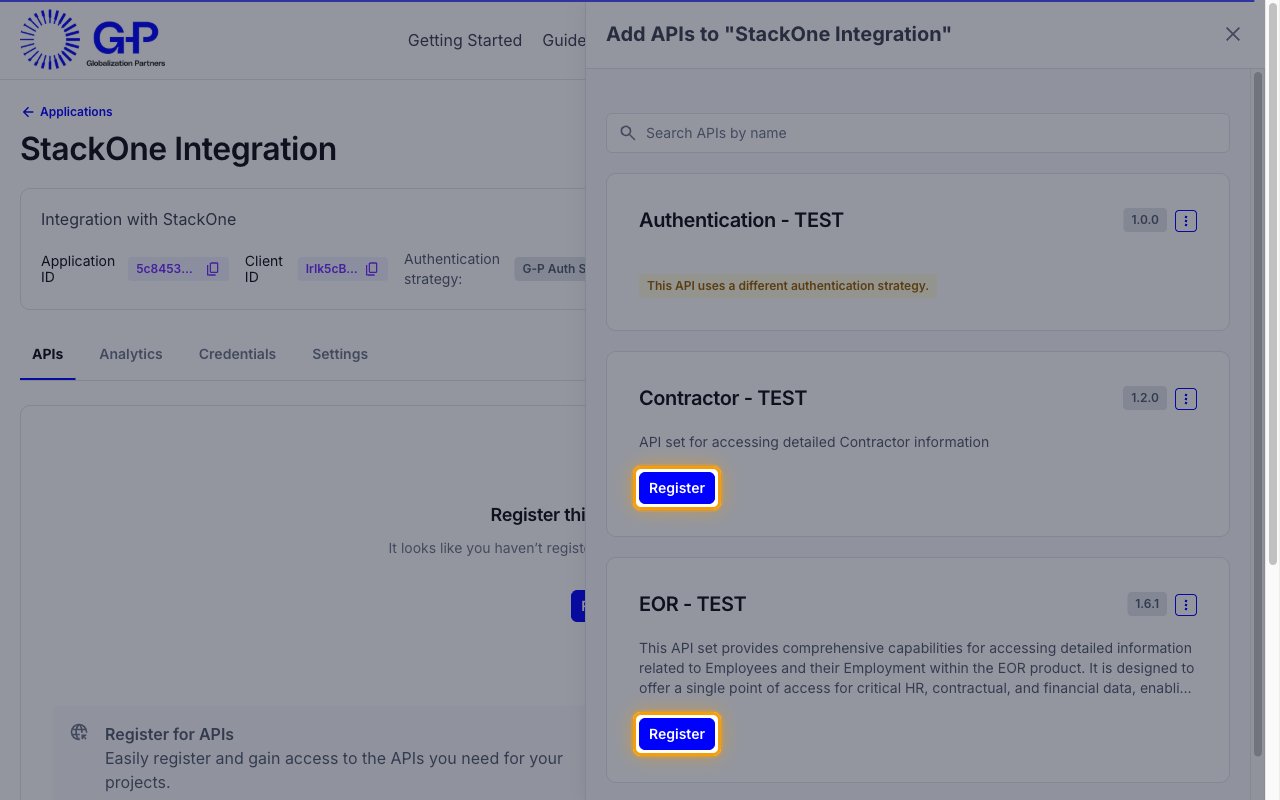
In the panel that opens, click Register on each API set the integration needs.
- EOR — covers the employee, employment, contract, job, benefit, payroll, time off, customer, invoice, and change request scopes.
- Contractor — covers the contractor and contractor contract scopes.
- In non-production environments the API sets carry an environment suffix, for example EOR - TEST.
- The Authentication API set cannot be registered — it uses a different authentication strategy.
- Each API set shows the status Approved once it is registered.
Find your Client ID
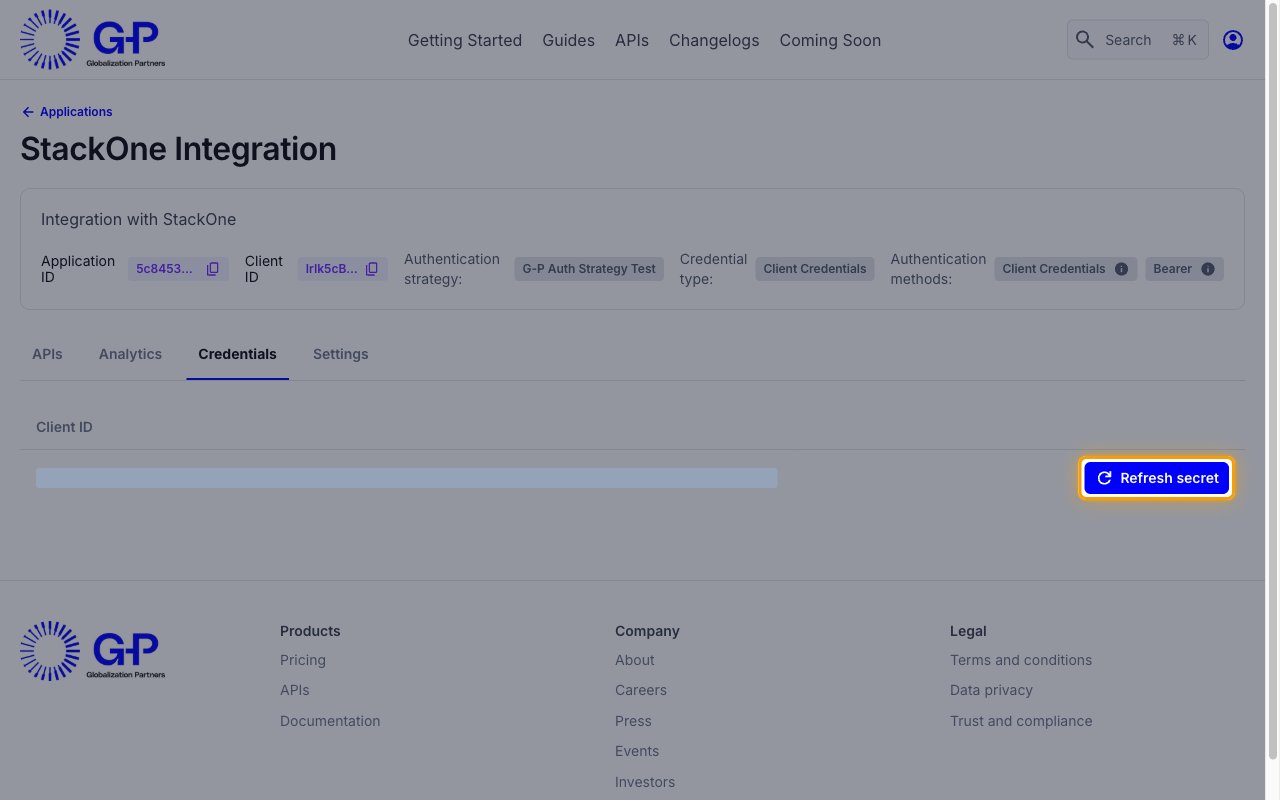
The Credentials tab of an application lists its Client ID, so you can retrieve it after leaving the creation dialog.
- Open Applications from the account menu and select your application.
- Open the Credentials tab.
- If the client secret was not saved, click Refresh secret to issue a replacement, then paste the new value into the Client Secret field in StackOne Hub.
Linking the Account from the Hub
Navigate to the Hub
Fill out the fields
- Client ID
- Client Secret
Connect
- Click Connect
- If applicable, the provider will redirect you to a sign-in or authorization page. Complete the provider’s authorization flow.
- Once authorization is successful, you will see a confirmation popup
If the account linking is successful, you will see the newly linked account in your Accounts page.