

Open the Developers settings
Front API tokens are created from the Developers area of your company settings. Sign in to your Front account to begin.
Open Developers
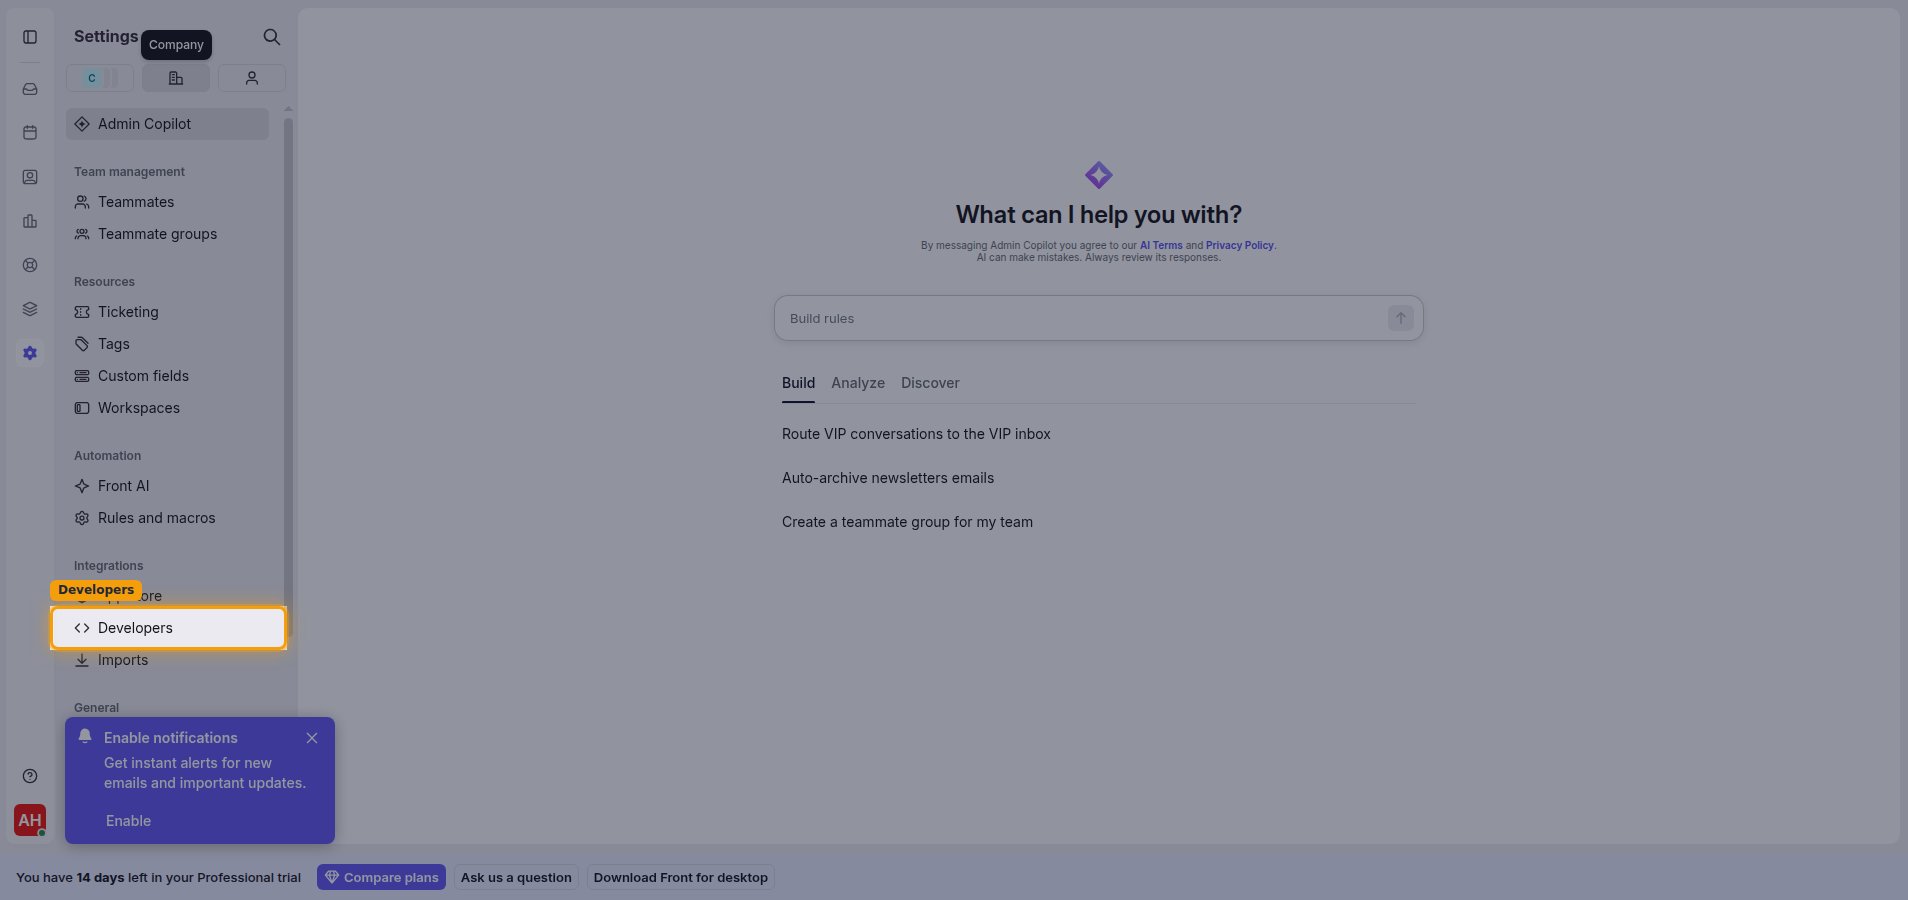
In Front, open Settings from the left sidebar. Switch to the Company settings tab, then under Integrations click Developers.
Open the API tokens tab
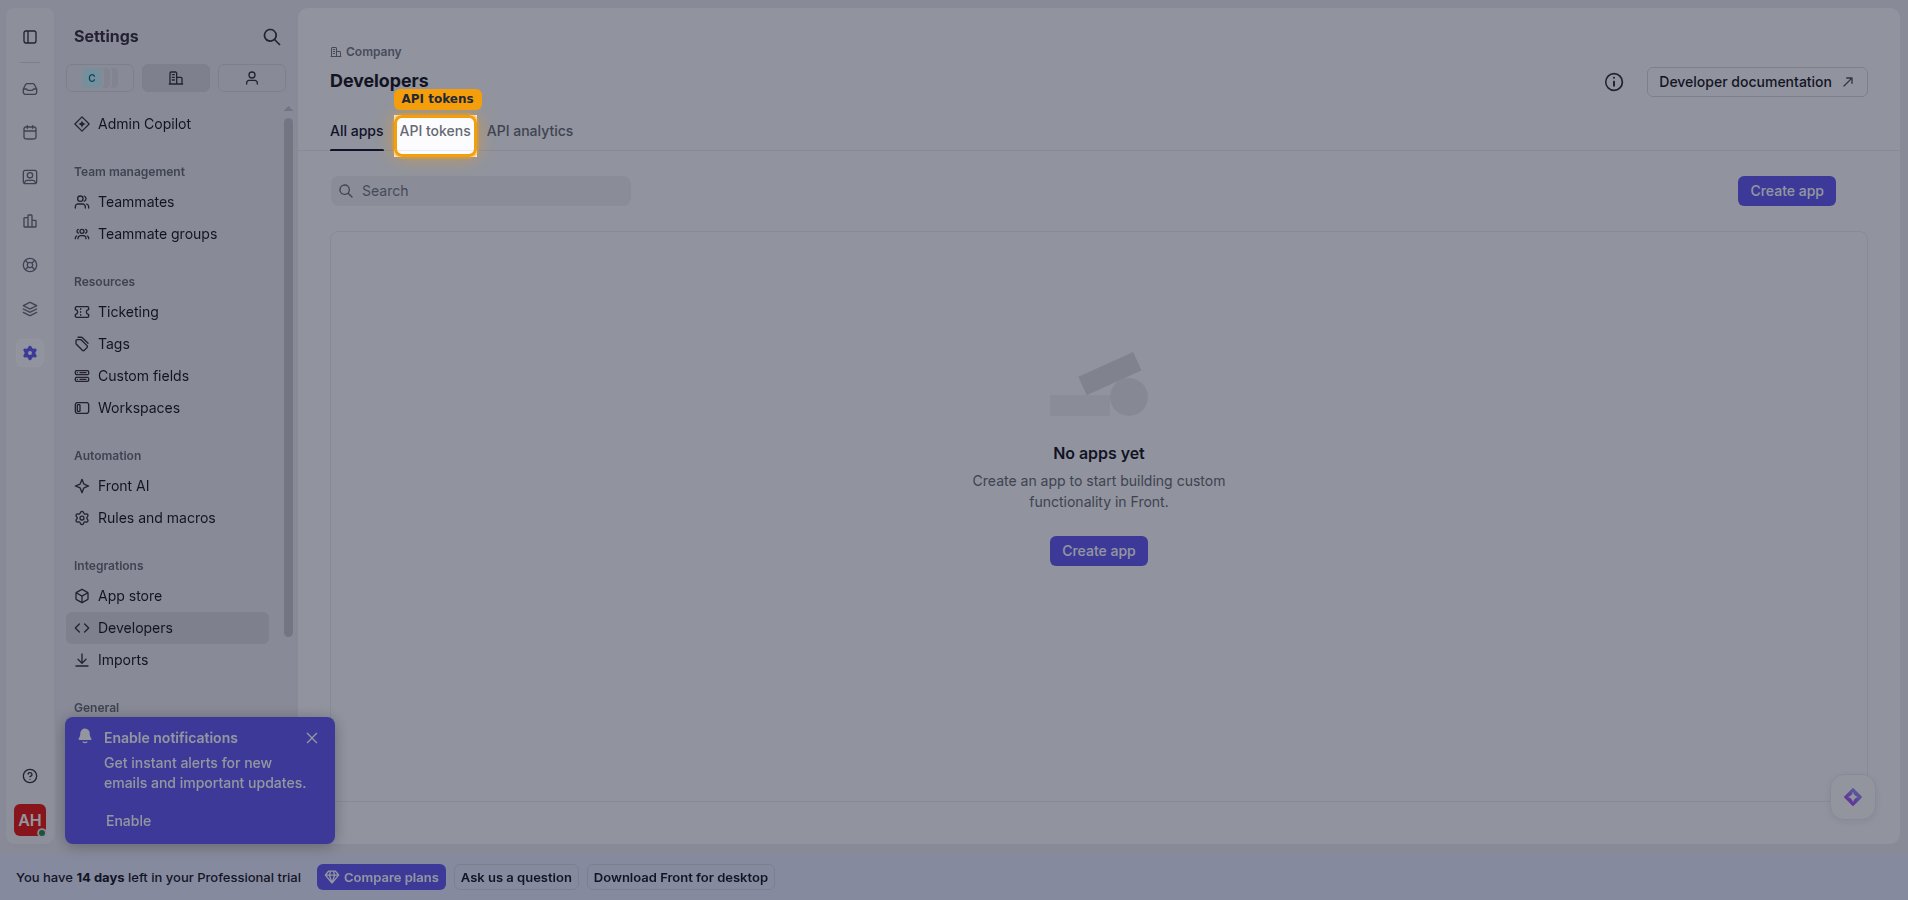
On the Developers page, select the API tokens tab.
Create an API token
Create a token and grant it the resource permissions this integration uses.
Create a new token
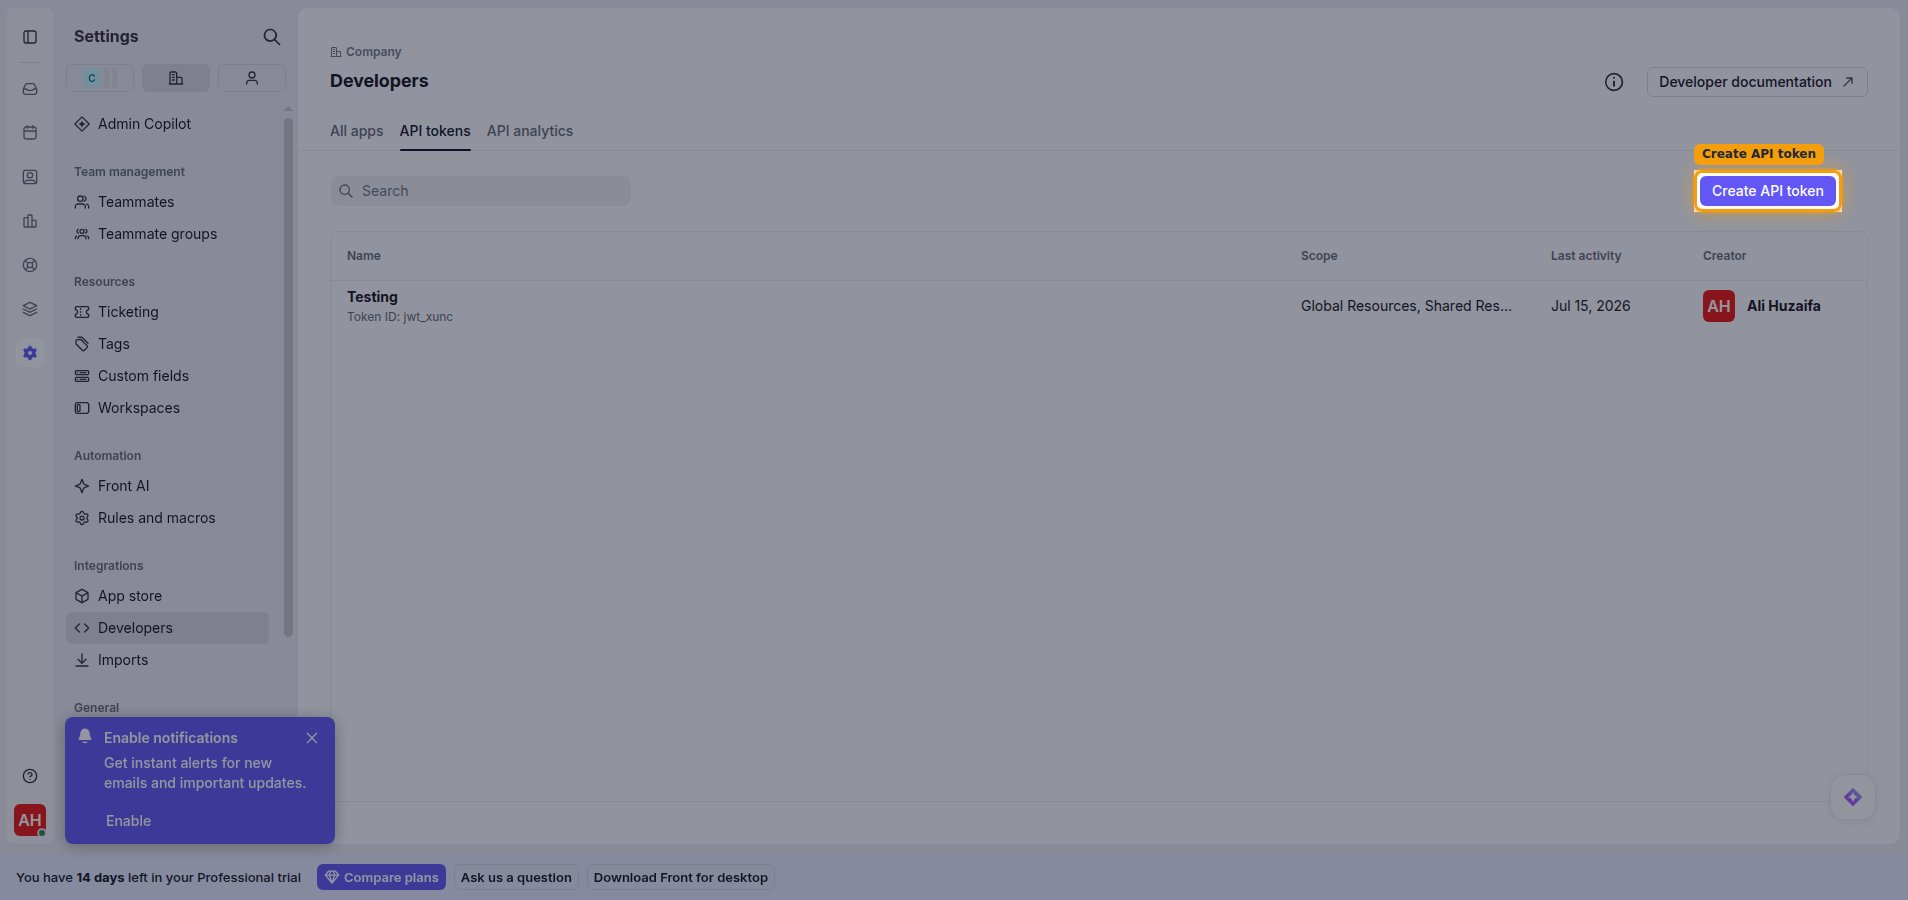
Click Create API token in the top-right corner.
Enter a token name
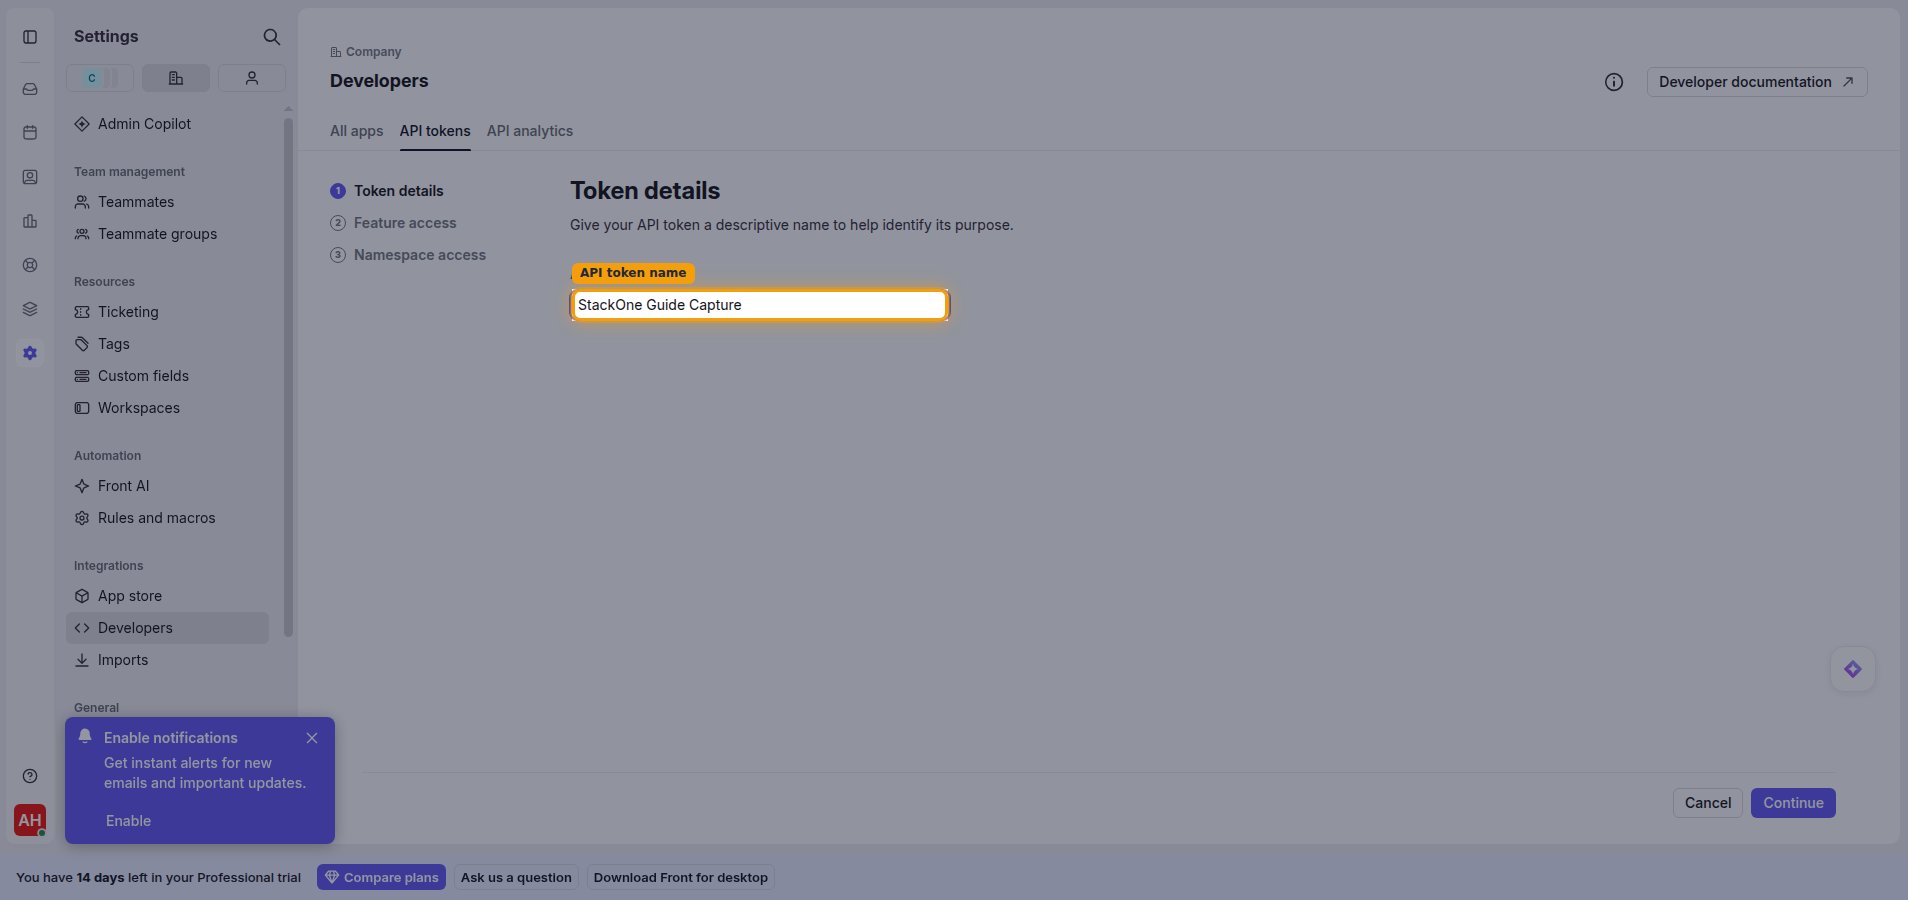
In Token details, enter a name in the API token name field (for example, StackOne Integration), then click Continue.
Enable feature access
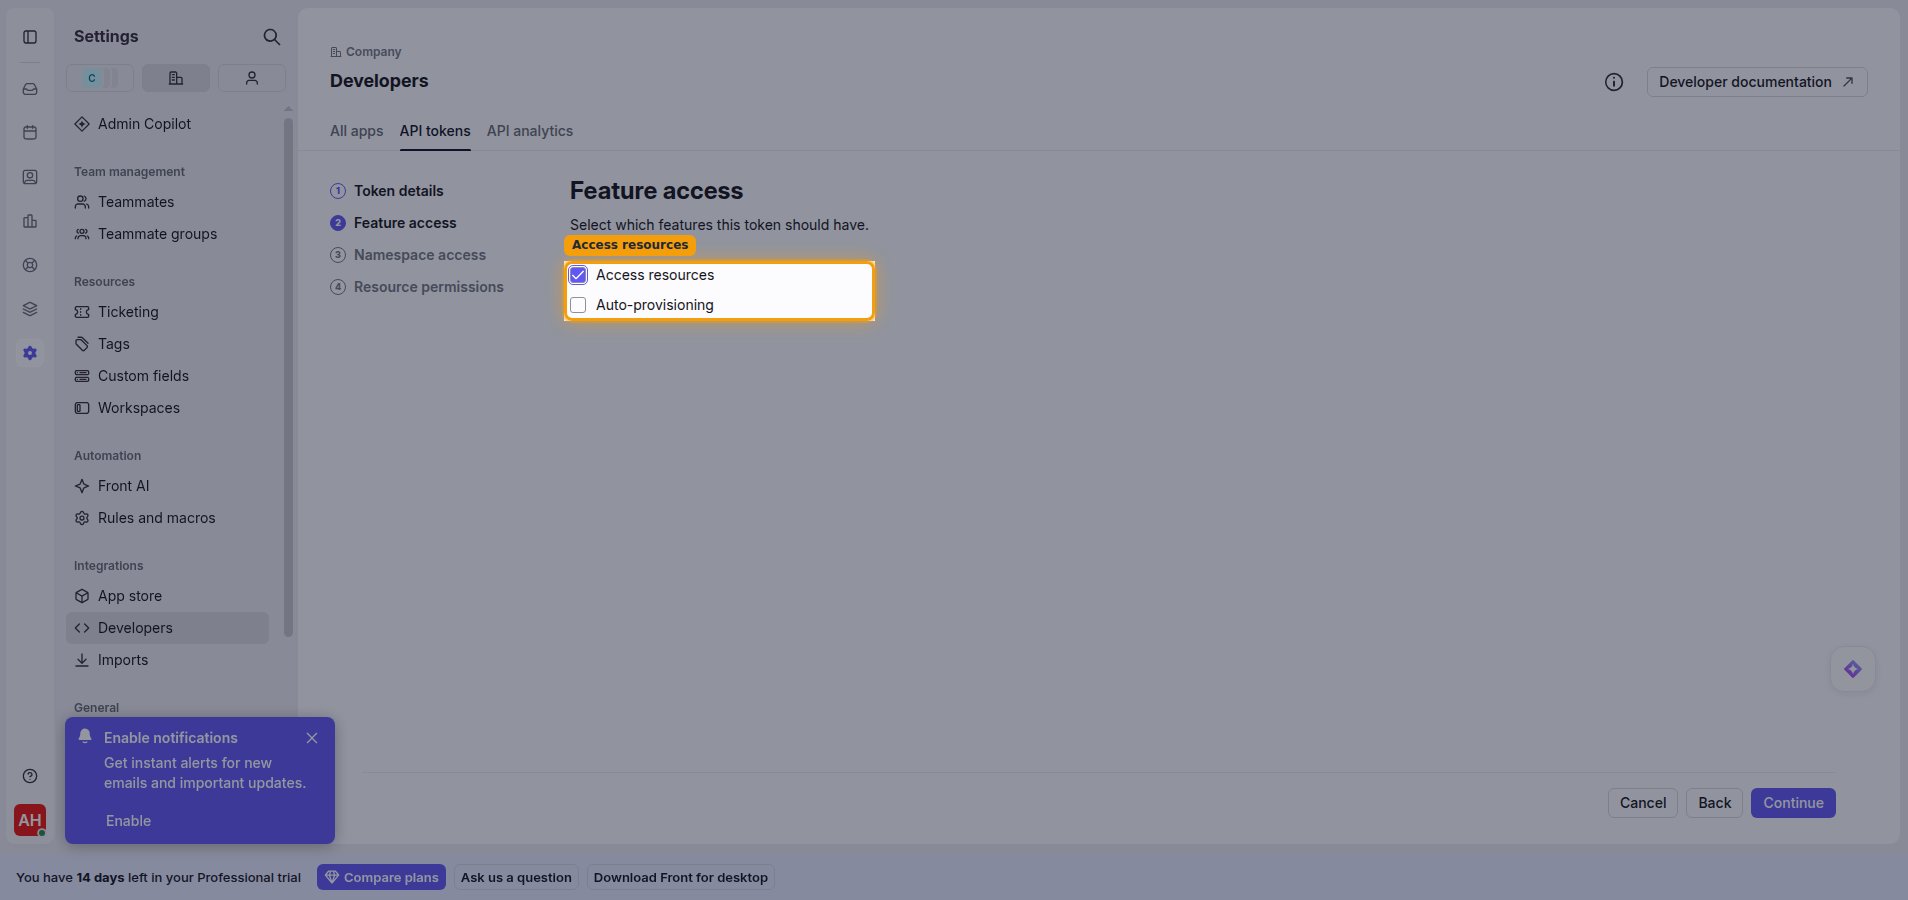
In Feature access, enable Access resources, then click Continue.
Select namespace access
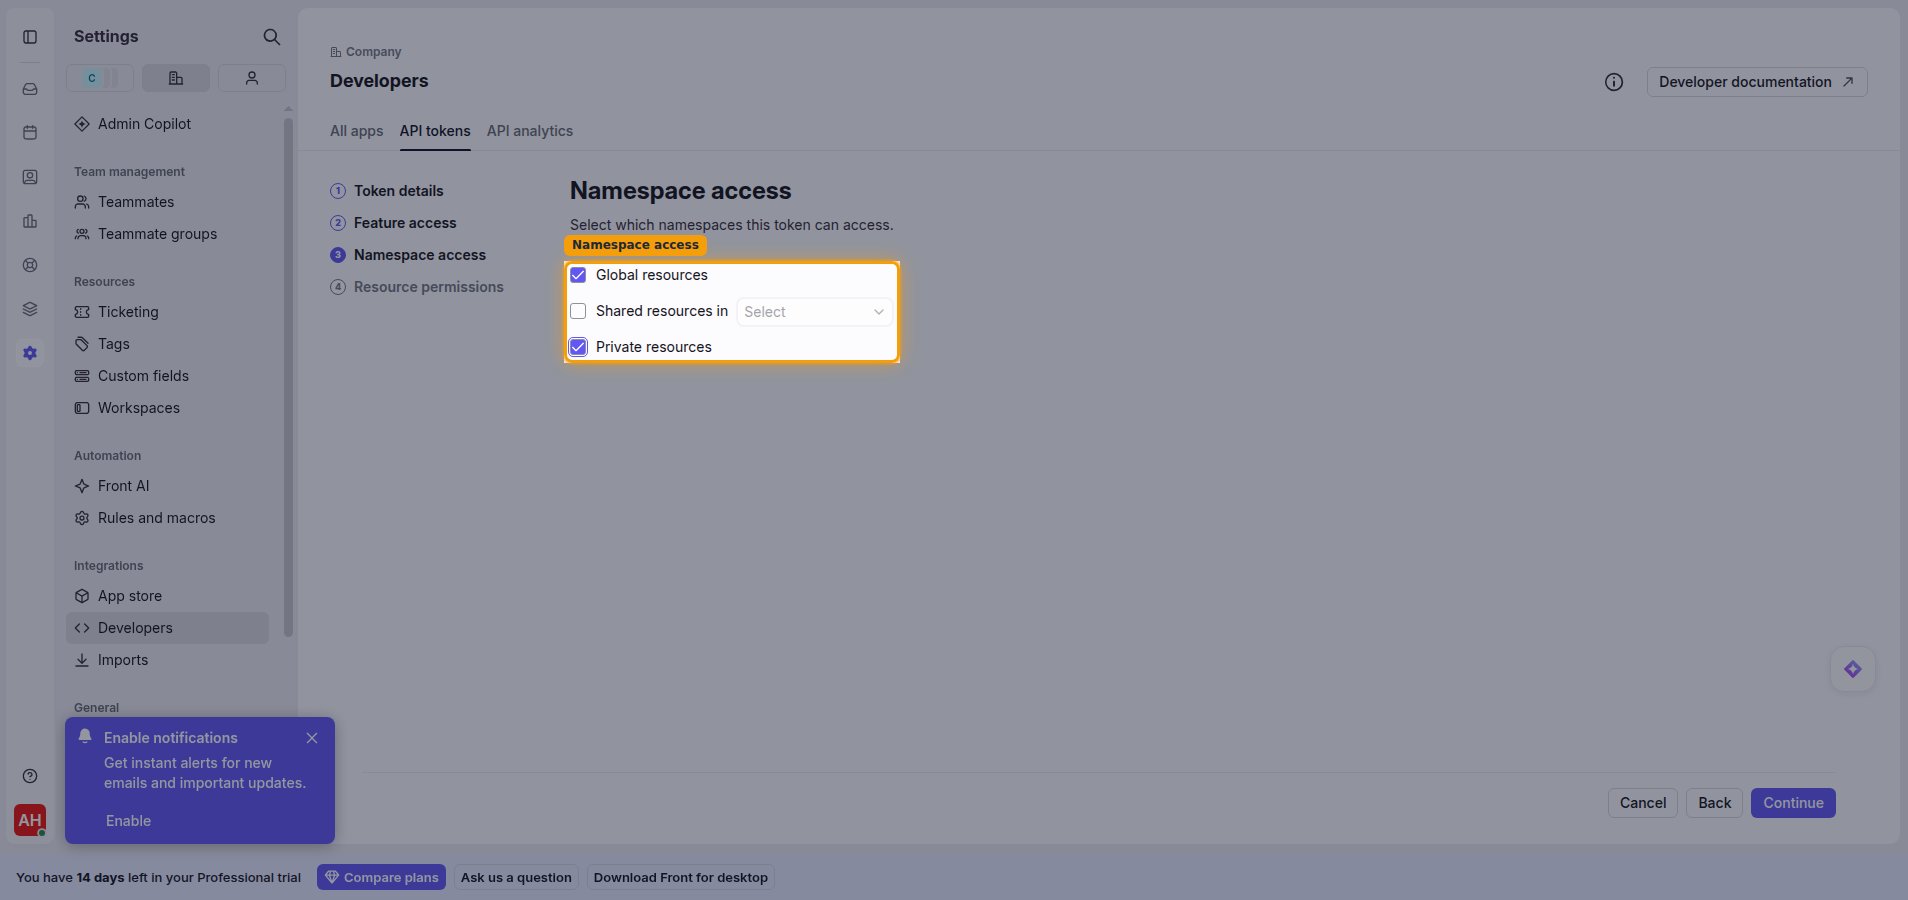
In Namespace access, choose which namespaces the token can reach. Enable Global resources, and also enable Private resources if you need access to private resources, then click Continue.
Configure resource permissions
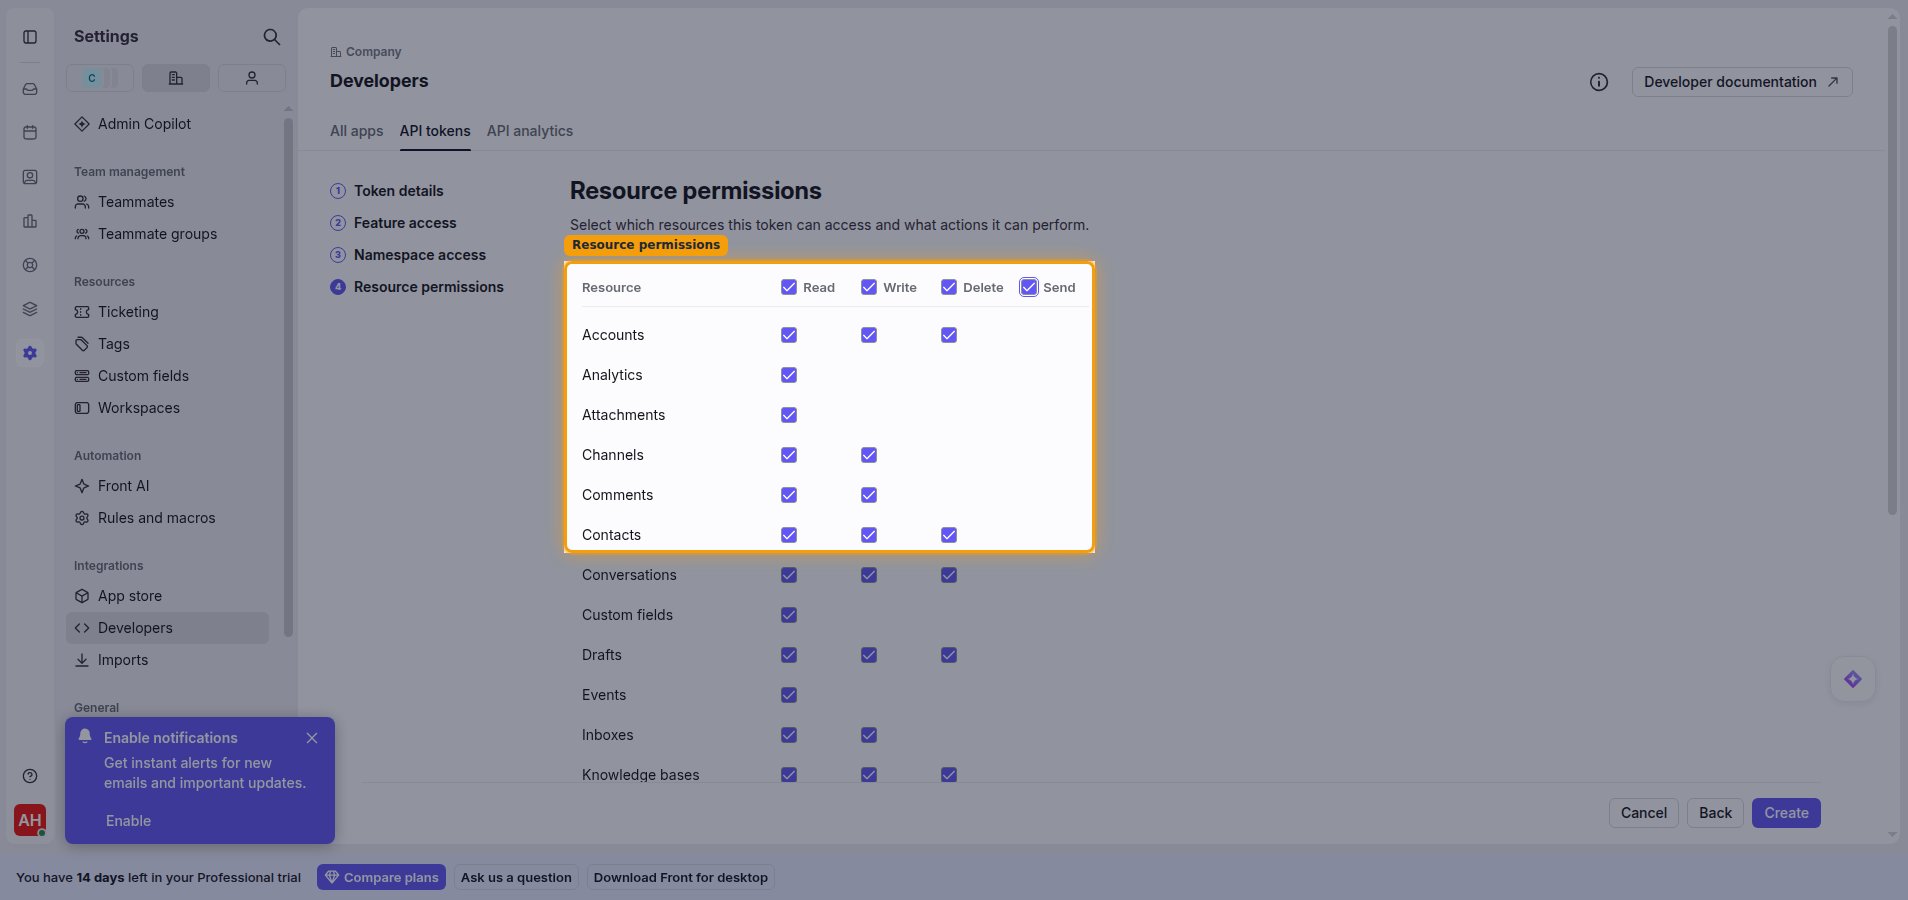
In Resource permissions, enable the permissions this integration needs. You can toggle a whole column using the Read, Write, Delete, and Send column headers. When you are done, click Create.
Copy the API token
Copy the generated token and paste it into StackOne Hub.
Copy and paste the token
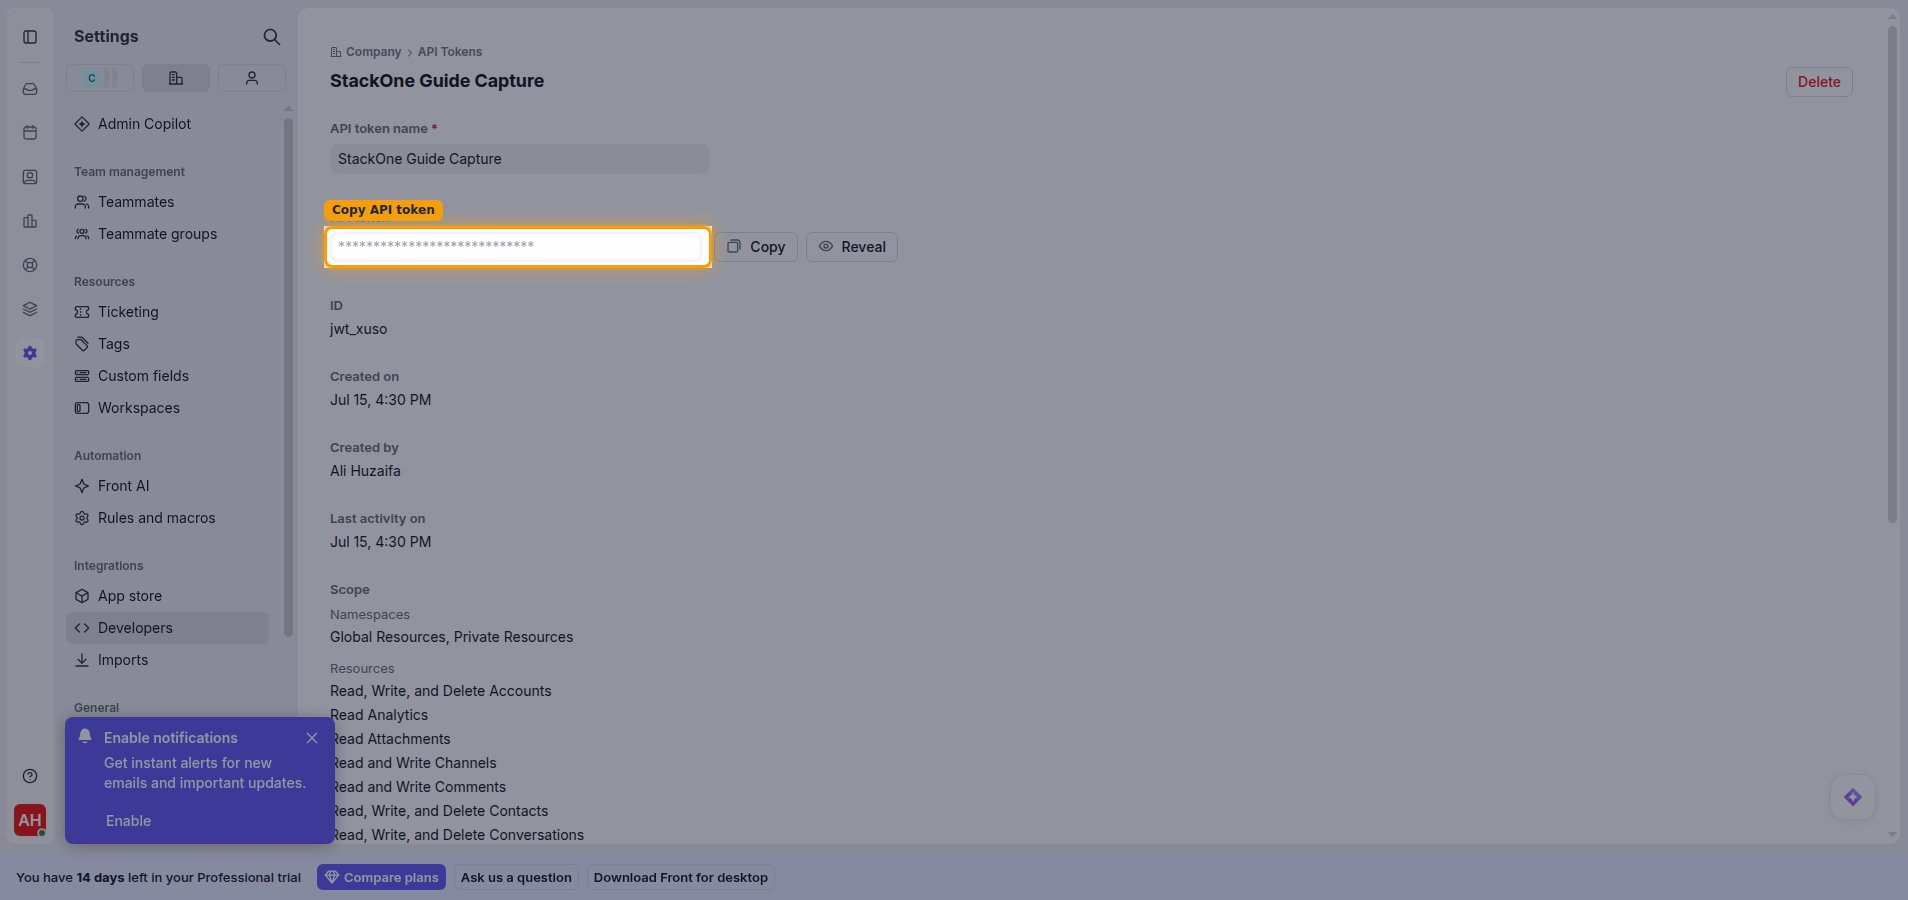
Open the token you just created. Click Copy next to the API token field to copy its value, then paste it into the API Token field in StackOne Hub.
- You can return to the token later and use Reveal or Copy to view the value again.
Linking the Account from the Hub
Navigate to the Hub
Fill out the fields
- API Token
Connect
- Click Connect
- If applicable, the provider will redirect you to a sign-in or authorization page. Complete the provider’s authorization flow.
- Once authorization is successful, you will see a confirmation popup
If the account linking is successful, you will see the newly linked account in your Accounts page.
Next Steps
Webhooks setup
Configure receiving Events for Front into StackOne.