

Generate API Key and Client Secret
Create OAuth credentials for your integration.
Log in to Eventbrite
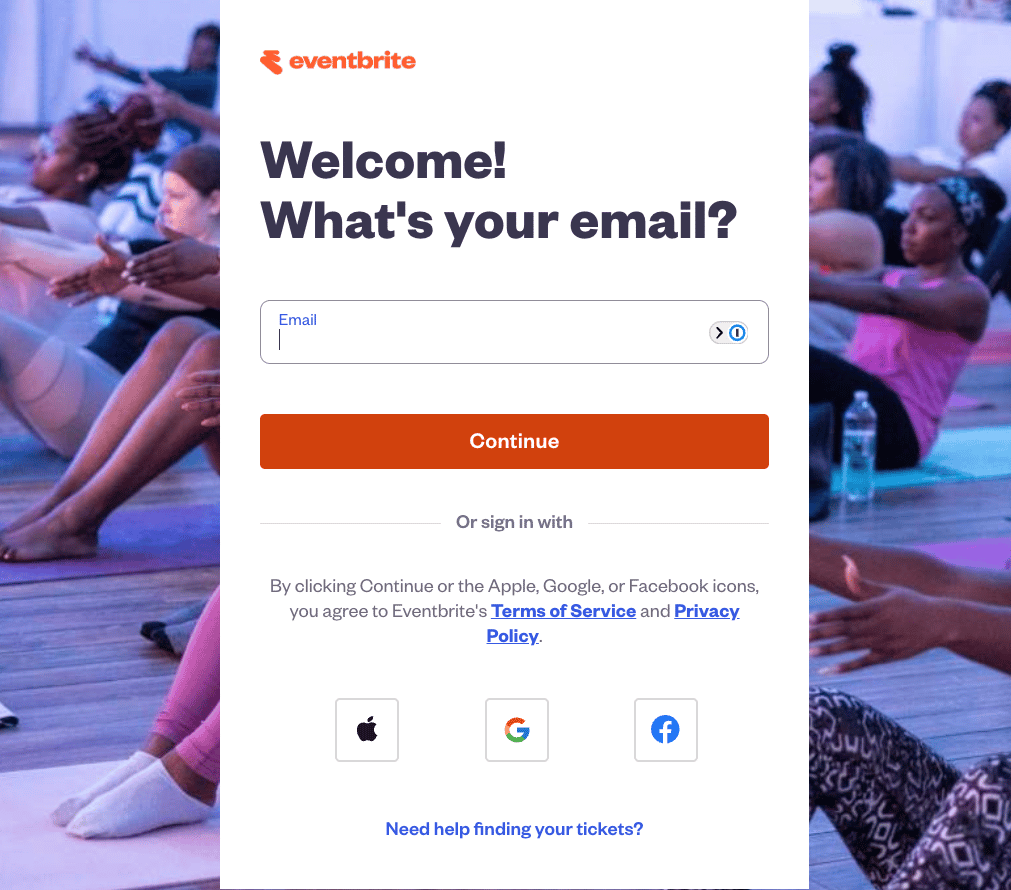
Go to the Eventbrite login page and sign in with your account credentials.
Navigate to Account Settings
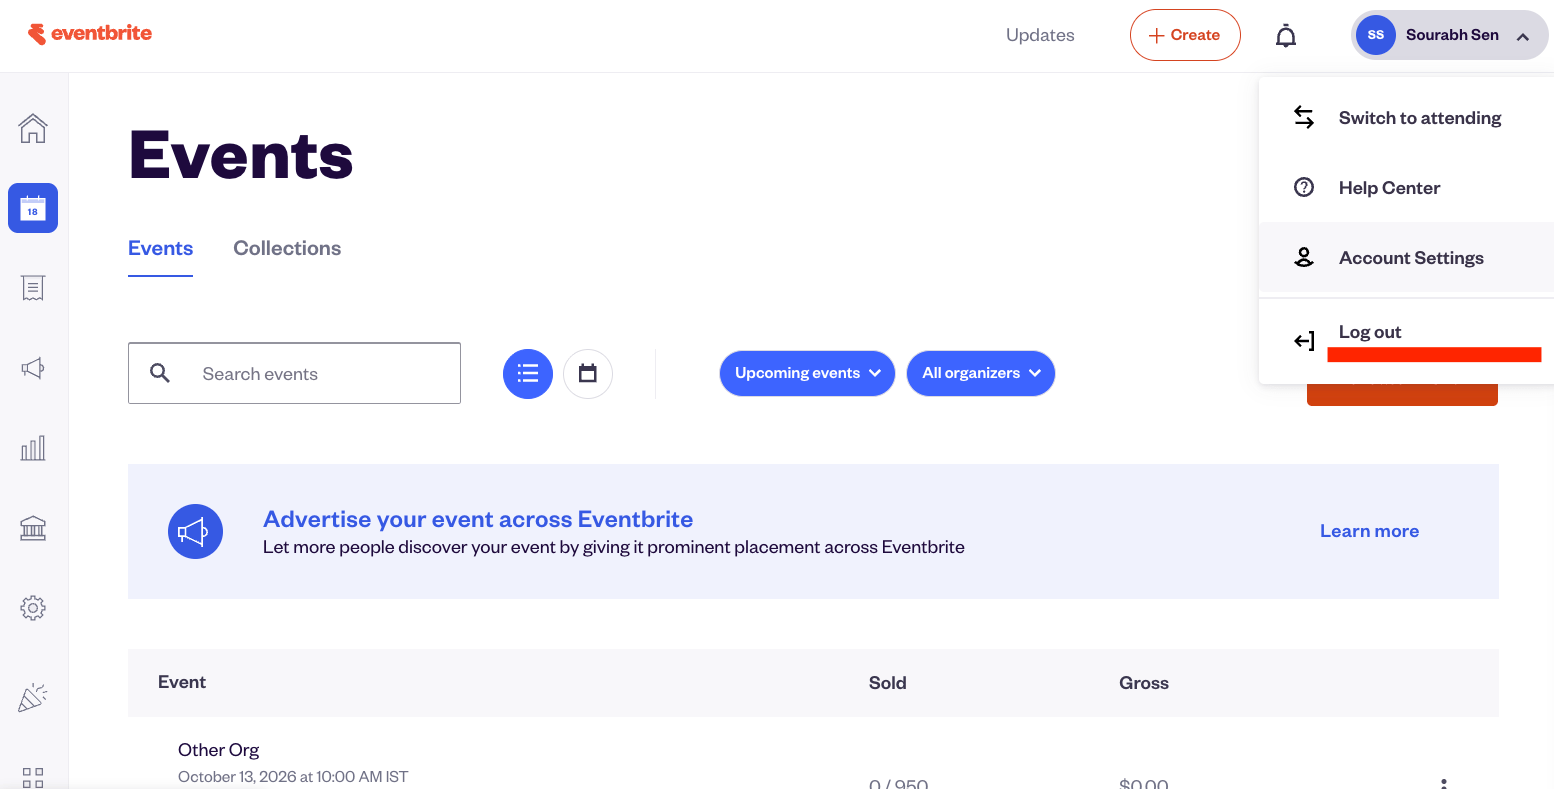
Click your profile name in the top-right corner and select Account Settings from the dropdown menu.
Open API Keys
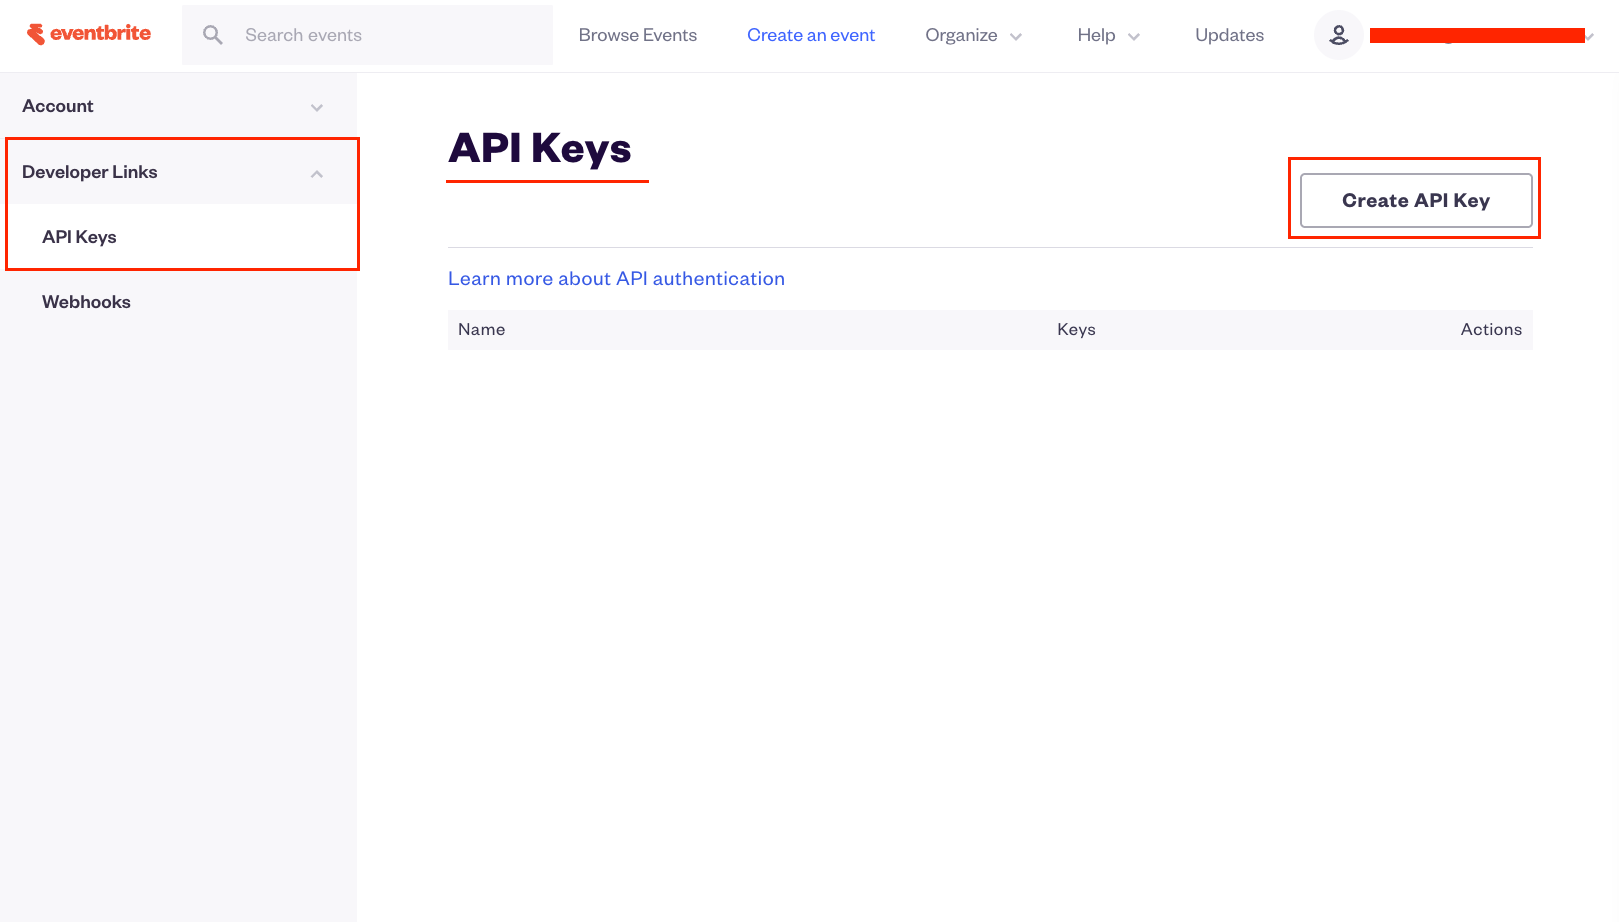
In the left sidebar, expand Developer Links and click API Keys.
Request a new key
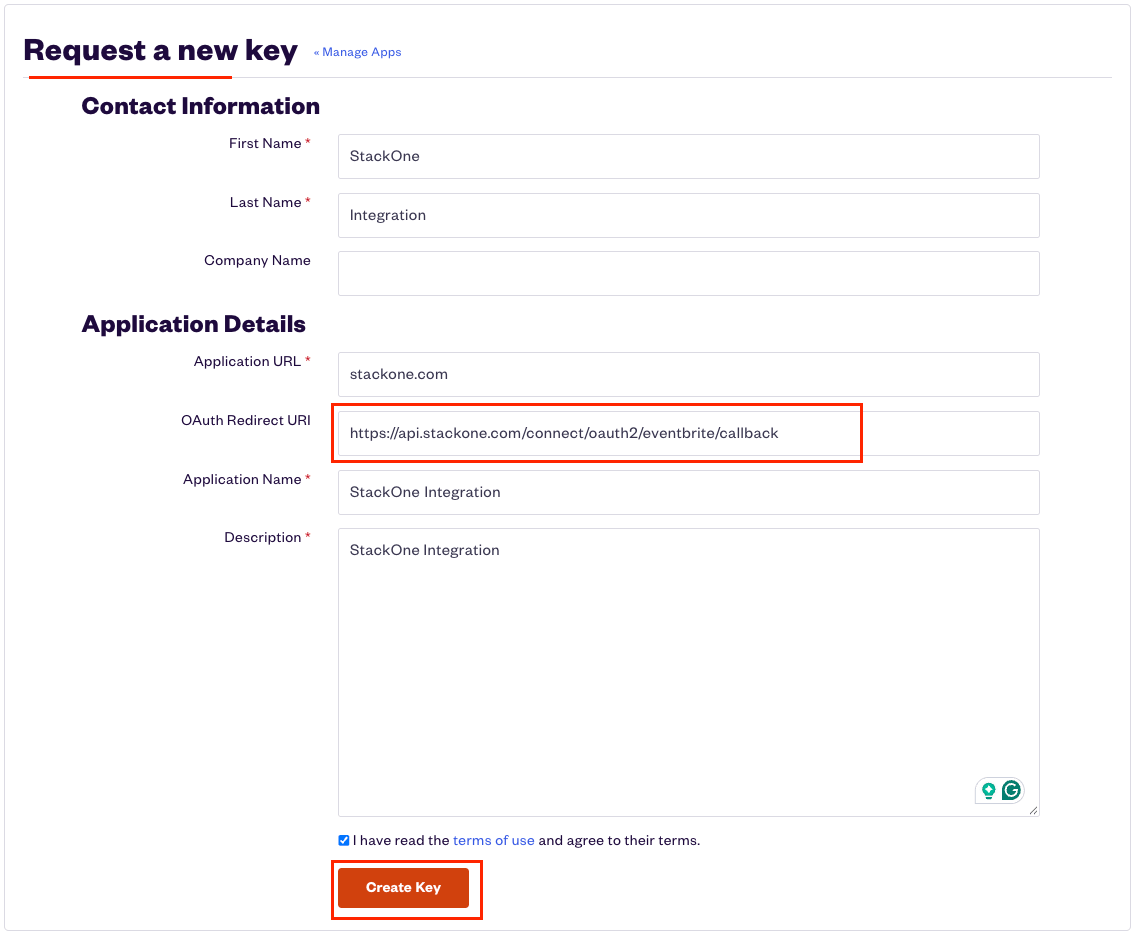
Click the Create API Key button. Fill in the form with the following fields.
- Under Contact Information:
- First Name (required)
- Last Name (required)
- Company Name
- Under Application Details:
- Application URL (required) — enter your application’s website URL
- OAuth Redirect URI — enter
https://api.stackone.com/connect/oauth2/eventbrite/callback - Application Name (required) — choose a name for your integration
- Description (required) — briefly describe your integration’s purpose
- Check the I have read the terms of use checkbox and click Create Key.
Copy your credentials
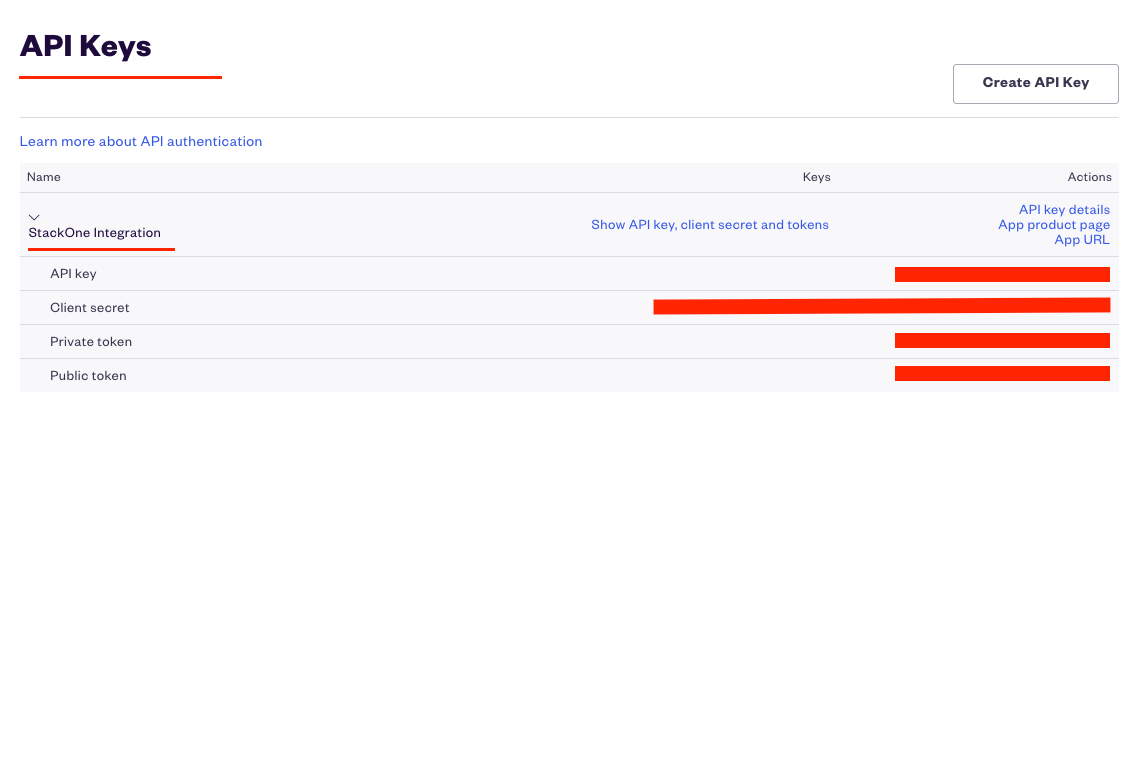
On the API Keys page, find your newly created key and click Show API key, client secret and tokens to reveal the credentials.
- Copy the API key value.
- Copy the Client secret value and store both securely for use later.
Find your Organization ID
The Organization ID is needed for webhook event notifications. It is optional — you can connect without it and add it later.
Get your Organization ID
Connect your account first without an Organization ID, then use the StackOne API to run the list_organizations action. The id field in the response contains your Organization ID.
- Go back to StackOne Hub and edit the connected account.
- Enter the Organization ID in the Organization ID field.
- Click Connect to save.
Linking the Account from the Hub
Navigate to the Hub
Fill out the fields
- API Key
- Client Secret
- Organization ID (Optional)
Connect
- Click Connect
- If applicable, the provider will redirect you to a sign-in or authorization page. Complete the provider’s authorization flow.
- Once authorization is successful, you will see a confirmation popup
If the account linking is successful, you will see the newly linked account in your Accounts page.
Next Steps
Webhooks setup
Configure receiving Events for Eventbrite into StackOne.