

Generating a long-lived token
A long-lived token authenticates StackOne to your Eka workspace without needing a refresh.
Sign in to Eka Console
Sign in to your Eka Console account.
- Under Quick Actions, click Manage API Credentials ( Client IDs and Secrets ).
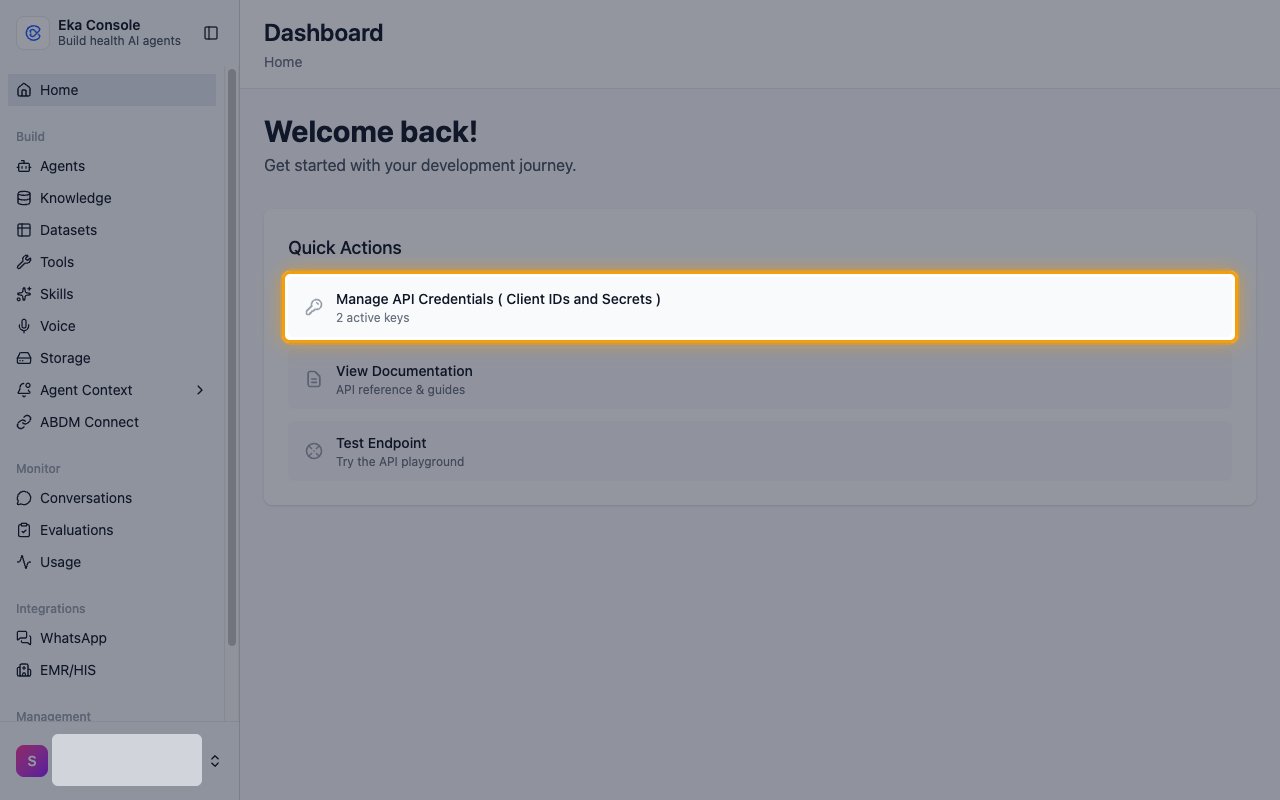
Open API credentials
The API Credentials page lists your existing credentials. If you don’t have an active one, click Create.
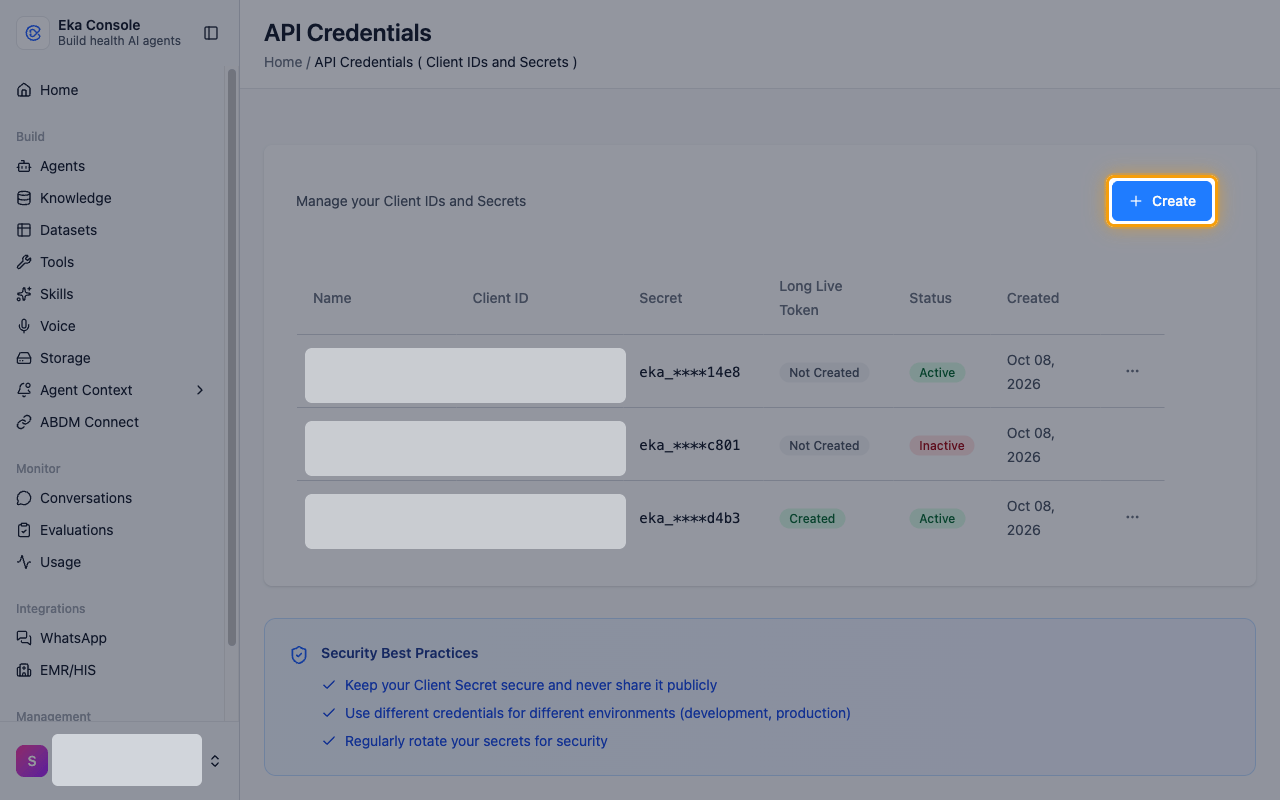
Create a credential
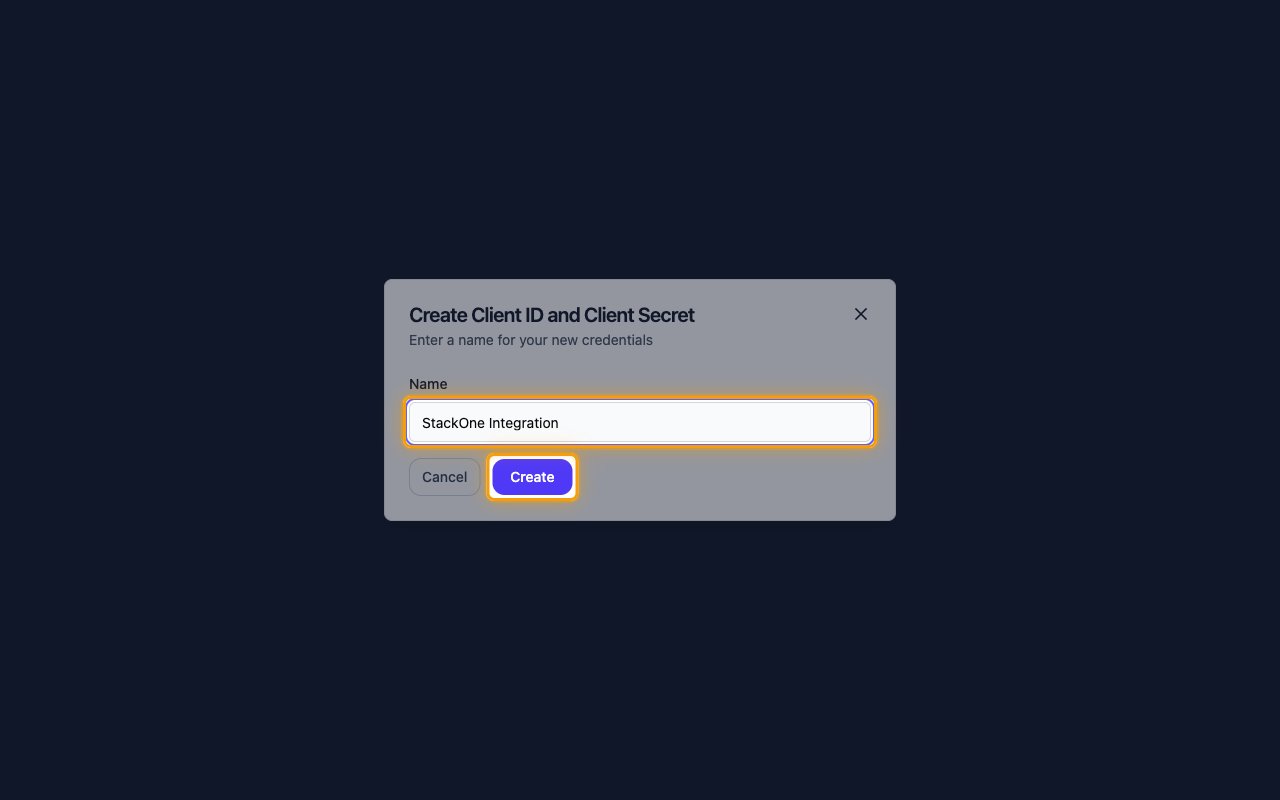
In Create Client ID and Client Secret, enter a Name and click Create.
- Name:
StackOne Integration - The long-lived token does not need the Client Secret, so click Done on the next screen.
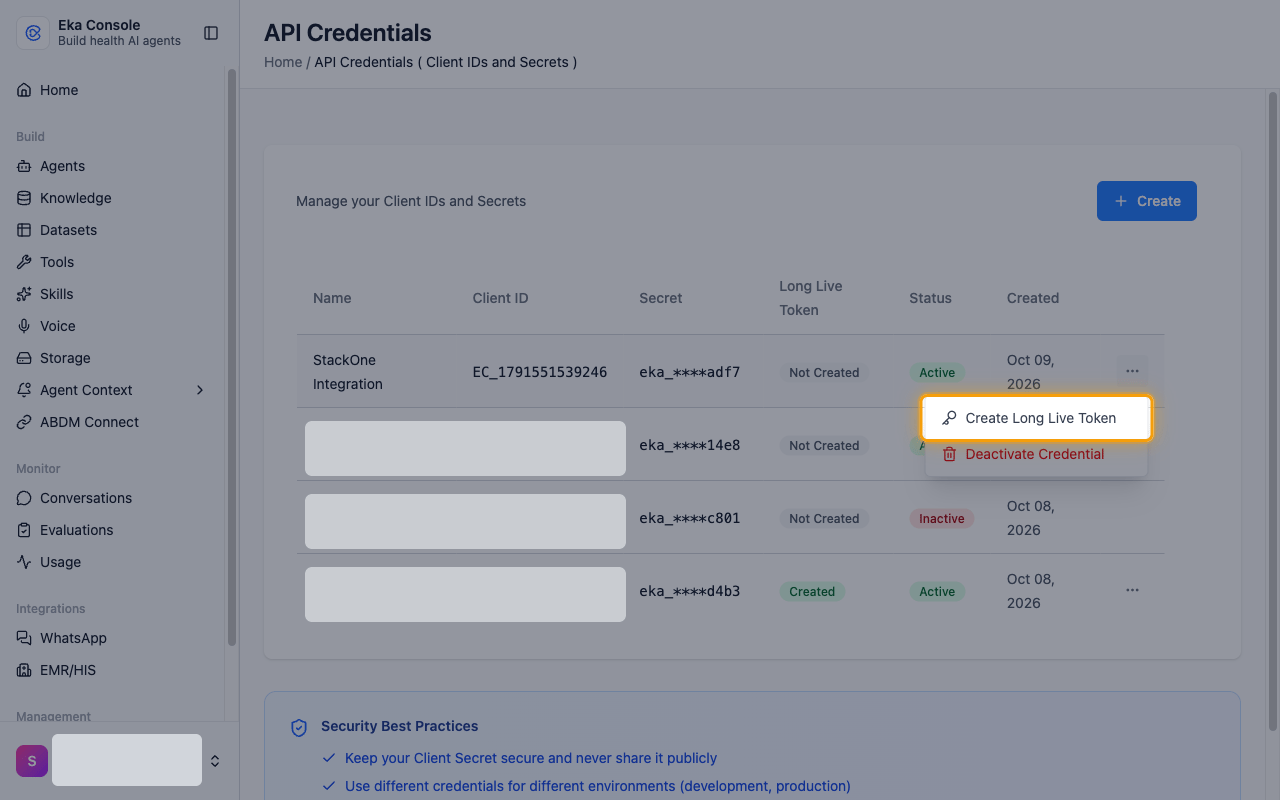
Create the long-lived token
In the row of your credential, open the actions menu (⋯) and click Create Long Live Token.
Copy the token
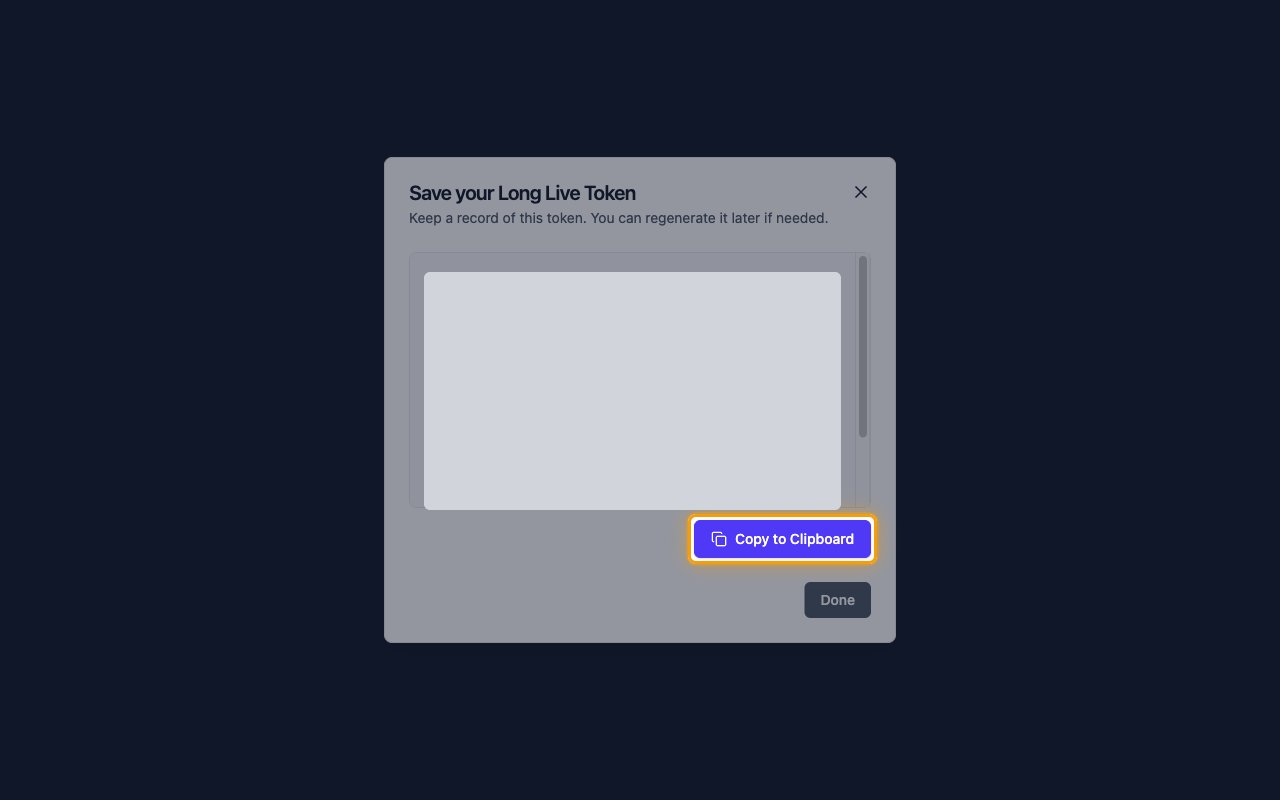
In Save your Long Live Token, click Copy to Clipboard and paste the value into the Long-Lived Access Token field in StackOne Hub.
- The token is only displayed once in this dialog. If you lose it, generate a new one from the same menu.
- Store the token securely for use later, then click Done.
Find your MedAssist agent ID (optional)
The MedAssist Agent ID identifies your MedAssist agent. Only the MedAssist actions use it; leave it empty otherwise.
Open your agent
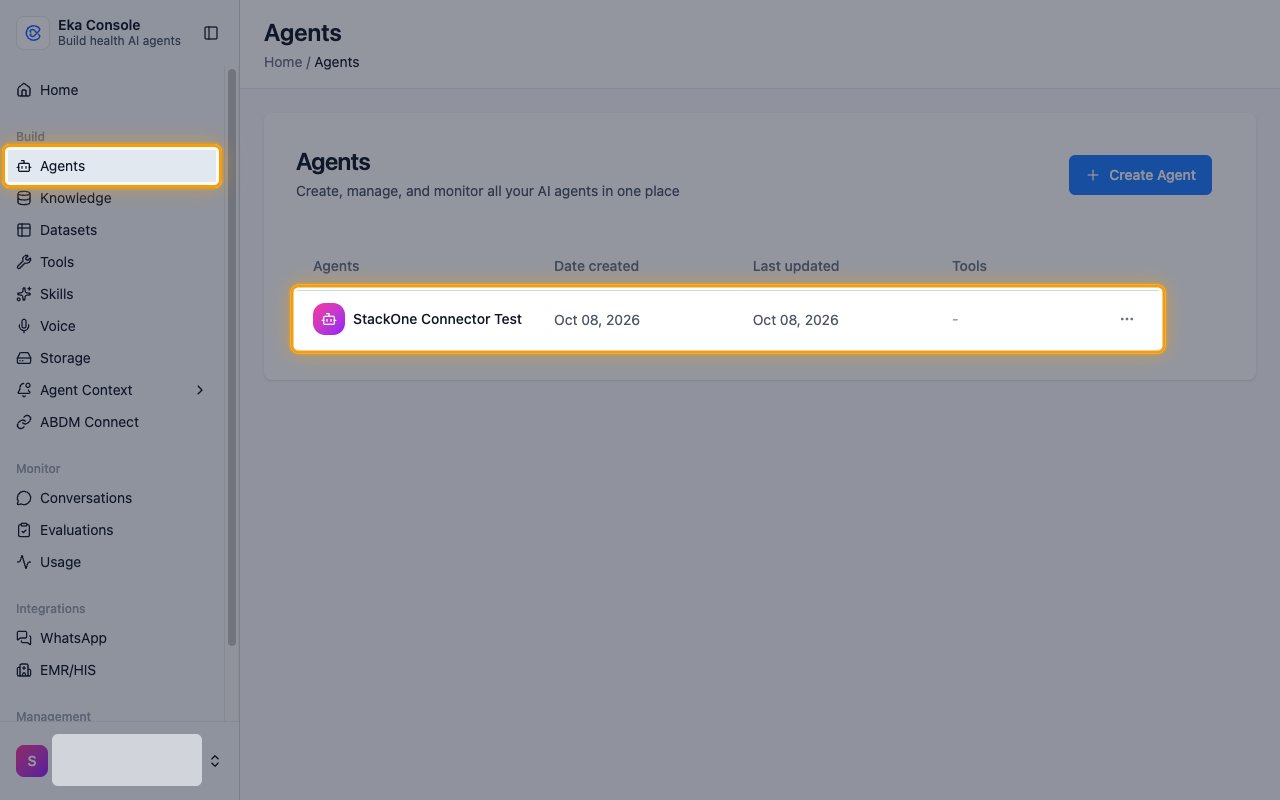
In the Eka Console sidebar, click Agents, then click your agent in the list.
Copy the agent ID
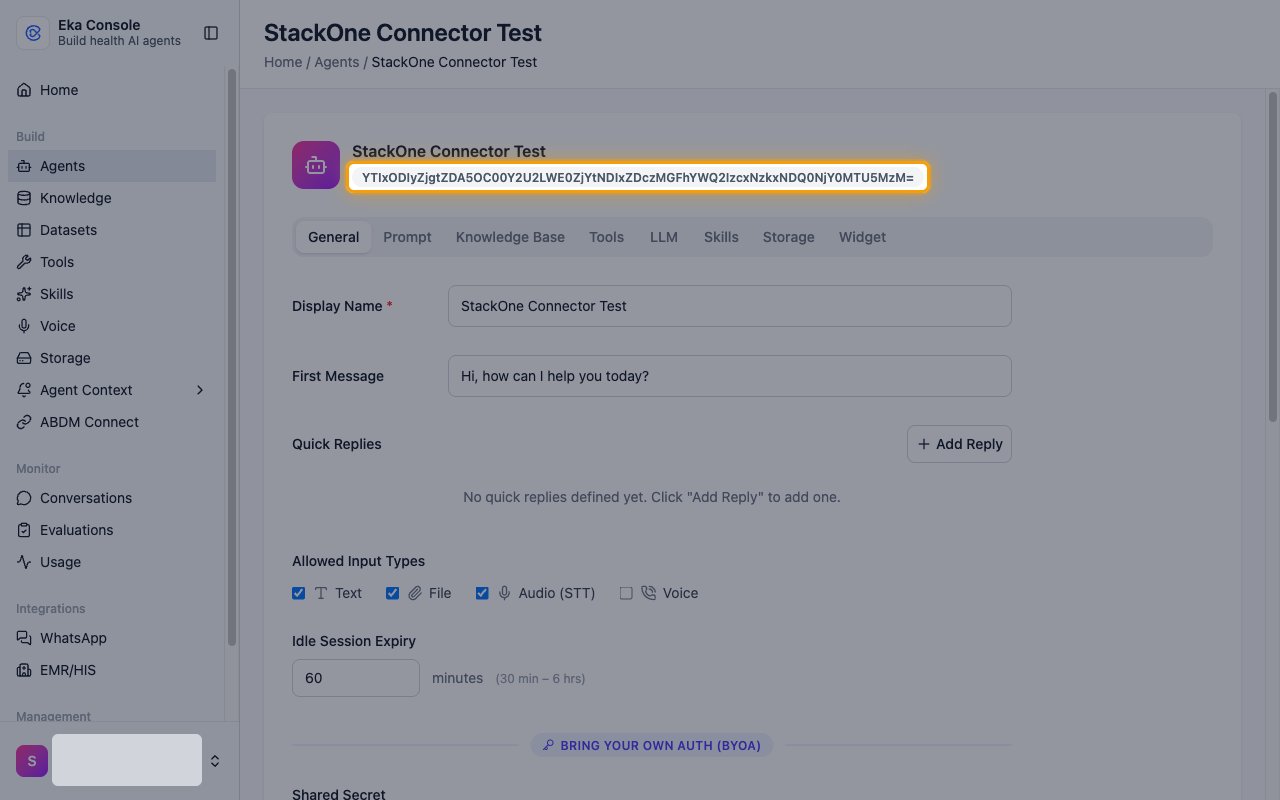
Copy the ID shown under the agent name and paste it into the MedAssist Agent ID field in StackOne Hub.
- Format: a Base64 string that ends in
=
Linking the Account from the Hub
Navigate to the Hub
Fill out the fields
- Long-Lived Access Token
- MedAssist Agent ID (Optional)
Connect
- Click Connect
- If applicable, the provider will redirect you to a sign-in or authorization page. Complete the provider’s authorization flow.
- Once authorization is successful, you will see a confirmation popup
If the account linking is successful, you will see the newly linked account in your Accounts page.
Next Steps
Webhooks setup
Configure receiving Events for Eka Care into StackOne.