

Generating an API key
Cal.com API keys are created from your account settings and authorize every request StackOne makes.
1
Sign in to Cal.com
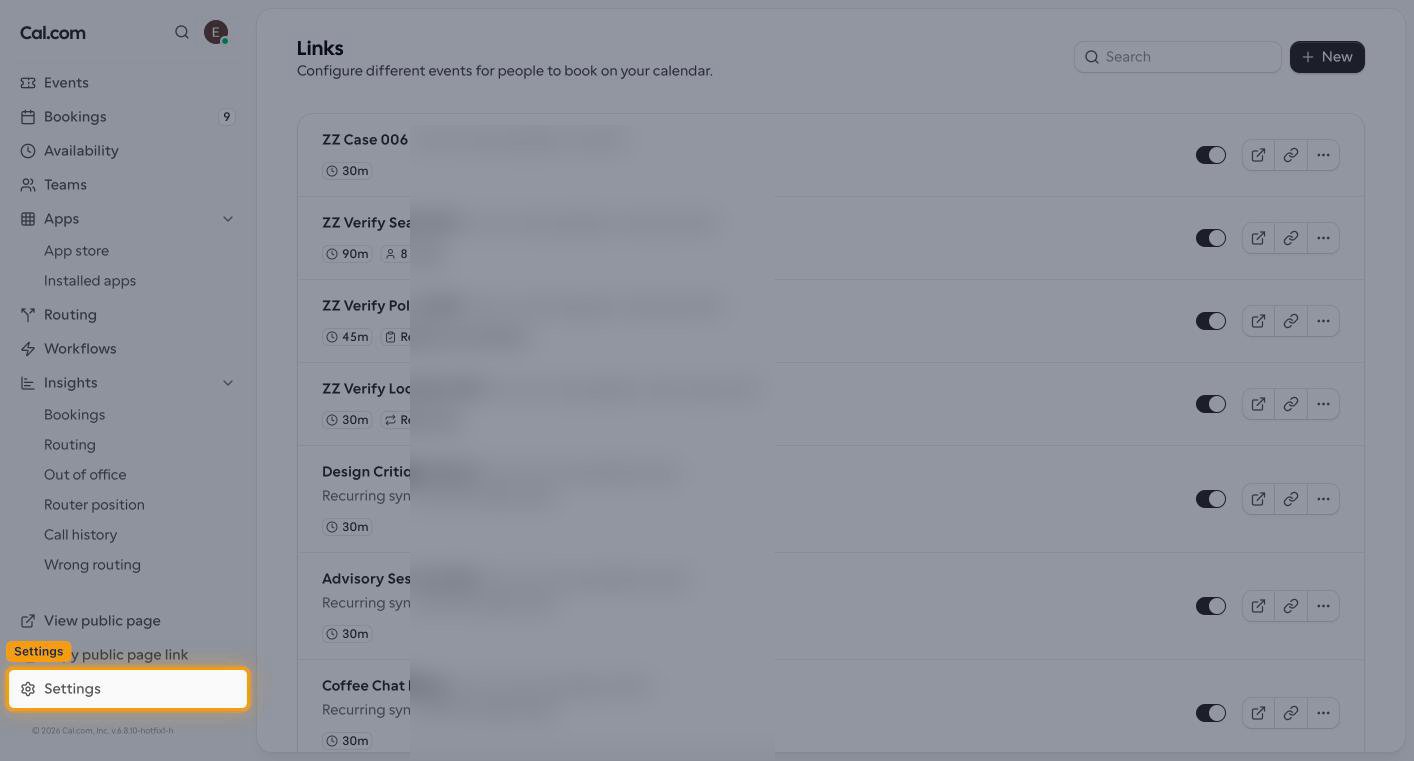
2
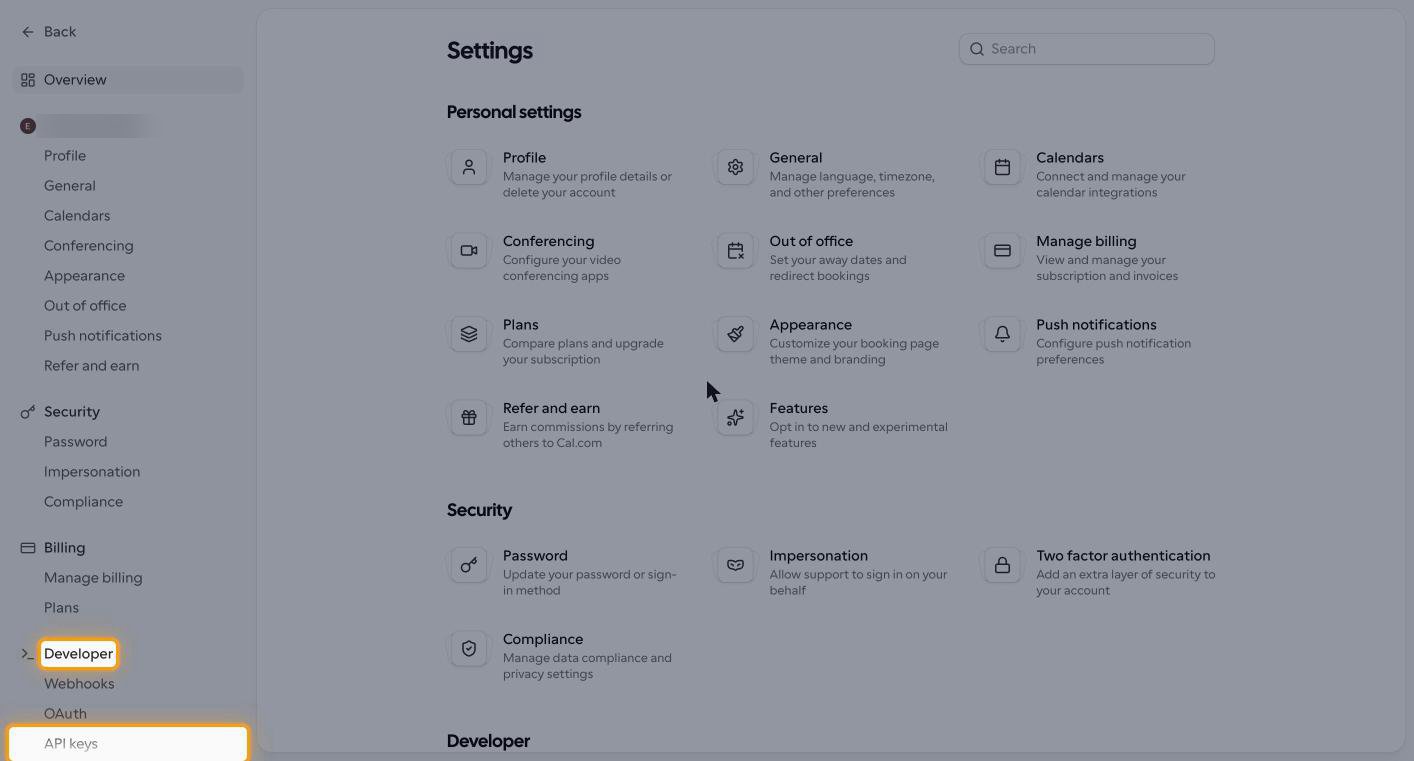
Open API key settings
In the settings sidebar, expand Developer and select API keys.
- Or go straight to the Cal.com API key settings.
3
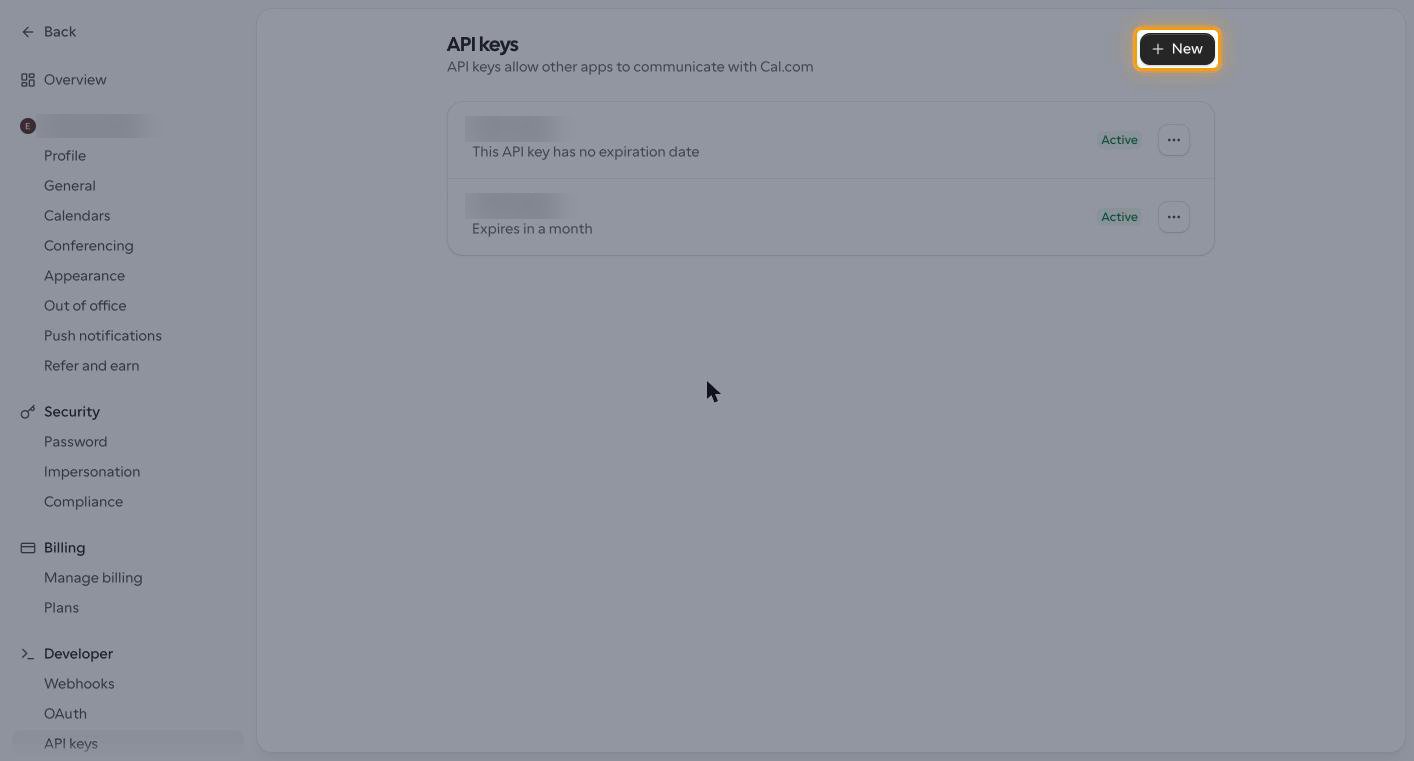
Create a new API key
On the API keys page, click New in the upper right corner.
4
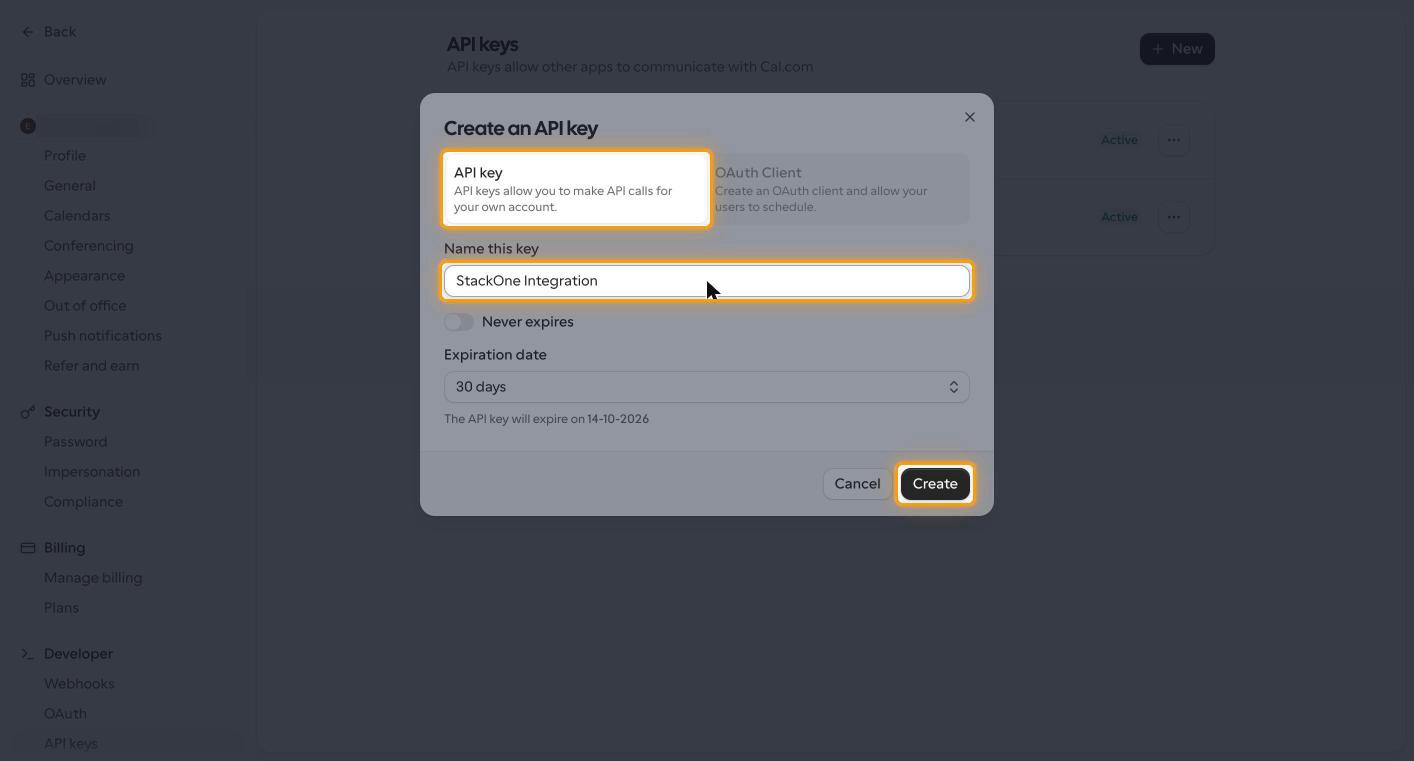
Name the key and set its expiration
In the Create an API key dialog, keep API key selected rather than OAuth Client.
- Enter a name under Name this key, for example
StackOne Integration. - Choose an Expiration date, or turn on Never expires so the key does not expire.
- Click Create.
5
Copy the API key
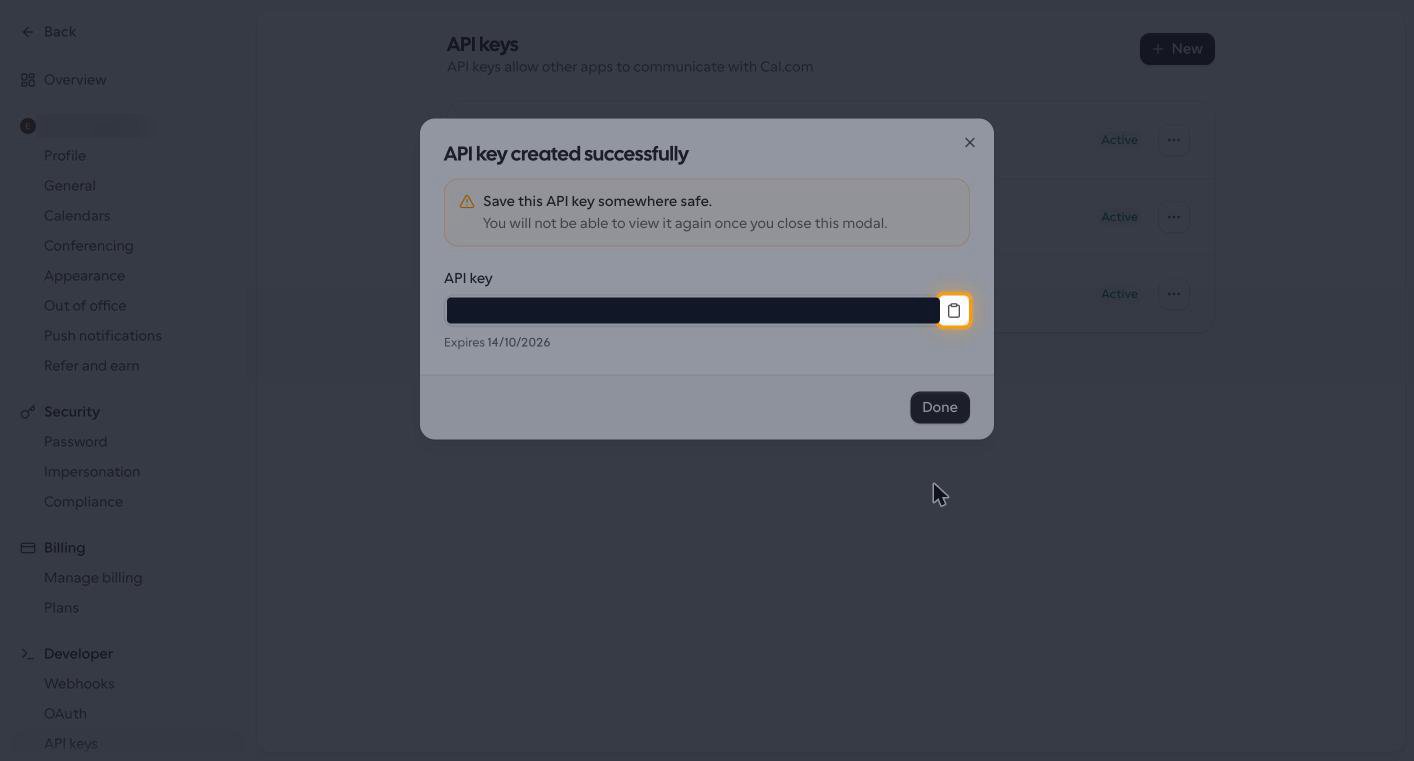
The API key created successfully dialog shows the key.
- Click the copy icon beside the key, then click Done.
- Cal.com API keys start with
cal_live_. - The key is shown only once — Cal.com warns that you will not be able to view it again once you close this modal.
- Paste it into the API Key field in StackOne Hub, and store it securely for use later.
Linking the Account from the Hub
1
Navigate to the Hub
Use one of the three Linking Account Methods to access the Hub.
2
Fill out the fields
Fill out the following fields using details from your provider:
- API Key
3
Connect
- Click Connect
- If applicable, the provider will redirect you to a sign-in or authorization page. Complete the provider’s authorization flow.
- Once authorization is successful, you will see a confirmation popup
If the account linking is successful, you will see the newly linked account in your Accounts page.