

Create the app
Box issues Client Credentials Grant tokens to a Server Authentication app. Create one in the Box Developer Console, then configure its access level and scopes.
Create the app
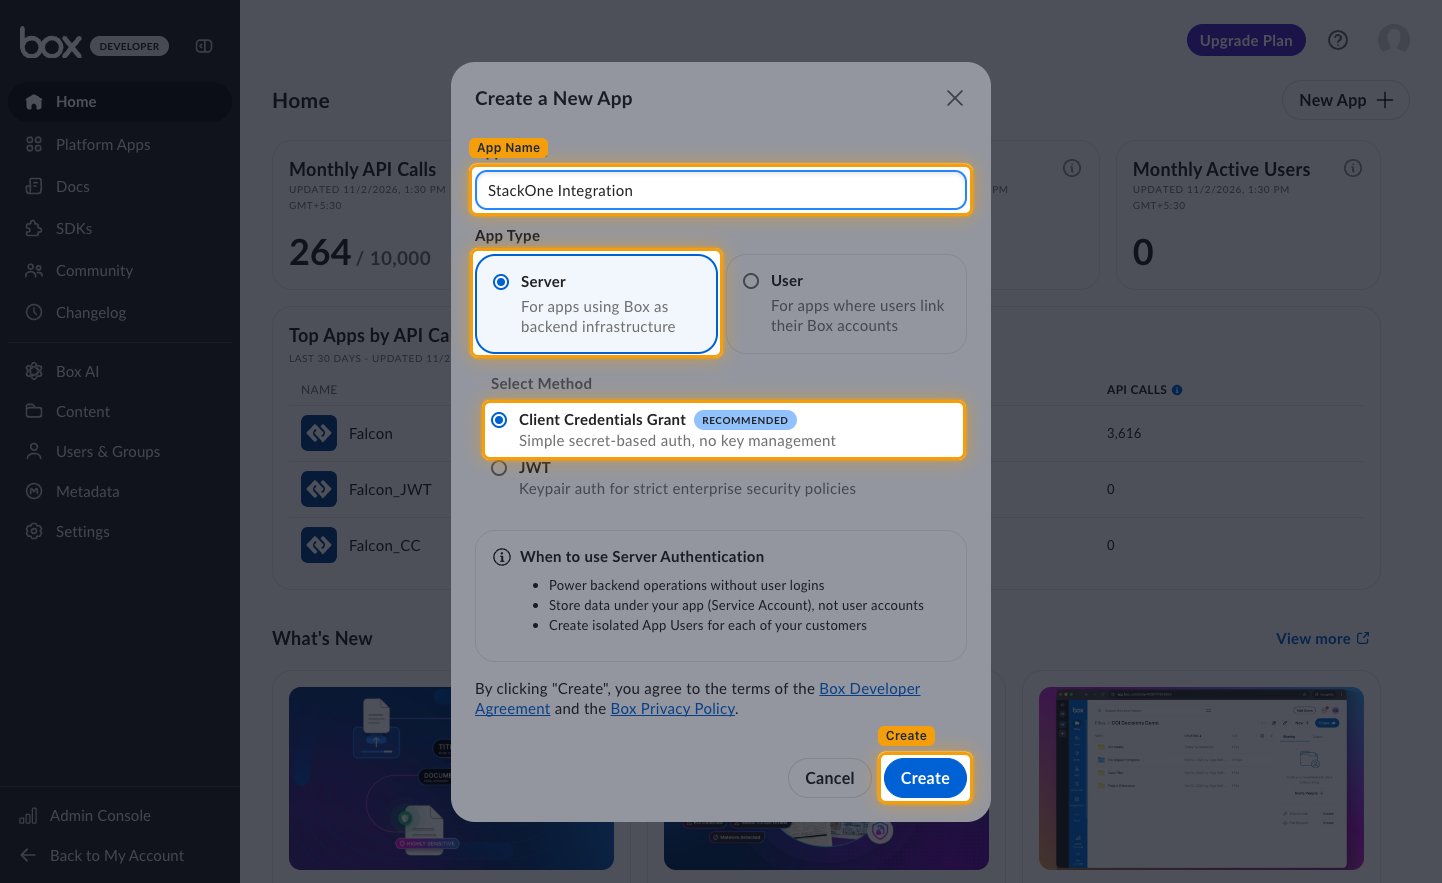
Sign in to the Box Developer Console, then select New App.
- App Name:
StackOne Integration - App Type: Server
- Select Method: Client Credentials Grant
- Select Create.
Copy the client credentials
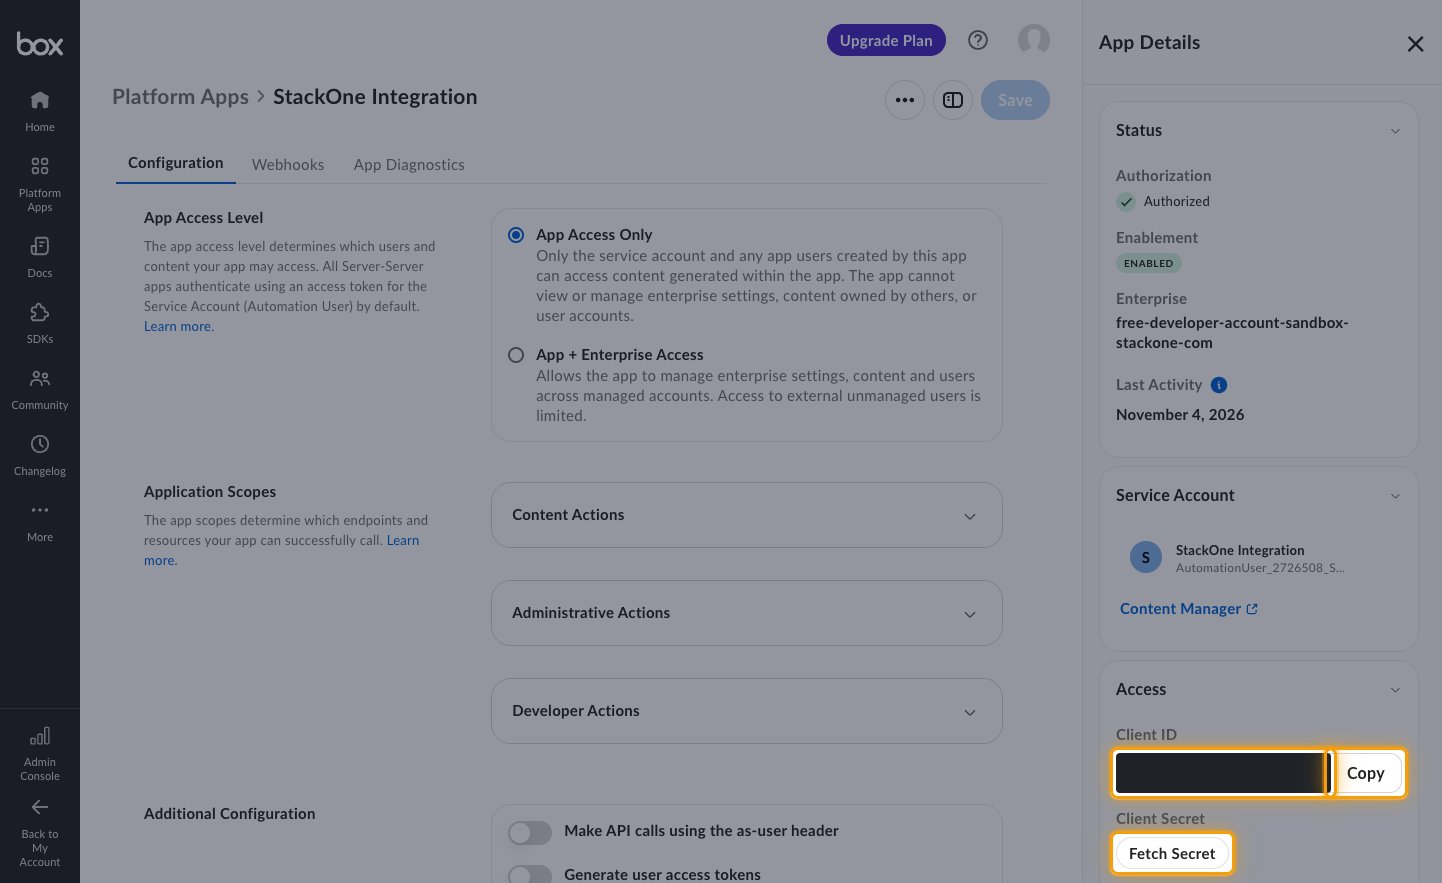
The new app opens on its Configuration tab. Find the Access section of the App Details panel.
- Select Copy beside Client ID, then copy the Client ID into StackOne Hub.
- Select Fetch Secret under Client Secret, then copy the Client Secret into StackOne Hub.
- Box reveals the client secret only after two-factor authentication is enabled on your Box account.
Set the app access level
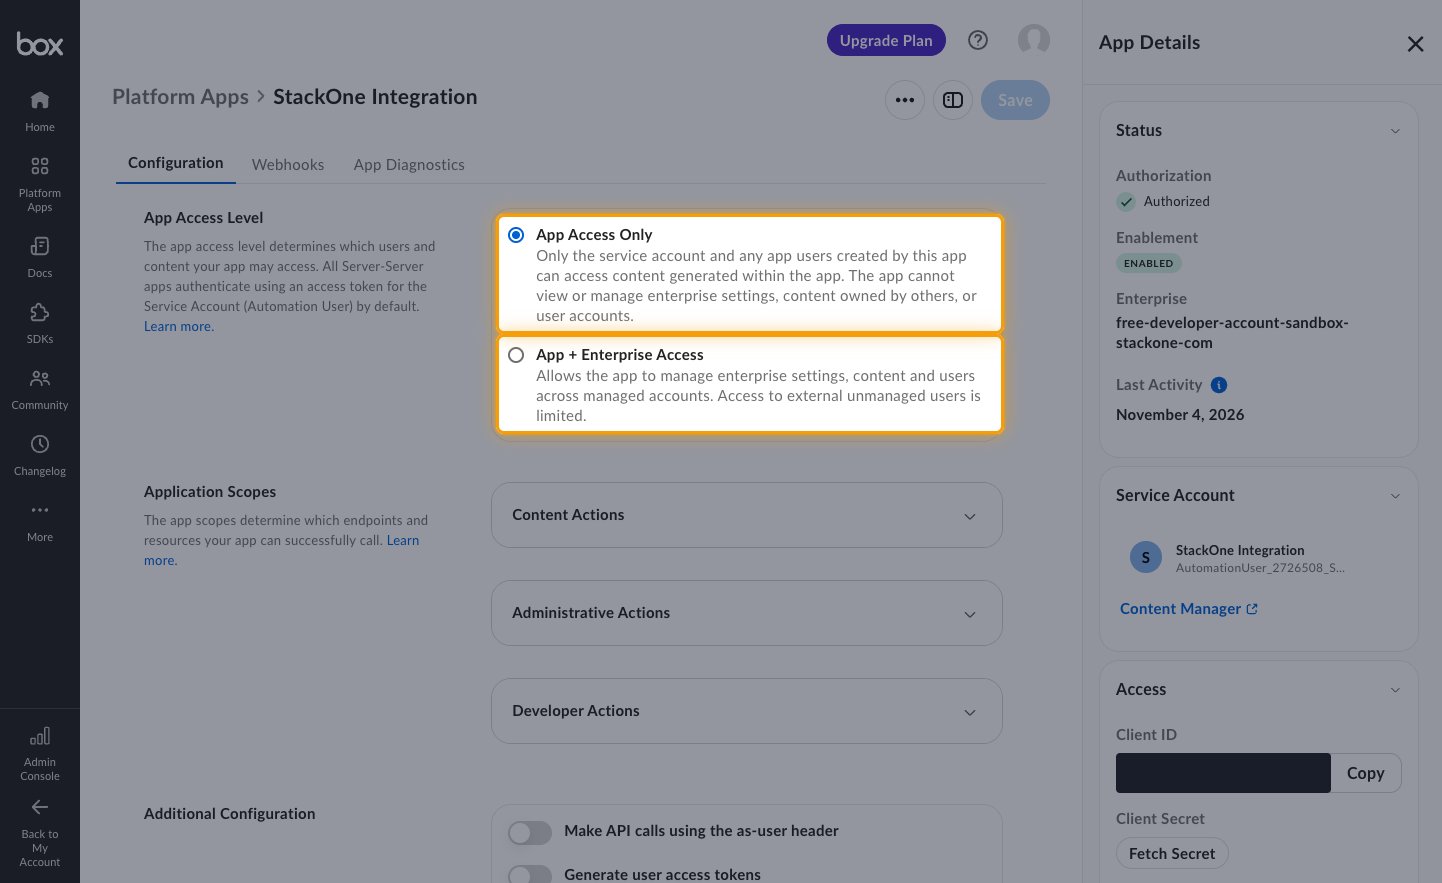
In the App Access Level section, choose how much of your enterprise the app can reach.
- App Access Only limits the app to its own Service Account and any app users it creates.
- App + Enterprise Access lets the app manage enterprise settings, content, and users across managed accounts.
- Select App + Enterprise Access to connect as a managed user or an admin, or to use the Manage enterprise properties scope.
Add the content scopes
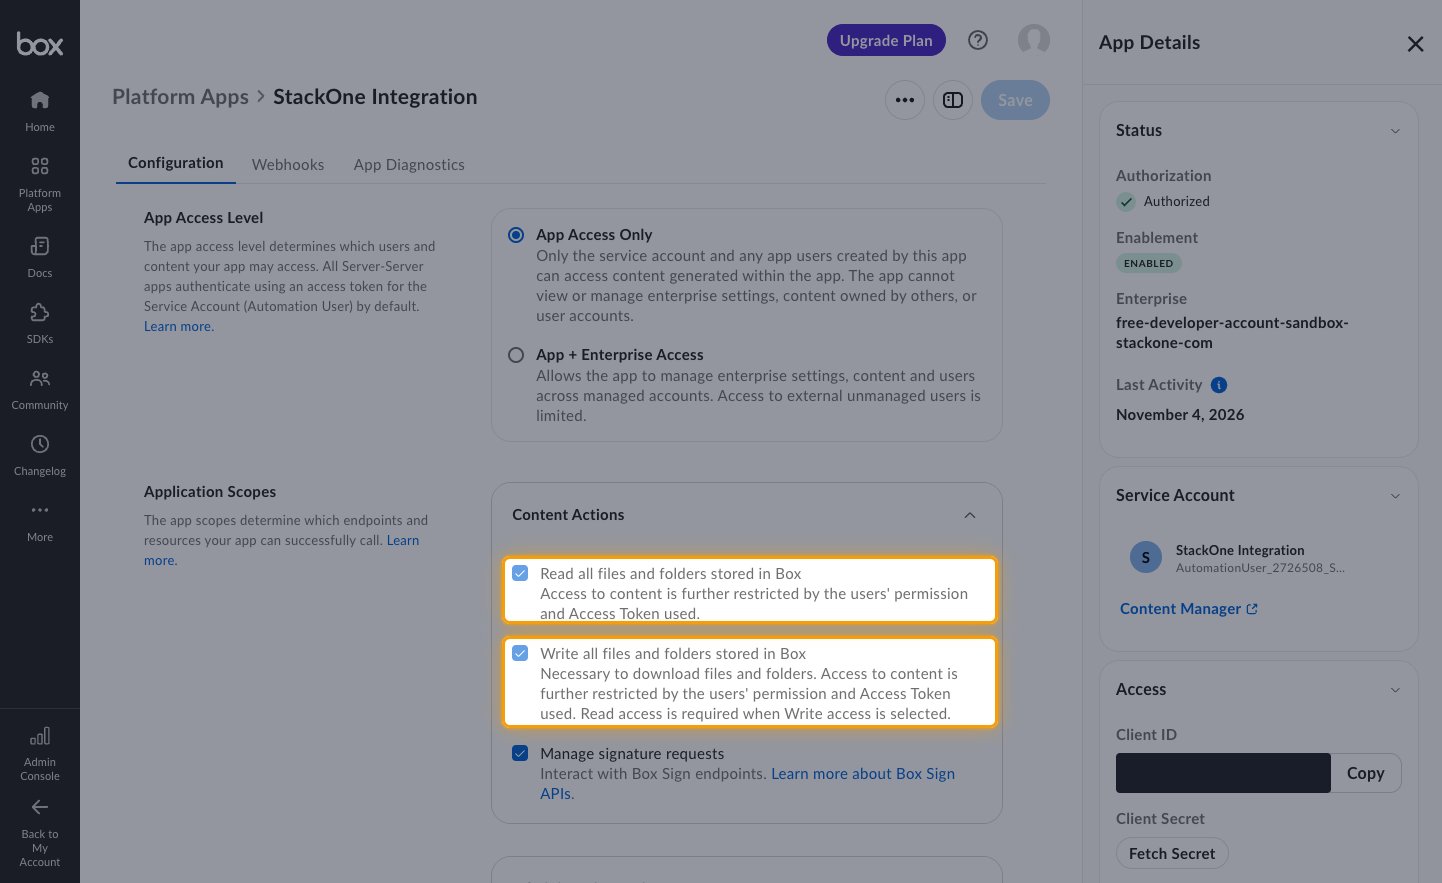
In the Application Scopes section, expand Content Actions and enable the file and folder permissions.
Add the administrative and developer scopes
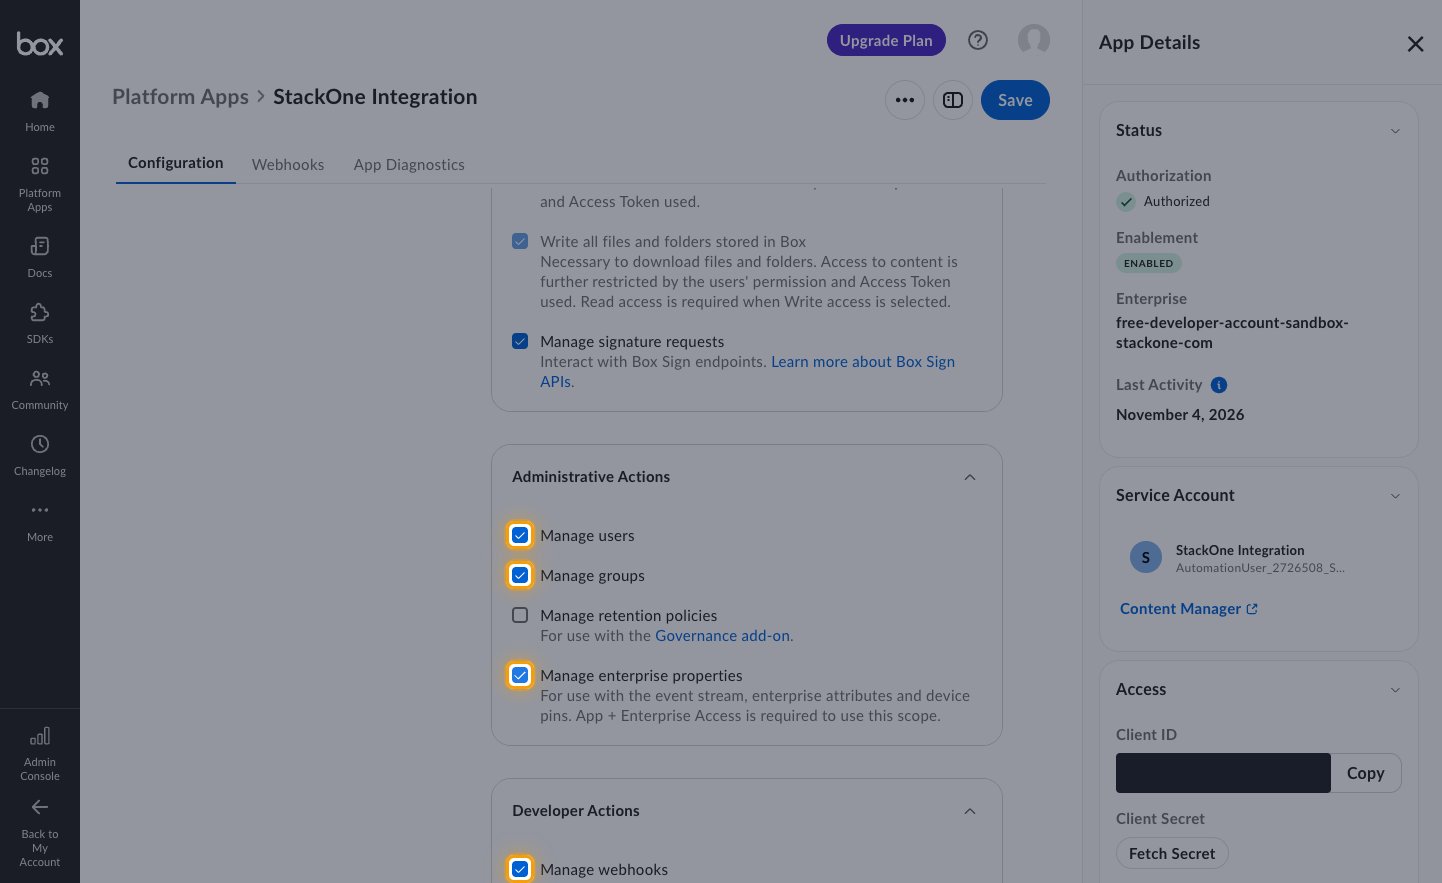
Expand Administrative Actions and Developer Actions, then enable the user, group, enterprise, and webhook permissions.
- Manage enterprise properties stays unavailable until App + Enterprise Access is selected.
Enable user access tokens
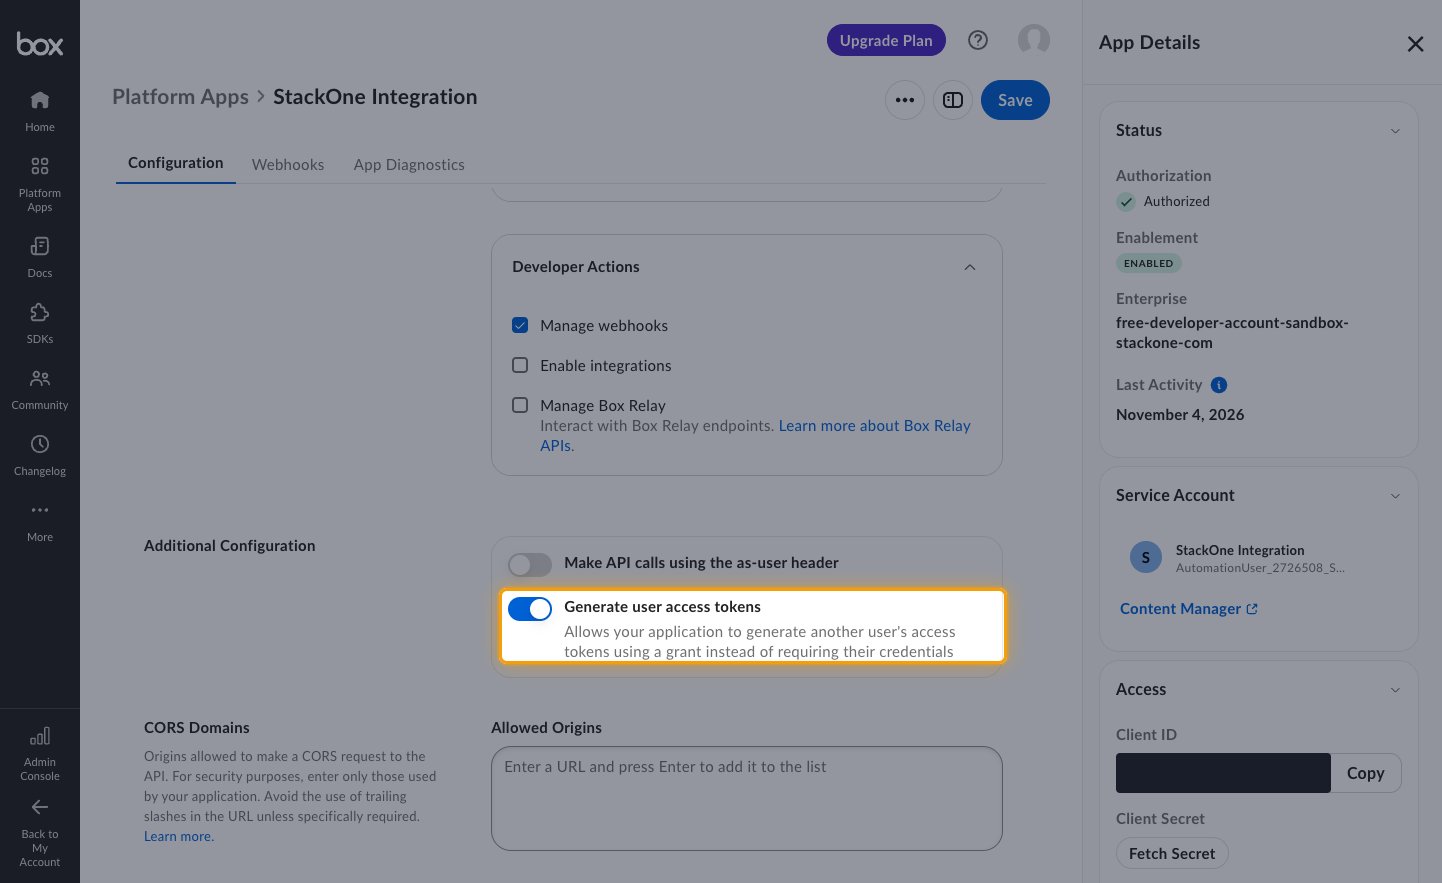
In the Additional Configuration section, turn on Generate user access tokens. This lets the app mint a token for a named Box user instead of its own Service Account.
- Leave it off if the connection only ever acts as the Service Account.
Save the configuration
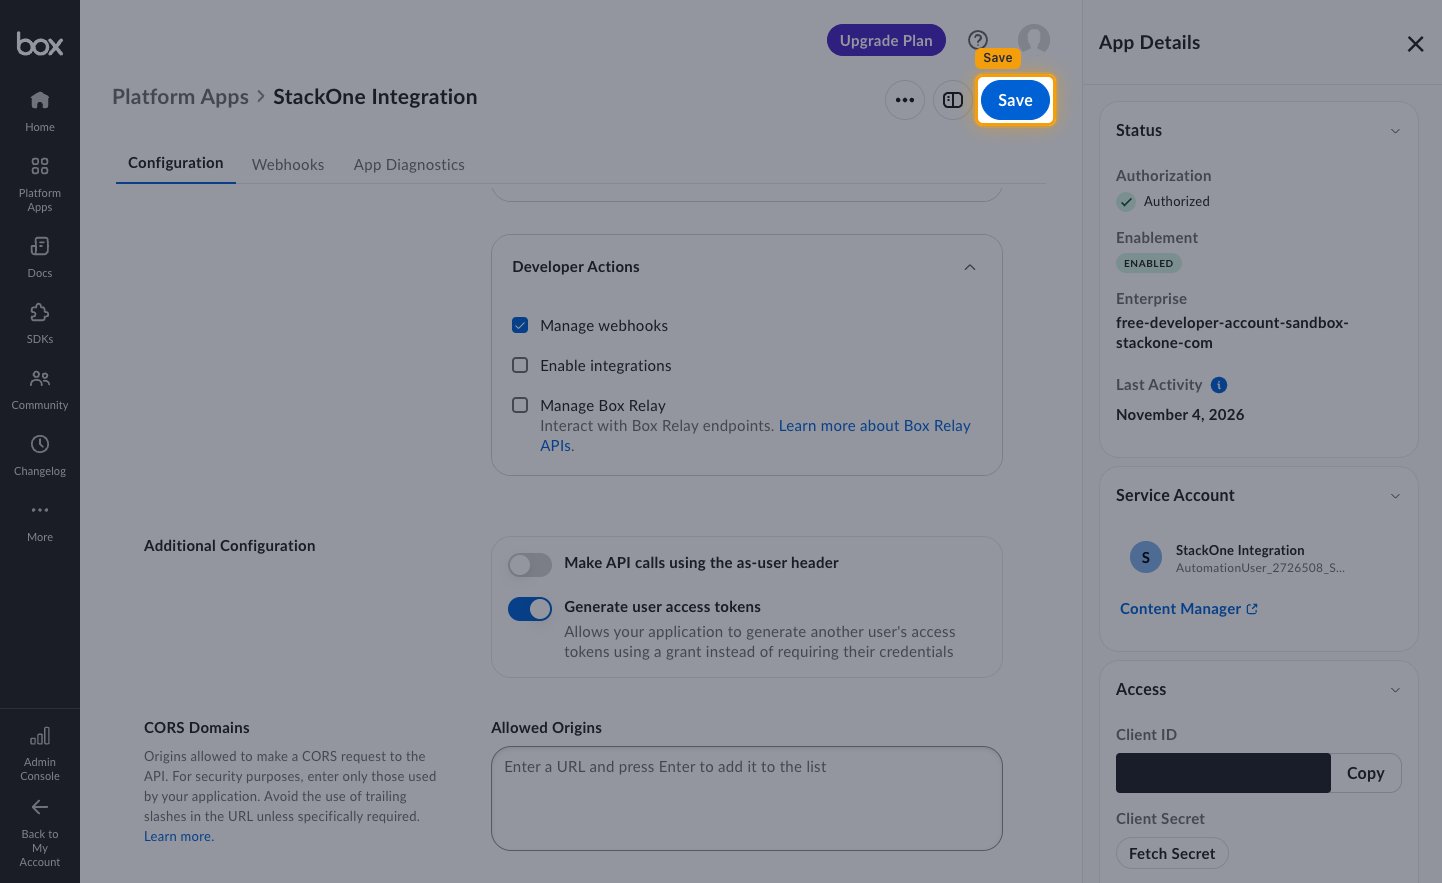
Select Save at the top right of the Configuration tab.
- In an enterprise, open the app’s authorization settings and submit the app for admin approval, or authorize it directly if you are an admin or co-admin.
Choose the identity to connect as
Box mints every Client Credentials Grant token for exactly one subject, and Subject Type and Subject ID name it together. The subject decides whose content the connection reads and writes, so pick the one that matches the data you need.
Connect as the app's Service Account
Creating the app also creates its Service Account, an automation user that owns its own content.
- Subject Type: Enterprise (the app’s Service Account)
- Subject ID: your enterprise ID
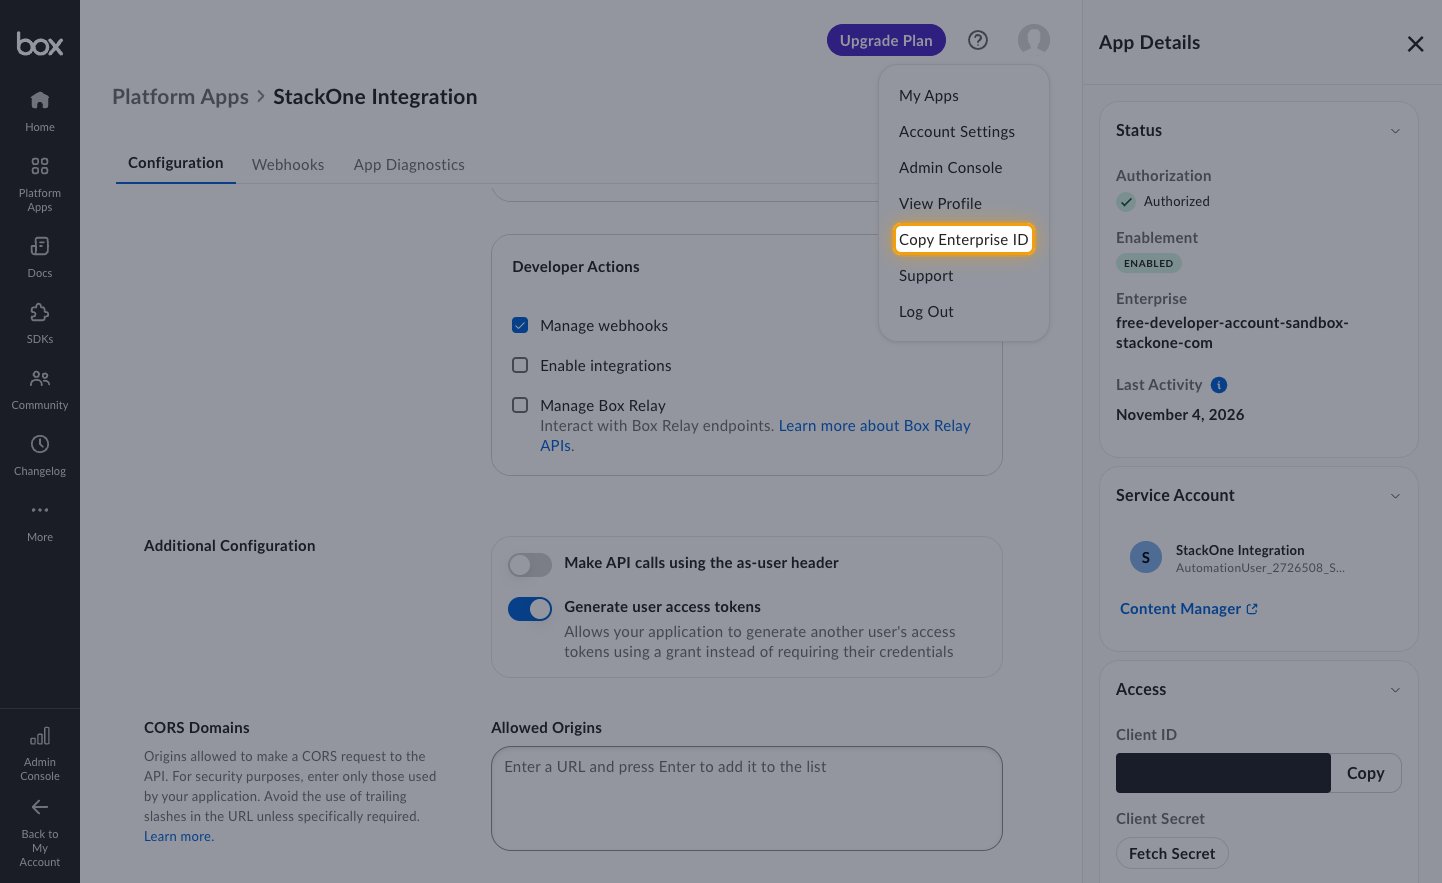
- Select your account icon at the top right of the Developer Console, then select Copy Enterprise ID.
- The Service Account starts with an empty folder tree, so add it as a collaborator on the folders this connection needs before it can see your existing content.
Connect as a Box user
Pick a user subject to read and write one person’s own content instead of the Service Account’s.
- Subject Type: User (one specific Box user)
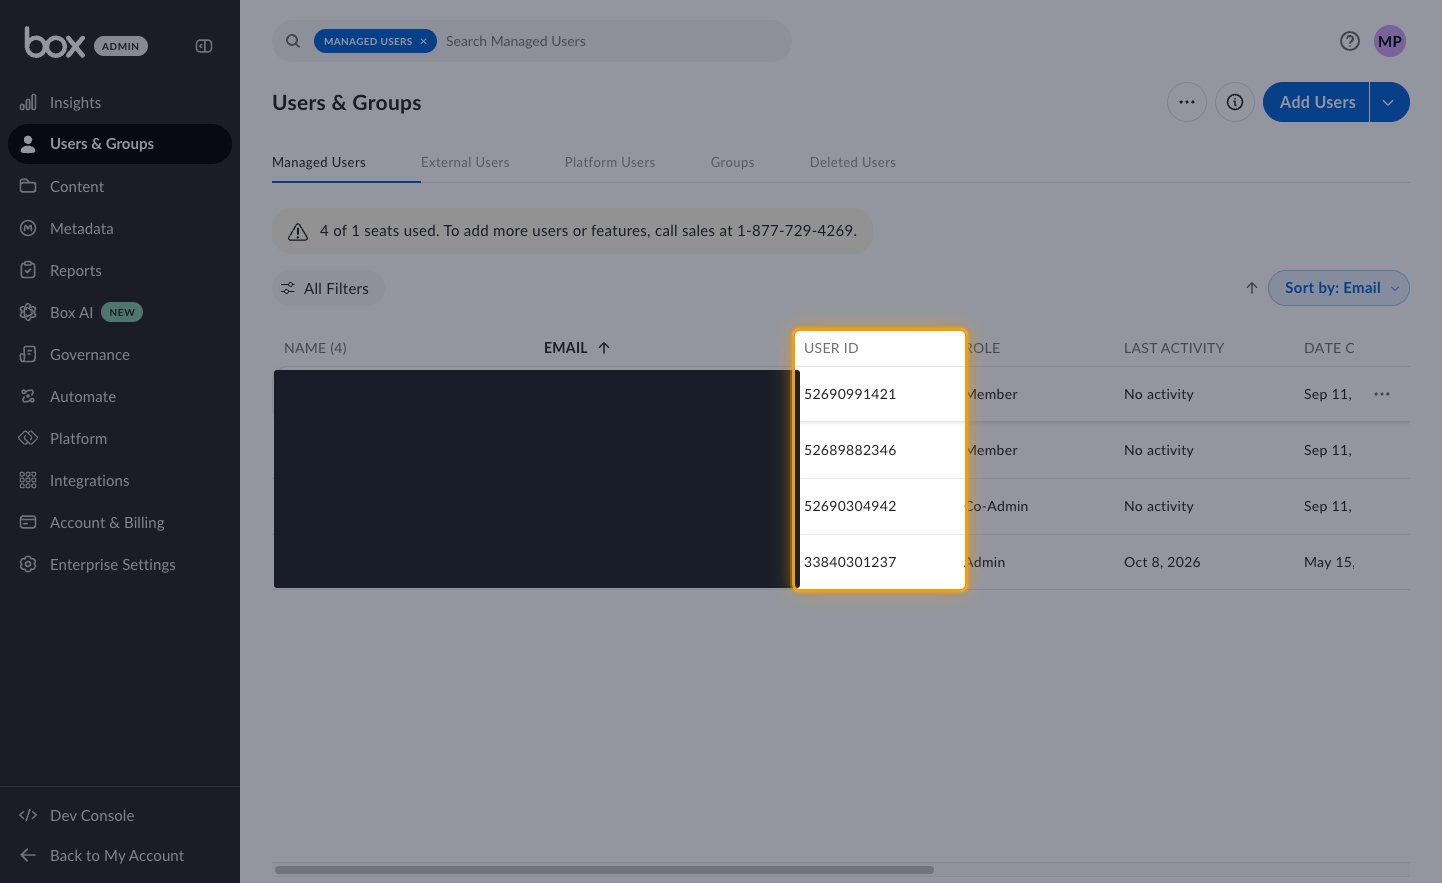
- Subject ID: that user’s Box user ID
- Open the Box Admin Console, go to Users & Groups, then read the value in the USER ID column of the Managed Users tab.
- A user subject needs Generate user access tokens turned on.
- A managed user or an admin also needs App + Enterprise Access.
Monitor folders for webhook events
Fill in Webhook Folder IDs only to receive Box webhook events on this connection. StackOne registers a webhook on each folder you list.
Find the folder IDs
Open each folder you want to monitor in Box, then read the ID from the end of the address.
- Format:
https://app.box.com/folder/{folderId} - Example:
https://app.box.com/folder/391960849645has the folder ID391960849645 - Separate several folder IDs with commas.
Link the Account
Connect
- Click Connect.
- If applicable, the provider will redirect you to a sign-in or authorization page. Complete the provider’s authorization flow.
- Once authorization is successful, you will see a confirmation popup.
Use Actions
Next Steps
Webhooks setup
Configure receiving Events for Box into StackOne.