

Create a permanent access token
Wrike issues permanent access tokens from an app in your account’s API settings. The token stays valid until you revoke it.
1
Open the API settings
Sign in to your Wrike account.
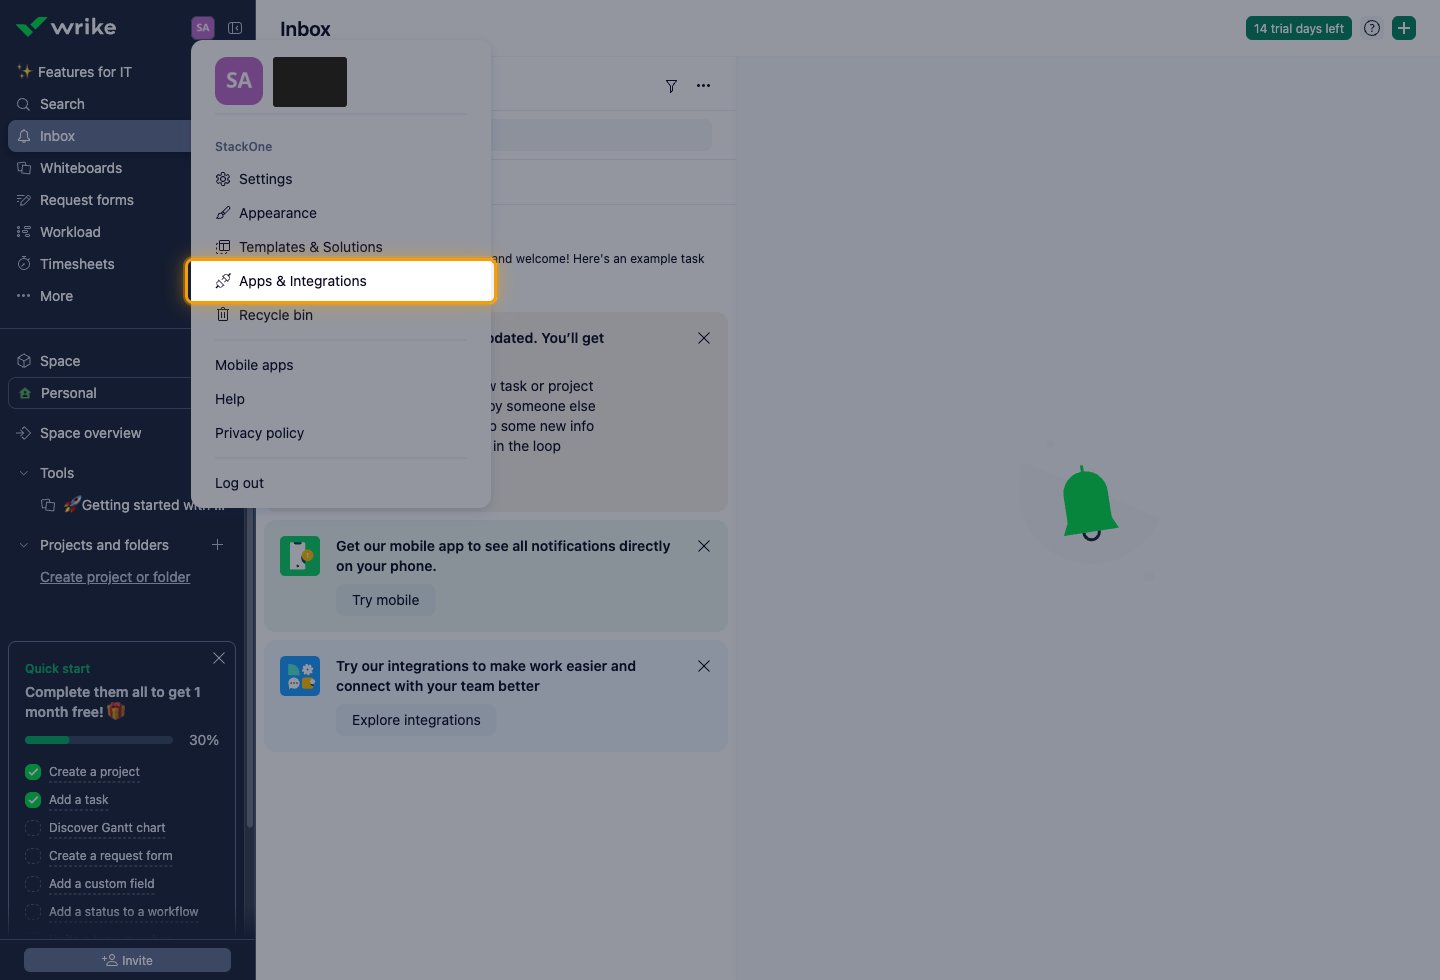
- Click your profile image in the top-right corner, then select Apps & Integrations.
- Open the API tab.
2
Create the app
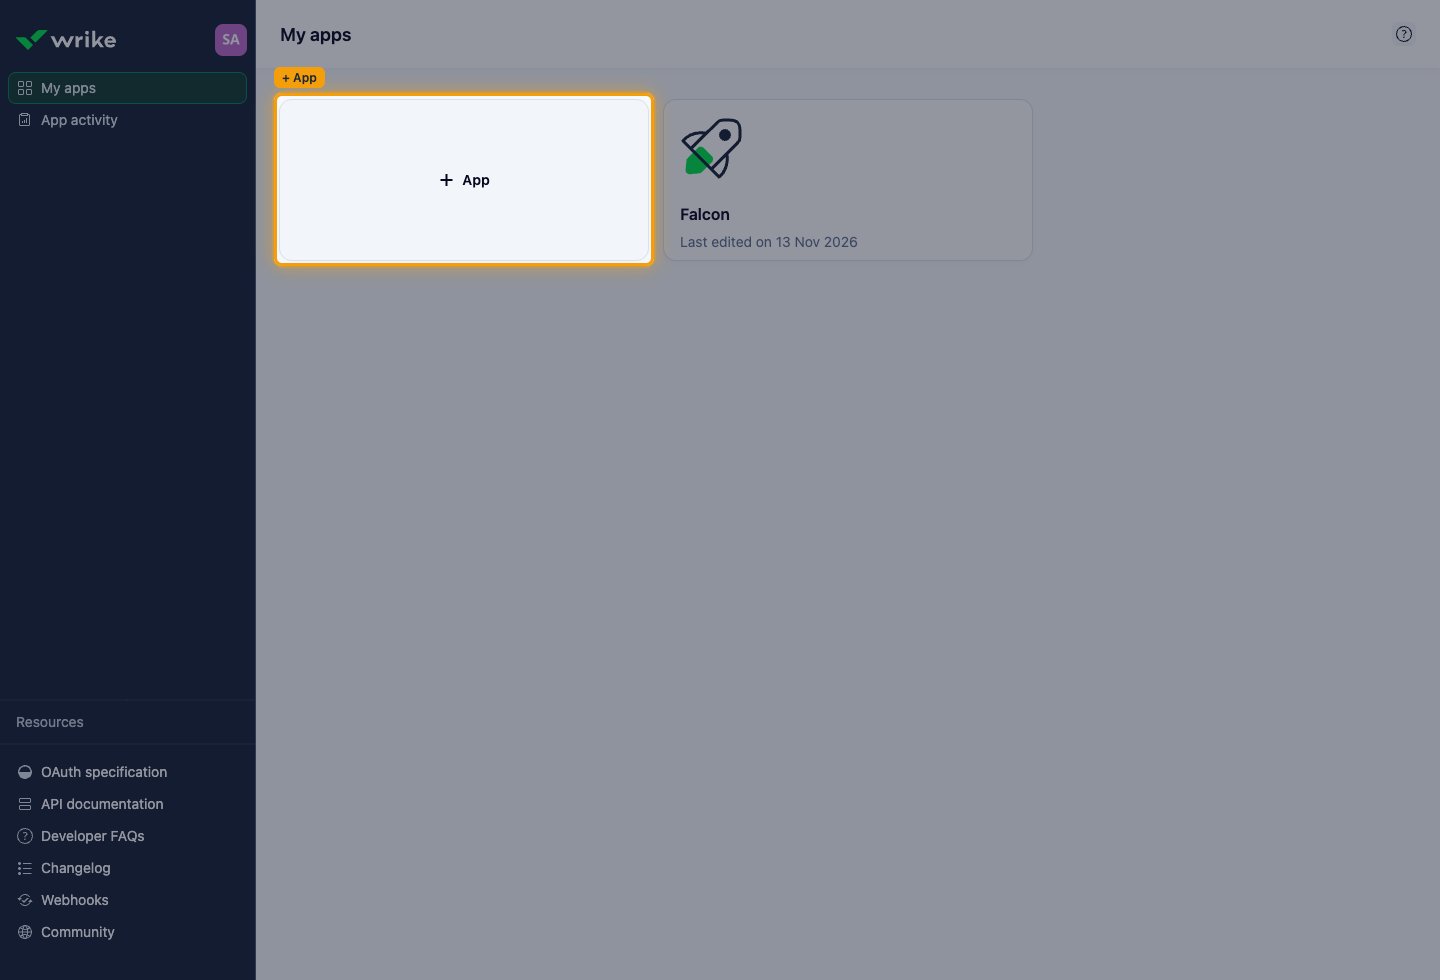
On My apps, click + App.
3
Name the app
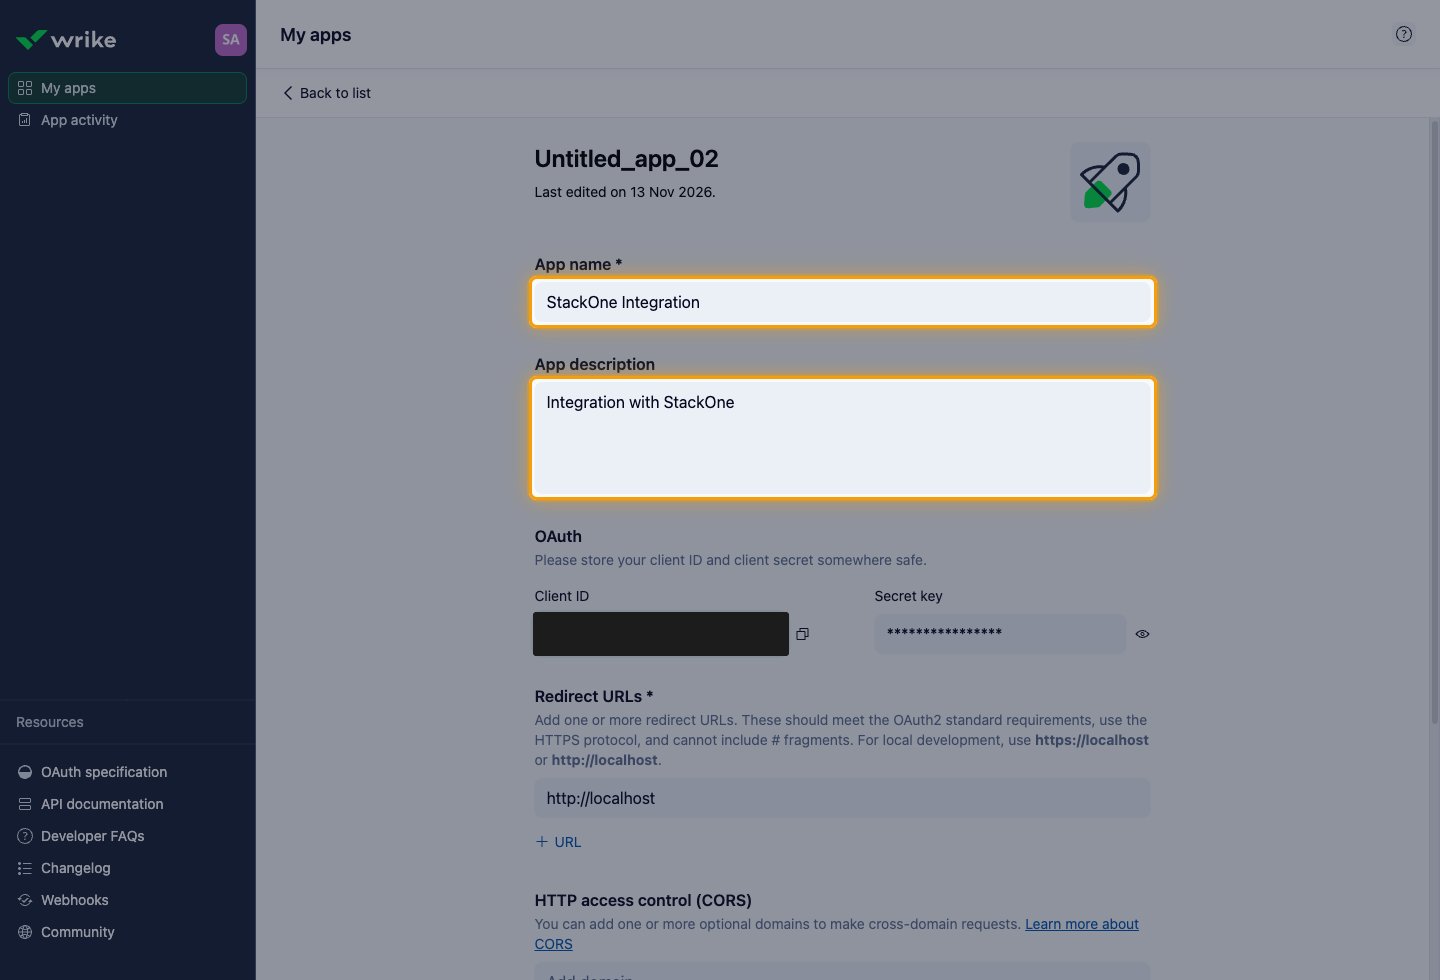
Fill in the app details.
- App name:
StackOne Integration - App description: Short summary of what the integration does
4
Get the token
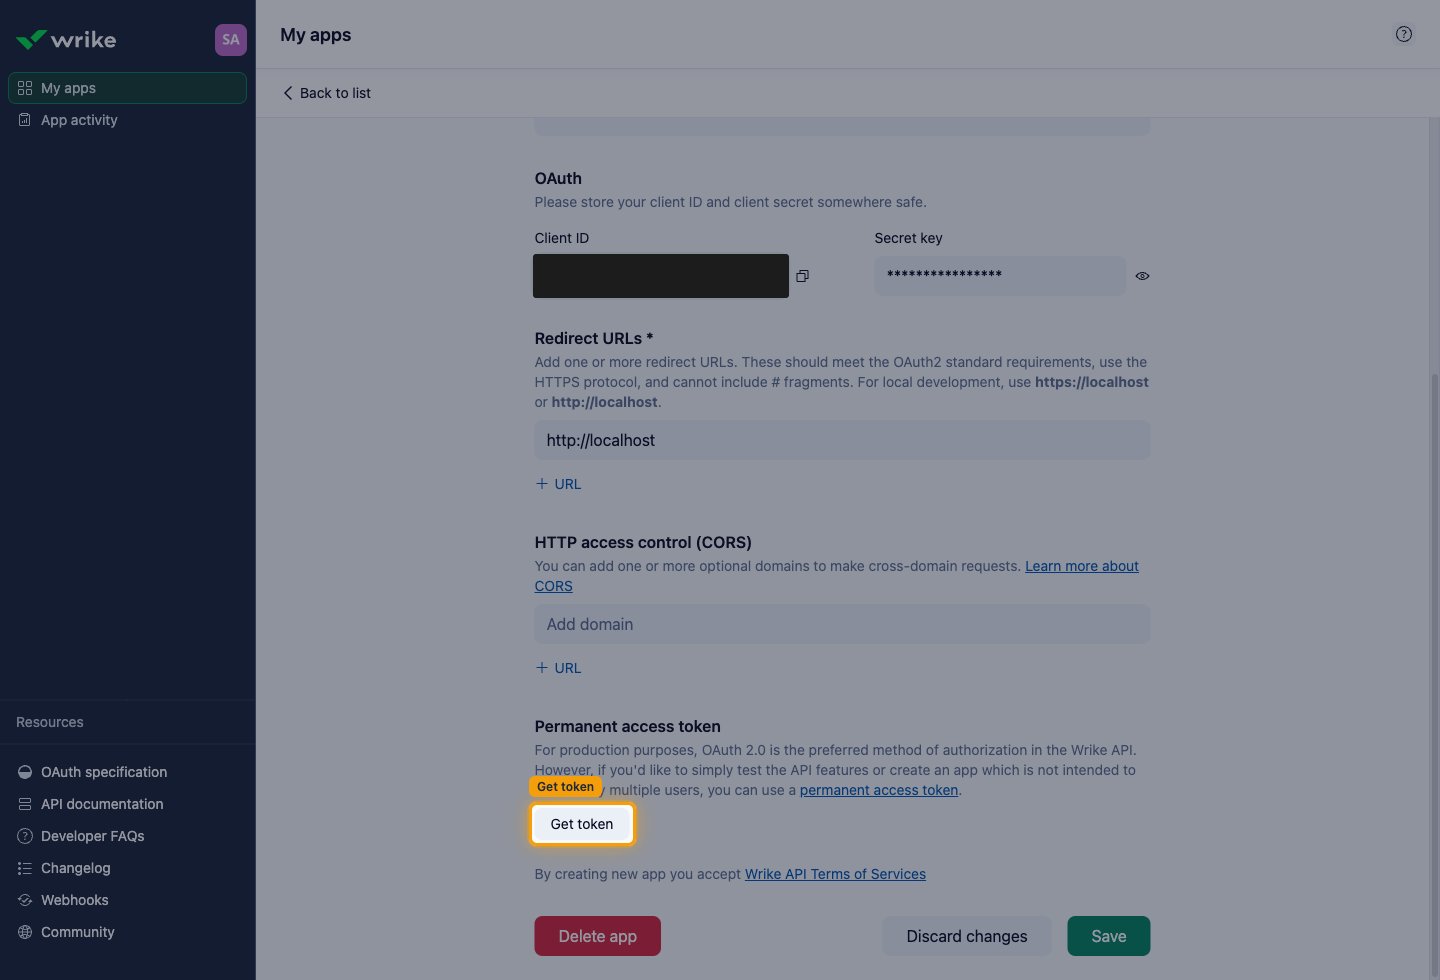
Scroll to Permanent access token and click Get token.
- Enter your Wrike account password in Wrike password, then click Get token.
- If you sign in with SSO and have no Wrike password, set one at Wrike password reset first.
5
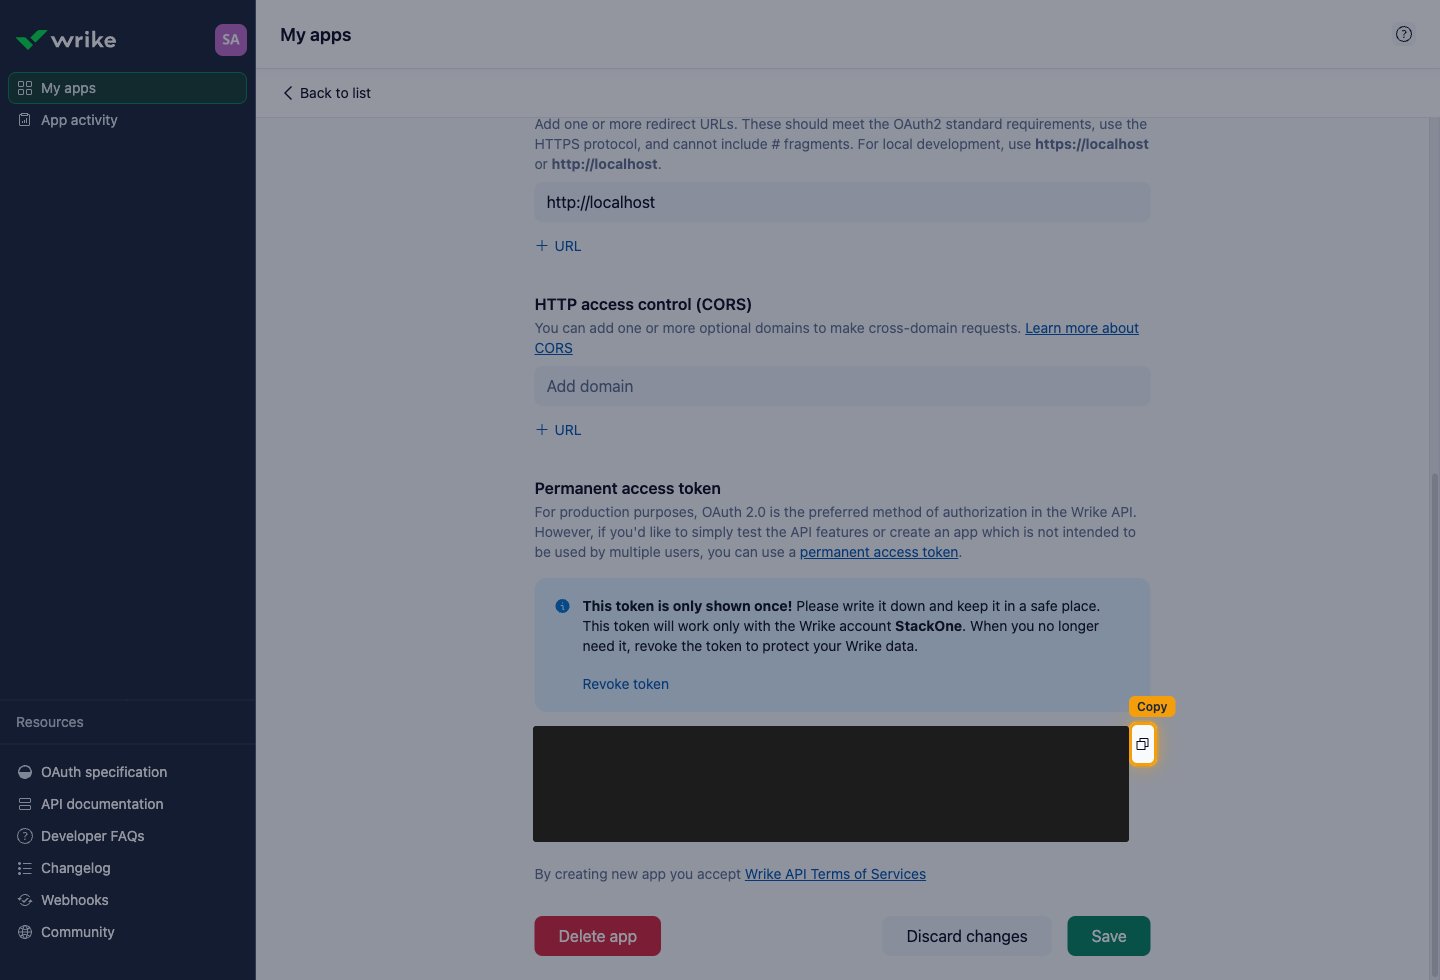
Copy the token
Click the copy icon beside the token, then copy the token into StackOne Hub.
- Wrike shows This token is only shown once! — copy the token before leaving the page.
- Click Save.
Find your data center
Wrike hosts accounts in several data centers, and the API answers only on the host that serves your account. Sign in to Wrike and read the host in your browser address bar, then select the matching Data Center.
www.wrike.com— United States. StackOne uses this host when you leave Data Center empty.app-us2.wrike.com— United States 2.app-eu.wrike.com— Europe.app-ap.wrike.com— Australia.
Link the Account
1
Connect
- Click Connect.
- If applicable, the provider will redirect you to a sign-in or authorization page. Complete the provider’s authorization flow.
- Once authorization is successful, you will see a confirmation popup.
2
Use Actions
Connect an AI platform to the linked account’s actions. See AI Platforms.Other ways to call actions are listed in Protocols & SDKs.
Next Steps
Webhooks setup
Configure receiving Events for Wrike into StackOne.