

Setting up a Webex Service App
A Service App calls Webex as a machine account in your organization, so the connection keeps working when any one user leaves. You need its Client ID, Client Secret and a refresh token for your organization.
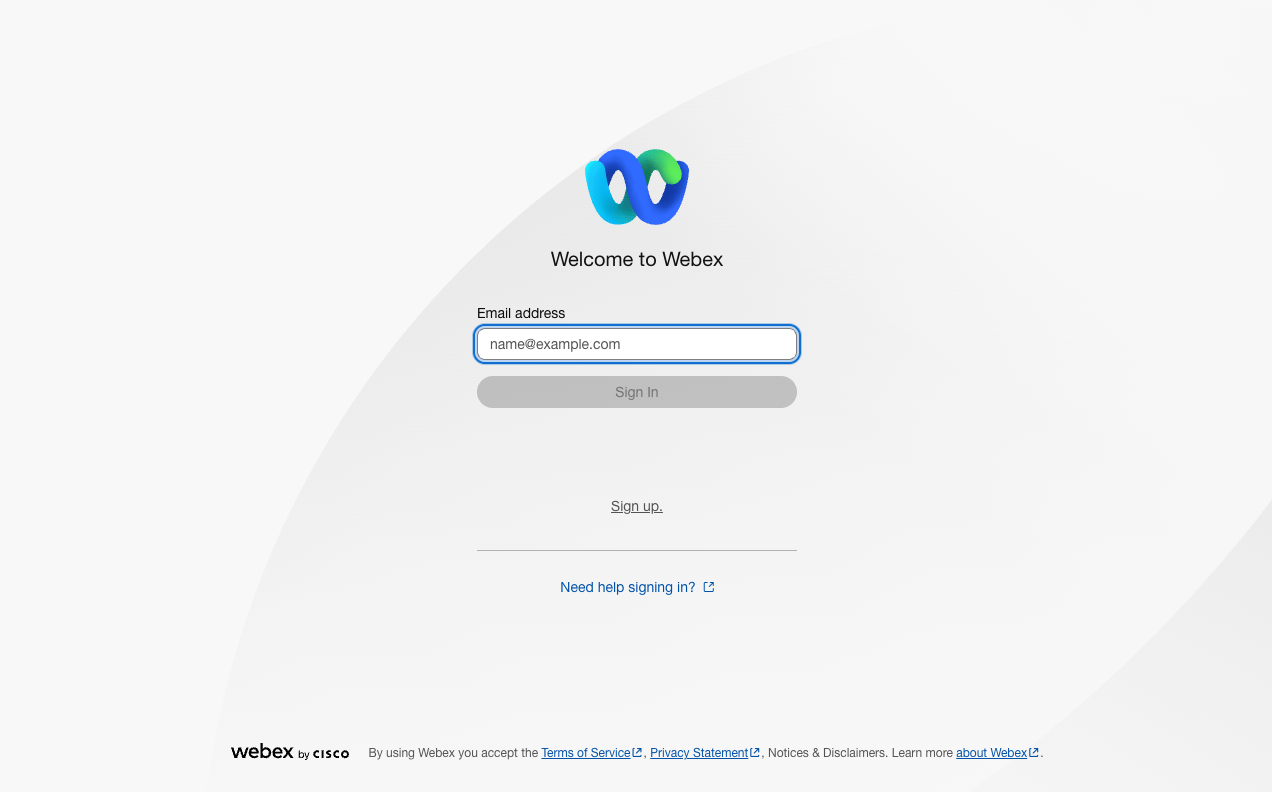
Sign in to Webex for Developers
Sign in to your Webex for Developers account with the Webex account that will own the Service App.
- Enter your Email and Password.
- Click Sign In.
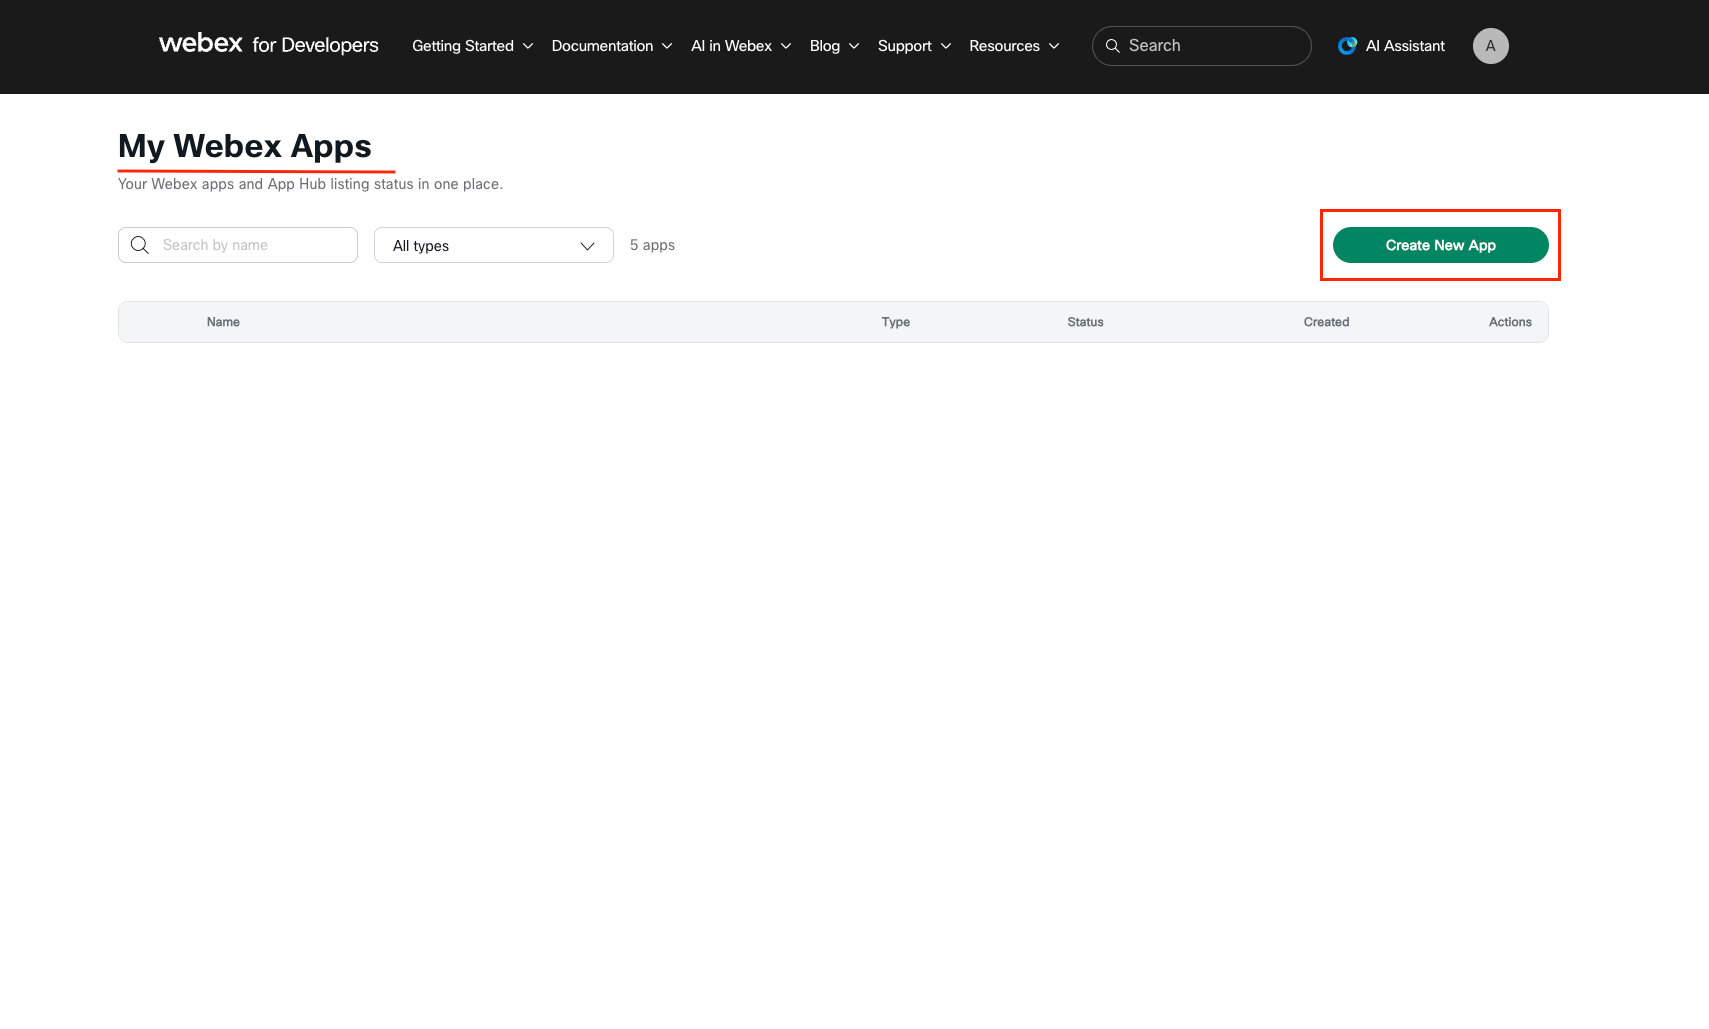
Create a new app
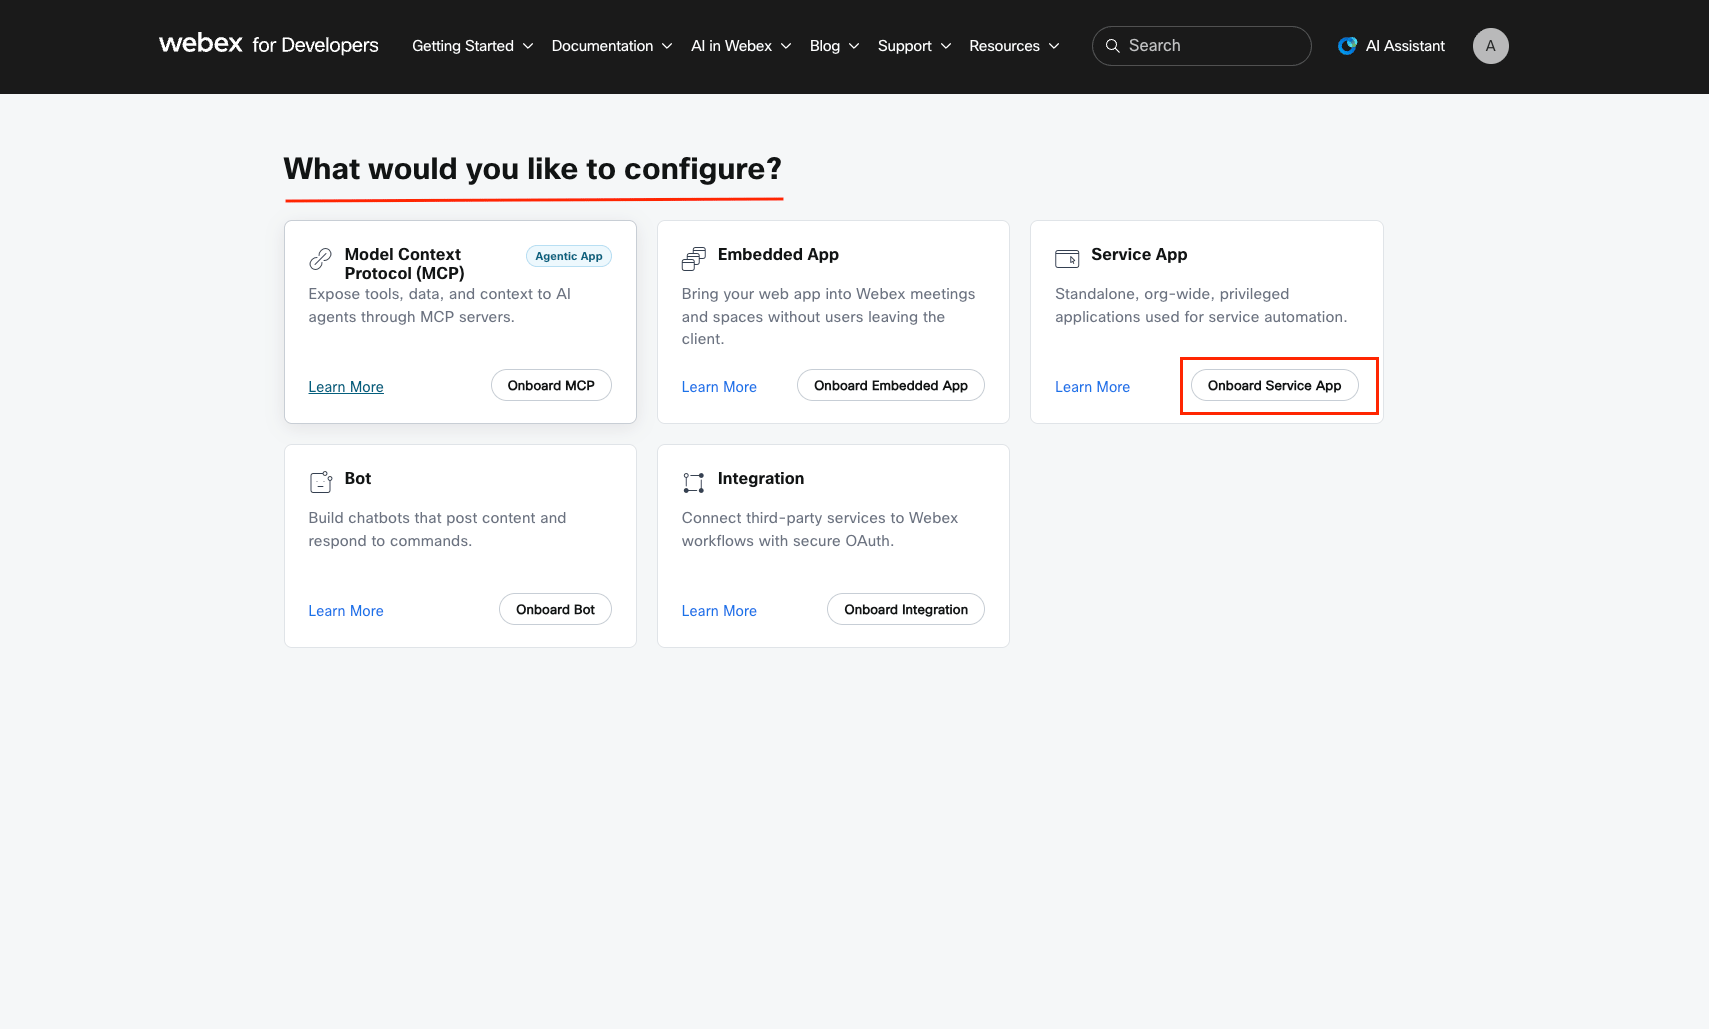
Choose the Service App type
On What would you like to configure?, find the Service App card.
- Click Onboard Service App.
Fill in the app details
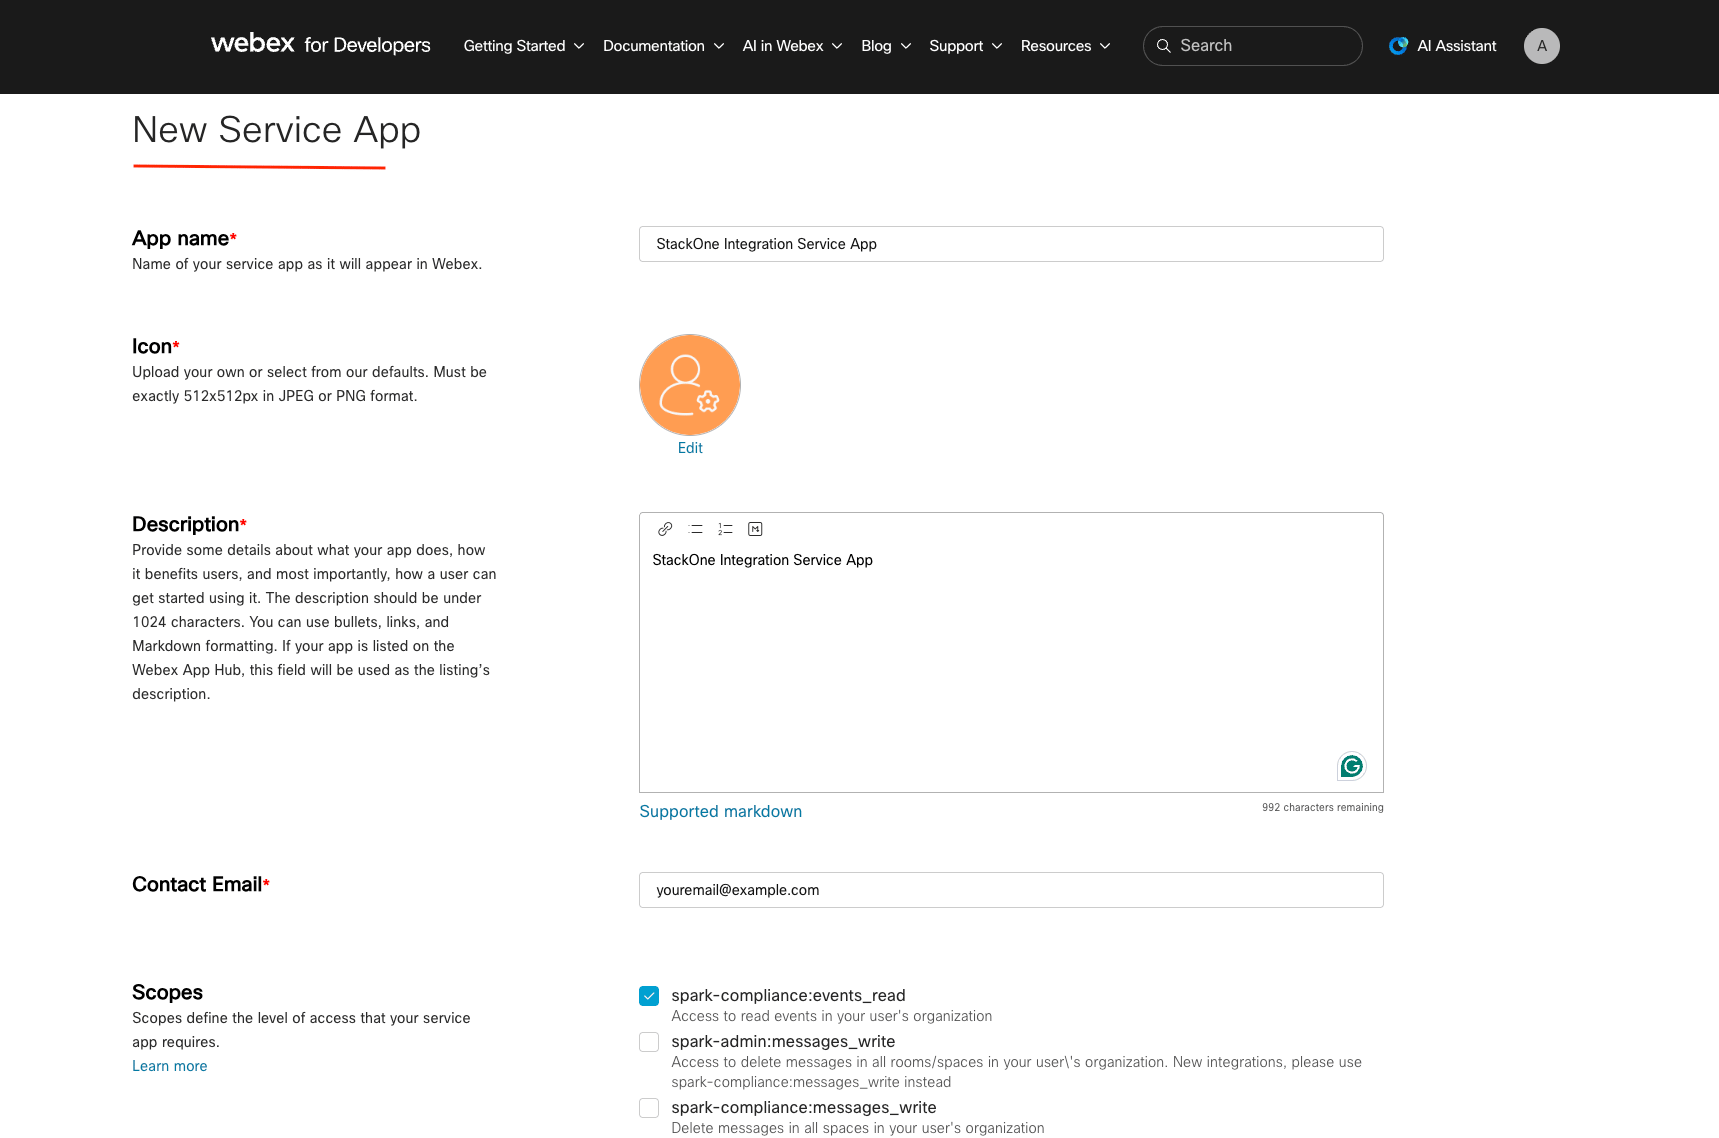
Complete the New Service App form. Admins see these details in Control Hub when they authorize the app.
- App name: the name your Service App shows in Webex
- Icon: upload your own or keep a default
- Description: what the app does and how your organization uses it
- Contact Email: the email address admins can contact about the app
Select the scopes
In Scopes on the same form, select the scopes the connector’s actions need, then create the app. Request only these, so the admin can see exactly what access the app is granted.
- Scopes starting with
spark-compliance:need a Full Admin who also has the Compliance Officer role to authorize the app. - Scopes starting with
meeting:admin_need a Webex Meetings site in your organization. Without one, Control Hub cannot authorize the app, so leave these scopes out if your organization has no Webex Meetings subscription. The meeting actions then do not work with this connection.
Copy the client credentials
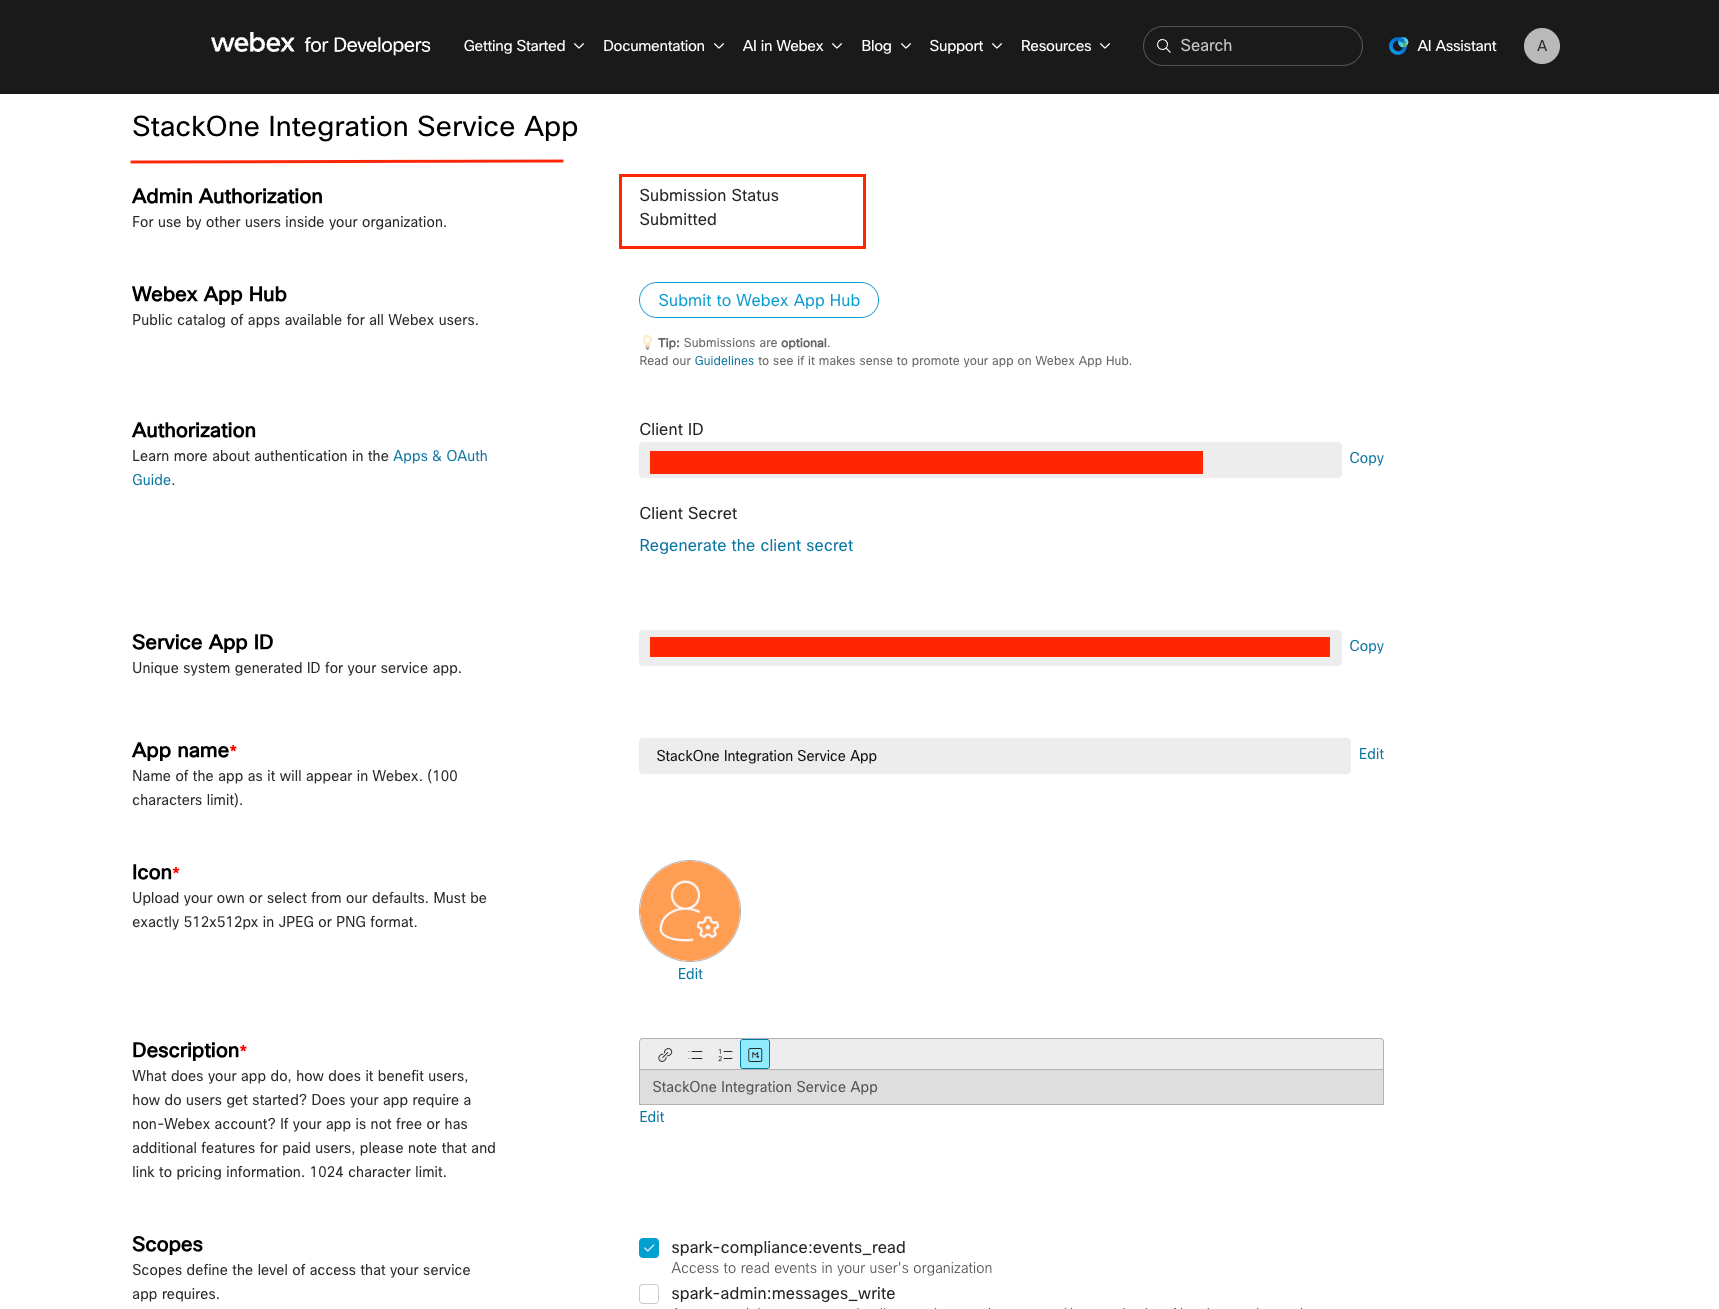
The app’s page opens after it is created. Under Authorization, it shows the Client ID and Client Secret.
- Click Copy next to the Client ID and paste it into the Client ID field when you connect your account.
- Copy the Client Secret and paste it into the Client Secret field when you connect your account.
- The Client Secret is shown only once. If you lose it, click Regenerate the client secret on the app’s page.
Request admin authorization
On the app’s page, click Request Admin Authorization. Under Admin Authorization, the Submission Status changes to Submitted, and the app appears in your organization’s Control Hub, where a Full Admin can authorize it.
Authorizing the Service App
A Full Admin of your organization authorizes the app in Control Hub. Other admin roles do not see Apps in Control Hub.
Authorize the app
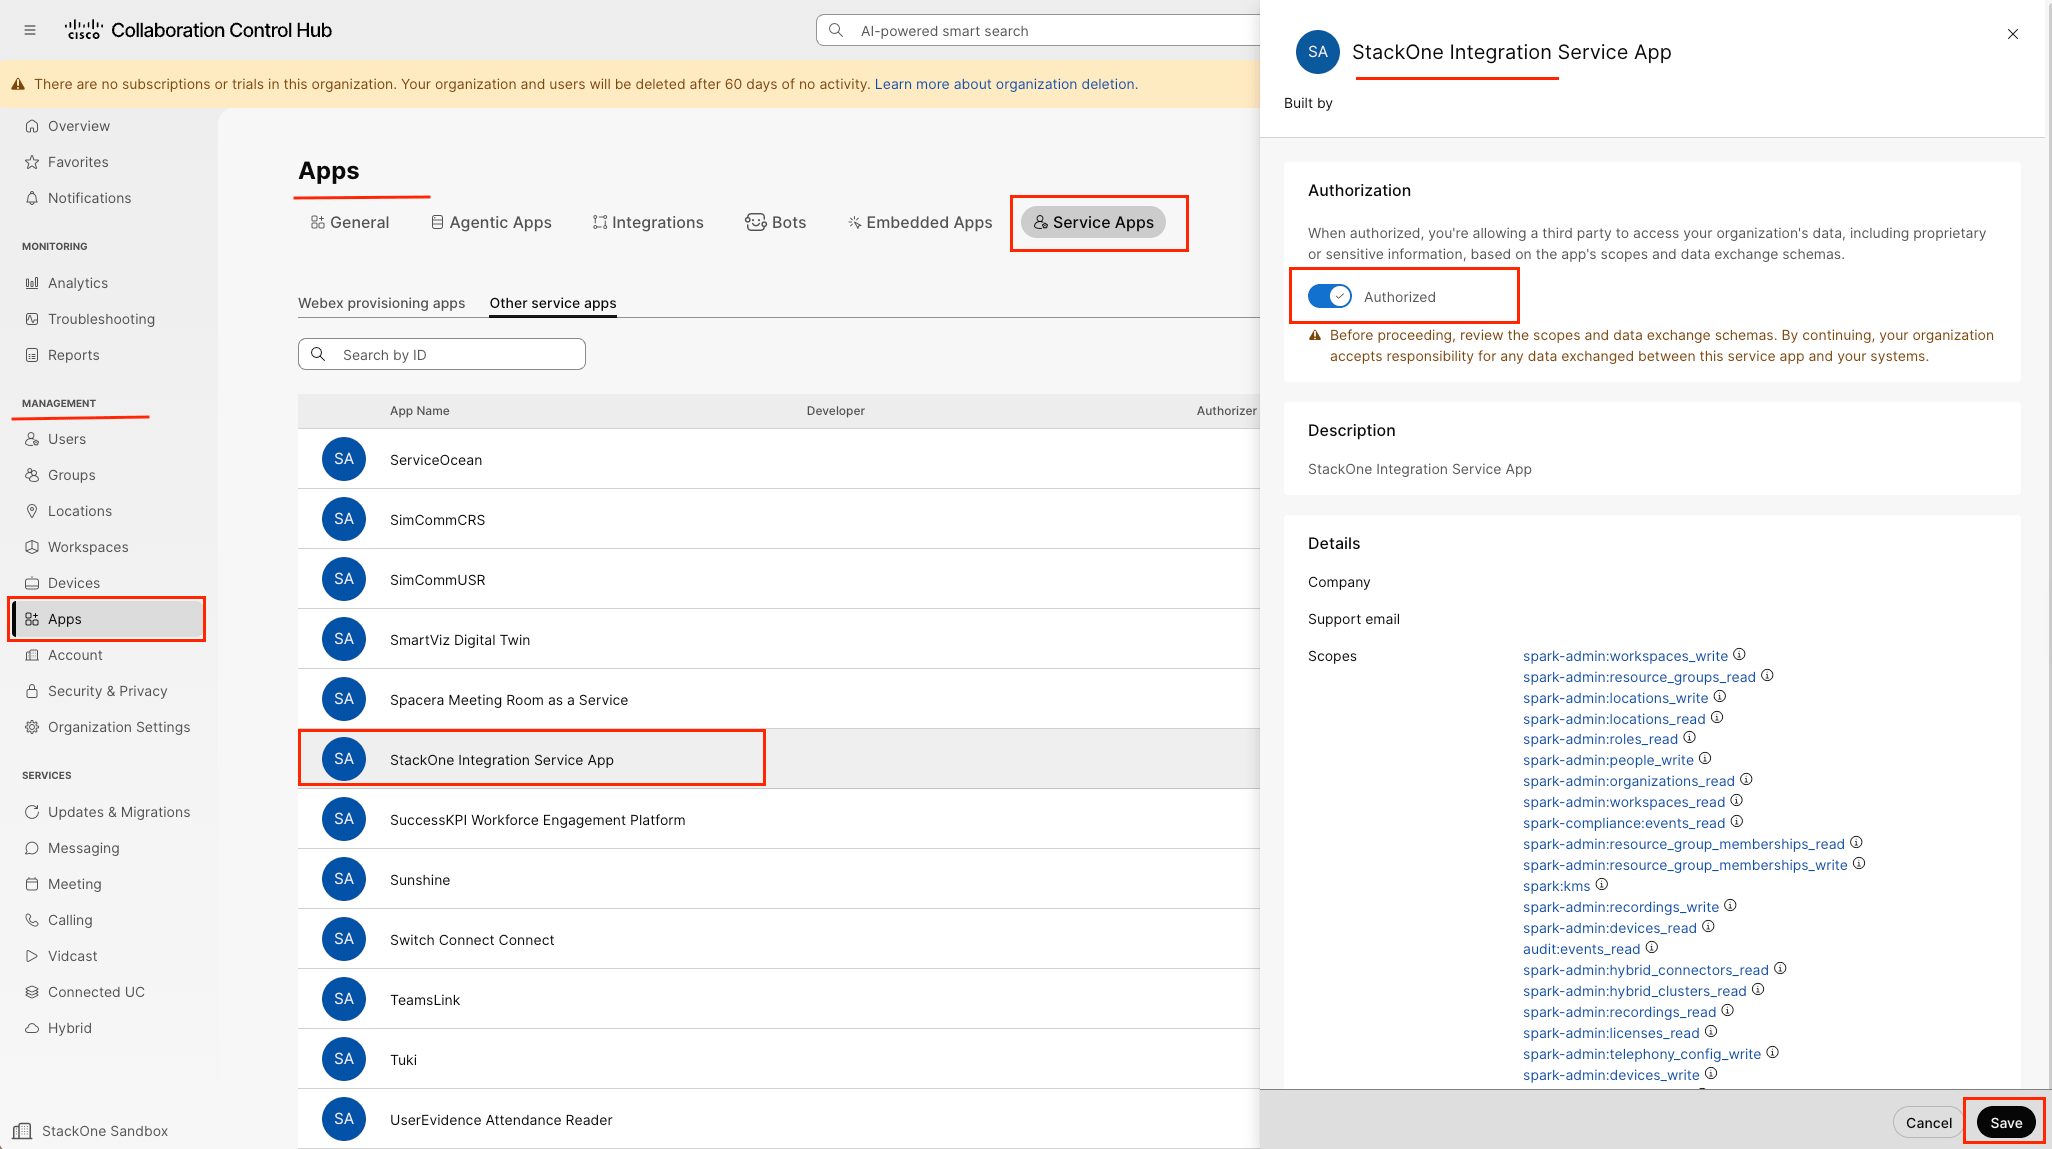
Sign in to your organization’s Webex Control Hub as a Full Admin, then go to Management > Apps.
- Open the Service Apps tab, then Other service apps.
- Click your Service App to review its description and requested scopes.
- Turn on Authorized. If the toggle is locked, the app requests
meeting:admin_scopes and your organization has no Webex Meetings site. - Click Save.
Find your refresh token
After the app is authorized, retrieve the token pair for your organization from the Service App’s page in My Webex Apps.
Copy the refresh token
In the Org Authorizations section, select your organization from the drop-down list.
- Paste the app’s Client Secret into the field provided. This is the secret you copied when you registered the app; if you no longer have it, regenerate it on the app’s page.
- Retrieve the access and refresh tokens.
- Copy the refresh token and paste it into the Refresh Token field when you connect your account.
- Webex renews the refresh token each time it is used. Retrieve a new one if an admin authorizes the app again or its scopes change.
Link the Account
Connect
- Click Connect.
- If applicable, the provider will redirect you to a sign-in or authorization page. Complete the provider’s authorization flow.
- Once authorization is successful, you will see a confirmation popup.
Use Actions
Next Steps
Webhooks setup
Configure receiving Events for Webex into StackOne.