Create a Ramp developer app
Ramp uses OAuth 2.0 (Authorization Code). Register a developer app in the Ramp dashboard, add the StackOne redirect URI, enable the Authorization code grant, enable the scopes your integration needs, then copy the Client ID and Client secret.
Sign in to Ramp
Sign in to the Ramp dashboard for the environment you are connecting, as an Admin or Business Owner:
- Production — https://app.ramp.com/sign-in
- Sandbox — https://demo.ramp.com/sign-in
- Only an Admin or Business Owner can create a developer app. Create the app in the same environment you will select in StackOne.
Open the Developer Apps page
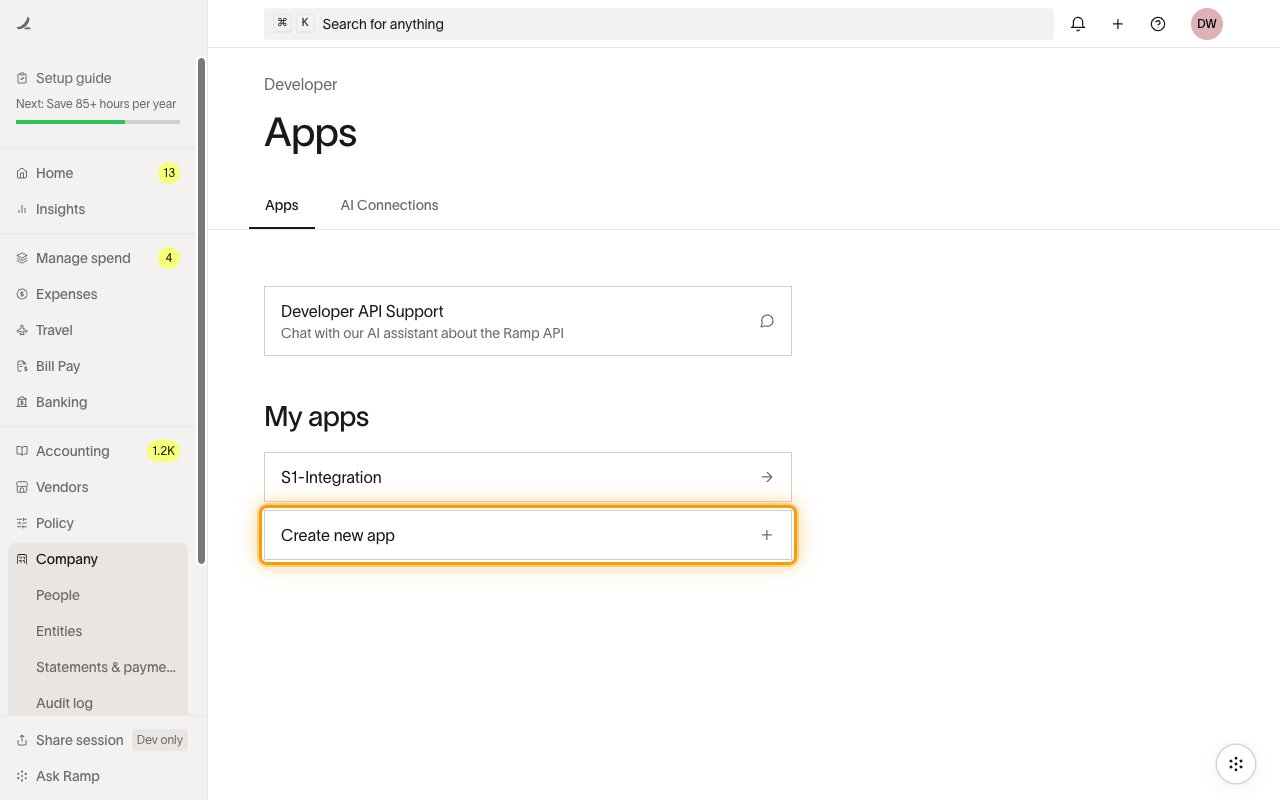
In the left sidebar, open Company and select Developer, then open the Apps tab and click Create new app.
- Tip: press ⌘ K (Search for anything) and search for Developer to jump straight to this page.
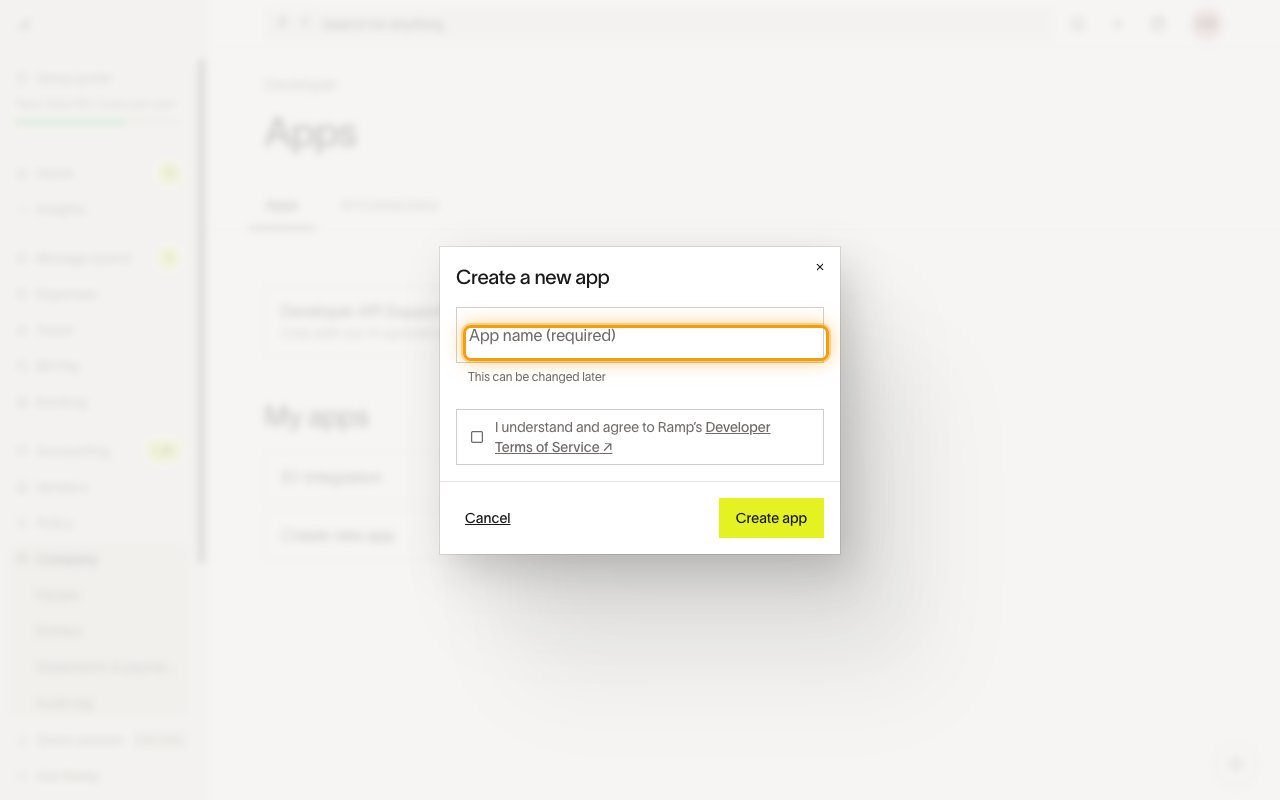
Create a new app
In the Create a new app dialog, enter an App name, check I understand and agree to Ramp’s Developer Terms of Service, then click Create app.
- Ramp may ask you to verify it’s you with a code emailed to your account — enter the code to continue.
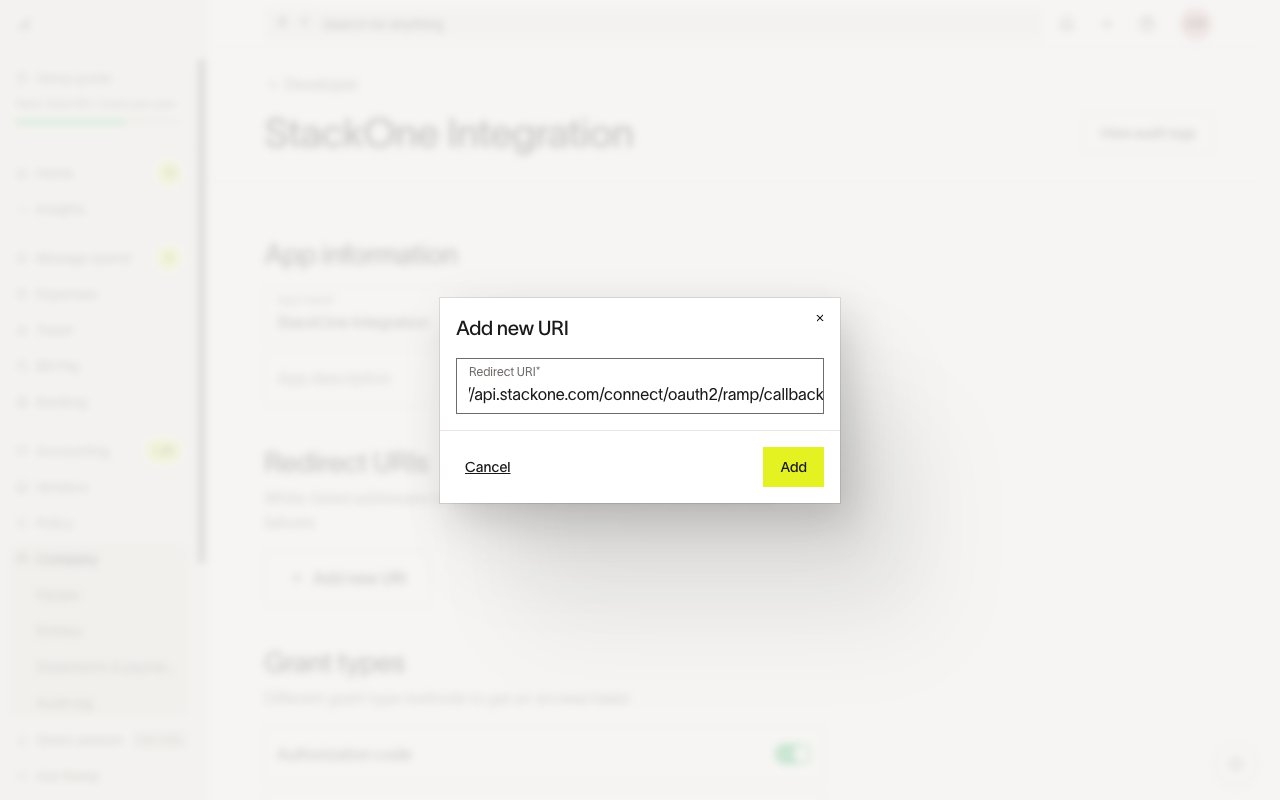
Add the redirect URI
On the app page, under Redirect URIs, click Add new URI, paste the StackOne callback URL below, then click Add.
https://api.stackone.com/connect/oauth2/ramp/callback
Enable the Authorization code grant
Under Grant types, make sure Authorization code is enabled, and keep Refresh token enabled so StackOne can refresh the access token automatically.
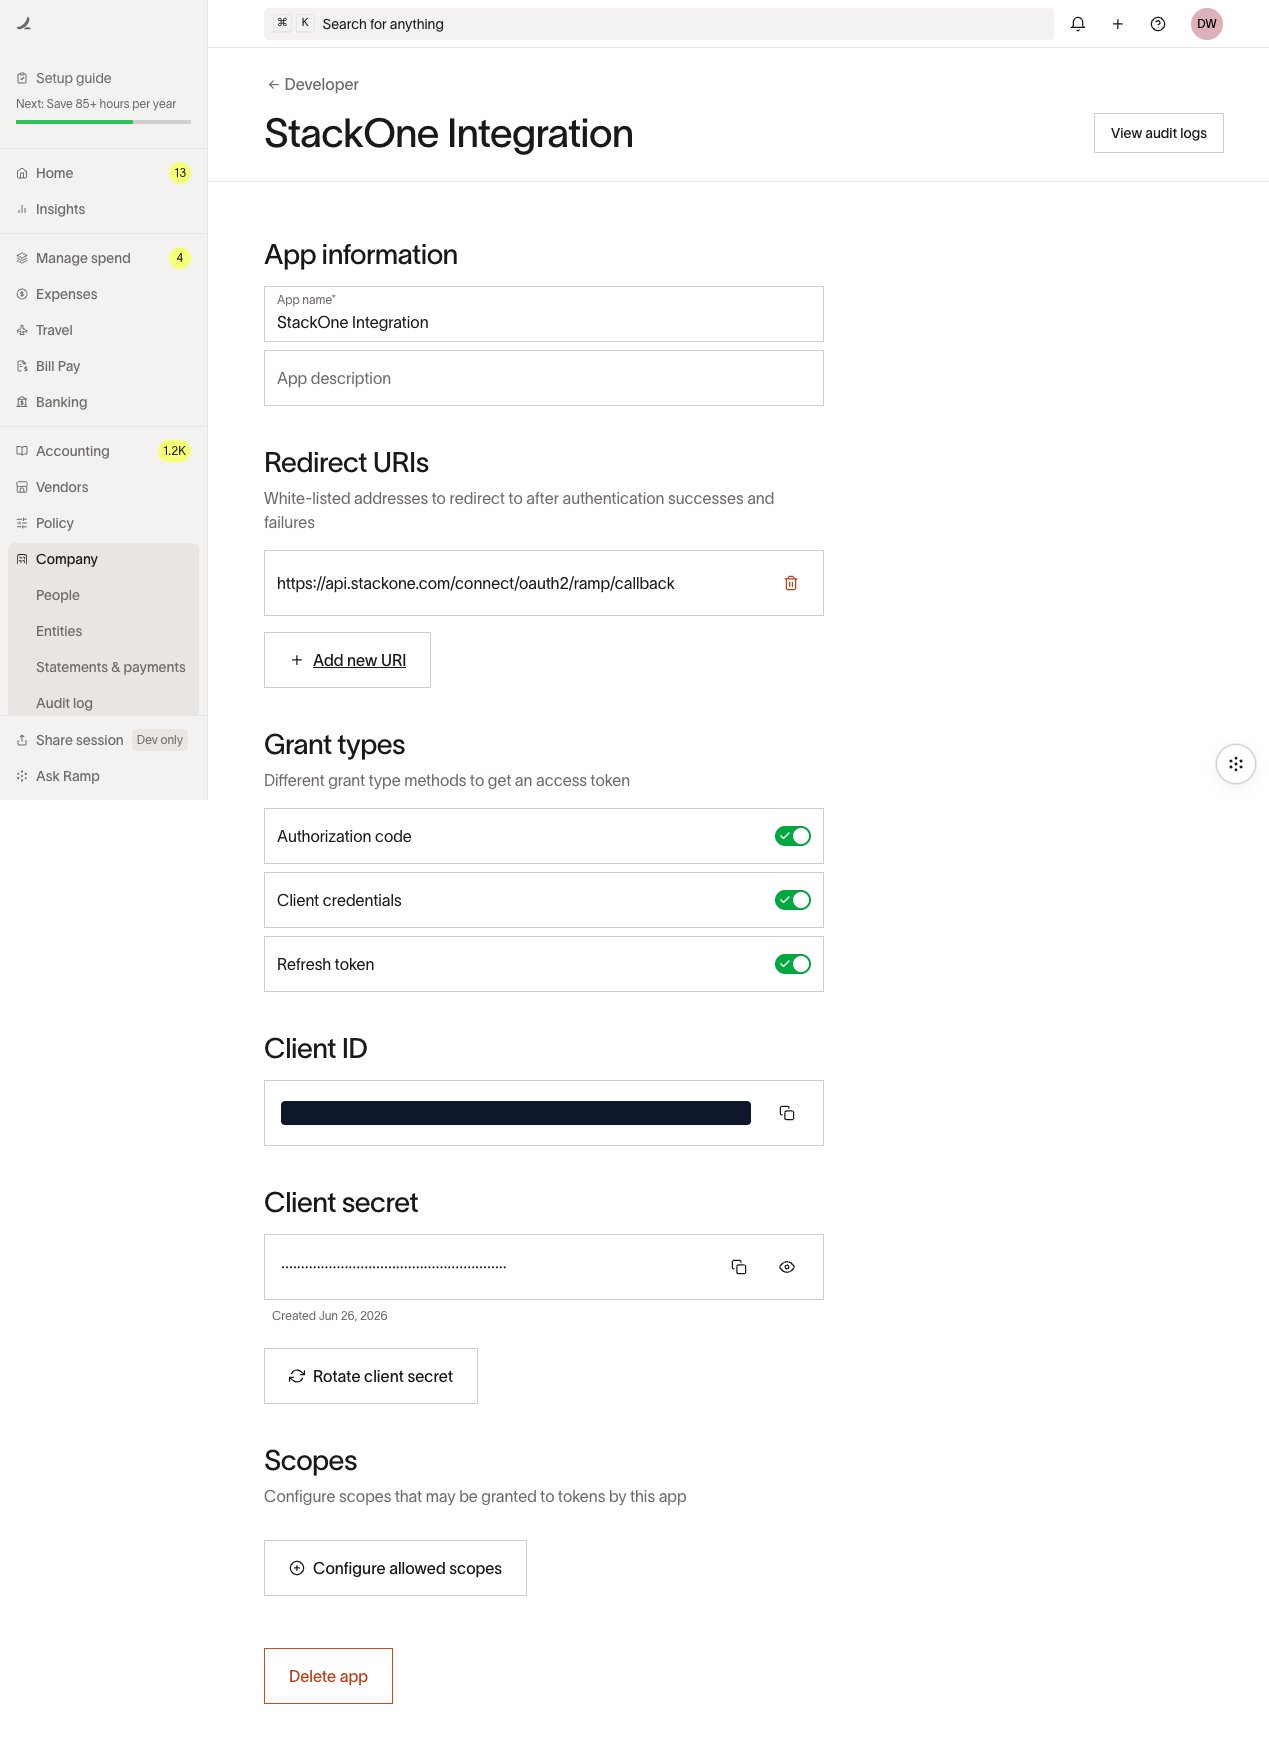
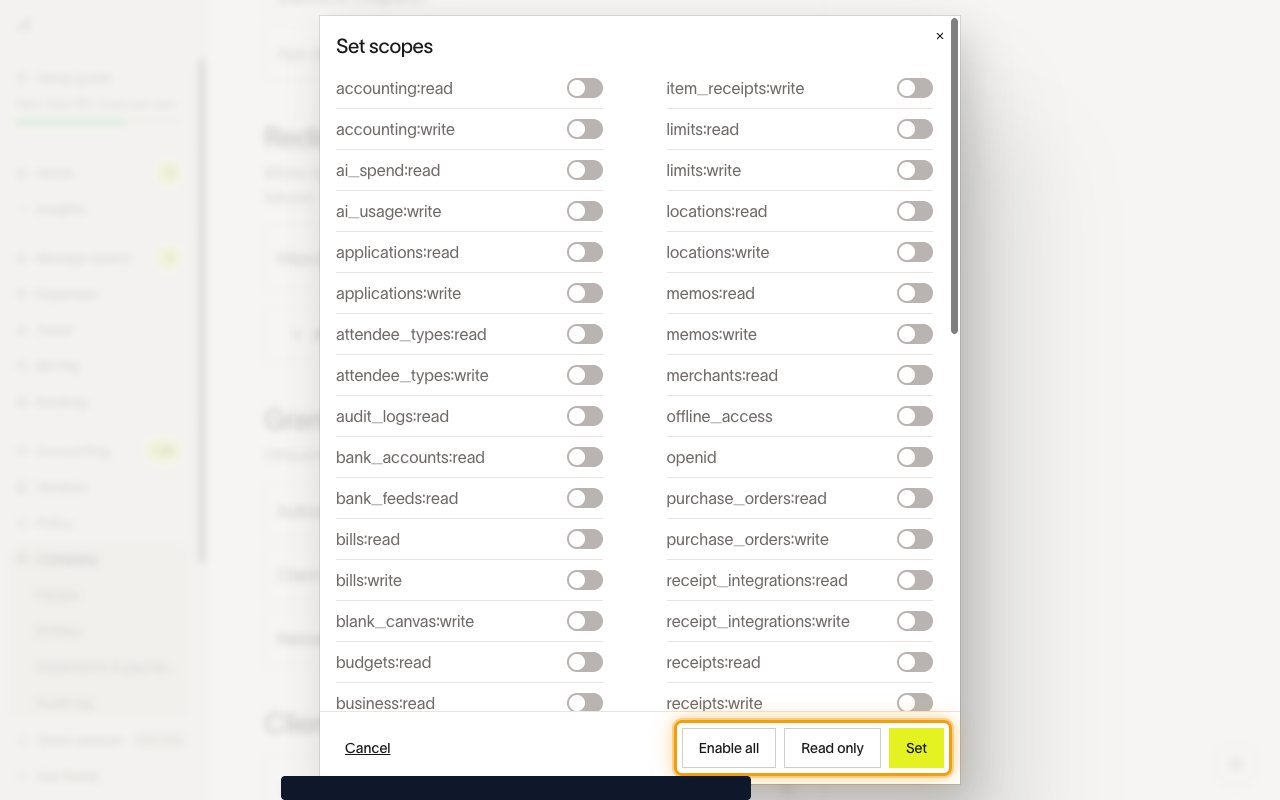
Configure allowed scopes
Under Scopes, click Configure allowed scopes. In the Set scopes dialog, enable the scopes your integration needs — click Read only to grant every read scope at once, or enable individual scopes — then click Set.
- Enable at least the scopes required by the StackOne actions you plan to use. The connector requests the scopes shown in the StackOne scope selector below.
Copy your credentials into StackOne
Back on the app page, copy these values and paste them into the matching StackOne fields:
- Environment — first select the Environment (Production or Sandbox) in the StackOne Connector Profile form. This must match the environment you created the app in, and it reveals the Client ID, Client Secret, and Scopes fields.
- Client ID — the public identifier of your Ramp app. Under Client ID, click Copy.
- Client Secret — under Client secret, click Show secret and Copy (or Rotate client secret to generate a new one). It is shown in full only when the app is created or rotated, so copy it immediately.
- Scopes (optional) — a space-separated list of scopes to request. Leave it blank to request the connector’s full scope set, or enter a subset of the scopes you enabled above.
Creating the StackOne Connector Profile
To create the Connector Profile in StackOne for Ramp:Navigate to Connector Profiles
Create New Connector Profile
- Click + Connector Profile
- Search for and select Ramp
- Select Type as OAuth 2.0
- Fill out the fields using details retrieved from your provider:
- Client ID
- Client Secret
- Scopes (Optional)
- (Optional) Select Actions to be enabled for this Connector Profile
- Click Create profile