Create a GoCardless access token
GoCardless authenticates API requests with a Bearer access token created from the dashboard.
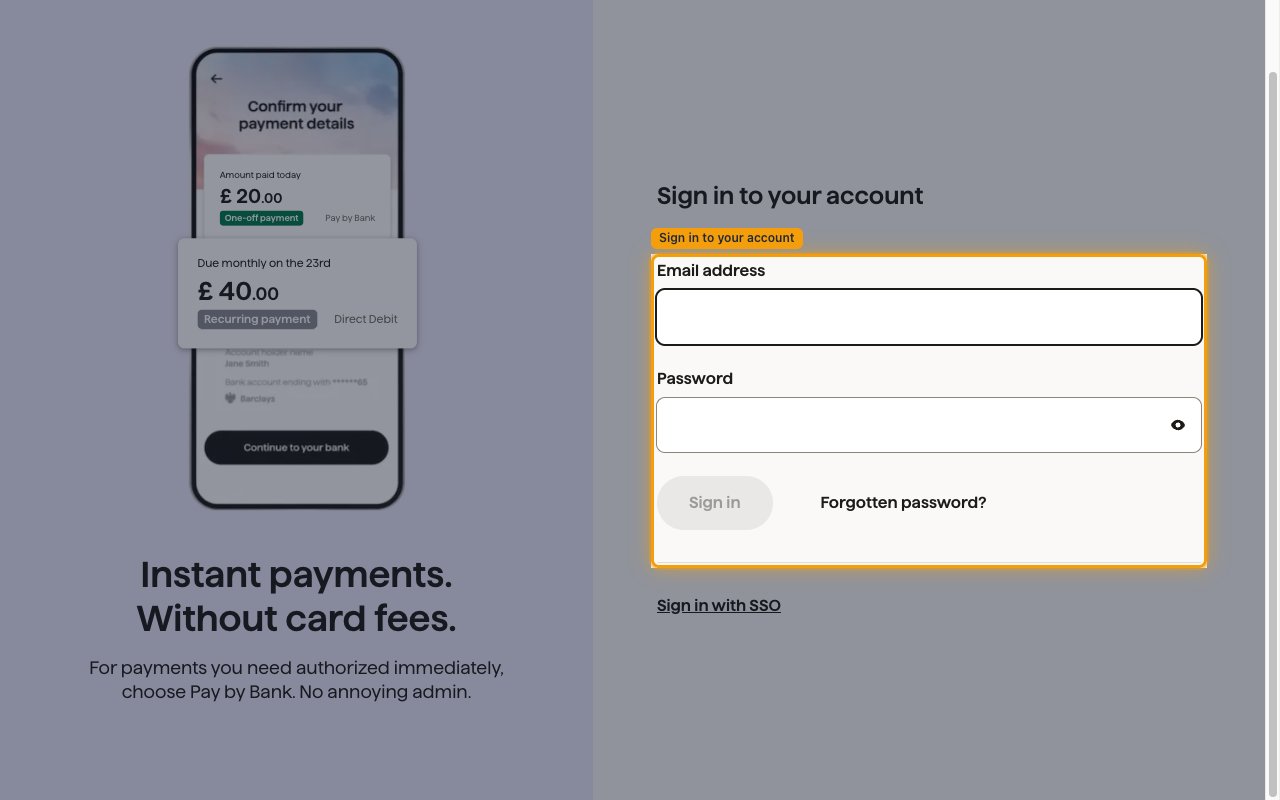
Sign in to GoCardless
Sign in to the GoCardless dashboard for the environment you are connecting:
- Production — GoCardless dashboard sign-in; live tokens start with
live_ - Sandbox — GoCardless sandbox dashboard sign-in; sandbox tokens start with
sandbox_ - Create the token in the same environment you will select in StackOne Hub — tokens only work in the environment they were created in.
Open API settings
In the left sidebar, click Developers, then select API settings. The Access tokens section lists your existing tokens.
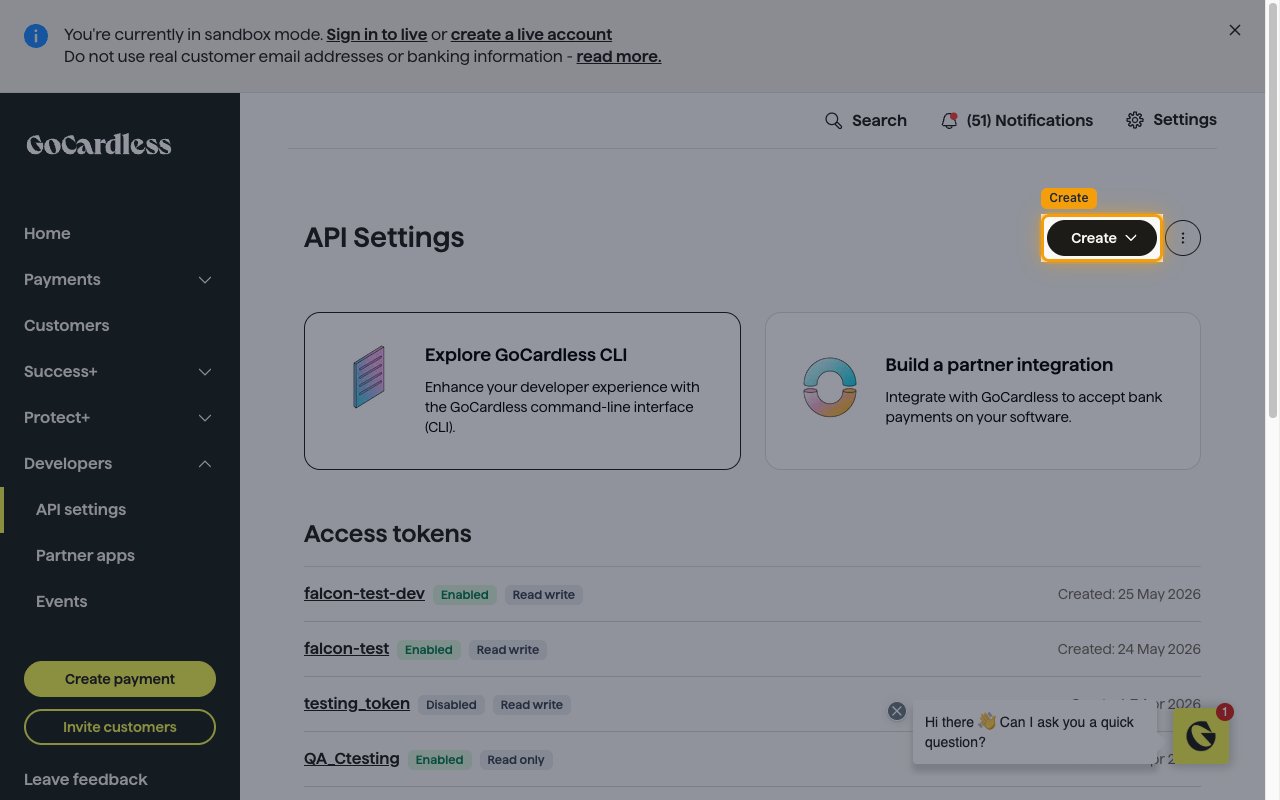
Create an access token
On the API Settings page, click the Create dropdown in the top right corner, then select Access token from the menu.

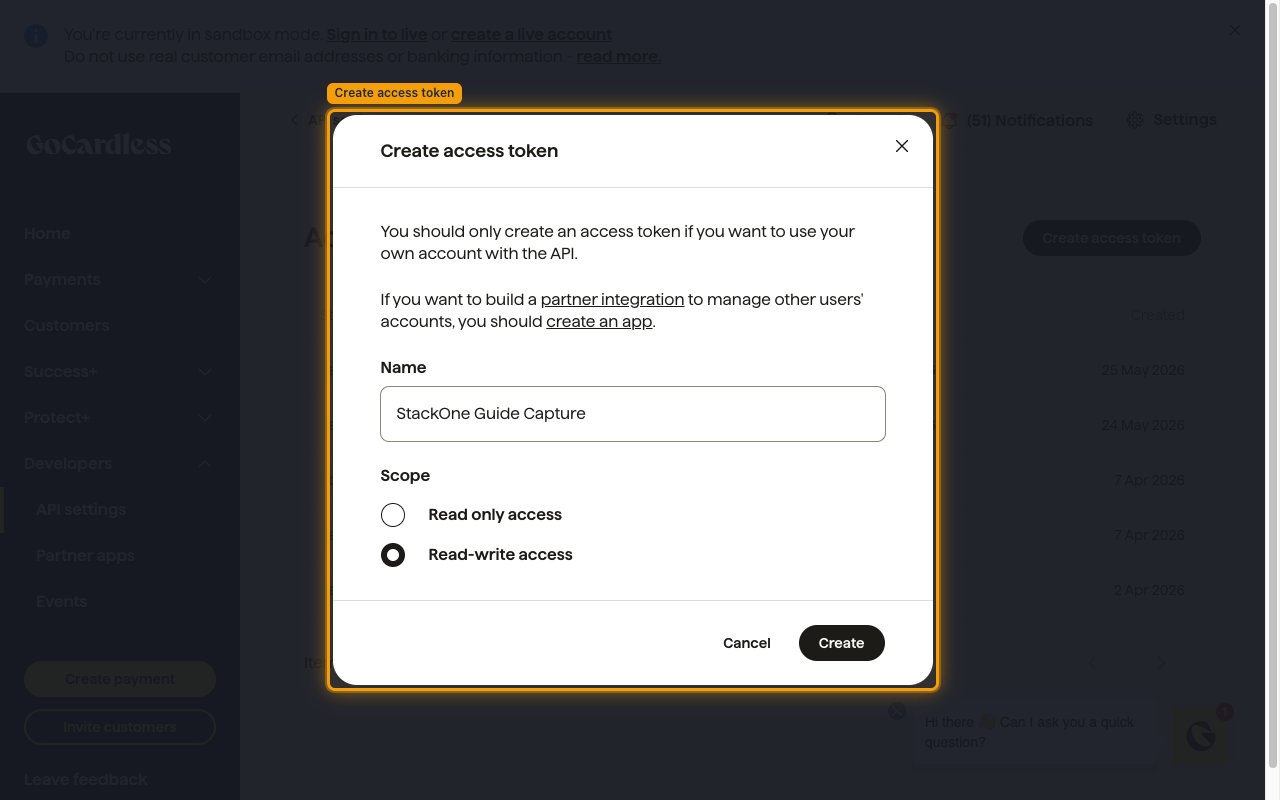
Configure the token
In the Create access token dialog, provide the token details, then click Create:
- Name — enter a descriptive name for the token (for example,
StackOne Integration). - Scope — select Read-write access for full API access (required to create, update, and cancel payments, mandates, subscriptions, and customers), or Read only access if you only need read operations.
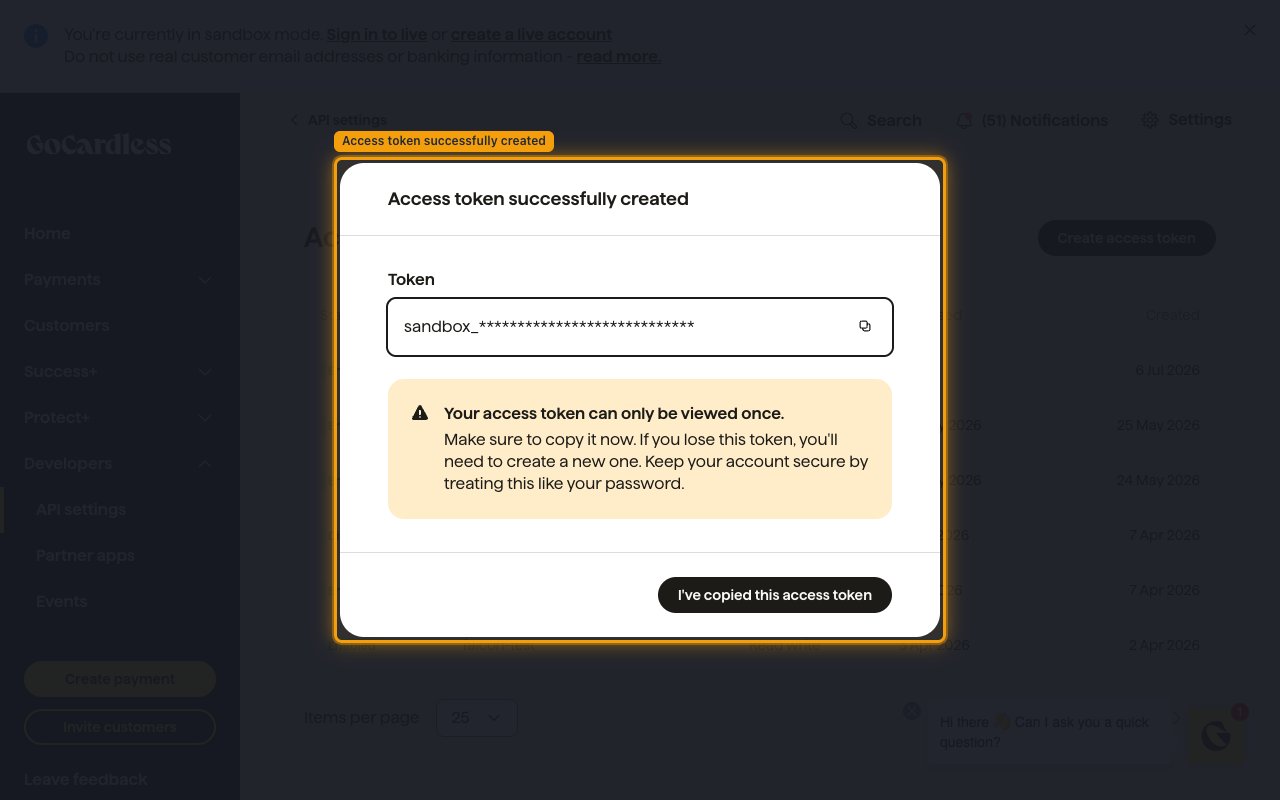
Copy the access token
An Access token successfully created dialog appears with your new token in the Token field. The dialog warns: Your access token can only be viewed once.
- The token cannot be retrieved after this dialog is closed — copy it immediately and store it securely.
- Paste the copied value into the Access Token field in StackOne Hub.
- Click I’ve copied this access token to dismiss the dialog.
Linking the Account from the Hub
Navigate to the Hub
Fill out the fields
- Access Token
Connect
- Click Connect
- If applicable, the provider will redirect you to a sign-in or authorization page. Complete the provider’s authorization flow.
- Once authorization is successful, you will see a confirmation popup
If the account linking is successful, you will see the newly linked account in your Accounts page.