Sign in to Dayforce
The connector needs four values — Host, Client Namespace, Username, and Password. Your Username and Password come from a dedicated Web Services user you create; Host and Client Namespace identify your tenant. All steps below are performed by a System Administrator using your existing Dayforce sign-in, provided by your organization — not the Web Services account you create below.
Open the Dayforce login page
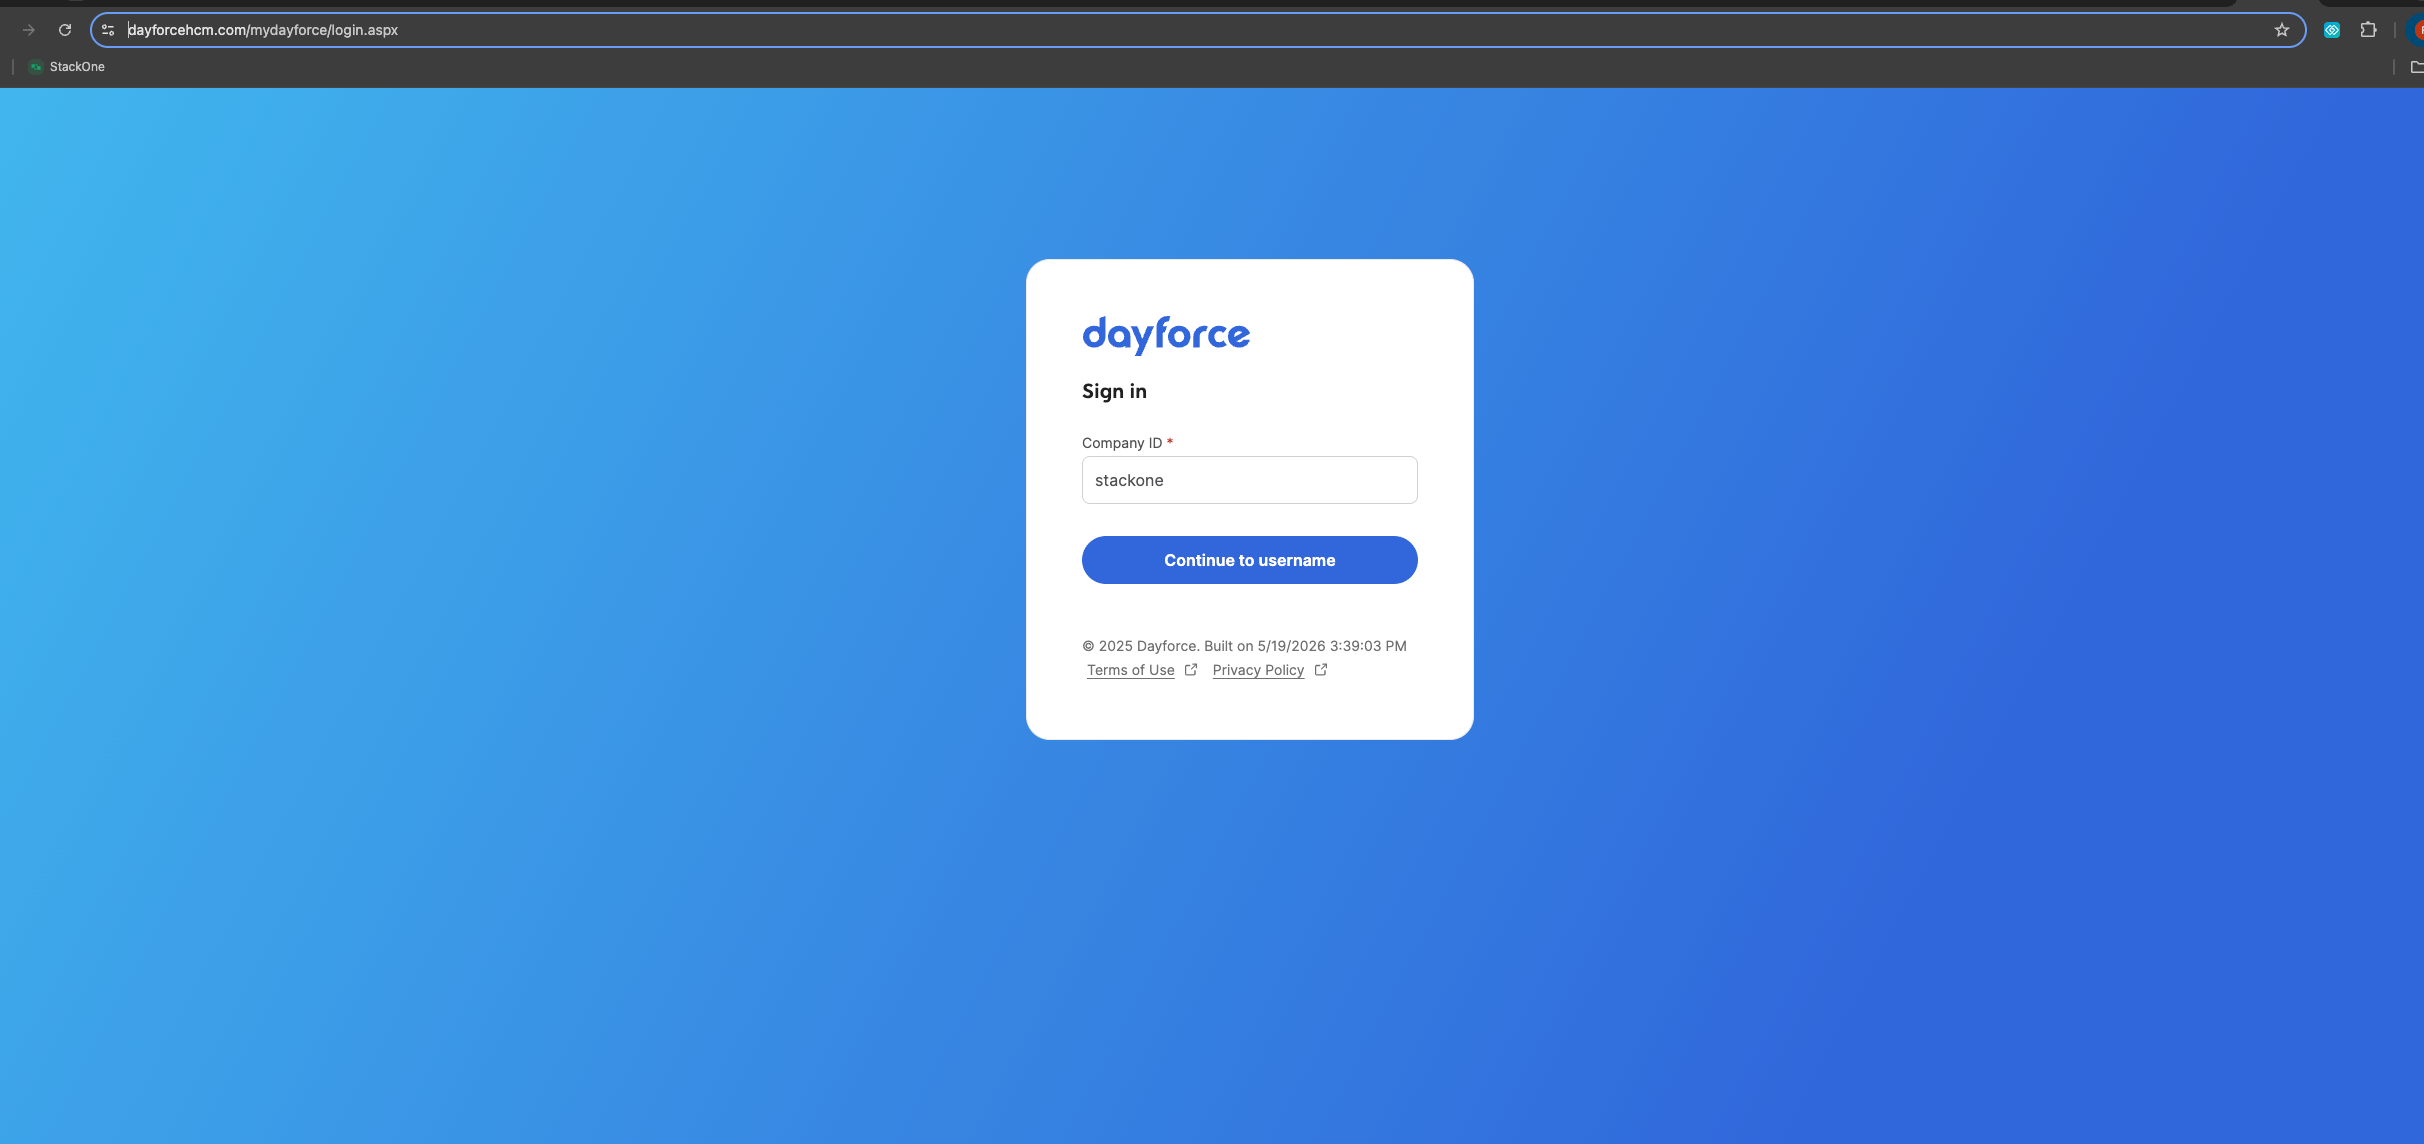
Enter your Company ID
Enter your Company ID, then click Continue to username.
- Your Company ID is your Dayforce tenant identifier — the same value as the Client Namespace you collect later (found in Company > Settings > General).
- It is assigned when your organization is provisioned; if you do not know it, your organization’s Dayforce administrator can provide it.
Enter your username and password
Enter your Dayforce username and password to sign in.
- These are your own existing Dayforce account credentials, not the Web Services account you create below.
- If you do not have a Dayforce login or System Administrator access, request it from your organization’s Dayforce administrator.
Get your Username and Password
Your Username and Password are a dedicated Web Services user account. Create a role scoped to the actions you use, then create the user and assign that role. Enable only what is required — granting more access than necessary is a security risk; never reuse an employee or admin account.
Name the role
Go to System Admin > Roles and create a new role. On the General tab, give it a unique Name and Reference Code (avoid spaces and special characters), and attach your Web Services Password Policy.
- Do not rename the role once it is used by the integration — this can break the connection.
Enable features
On the Features tab, expand HCM Anywhere > Web Services and enable only the sub-features this connector’s actions need.
- read/get (Read Data) — required for all read actions.
- post/insert and patch/update — required to create and update: employees, addresses, contacts, emergency contacts, employment statuses, work assignments, departments, org units, positions, jobs, punches, time off, and schedules.
- delete — required only for deleting punches.
Grant data authorizations
On the Authorizations tab, select only the authorizations the integration needs. Each entity offers four rights — always include Can Read alongside any write right.
- Can Read — read the entities below.
- Can Create / Can Update / Can Delete — add for the entities you write to.
- Entities: Employee Contact Information (Business + Personal), Employee Key Information, Employee Personal Information, Employee Financial / Pay Information, Employee Status Information, Employee Work Assignment (Primary + Secondary), Employee Properties (custom fields), and User Information.
Set Web Services field-level access
On the Web Services Field-Level Access tab, configure which fields are returned for read calls. Expand RESTful Services > Human Resources > Employee. Enable only the fields the integration needs — enabling every field is a security risk. To select a group, click the entity name (not its checkbox), then Select All.
- Enable XRefCode (required to return the employee identifier).
- Select the field groups this connector uses: Employee managers, Employment Statuses, EmployeeWorkAssignment, EmployeeCompensation, Contacts, Addresses, EmergencyContacts, Locations, and OrgUnitInfos — including their EffectiveStart and EffectiveEnd fields.
- Enable Configuration > Location (used by Departments, OrgUnits, Positions, and Jobs).
- Enable Workforce Management > EmployeeTimeAwayFromWork (Time Off), EmployeePunches, and EmployeeSchedules.
- Enable EmployeePropertyValue (custom fields).
Create the user and assign the role
Go to System Admin > User and create a new account. On the Properties tab, create and enable the account, then attach the role you built.
- User Name: a unique name (avoid spaces and special characters) — enter the same value in the connector Username field.
- Ensure the account is active/enabled.
- Set a Password that conforms to the role’s password policy, then enter it in the connector Password field and store it securely.
- Assign the Web Services role and make it the user’s default role — Dayforce evaluates features, authorizations, and field-level access against the default role.
Grant location access
On the user’s Location Access tab, give access to only the locations (employee population) the integration needs. Avoid granting whole-organization access when a subset is enough.
- Add the location(s) covering the employees the integration must access, and check Primary.
- Set a Start Date (Dayforce recommends
1/1/1950).
Get your Host and Client Namespace
These two values identify your Dayforce tenant. A Dayforce API URL is built as <scheme>://<host>/<service>/<namespace>/<version>/<resource> — for example https://test.dayforcehcm.com/Api/CompanyName/V1/Employees.
Find your Client Namespace
The Client Namespace (your CompanyId) identifies your Dayforce tenant.
- Go to Company > Settings > General and copy the Client Namespace value.
- It also appears in your API URL — example: in
https://usconfig261.dayforcehcm.com/Api/acmecorp/V1/...the namespace isacmecorp.
Find your Host
Your host is the subdomain only — the connector appends .dayforcehcm.com automatically, so do not include it. Because Dayforce assigns each tenant to a specific data center, confirm the exact host rather than guessing.
- Open
https://www.dayforcehcm.com/Api/{clientNamespace}/V1/ClientMetadatain a browser (replace{clientNamespace}with your namespace). The returnedServiceUricontains your tenant’s real base URL. - Take the subdomain before
.dayforcehcm.comfrom thatServiceUri. - Example: if your
ServiceUriishttps://ustest261-services.dayforcehcm.com/..., your host isustest261-services.
Optional: Get Sample credentials for testing
To try the connector without a live tenant, use the shared Sample credentials from the Dayforce Developer Portal instead of your own tenant. Only the Sample environment provides shared credentials — every other environment requires the Web Services user above.
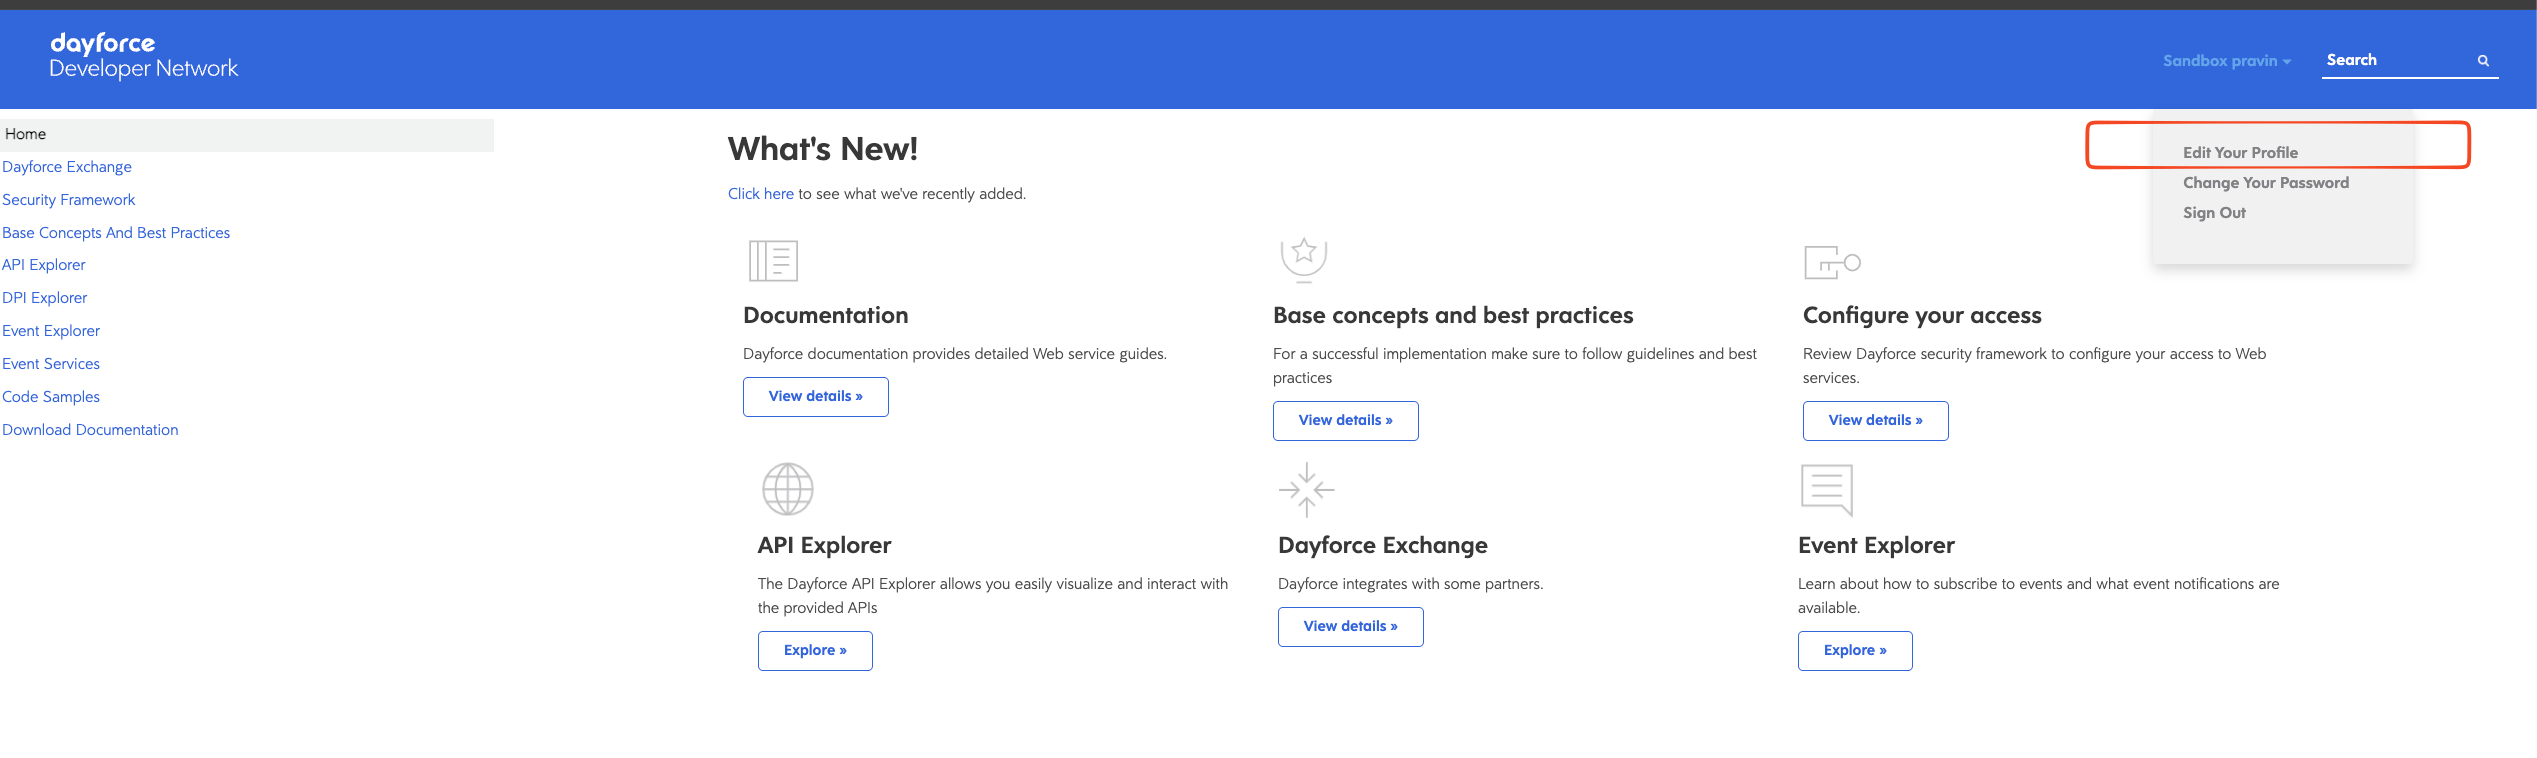
Open Edit Your Profile
Sign in to the Dayforce Developer Network, then select your account name in the top-right corner and choose Edit Your Profile.
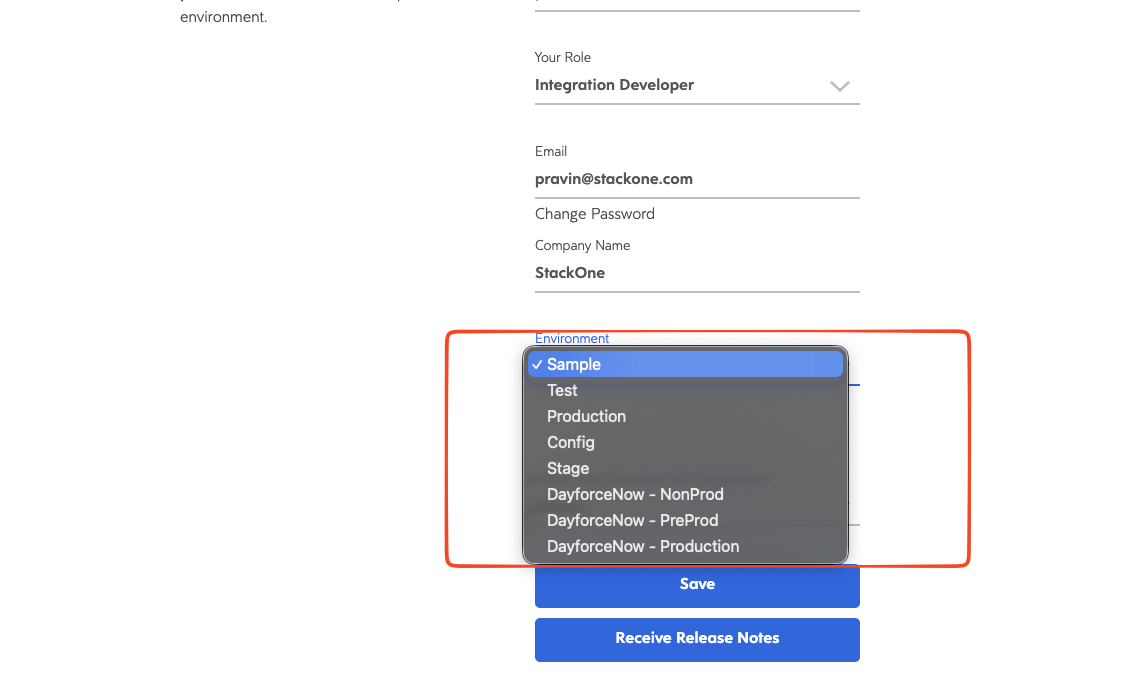
Set the environment to Sample
On the Edit Your Profile page, ensure the environment is set to Sample.
- If the Environment is already set to Sample, no changes are needed — skip to the next step.
- Otherwise, open the Environment dropdown, choose Sample, and click Save.
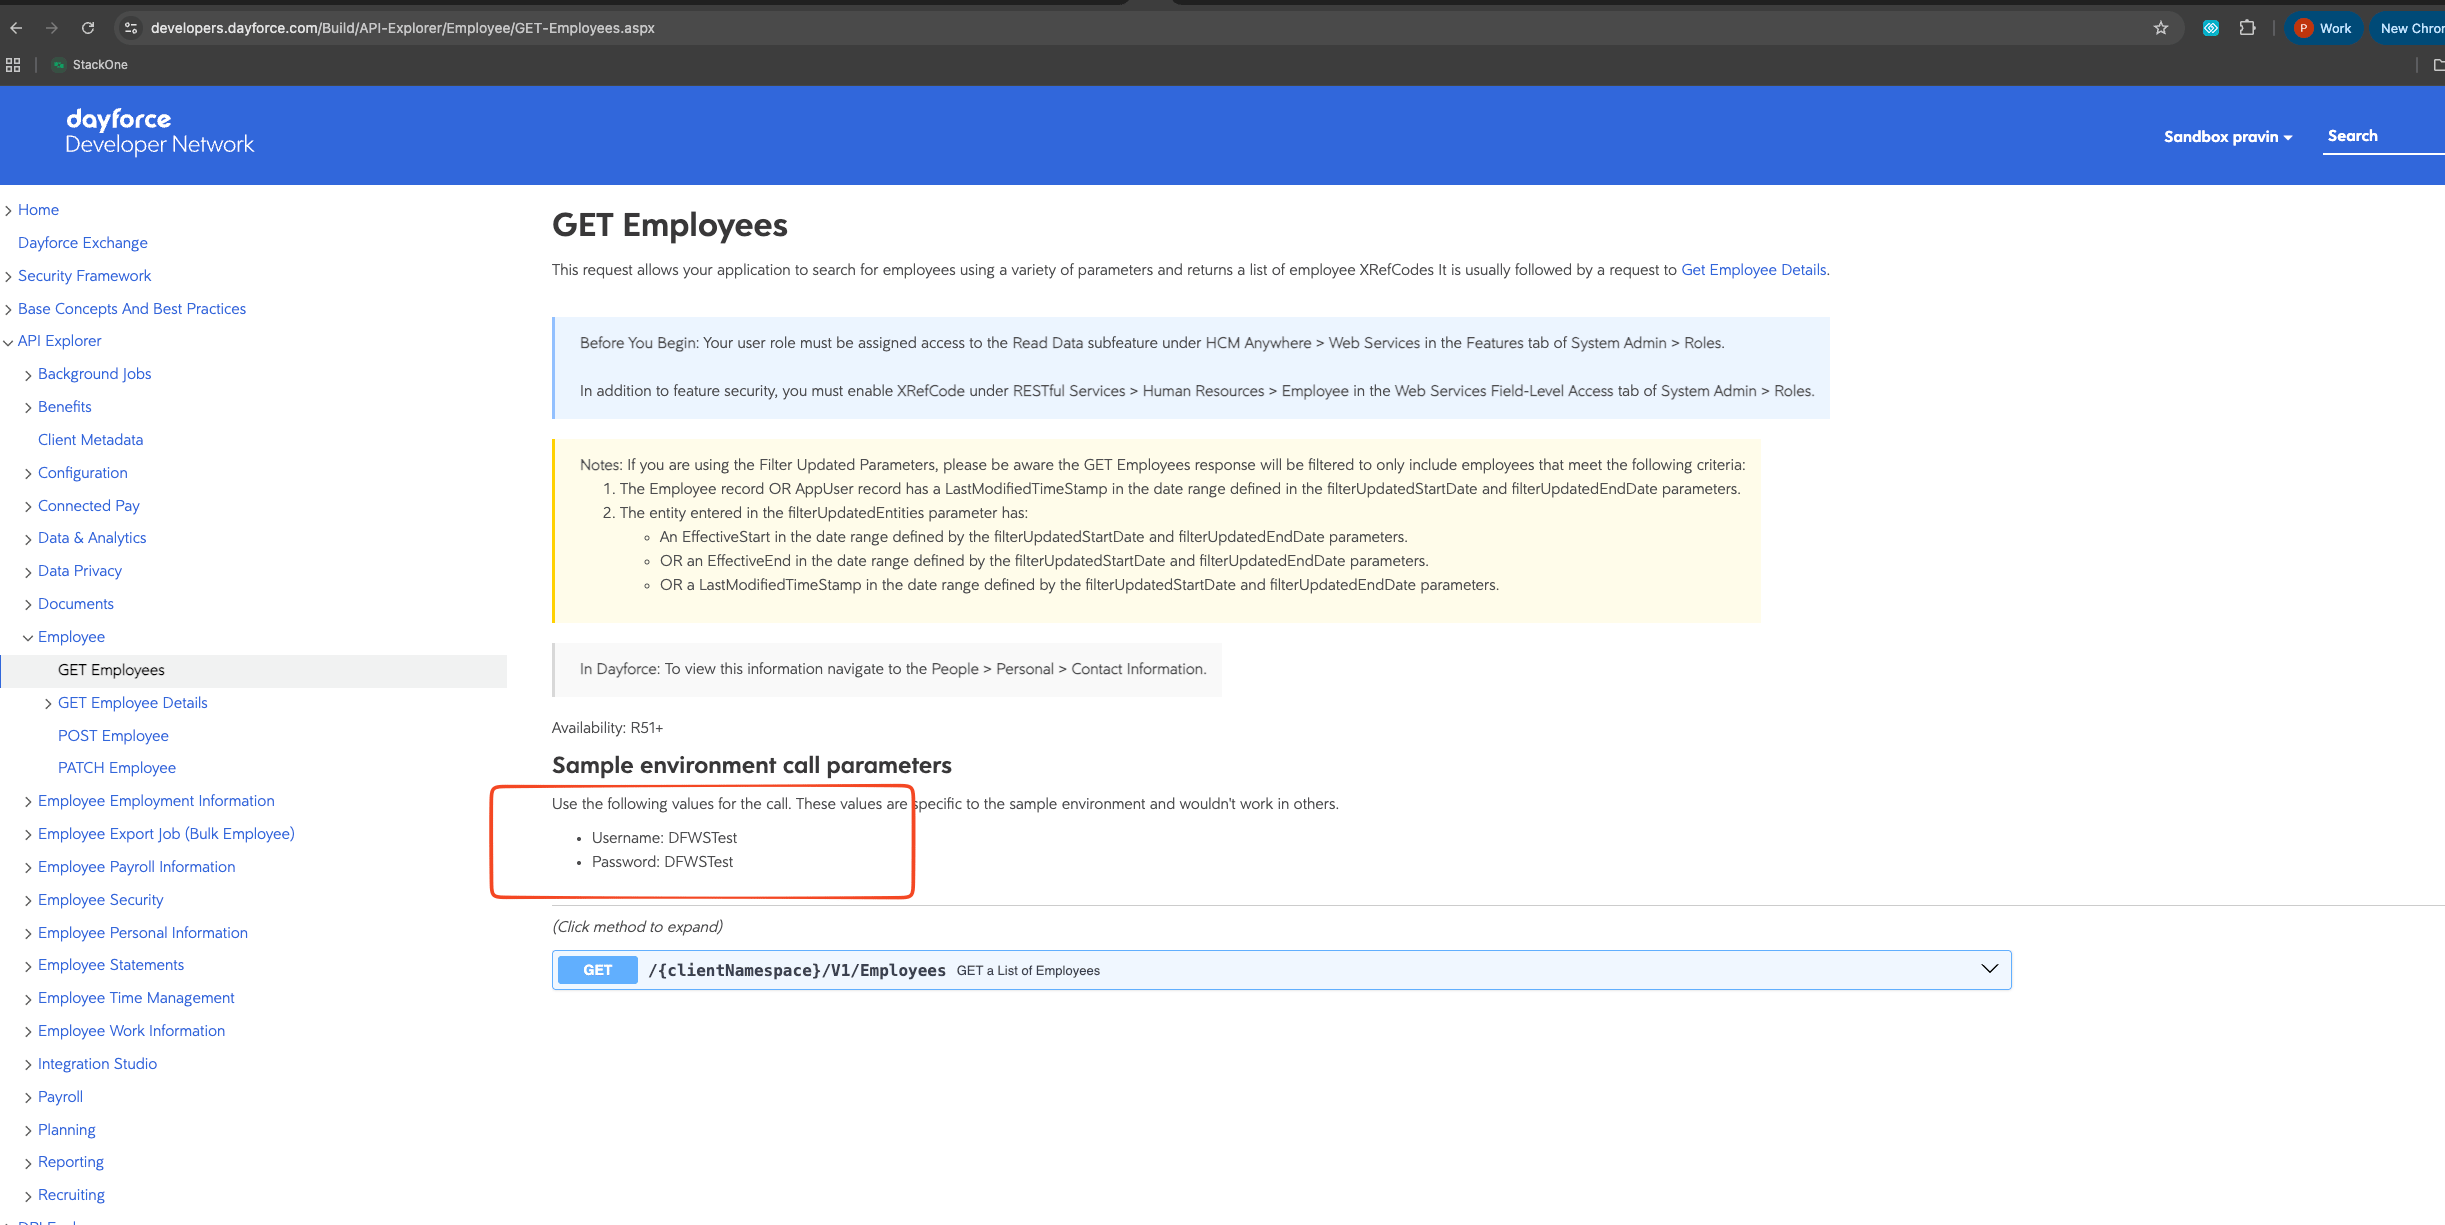
Open the GET Employees request page
In the left-hand navigation, expand API Explorer > Employee and open GET Employees.
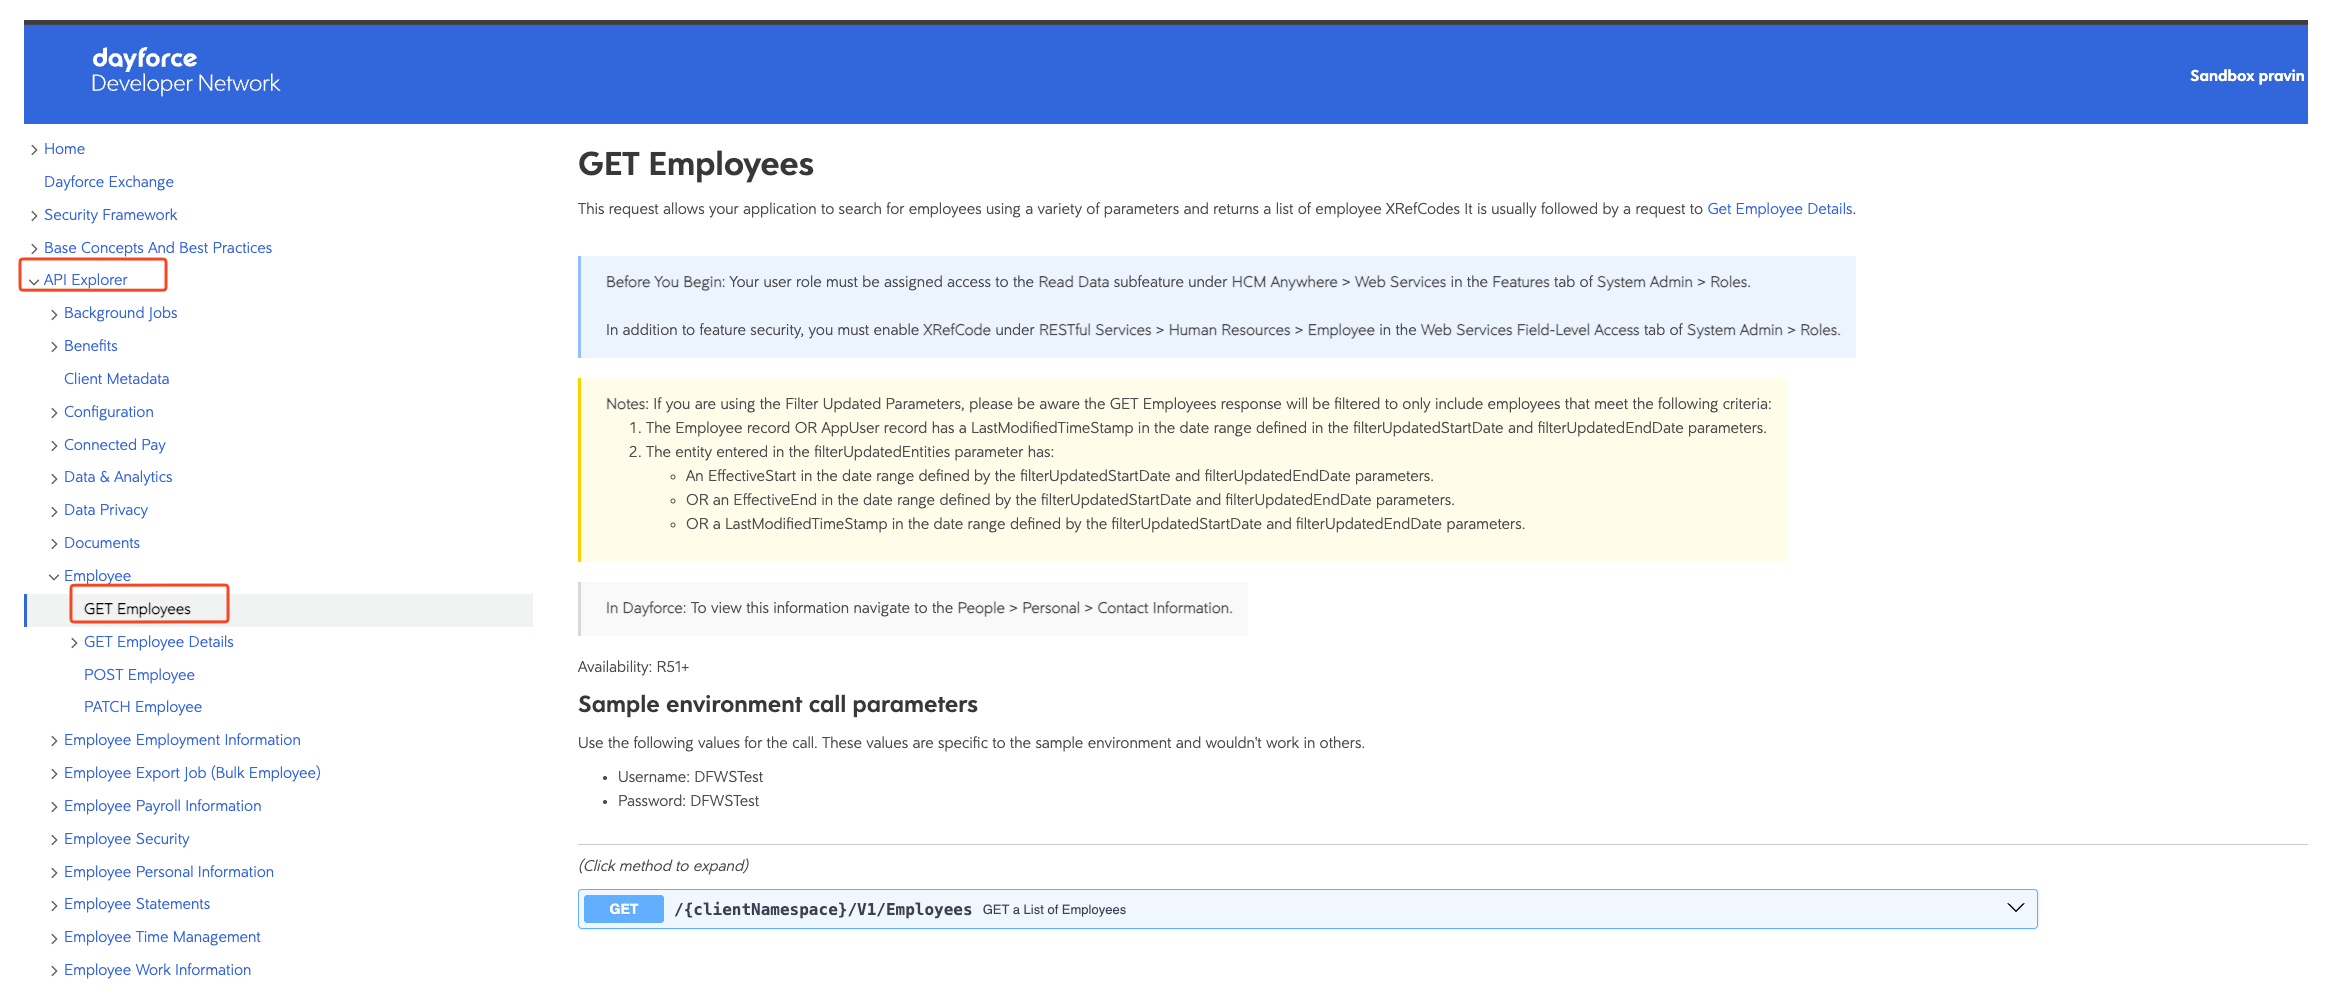
Copy the sample Username and Password
On the GET Employees page, find the Sample environment call parameters box, which lists the shared Web Services credentials. These are both your connector Username and Password and the credentials you enter in the next steps.
- Copy the Username and Password listed in the box (they work only in the Sample environment).
- You will enter these in StackOne Hub’s Username and Password fields when linking your Dayforce account.
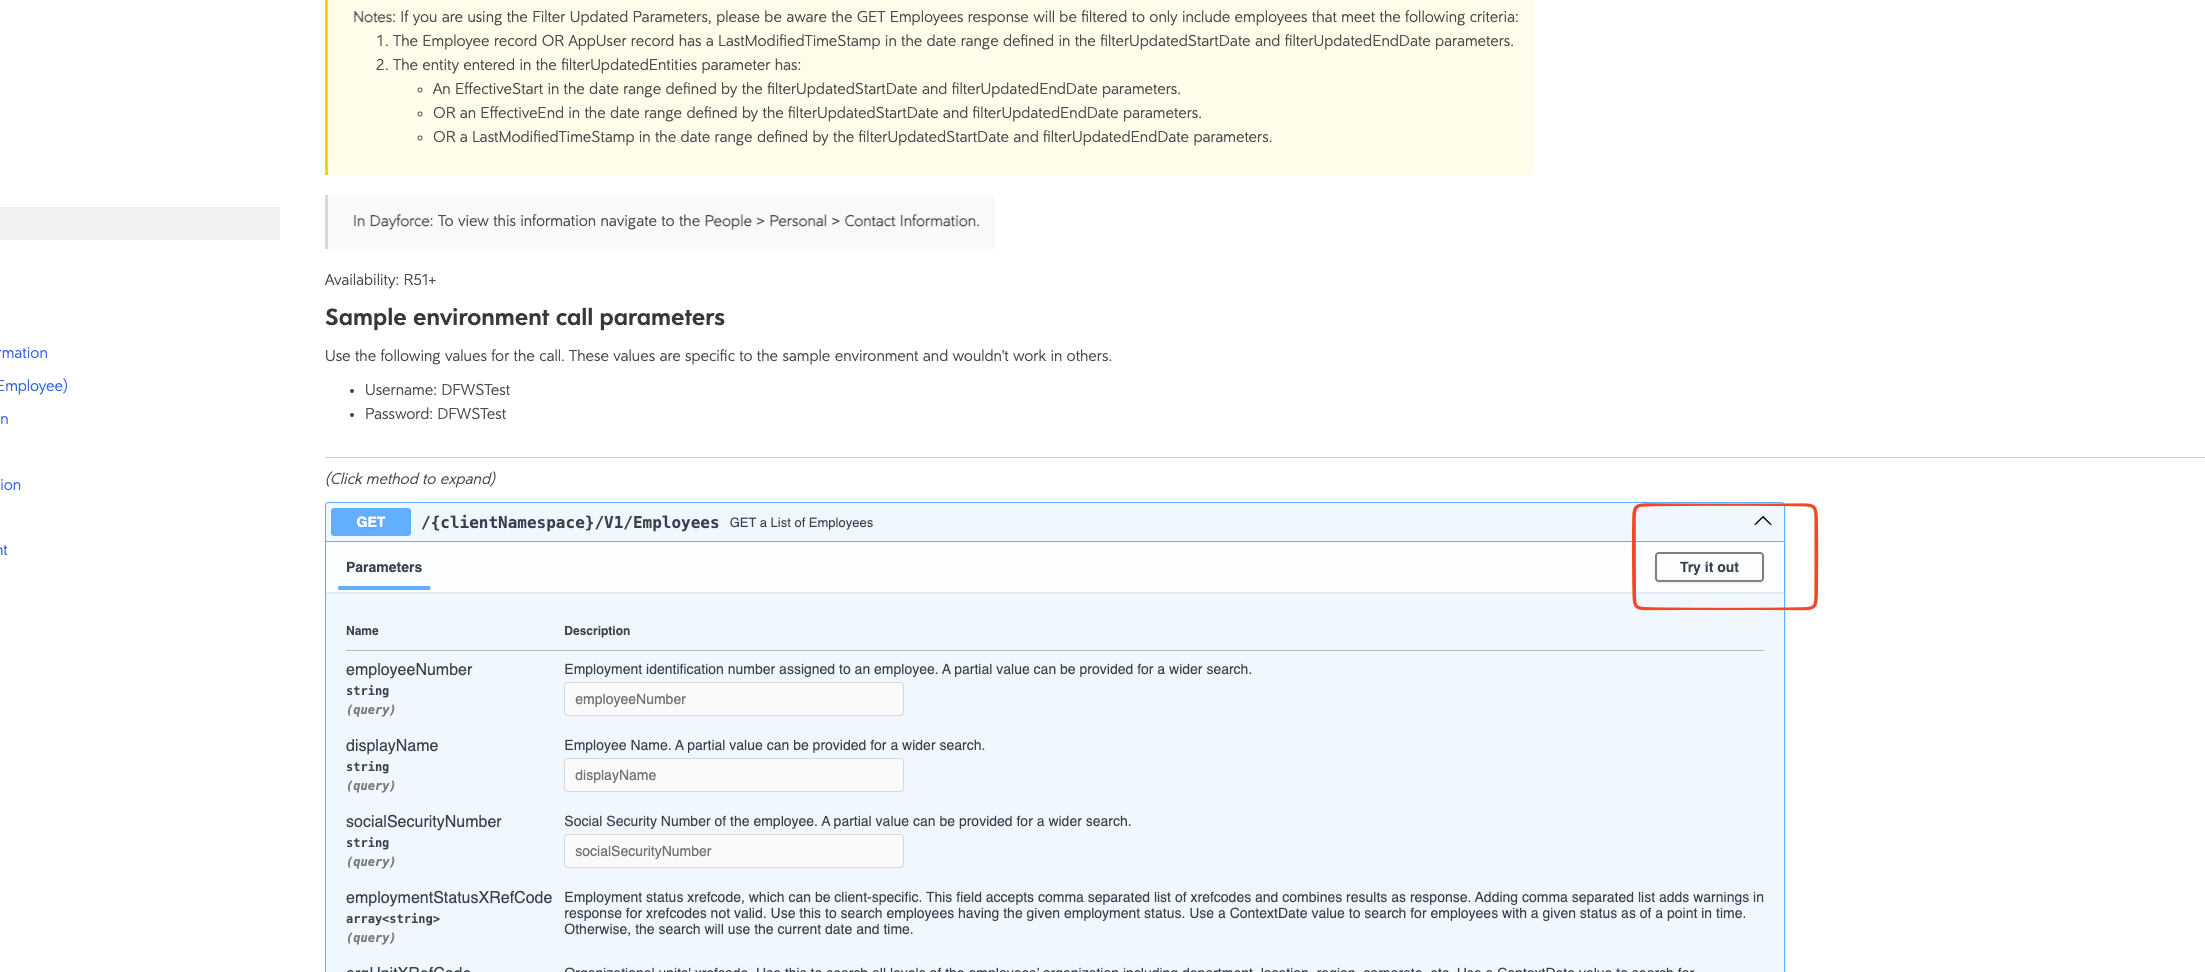
Click Try it out
Expand the GET method, then click Try it out to enable the request form.
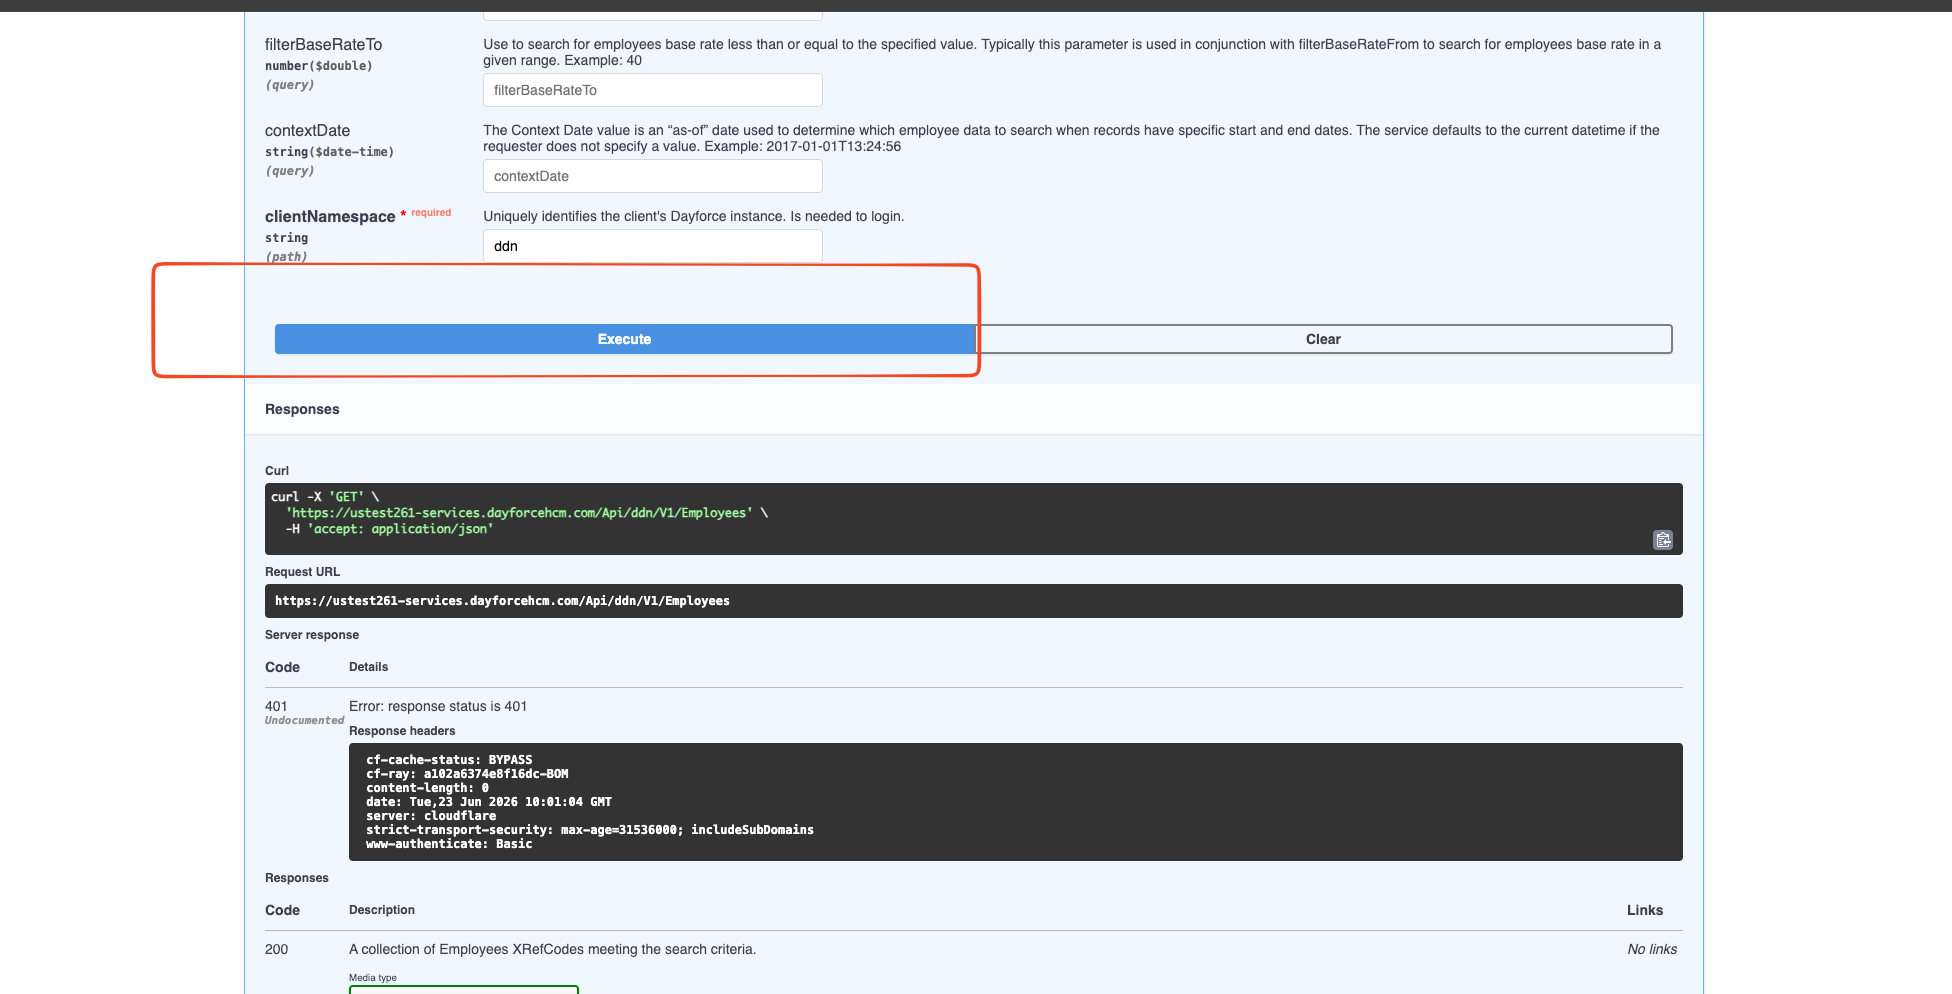
Execute the request
Click Execute to send the request.
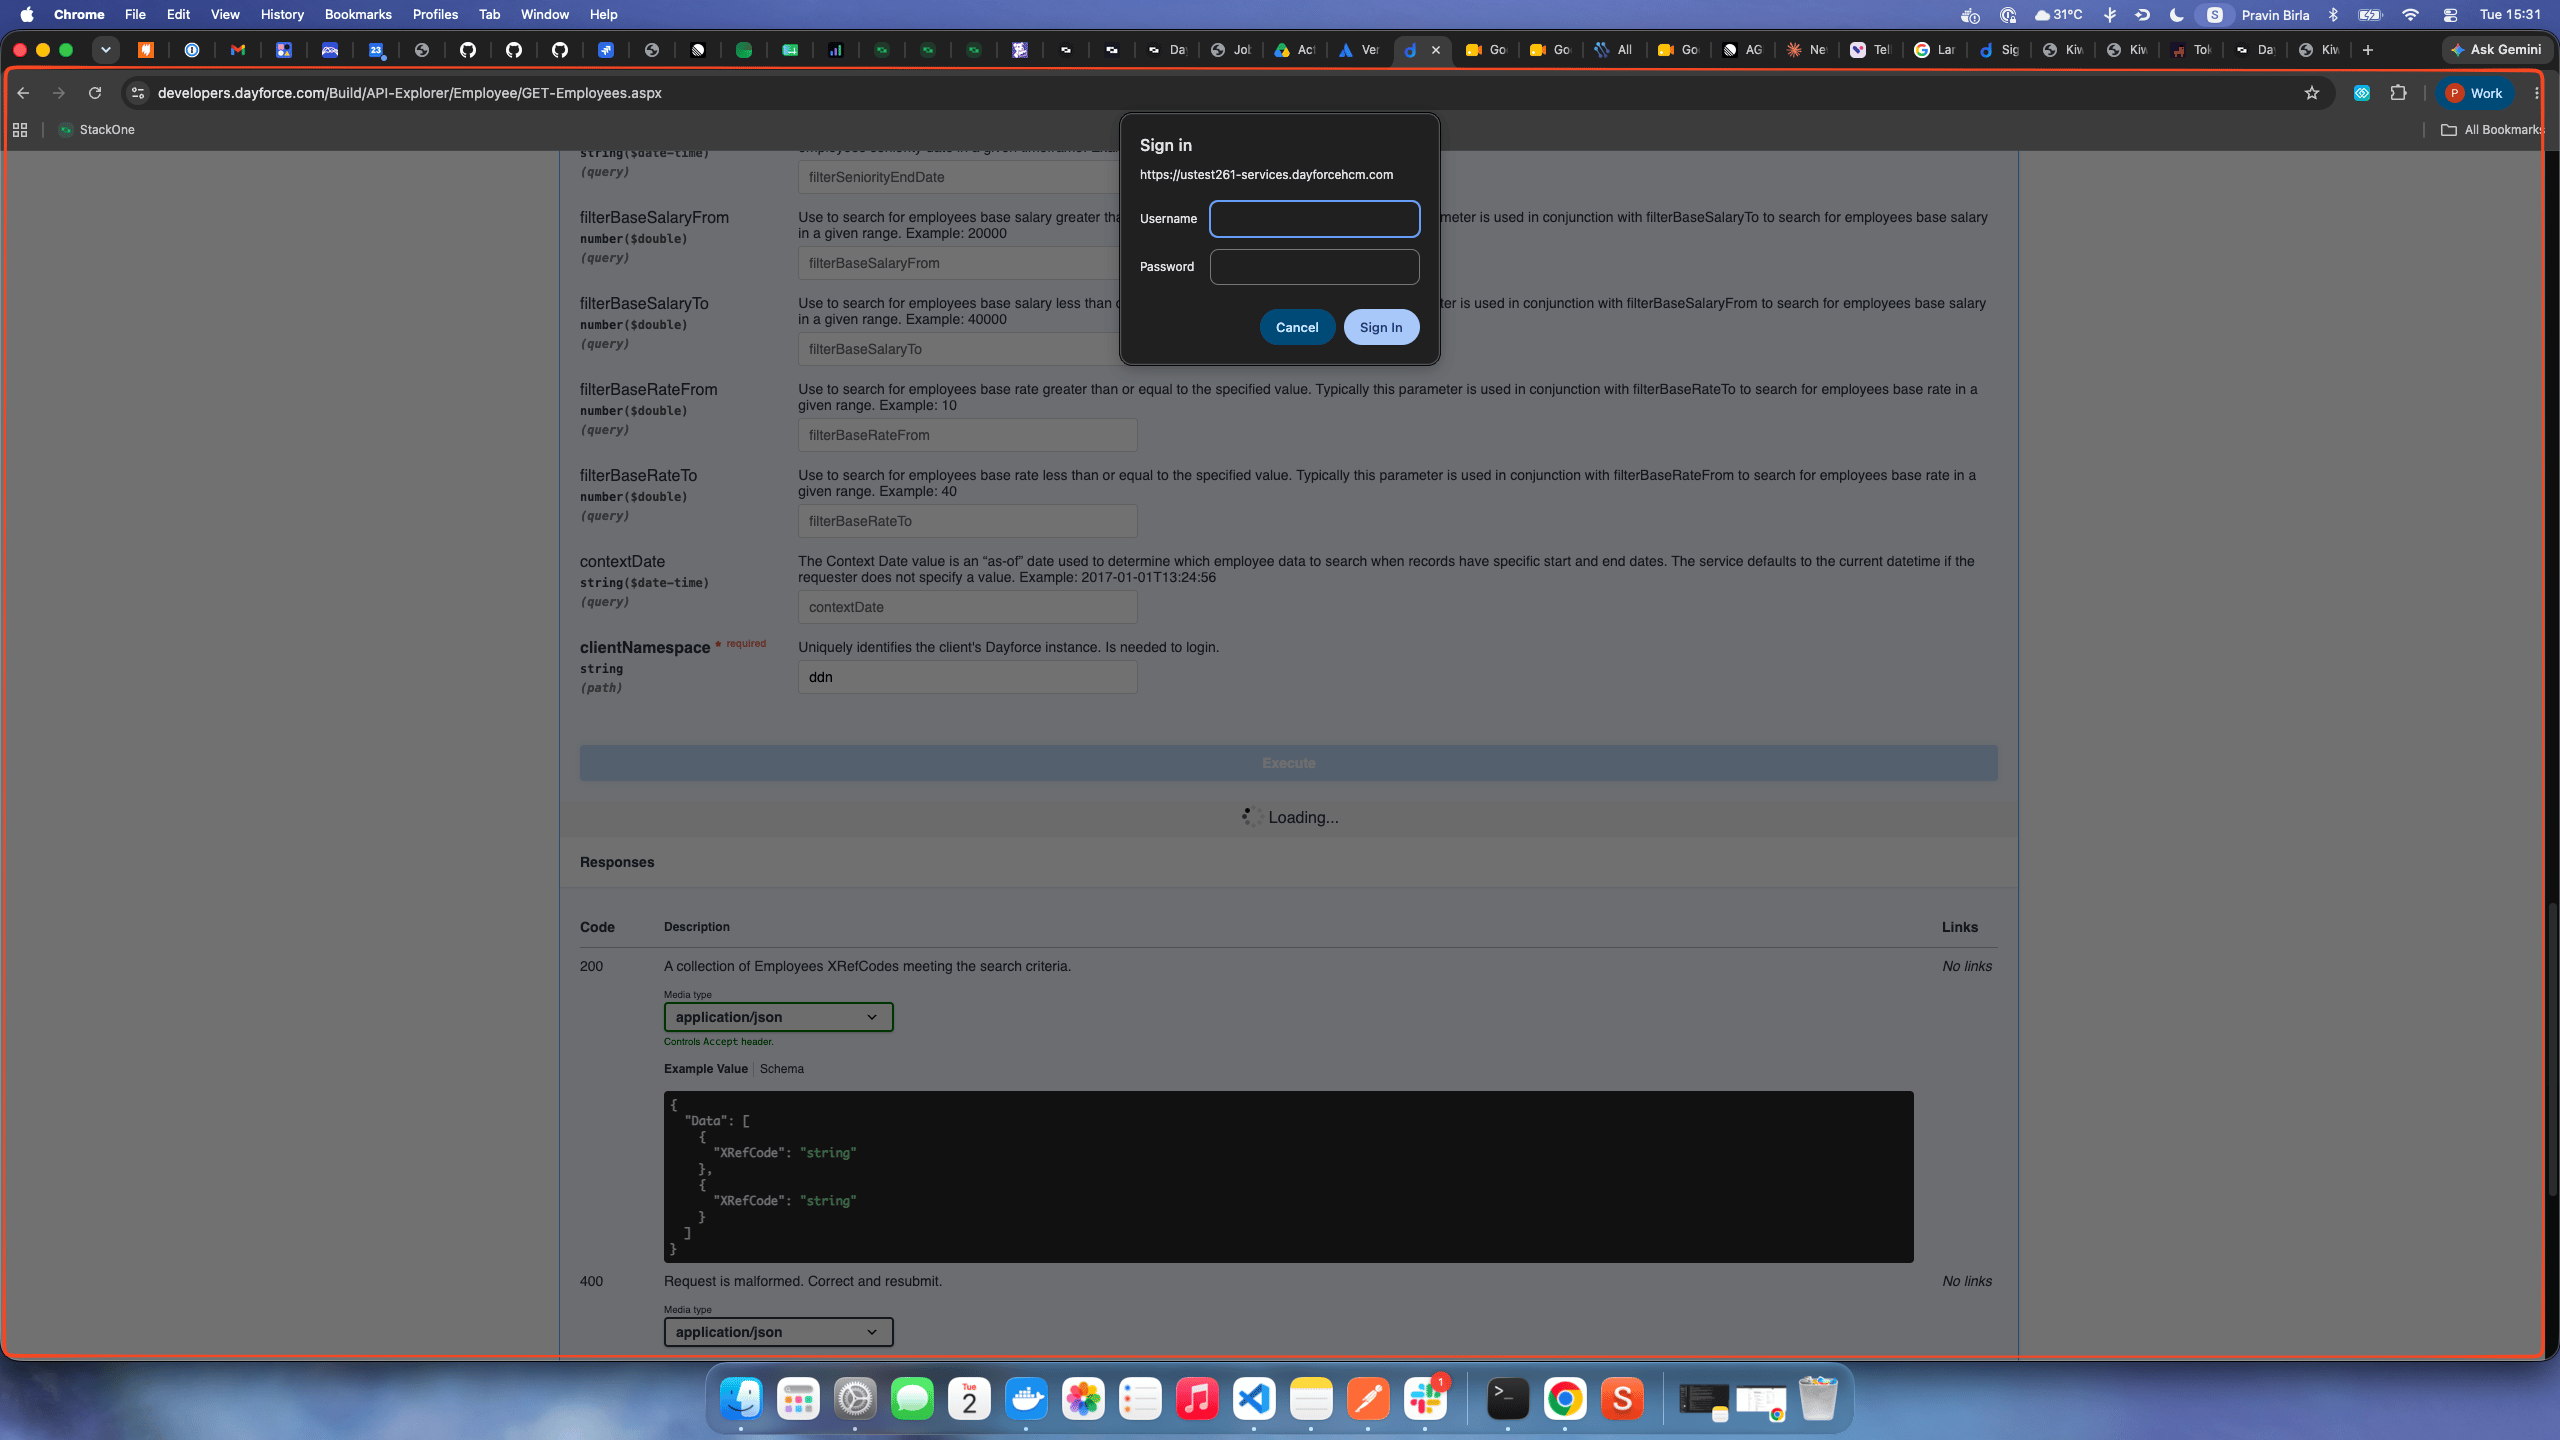
Sign in when prompted
The first time you execute a request — if you are not already authenticated — your browser shows a Sign in popup. Enter the sample Username and Password from the call parameters box and click Sign in.
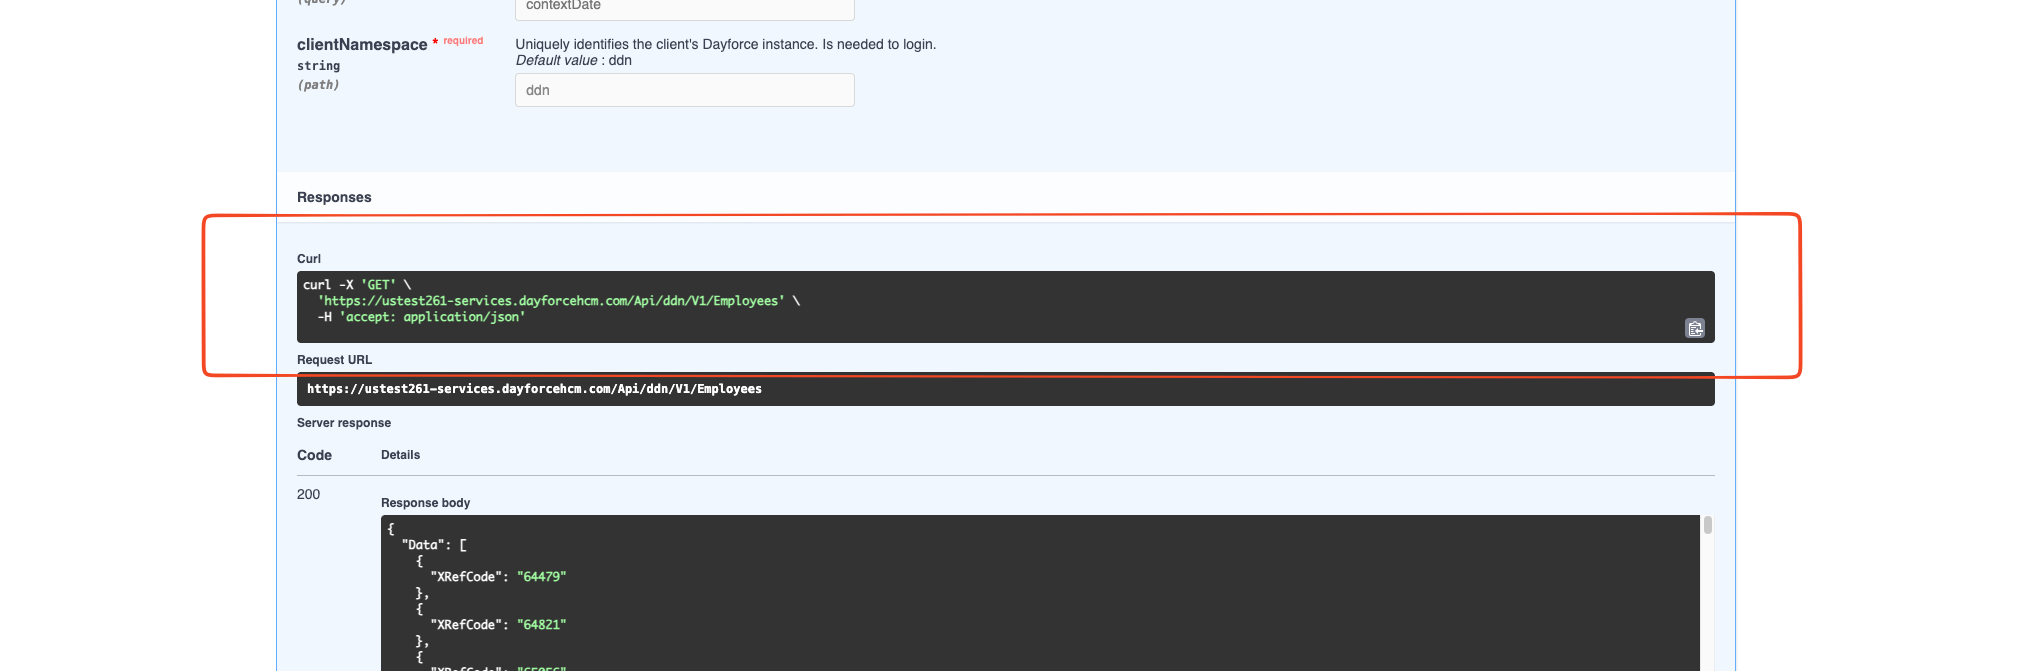
Find the Host and Client Namespace
After the request runs, read the Sample Host and Client Namespace from the Request URL under Responses (they are also shown on the Developer Network Home page). Dayforce API URLs follow the format https://host/Api/<clientNamespace>/V1/..., so both values can be read directly from the Request URL.
- Host: the subdomain before
.dayforcehcm.comin the URL (e.g.ustest261-services). The subdomain rotates, so read it from the URL rather than hardcoding it. - Client Namespace: the path segment after
/Api/(ddnfor Sample). - You will enter these in StackOne Hub’s Host and Client Namespace fields when linking your Dayforce account.
Linking the Account from the Hub
Navigate to the Hub
Fill out the fields
- Client Namespace
- Host
- Username
- Password
Connect
- Click Connect
- If applicable, the provider will redirect you to a sign-in or authorization page. Complete the provider’s authorization flow.
- Once authorization is successful, you will see a confirmation popup
If the account linking is successful, you will see the newly linked account in your Accounts page.