Overview
n8n provides MCP support through its MCP Client Tool node for workflow automation.Setup
1
Get your MCP URL from the dashboard
- Go to Connectors in the left nav and open the connector you want to use
- Click Use Connector in the top right
- On the Use tab, click MCP Server under “Use with Agent Client”
- Select a linked account from the dropdown
- Choose HTTPS MCP as the client
- Copy the generated URL — it looks like:
2
Add MCP Client Tool in n8n
- Create a new workflow
- Click + to add a node and search for “MCP Agent”
- Under tools, click + and search for MCP Client Tool
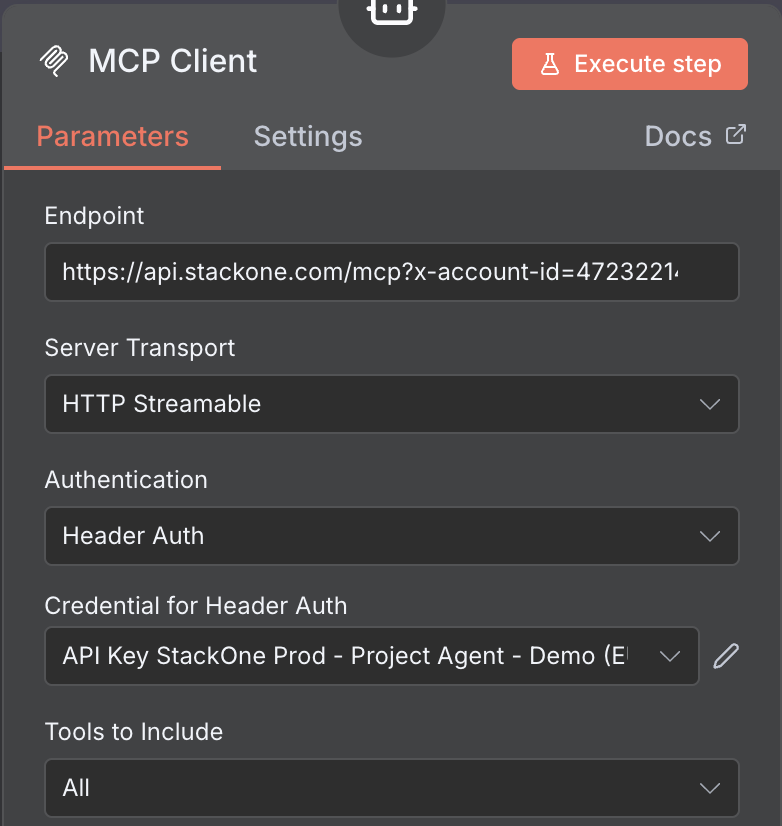
- Configure the node:
- URL: Paste the URL from the previous step
- Authentication: None
- Select the tools you want from the Tools to include dropdown
3
Test the connection
Click Execute Step to verify the connection and see available tools.
Advanced: Manual API Key Setup
If you prefer to authenticate with your API key and account ID directly instead of a dashboard-generated token:- Set the URL to
https://api.stackone.com/mcp?x-account-id=<ACCOUNT_ID> - Set Authentication to Header Auth (create new credentials if needed):
- Header name:
Authorization - Value:
Basic <BASE64_STACKONE_API_KEY>— base64-encode your API key followed by a colon (your_api_key:)
- Header name:
Building Workflows
Once configured, use the MCP Client Tool node to execute StackOne actions on the linked account you specified.Next Steps
Dashboard Setup
Generate MCP configs from any connector
Authentication Guide
Configure authentication and security
For detailed n8n setup instructions, see the official n8n documentation.