Claude Desktop requires the mcp-remote package to connect to remote HTTP servers.
The fastest way to get your configuration is directly from the StackOne dashboard — it generates a ready-to-paste JSON block for Claude Desktop. See Connect from Dashboard.
1
Get your MCP URL from the dashboard
Go to Connectors in the left nav and open the connector you want to use
Click Use Connector in the top right
On the Use tab, click MCP Server under “Use with Agent Client”
Select a linked account from the dropdown
Choose Claude Desktop as the client
Copy the generated JSON block
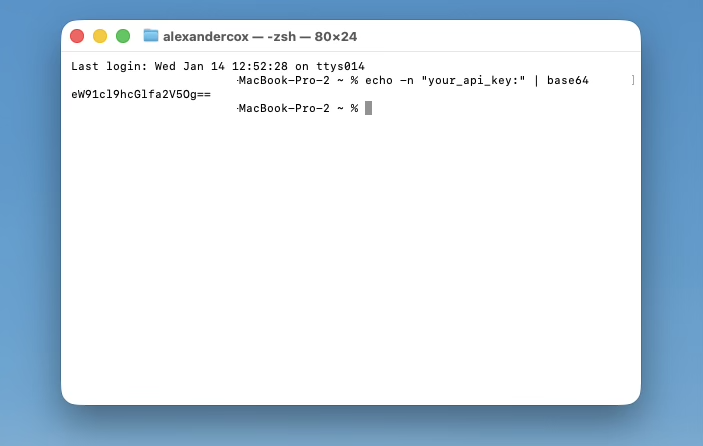
The config uses a single token URL — no separate API key encoding required.
The token expires after one year. Regenerate it at any time using the refresh button in the MCP tile.
2
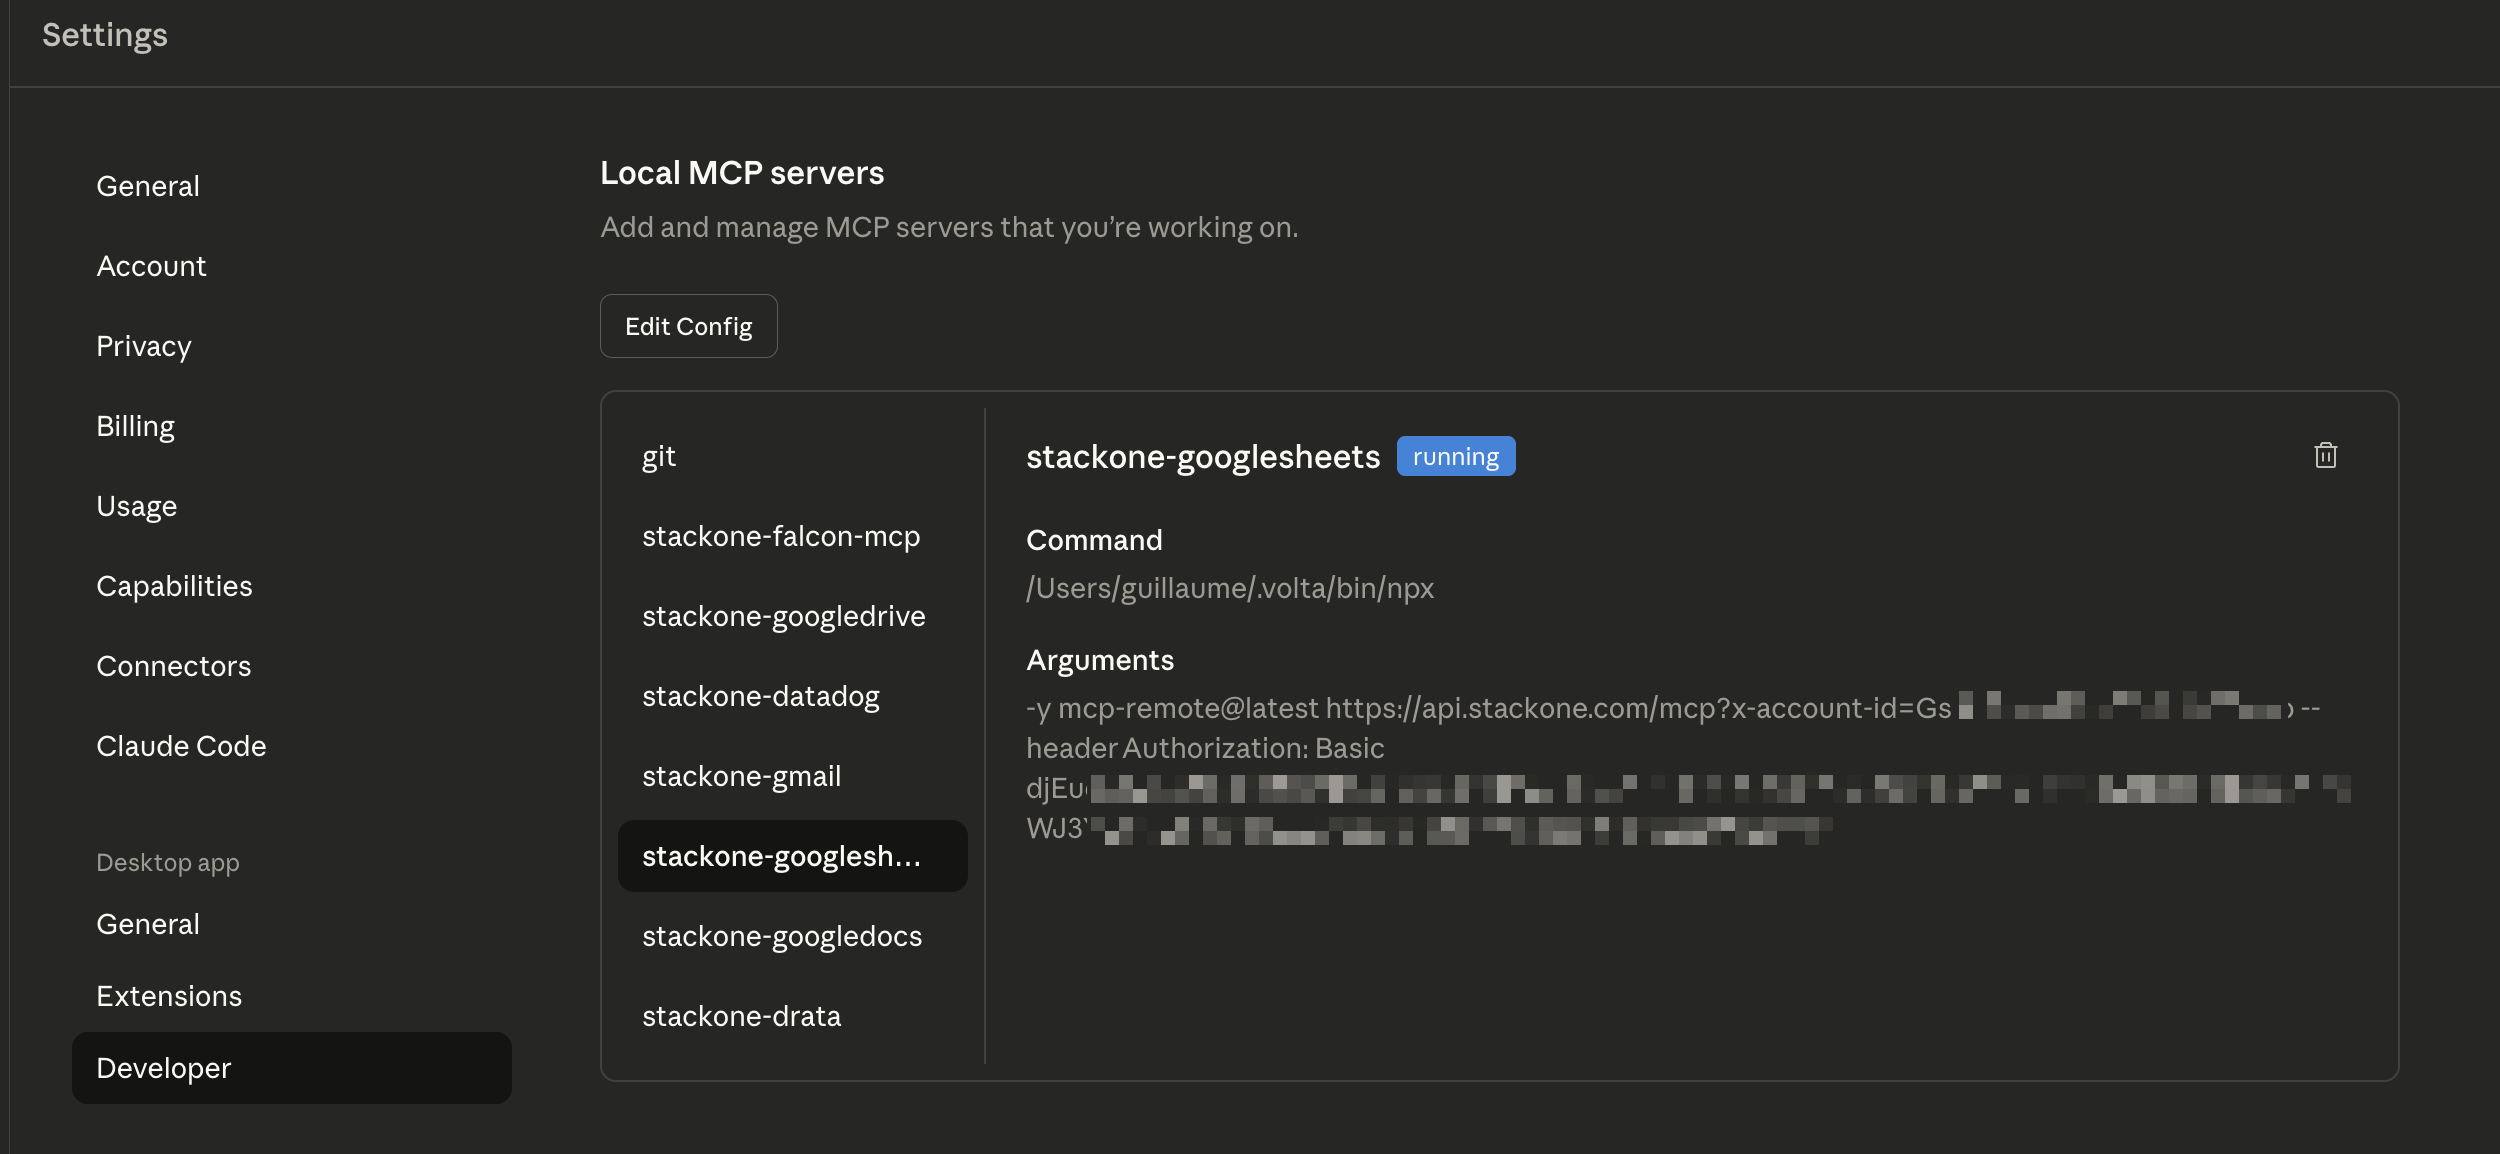
Locate Configuration File
Open Claude Desktop
Navigate to Settings → Developer
Click “Edit Config” to open the configuration file in your default editor
Use short names for easier identification: gsheets, slack, hubspot-sales. You can prefix with stackone- or s1- if you have other MCP servers, but it’s not required.
Multiple accounts example
For multiple linked accounts, add an entry for each. Get each token from the dashboard by selecting the relevant account.
Screenshots show 'stackone-' prefix — this is optional.
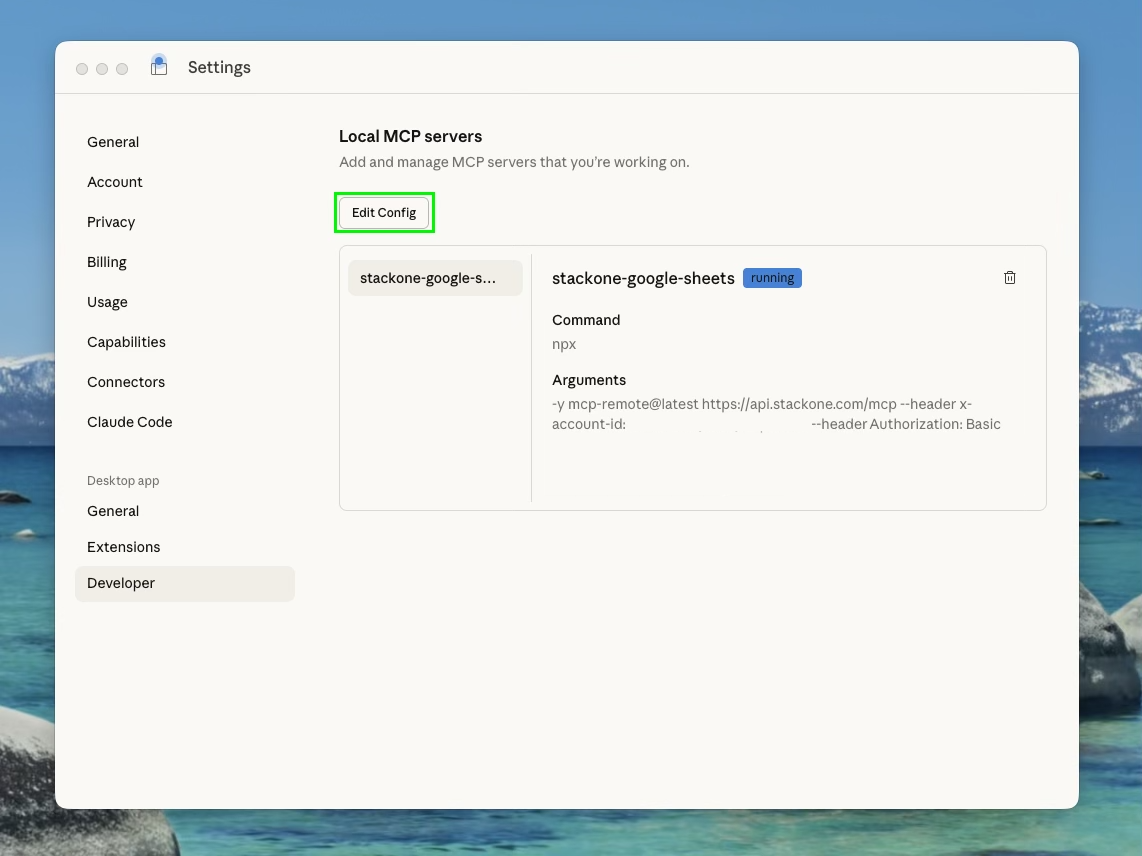
After restarting, navigate to Settings → Developer to verify your servers are configured:
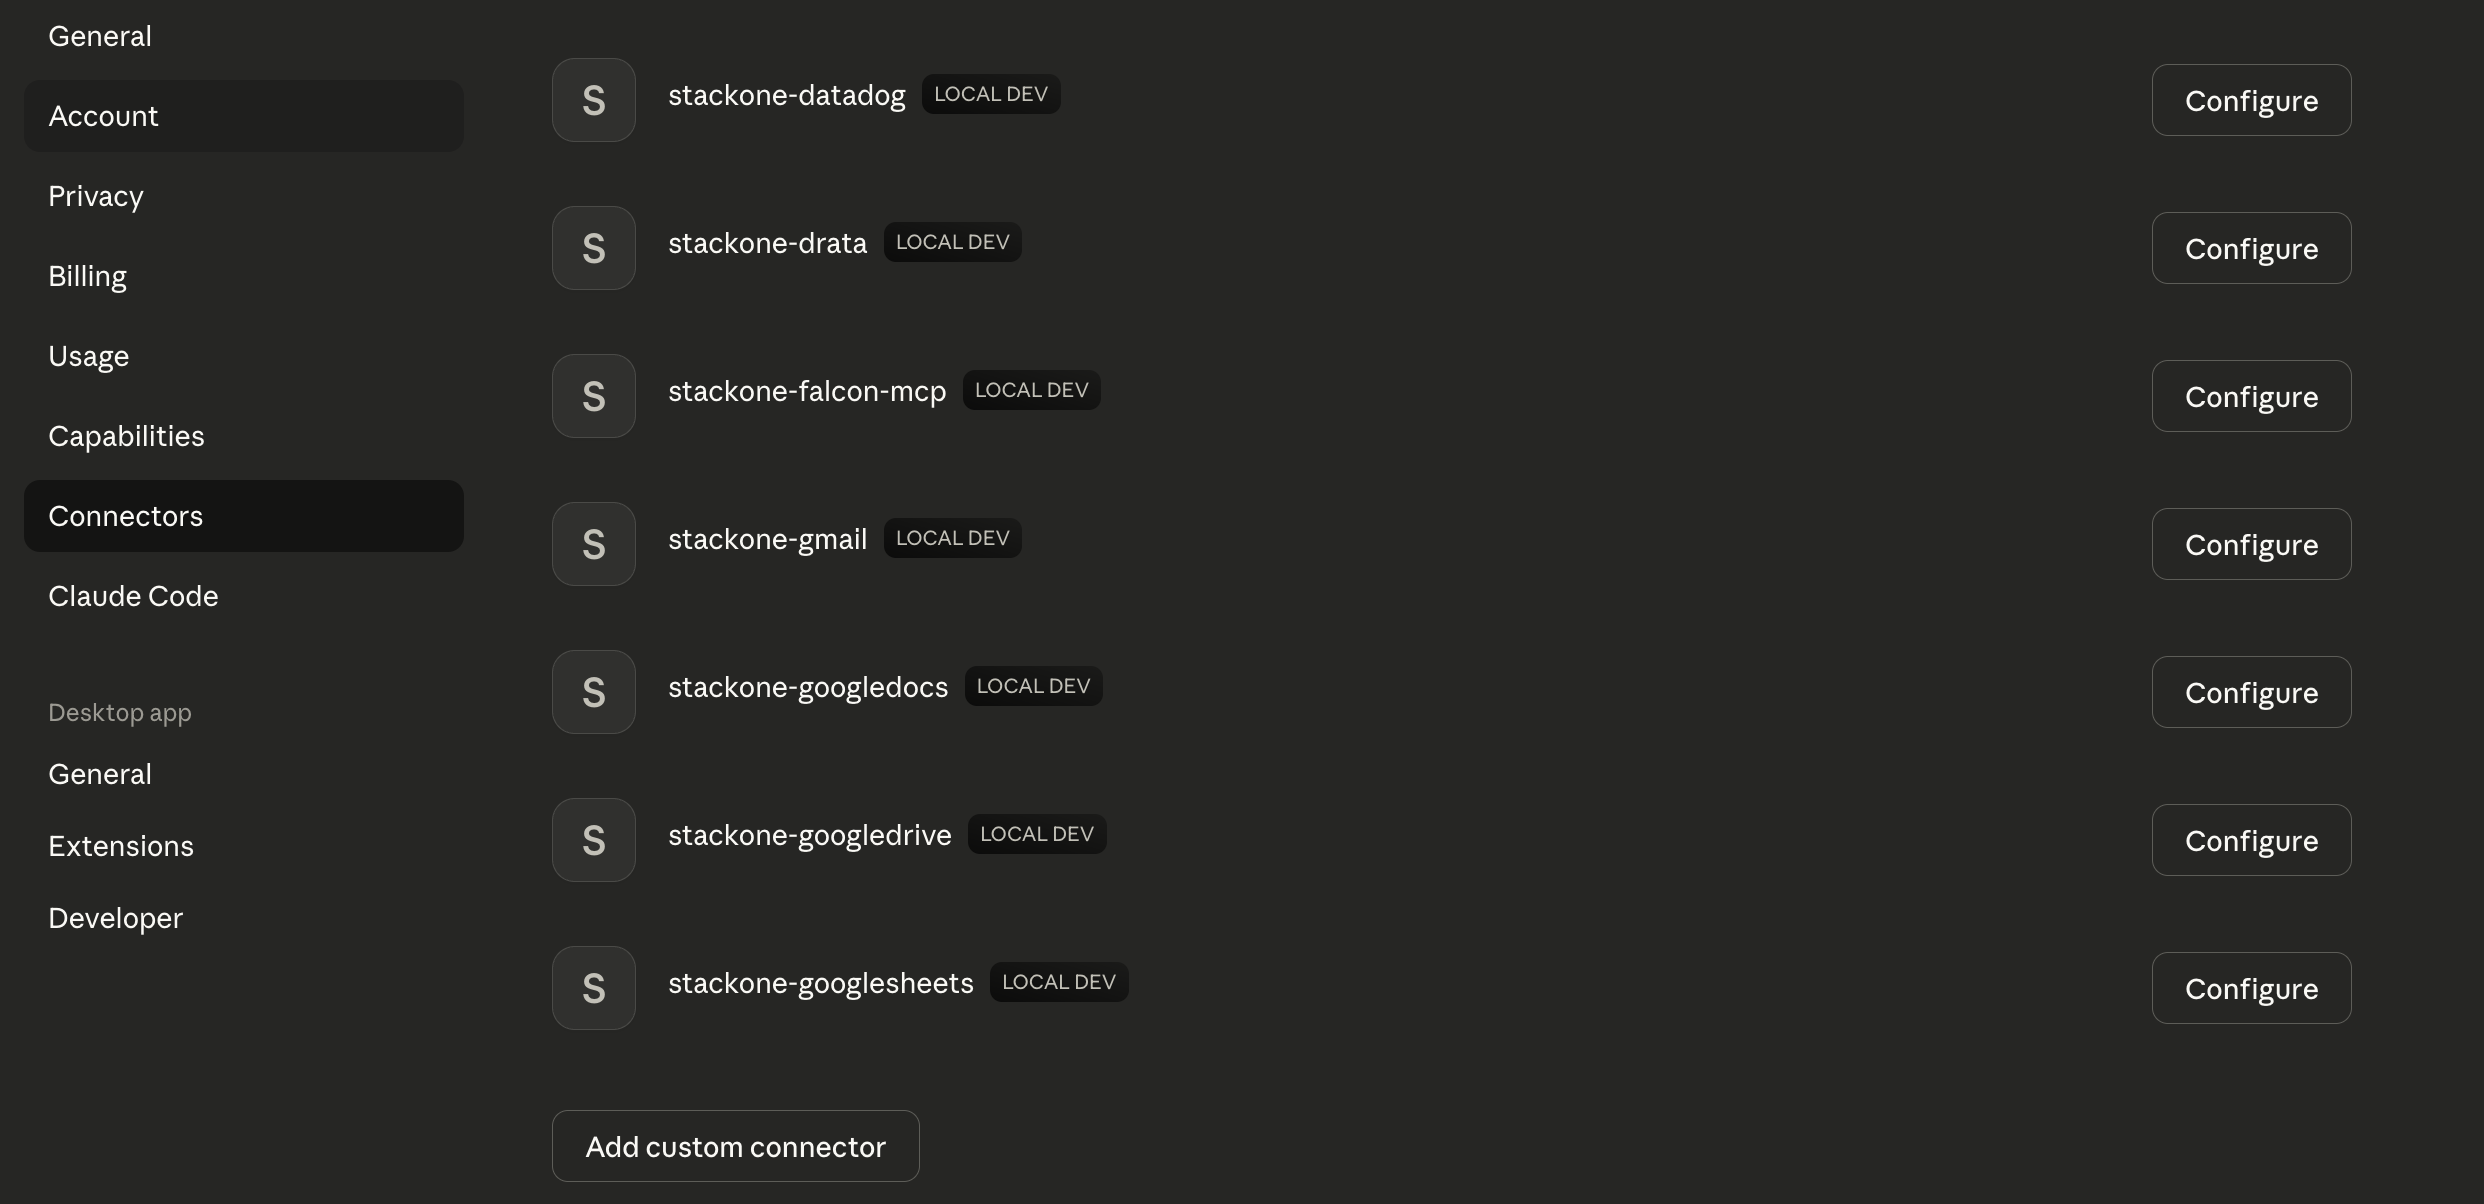
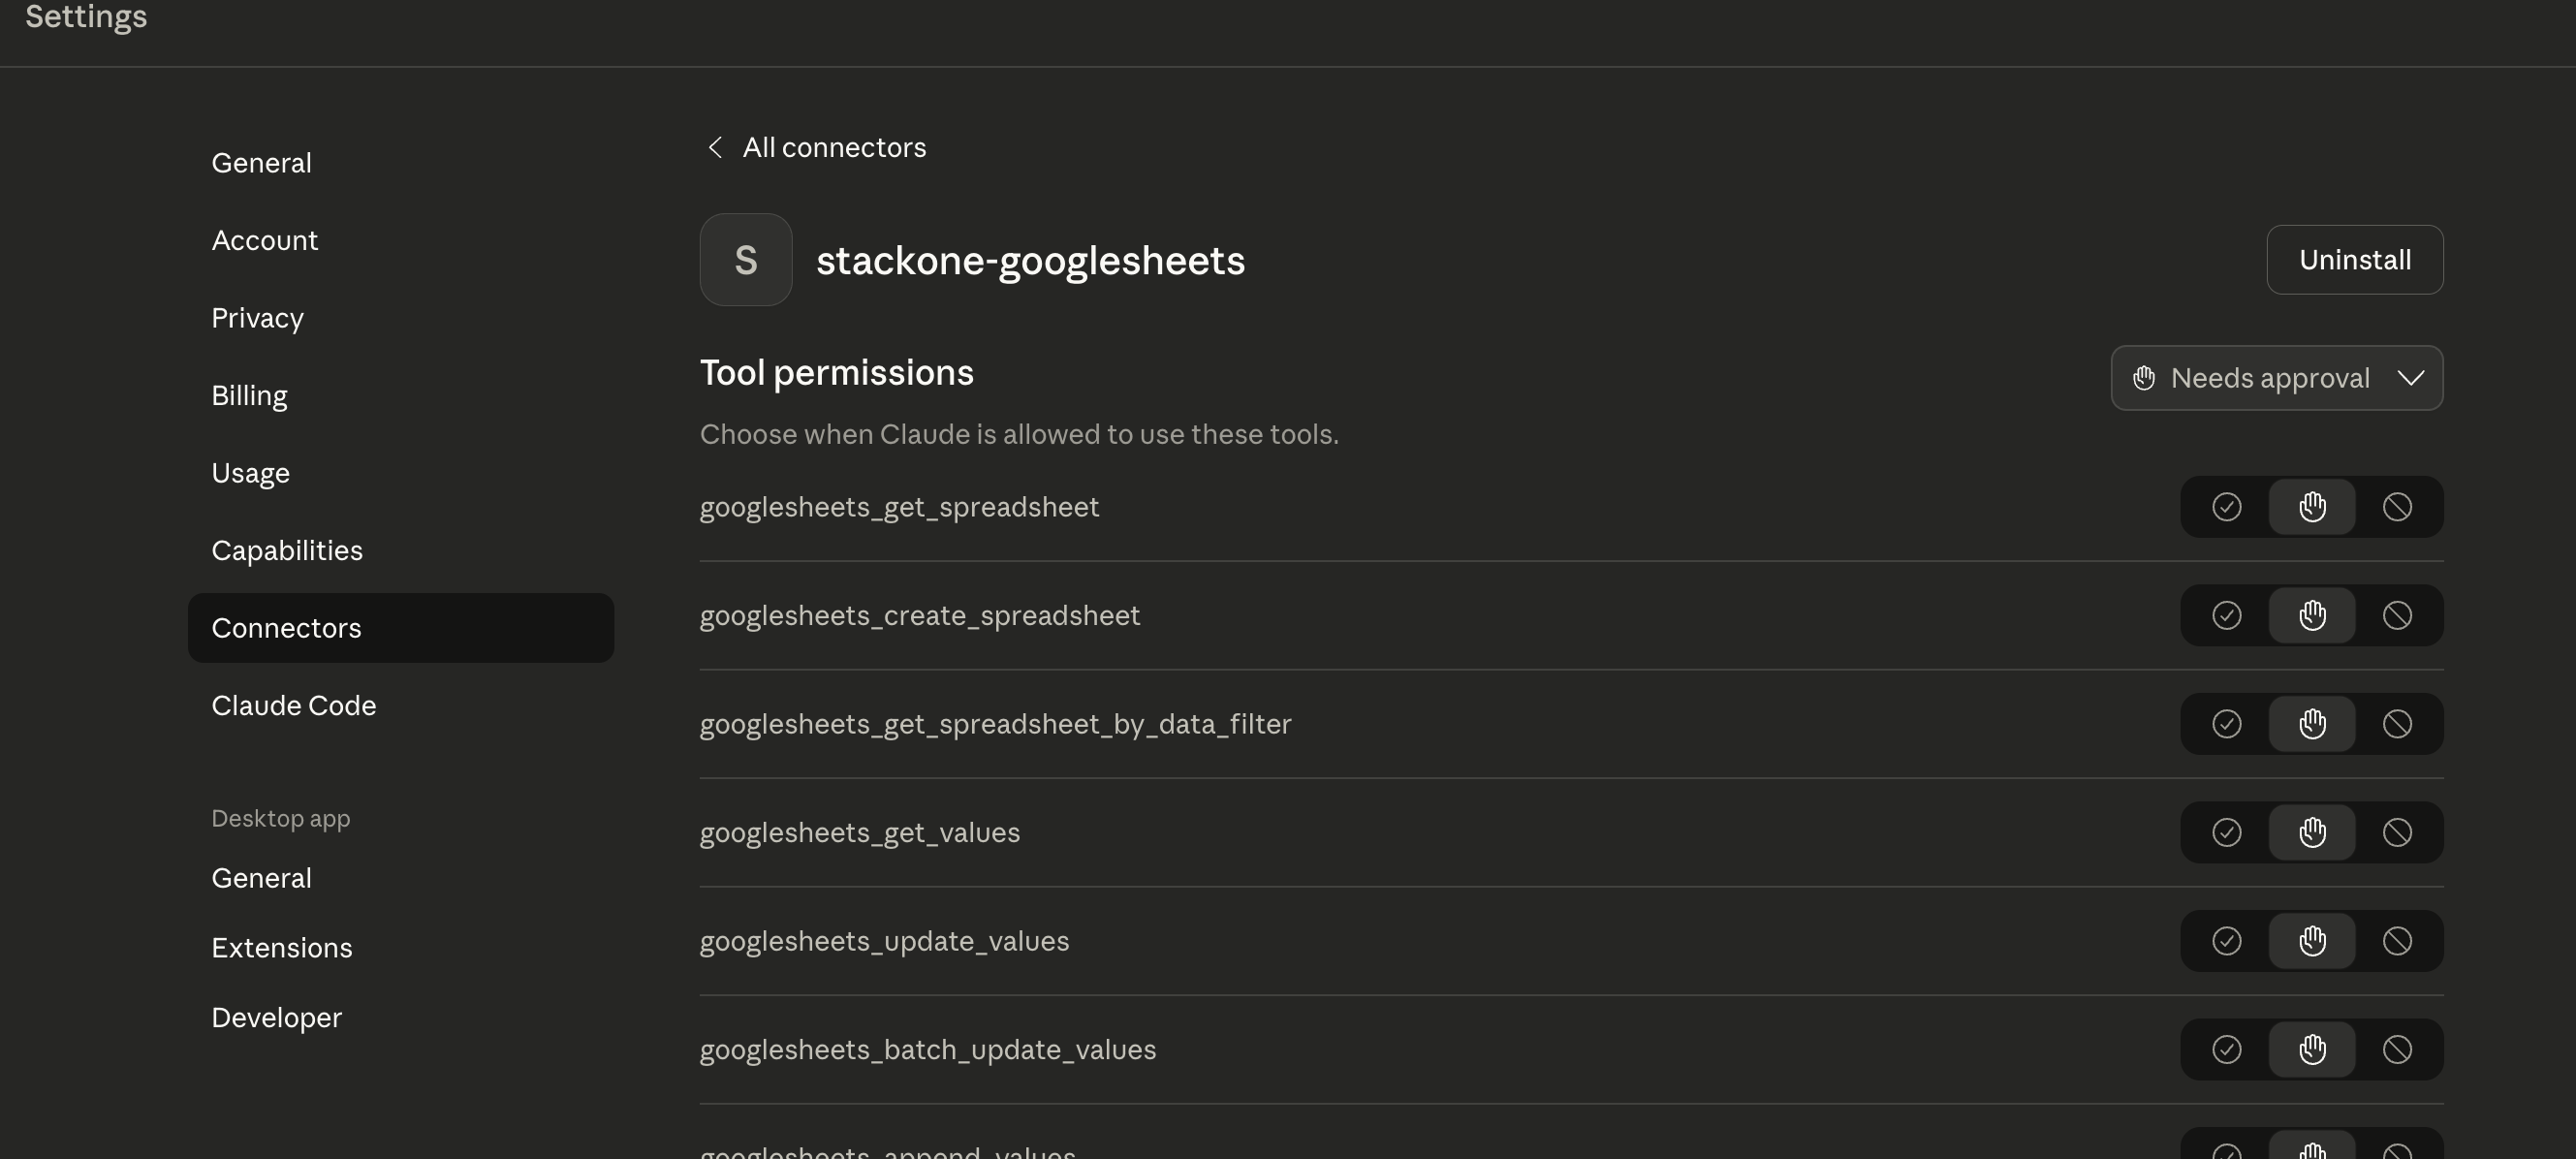
A green “running” badge indicates the server is connected. If you see “failed”, click Open Logs Folder to troubleshoot.Your servers will also appear in Settings → Connectors with a “Local Dev” tag, where you can configure tool permissions:
Screenshots show servers with 'stackone-' prefix — this is optional.
Once connected, you can:
List Tools: Ask “What StackOne tools are available?”
Execute Operations: Request actions like “Search recent calls in Gong”
Access Resources: Ask about API schemas or documentation