Choosing a Hub Version
StackOne offers two Hub versions. We recommend the Hub for new projects. The Legacy Hub remains available for existing implementations.Why the Hub?
The Hub is a ground-up rebuild with a fundamentally different architecture:-
Native React Component: The Hub renders directly in your React tree. The Legacy Hub loads an external script (
connect.js) that injects an iframe. This means the Hub shares your app’s React context, supports proper component composition, and eliminates iframe-related overhead. - Direct API Communication: The Hub makes API calls directly from your app. The Legacy Hub routes requests through an iframe hosted on StackOne’s domain, adding latency from cross-origin communication and extra network hops.
- Full Theming Support: The Hub uses our Malachite design system, giving you complete control over colors, typography, and styling. You can match your app’s design without CSS hacks or iframe styling limitations.
-
Better Event Handling: The Hub uses native React callbacks. The Legacy Hub relies on
postMessageto communicate events across the iframe boundary, which can be less reliable and harder to debug.
Quick Start
- Hub - React
- Legacy Hub - React
- Legacy Hub - Vanilla JS
- Web Component
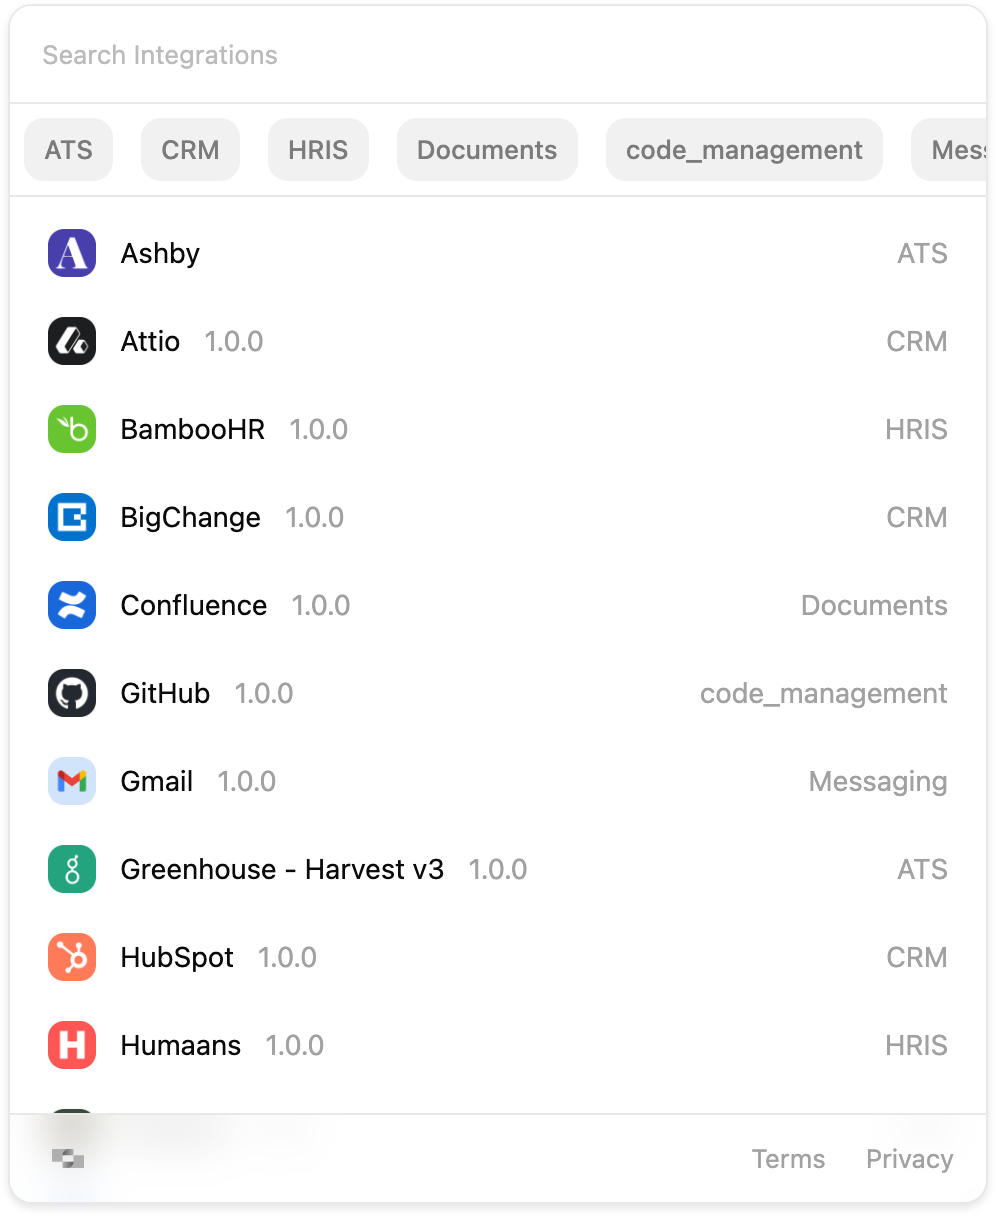
The Hub (
@stackone/hub) offers filtering, search, detailed error messages, and full theming support.1
Install the package
2
Get a session token from your backend
The Hub needs a connect session token to securely communicate with StackOne. This token must be generated server-side to keep your API key secure.See Connect your Backend with StackOne for backend implementation.
3
Add the component
API Reference
- Hub - @stackone/hub
- Legacy Hub - @stackone/react-hub
- Legacy Hub - connect.js
The
StackOneHub component accepts these props:Style Customization
- Hub
- Legacy Hub
The Hub supports full theming with the For custom theming, pass a See the @stackone/hub repository for full theme options.
theme prop:PartialMalachiteTheme object: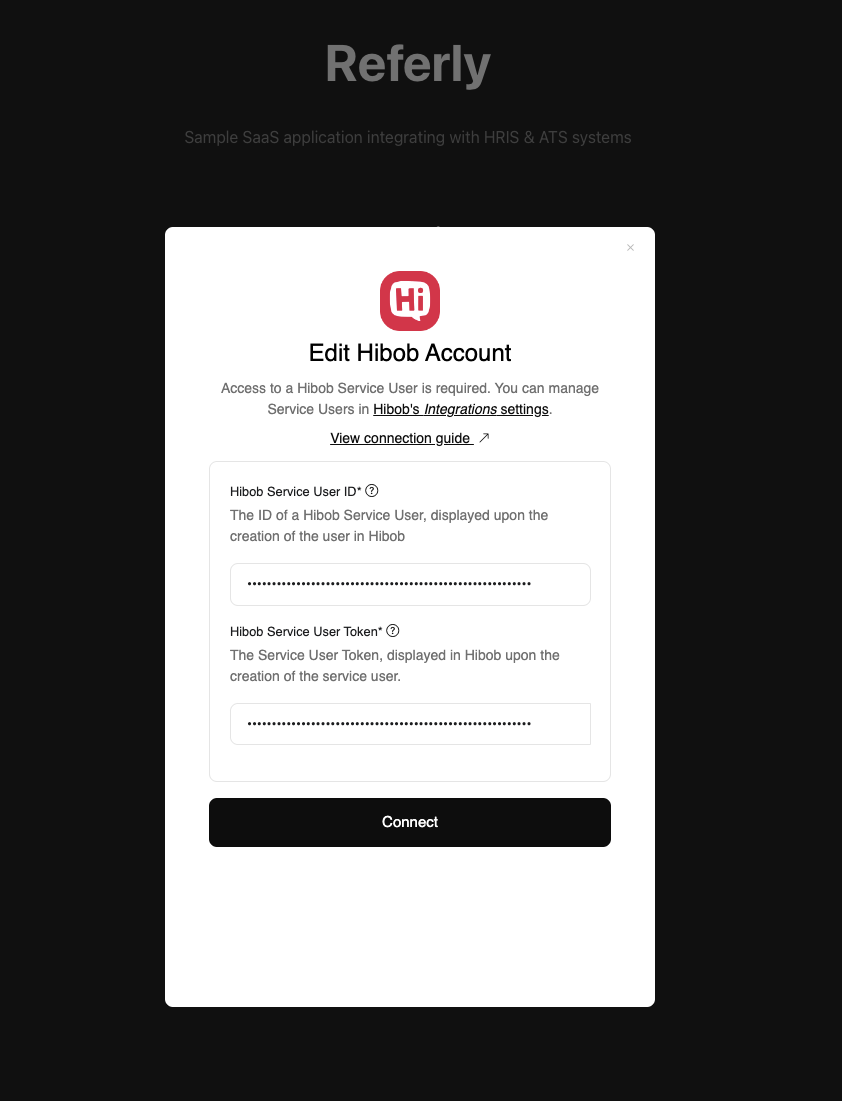

Hub Behavior Customization
Control which connectors appear in the Hub by configuring the connect session on your backend.Filtering Connectors
You can specify aprovider or categories property when creating the connect session to control which connectors appear in the Hub:
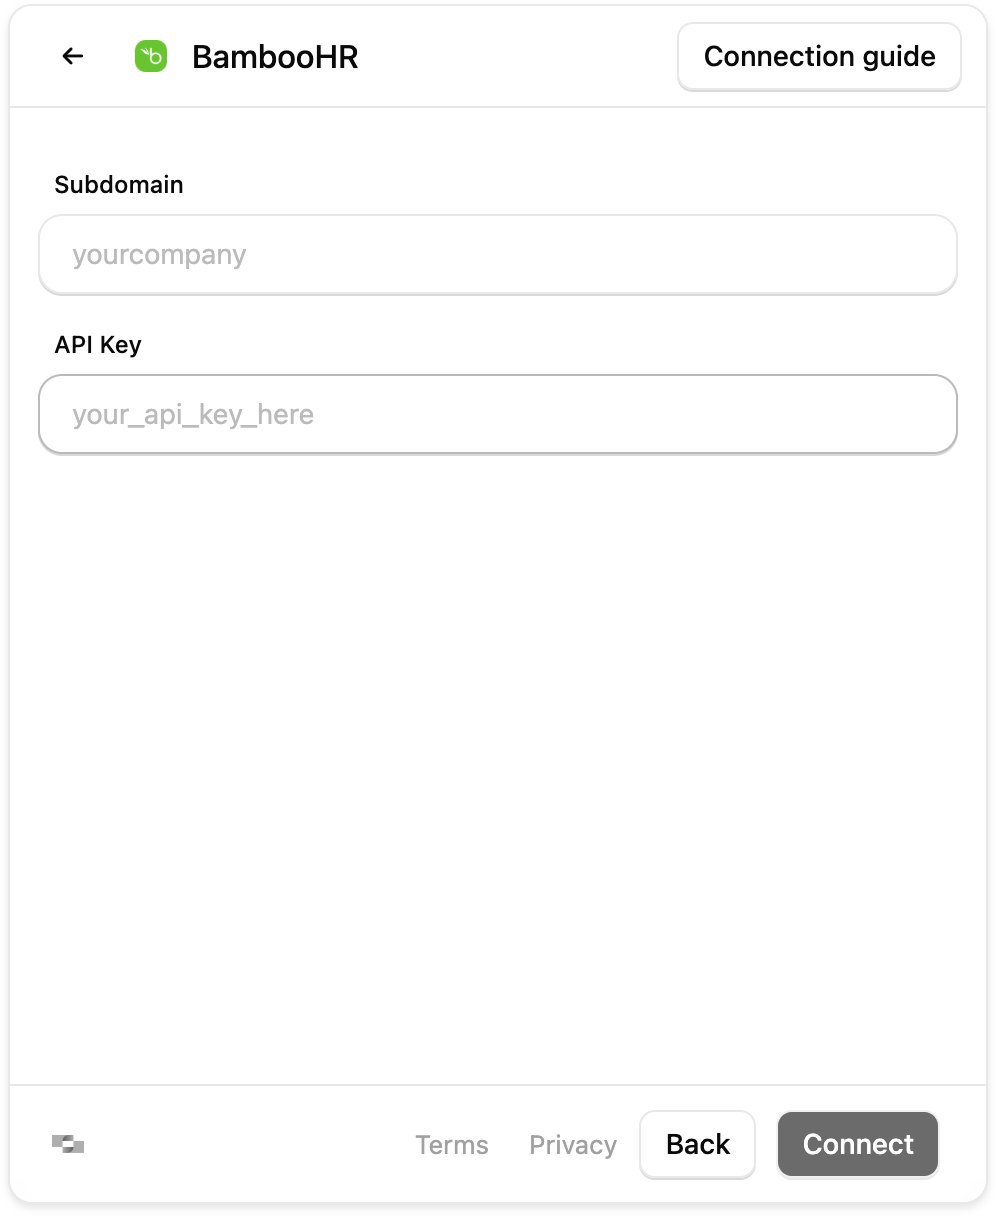
provider: Opens the Hub directly at the credential entry screen for a specific connector, bypassing the connector listingcategories: Filters the Hub to show only connectors from specified categories (e.g.,hris,ats)
provider keys in the Supported Connectors list under the Provider Key column.
Backend Examples
Event Callbacks
All Hub versions support these callbacks:Dashboard Access
You can also use the Hub directly from the StackOne dashboard without embedding:Connection Links
Generate connection links from your dashboard to share with end-users.Dashboard Connection Link Generation
Direct Account Linking
Link accounts directly from the dashboard interface.Dashboard Account Linking
Backend Setup
Both hub versions require a connect session token generated from your backend. This keeps your API key secure.Backend Implementation
Generate session tokens securely from your backend
API Reference
Connect Sessions endpoint documentation