

Before you start
- A StackOne project you are a member of.
- A connector profile in the project for each provider the client should reach, with the actions you want exposed enabled.
- (Optional) A linked account for each provider. Accounts can also be linked during the consent flow.
Connect StackOne
- From the MCP servers list
- With the MCP Client Tool
1
Add StackOne to an agent
- In a workflow, add an AI Agent node.
- On the agent, click Tool +. In n8n’s agent builder, click Add Tool instead.
- Search for
StackOne, or open the MCP Servers section, and select StackOne.
2
Sign in and authorize
n8n opens the StackOne sign-in and saves the result as an MCP credential.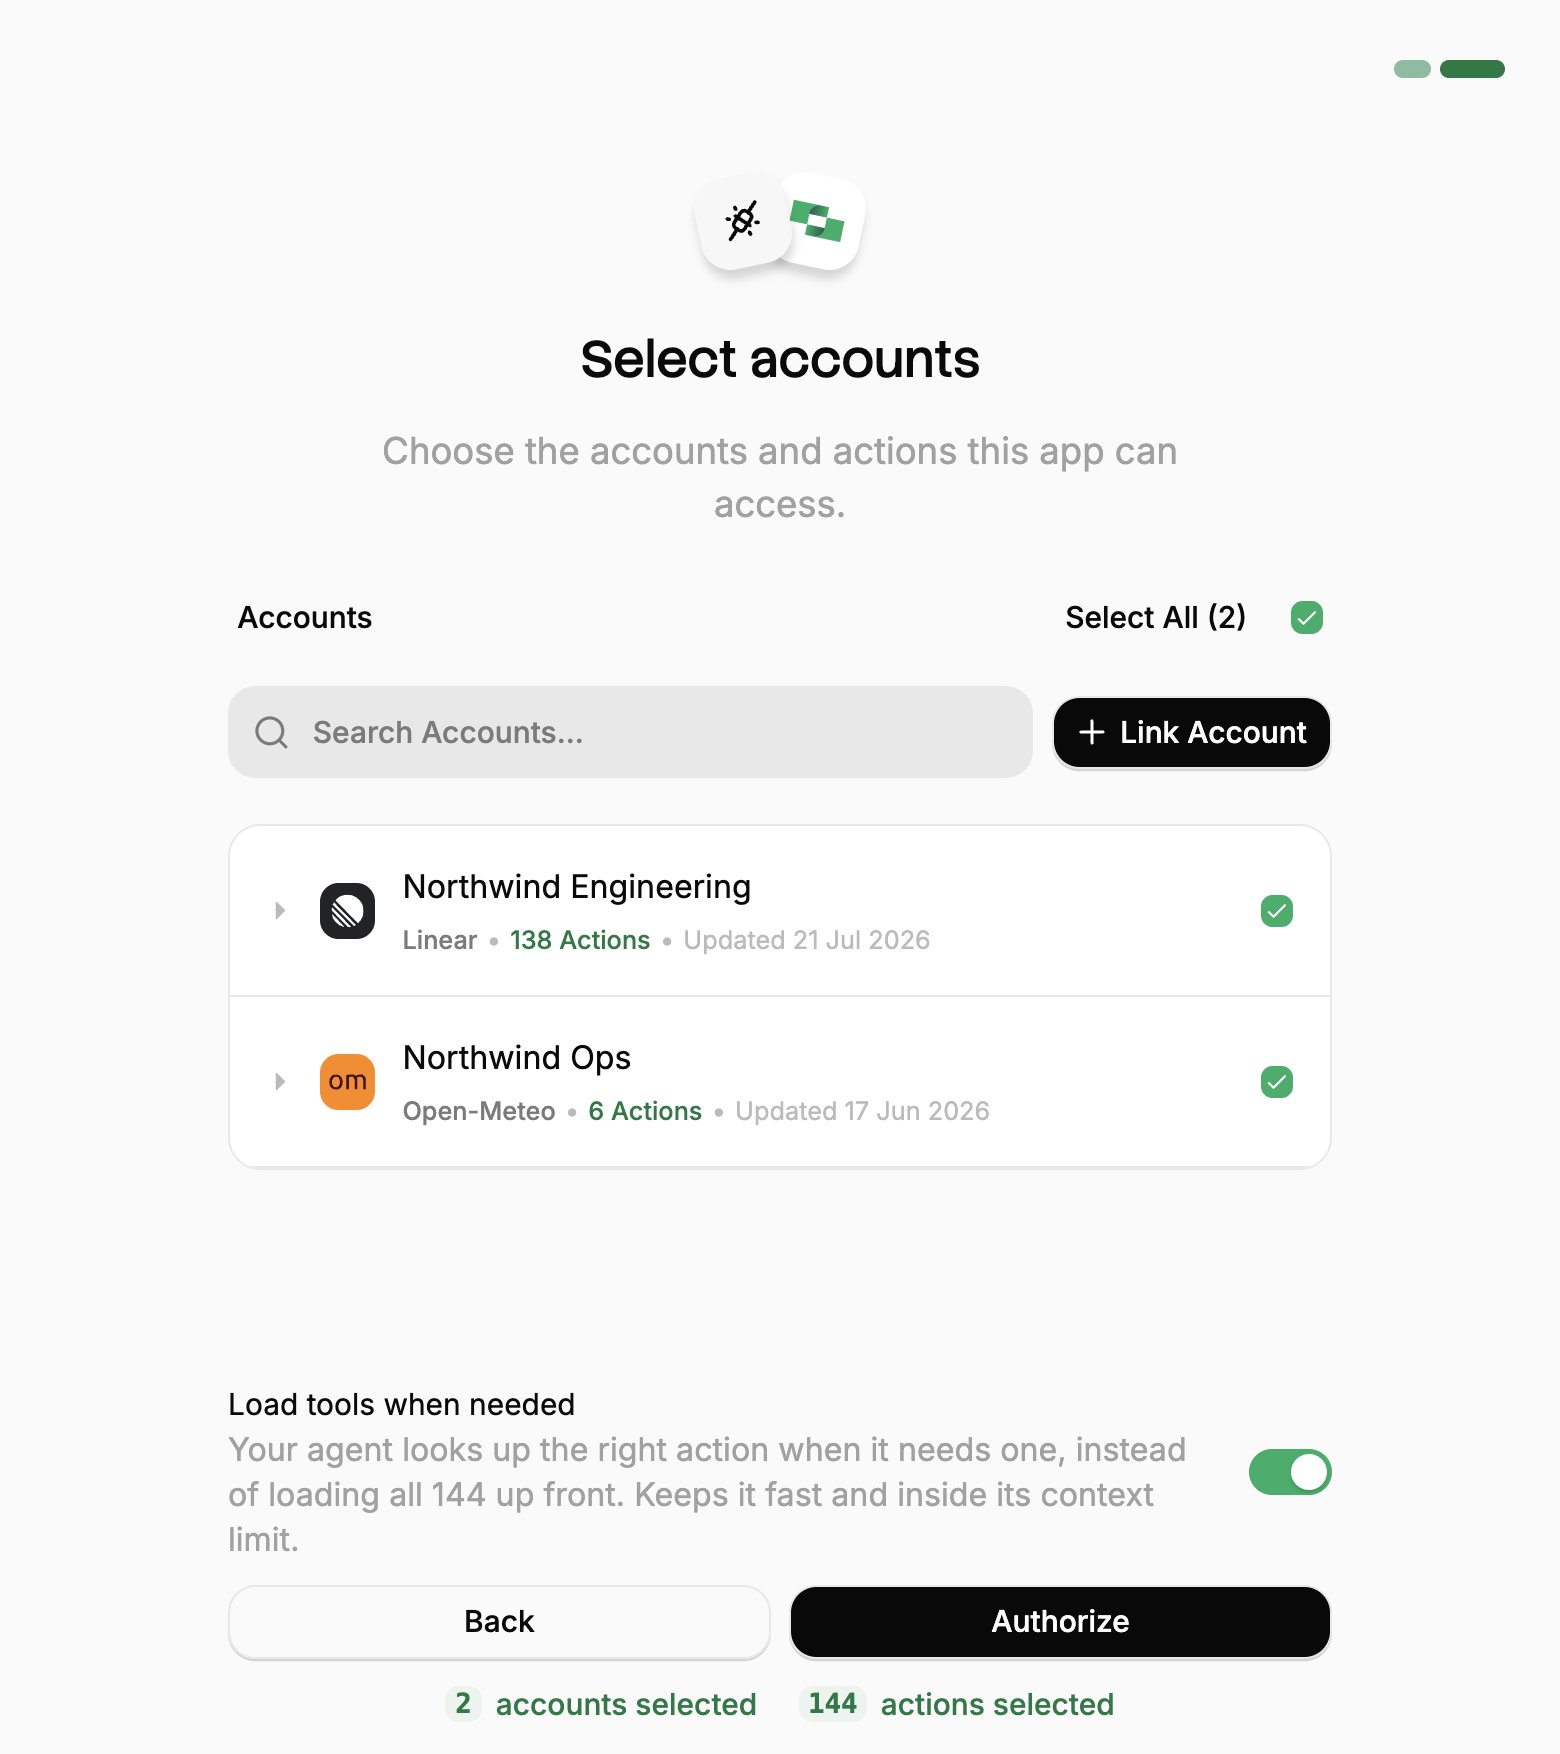
- Sign in to StackOne. In a desktop app or code editor, this opens in your browser.
- If StackOne asks for a project, pick yours and click Continue to Accounts.
- Pick the work systems n8n can use (your Linked Accounts).
- If you see Load tools when needed, leave it on.
- Click Authorize.
3
Choose the tools
Under Tools to include, pick all of StackOne’s tools, a selected list, or all except a selected list.
An OAuth grant belongs to the person who approved it, and n8n workflows usually run unattended long after that. A token app URL is often the better fit for a scheduled workflow, since it carries its own credential and doesn’t depend on one person’s grant.
Add or change accounts
Add or change accounts
n8n reaches only the Linked Accounts you approved when you connected. To add one you link later, or one someone shares with you afterwards:To review or revoke the connection, use the same ⋮ menu in Connected Apps.
1
Open Connected Apps
In the StackOne dashboard, go to Connected Apps.
2
Edit the connection
- Open the ⋮ menu on the row for n8n and select Edit tool access.
- Select the Linked Account.
- Click Save changes.