

Recommended Set up with your agent
Paste this into Copilot Chat. Copilot walks you through it, one step at a time.
Help me connect StackOne to GitHub Copilot. I use GitHub Copilot in VS Code. Read the setup guide at https://docs.stackone.com/ai-platforms/setup-guide.md and guide me one step at a time.
Or follow the steps yourself
Connect
1
Add StackOne
- Open the Command Palette (Cmd+Shift+P on Mac, Ctrl+Shift+P on Windows or Linux) and run MCP: Add Server.
-
Pick HTTP (HTTP or Server-Sent Events), then paste this URL:
-
Enter
StackOneas the server ID. -
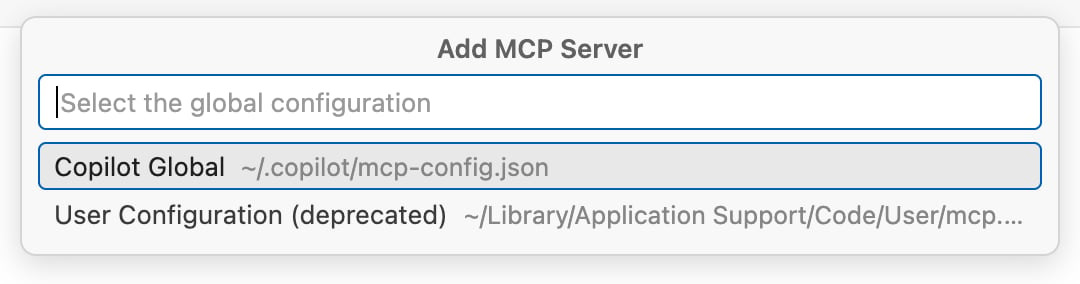
Pick Global. If VS Code then asks which global configuration to use, pick Copilot Global.
Blocked by your organization
Blocked by your organization
On Copilot Business or Enterprise, Copilot can use MCP servers like StackOne only if your organization allows them. If StackOne won’t add or start, ask your GitHub organization owner. Send them this:
2
Start StackOne
- Run Chat: Open Customizations from the Command Palette and select MCP Servers.
-
Click Start next to StackOne.
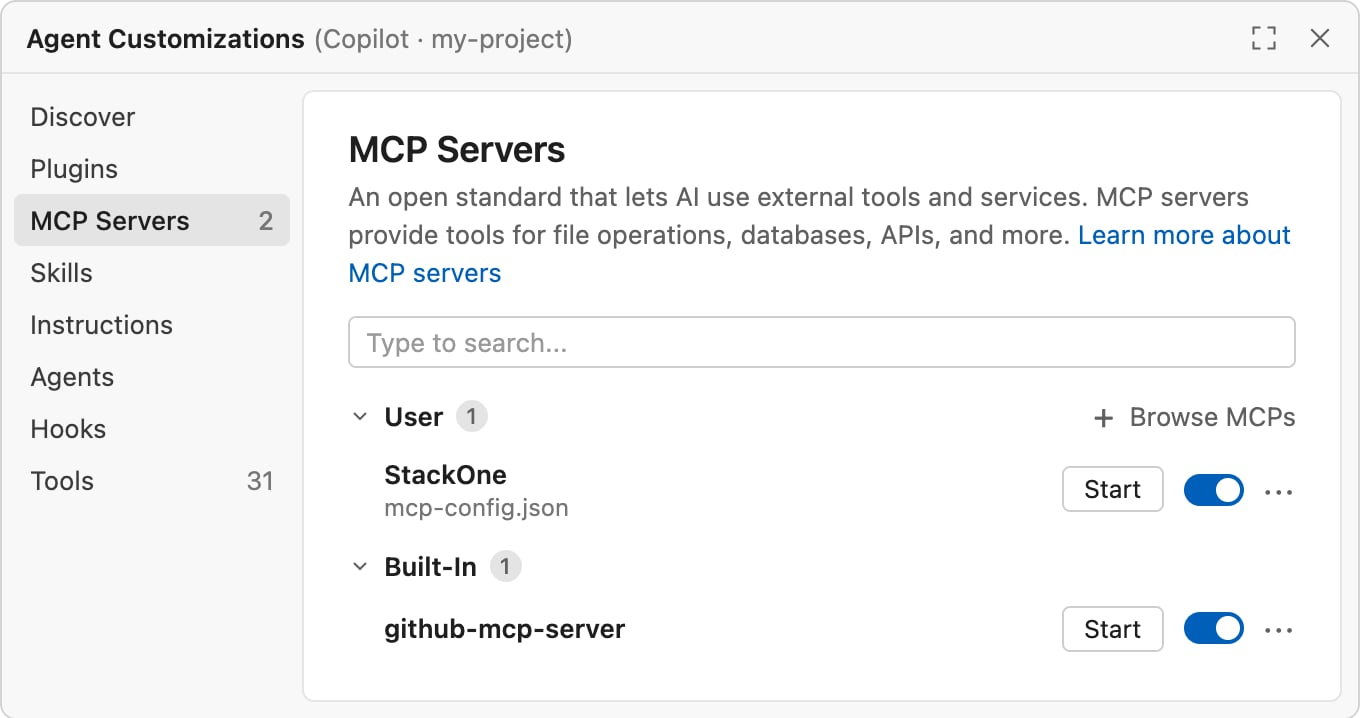
- If VS Code asks you to trust the server, click Trust. If it asks to let StackOne sign in, click Allow.
3
Sign in and authorize
- Sign in to StackOne. In a desktop app or code editor, this opens in your browser.
- If StackOne asks for a project, pick yours and click Continue to Accounts.
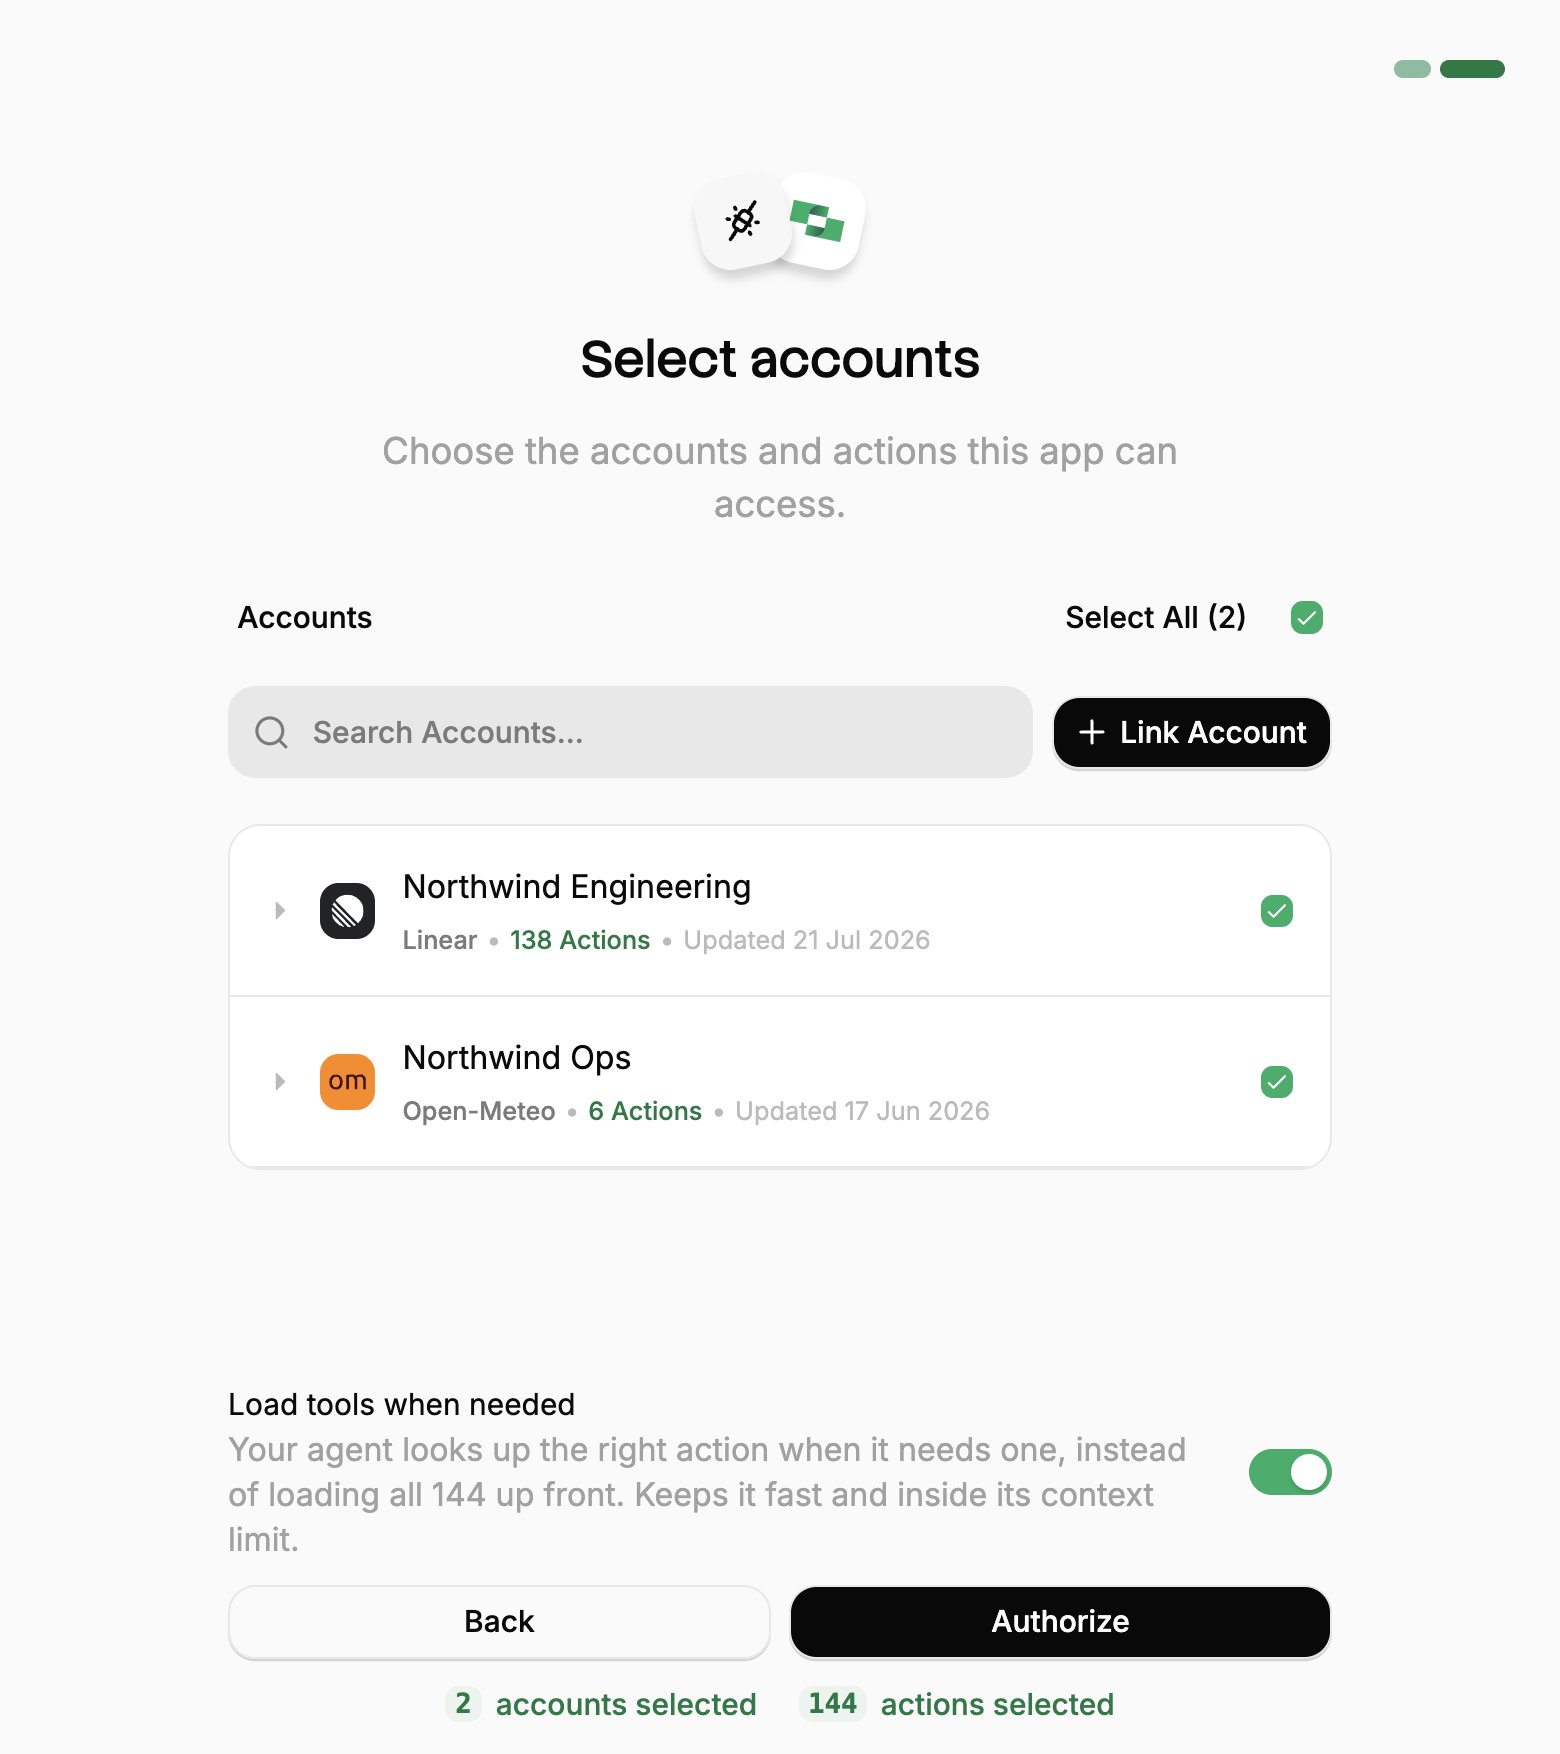
- Pick the work systems GitHub Copilot can use (your Linked Accounts).
- If you see Load tools when needed, leave it on.
- Click Authorize.
4
Check it works
- In the Chat view, start a new chat with +.
- Pick Agent in the agent picker.
-
Send this, and approve the StackOne tool when Copilot asks:
If something goes wrong
If something goes wrong
Blocked by your organization. On Copilot Business or Enterprise, your GitHub organization owner decides whether Copilot can use MCP servers. Ask them to allow StackOne.No StackOne tools in chat. Pick Agent in the agent picker and check that StackOne’s toggle is on under Chat: Open Customizations → MCP Servers.Can’t find Chat: Open Customizations. Your VS Code is older. Run MCP: List Servers, pick StackOne, then Start Server.A system you need is missing. Ask your StackOne admin, or see Linking Accounts.It stopped working. Sign in again. Run MCP: List Servers, pick StackOne, then Restart Server. Access lasts 90 days from when you clicked Authorize.It can’t do something. It can do only what your own StackOne access allows. Ask your StackOne admin.Copilot cloud agent on GitHub. It can’t use StackOne’s sign-in, so StackOne works in VS Code and Copilot CLI only.
Add or change accounts
Add or change accounts
GitHub Copilot reaches only the Linked Accounts you approved when you connected. To add one you link later, or one someone shares with you afterwards:To review or revoke the connection, use the same ⋮ menu in Connected Apps.
1
Open Connected Apps
In the StackOne dashboard, go to Connected Apps.
2
Edit the connection
- Open the ⋮ menu on the row for GitHub Copilot and select Edit tool access.
- Select the Linked Account.
- Click Save changes.