

Before you start
- Goose installed (installation guide).
- A StackOne project you are a member of.
- A connector profile in the project for each provider the client should reach, with the actions you want exposed enabled.
- (Optional) A linked account for each provider. Accounts can also be linked during the consent flow.
Connect StackOne
Interactive configuration
Run the configuration wizard:1
Add an extension
When prompted, choose Add Extension from the menu.
2
Choose extension type
Select Remote Extension (Streamable HTTP).
3
Name your extension
Enter
stackone (or any name you prefer).4
Enter the server URL
Paste
https://mcp.stackone.com/mcp.5
Sign in and authorize
- Sign in to StackOne. In a desktop app or code editor, this opens in your browser.
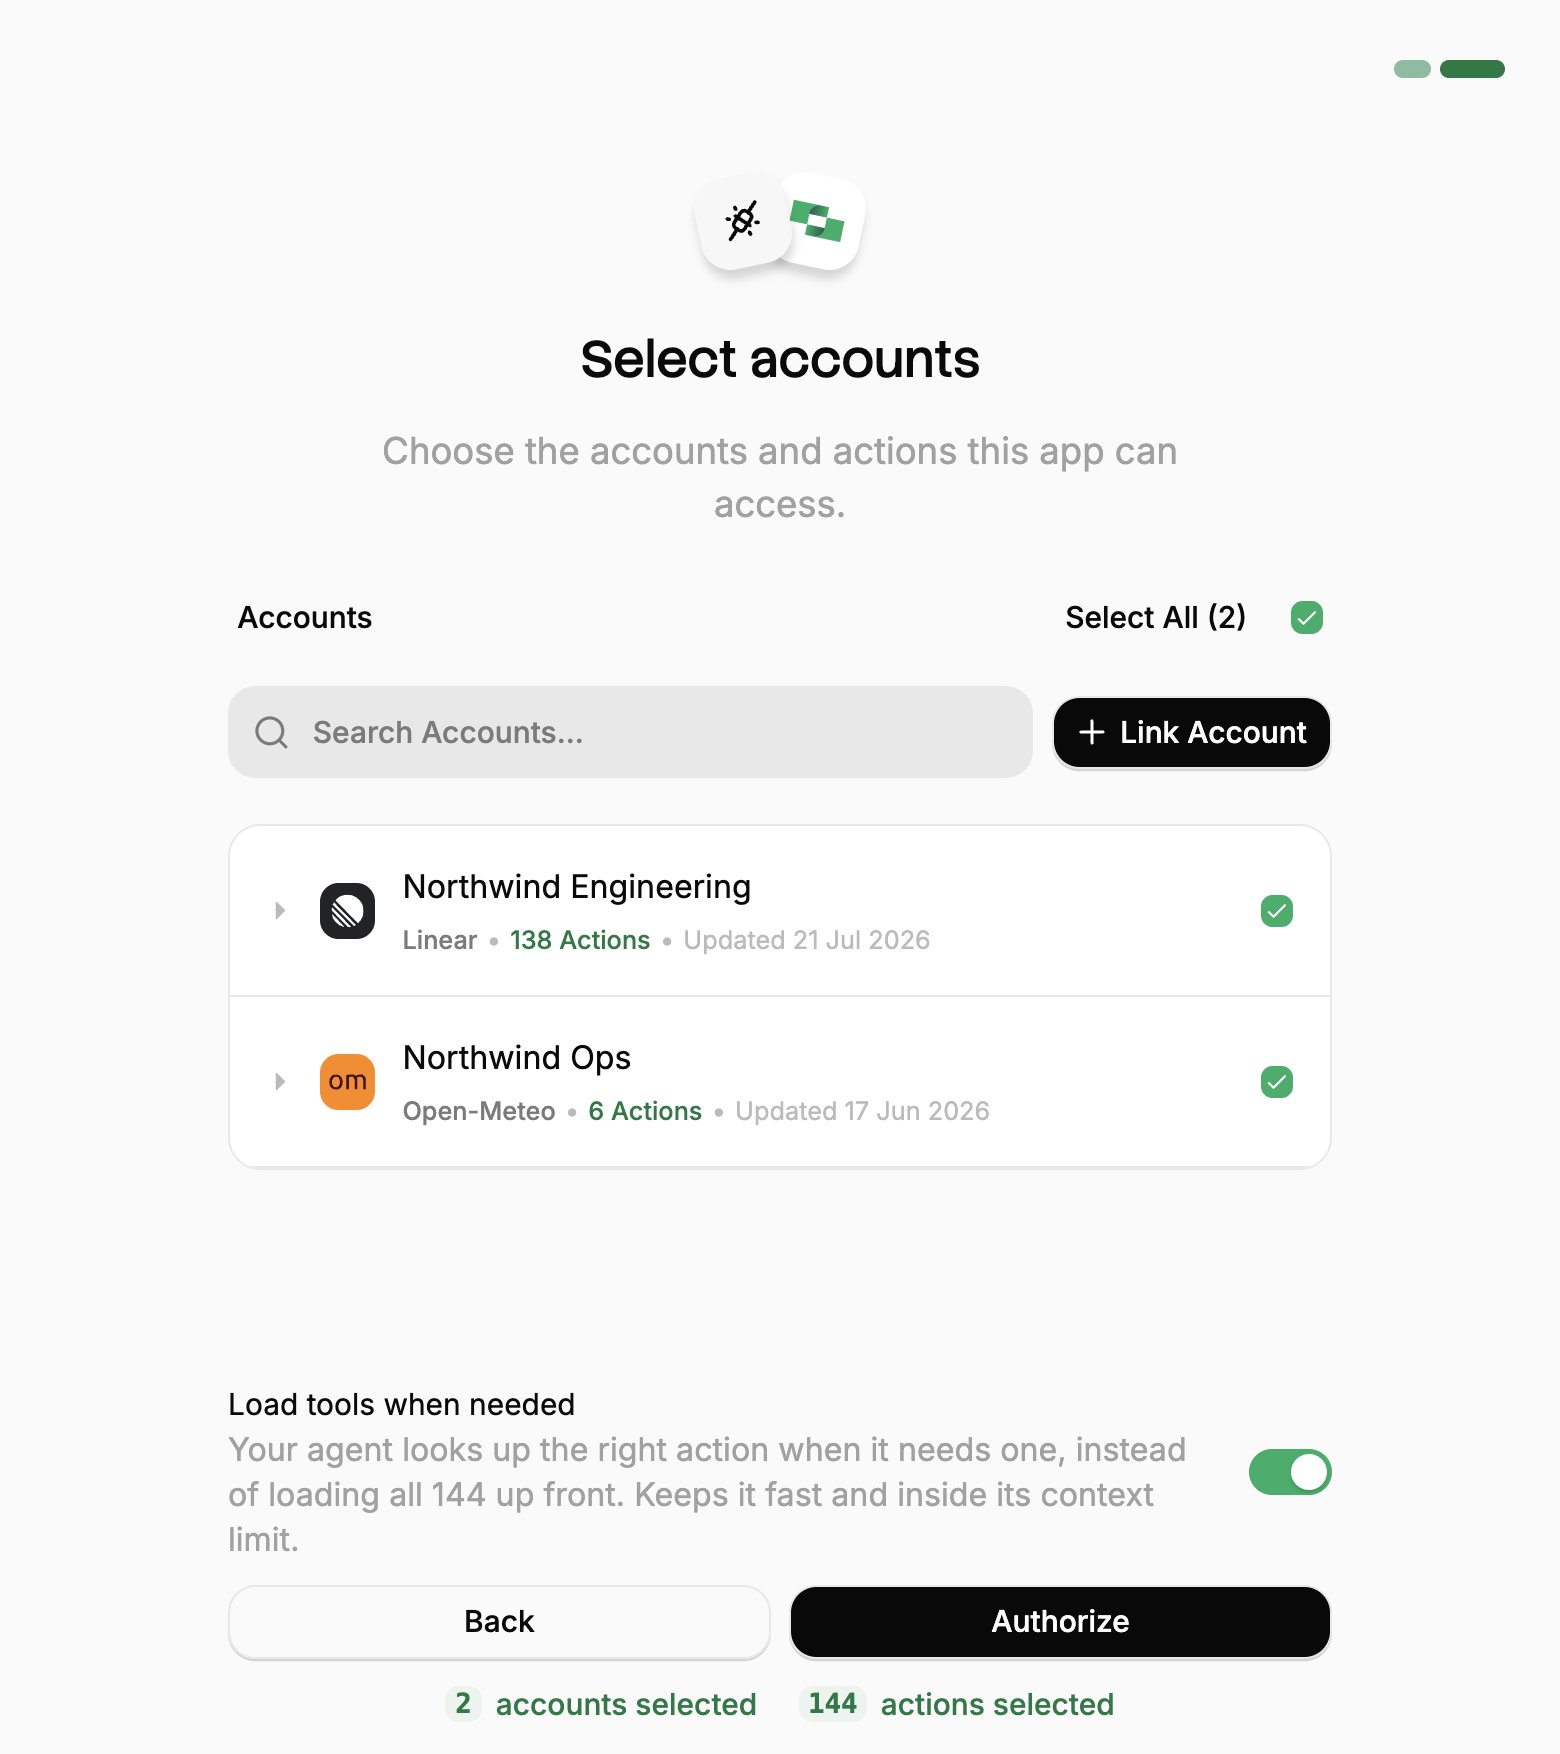
- If StackOne asks for a project, pick yours and click Continue to Accounts.
- Pick the work systems Goose can use (your Linked Accounts).
- If you see Load tools when needed, leave it on.
- Click Authorize.
Manual YAML configuration
Find your Goose config file:- Linux or Mac:
~/.config/goose/config.yaml - Windows:
%APPDATA%\goose\config.yaml
extensions:
stackone extension is usually all you need.
Verify installation
Start a Goose session and check available tools:Desktop application
If using Goose Desktop, open Settings → Extensions. Your StackOne extension appears in the list, where you can toggle it on and off.Troubleshooting
Extension not loading
Extension not loading
Symptoms: StackOne tools don’t appear when you ask “Which of my Linked Accounts can you reach through StackOne?”
- Verify config file location with
goose info -v. - Check YAML syntax (indentation matters).
- Ensure the extension is marked
enabled: true. - Restart Goose after config changes.
- Check logs with
goose logs.
Authentication errors
Authentication errors
Symptoms: “401 Unauthorized” or “403 Forbidden”If you connected with OAuth, re-run
goose configure to authorize again, and check the grant still exists under Connected Apps in the StackOne dashboard.If using a token app URL, regenerate it under Connected Apps → Token apps in the StackOne dashboard.Connection timeout
Connection timeout
Increase the timeout in your config:
No tools available
No tools available
- Confirm you approved at least one account on the consent screen.
- Check that actions are enabled on the account’s Connector Profile.
- Review StackOne Playground to see expected tools.
YAML configuration errors
YAML configuration errors
- Validate YAML syntax at yamllint.com.
- Check indentation (use spaces, not tabs).
- Run
goose info -vto see config parsing errors.
Add or change accounts
Add or change accounts
Goose reaches only the Linked Accounts you approved when you connected. To add one you link later, or one someone shares with you afterwards:To review or revoke the connection, use the same ⋮ menu in Connected Apps.
1
Open Connected Apps
In the StackOne dashboard, go to Connected Apps.
2
Edit the connection
- Open the ⋮ menu on the row for Goose and select Edit tool access.
- Select the Linked Account.
- Click Save changes.