

This guide configures a single-tenant SharePoint app for use within your organization only. Users outside your organization cannot connect with this app. No Microsoft Partner Center account or publisher verification is required.
Create and configure a new application
1
Log in to Microsoft Azure
Log in to your Microsoft Azure portal.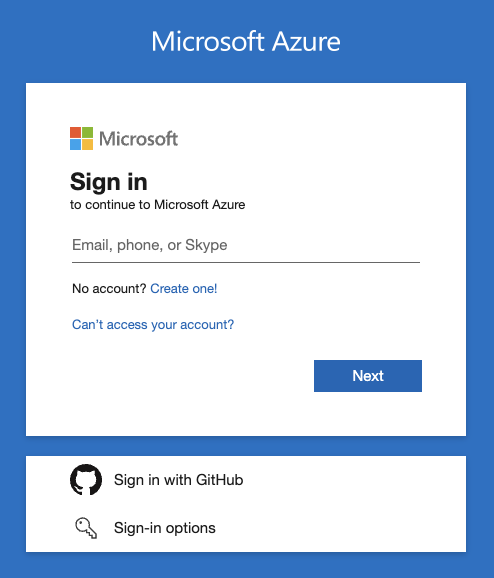
2
Navigate to App registrations
Go to your Microsoft Entra admin center.In the left navigation bar, click Applications > App registrations.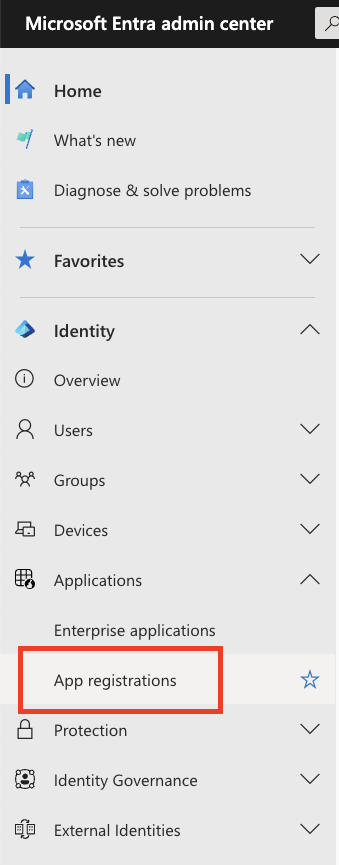
3
Register a new application
Under App registrations, click the + New registration button.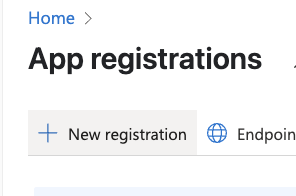
4
Configure application details
Under Register an application, input the following details: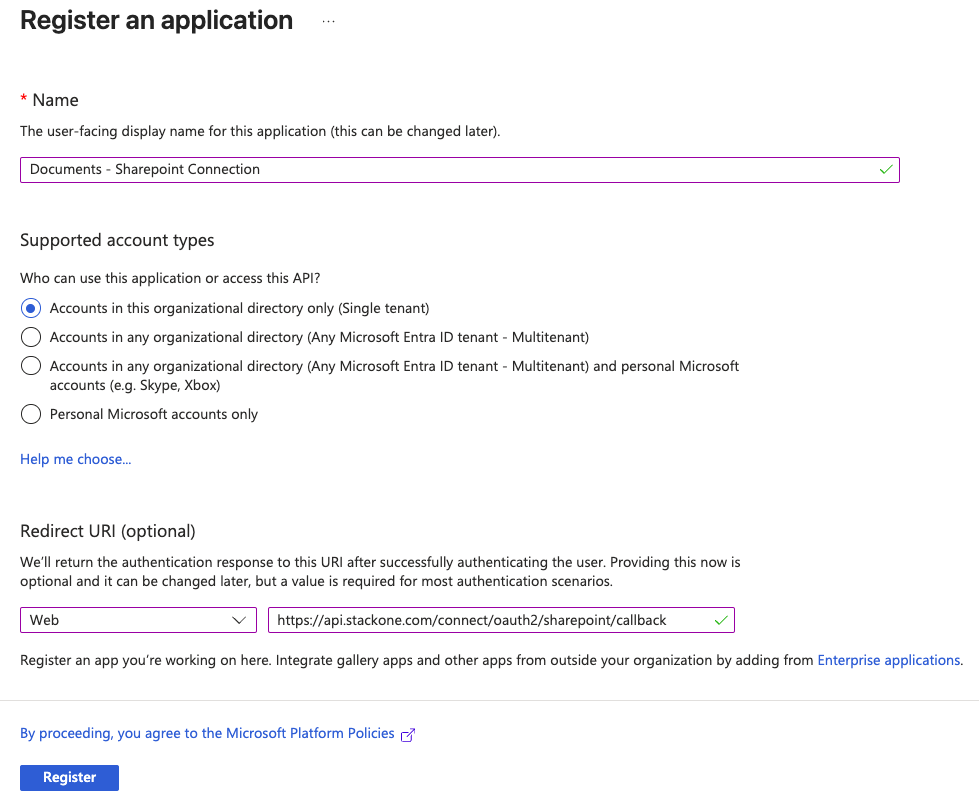
- Name
- Supported account types
- Select Accounts in this organizational directory only (Single tenant)
- Redirect URI
- Select Web
- Enter the URI:
https://api.stackone.com/connect/oauth2/sharepoint/callback
5
Obtain the app client ID and tenant ID
After registration, you’ll be taken to the application overview page.Copy the following values and store them safely to be used in a later step: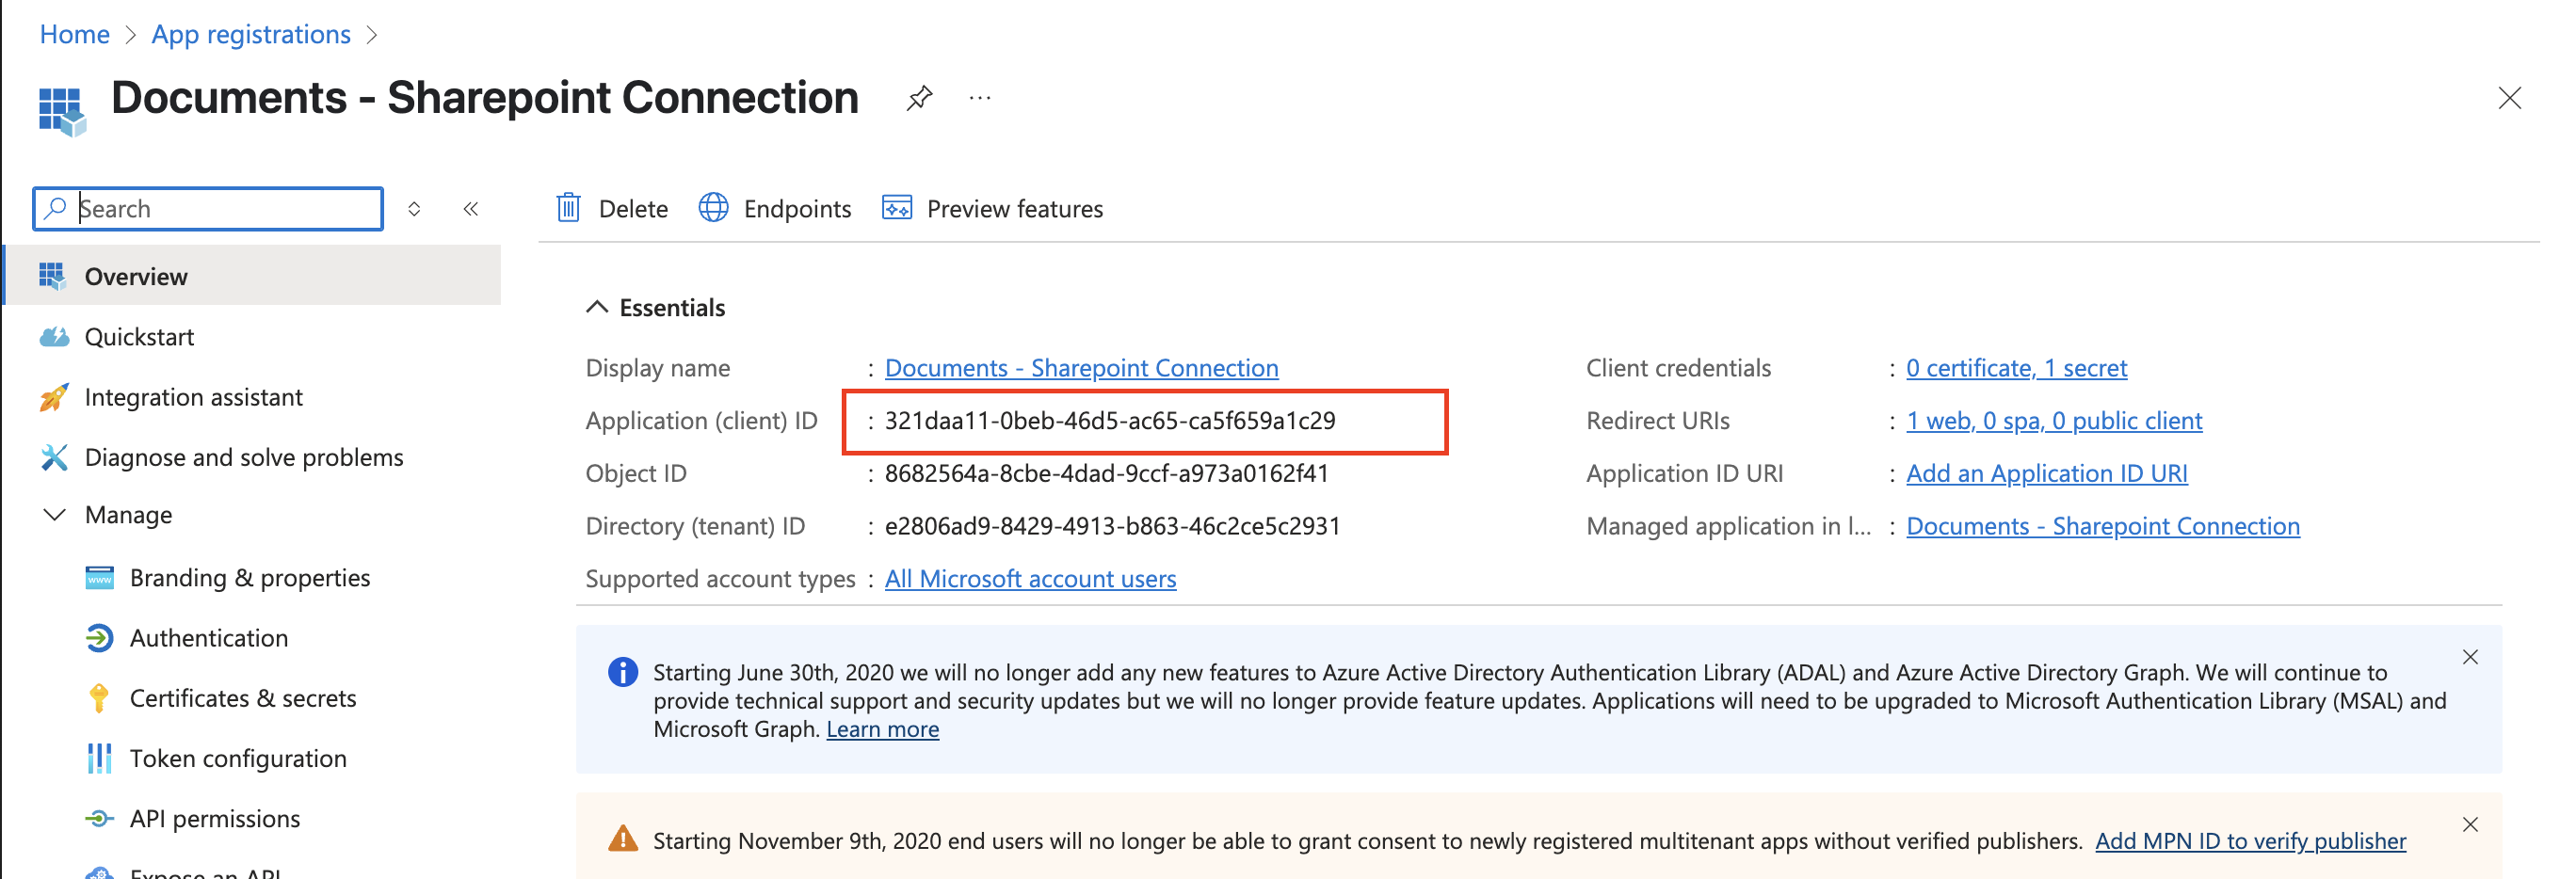
- Application (client) ID
- Directory (tenant) ID
6
Obtain the application client secret
Under Client credentials on the right, click Add a certificate or secret.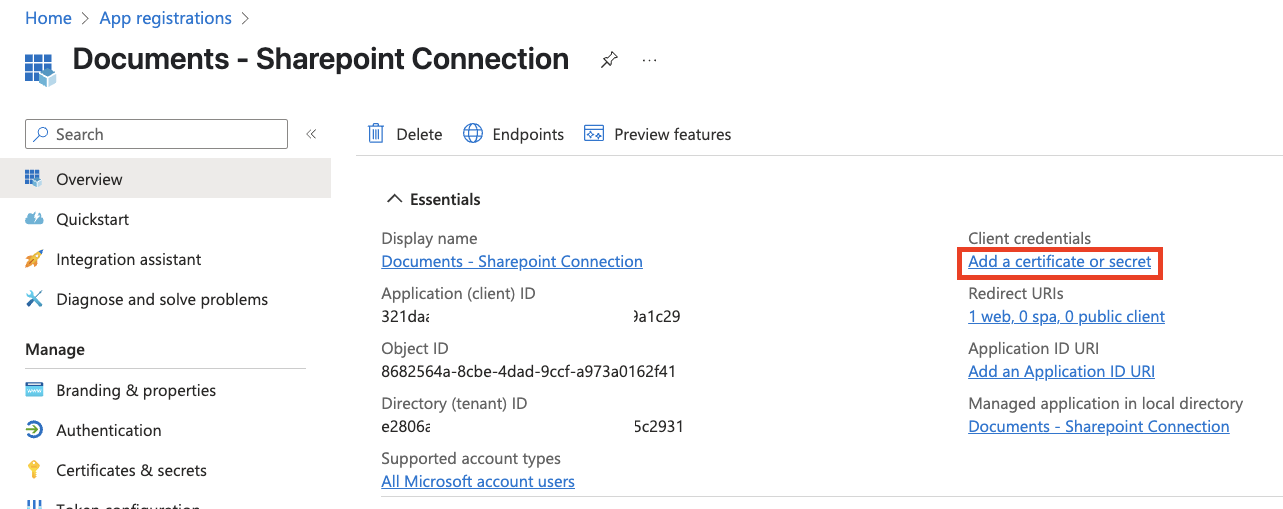
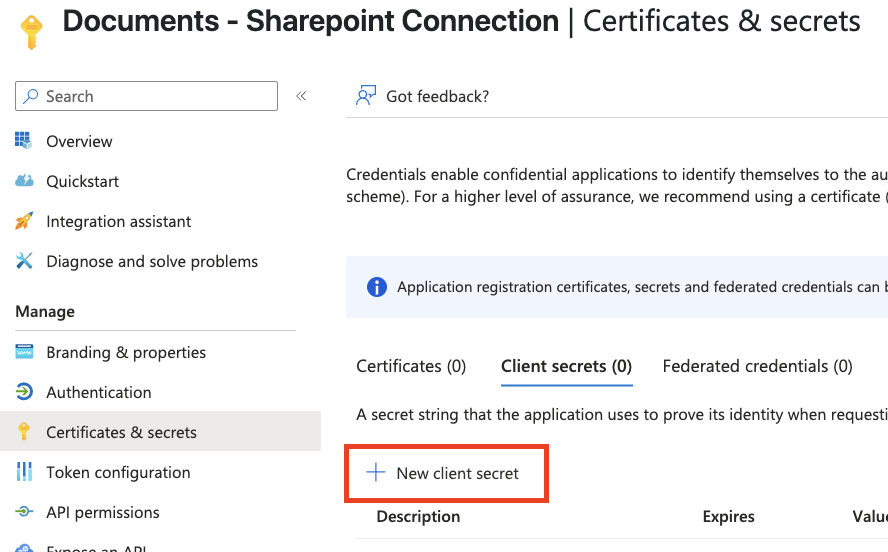
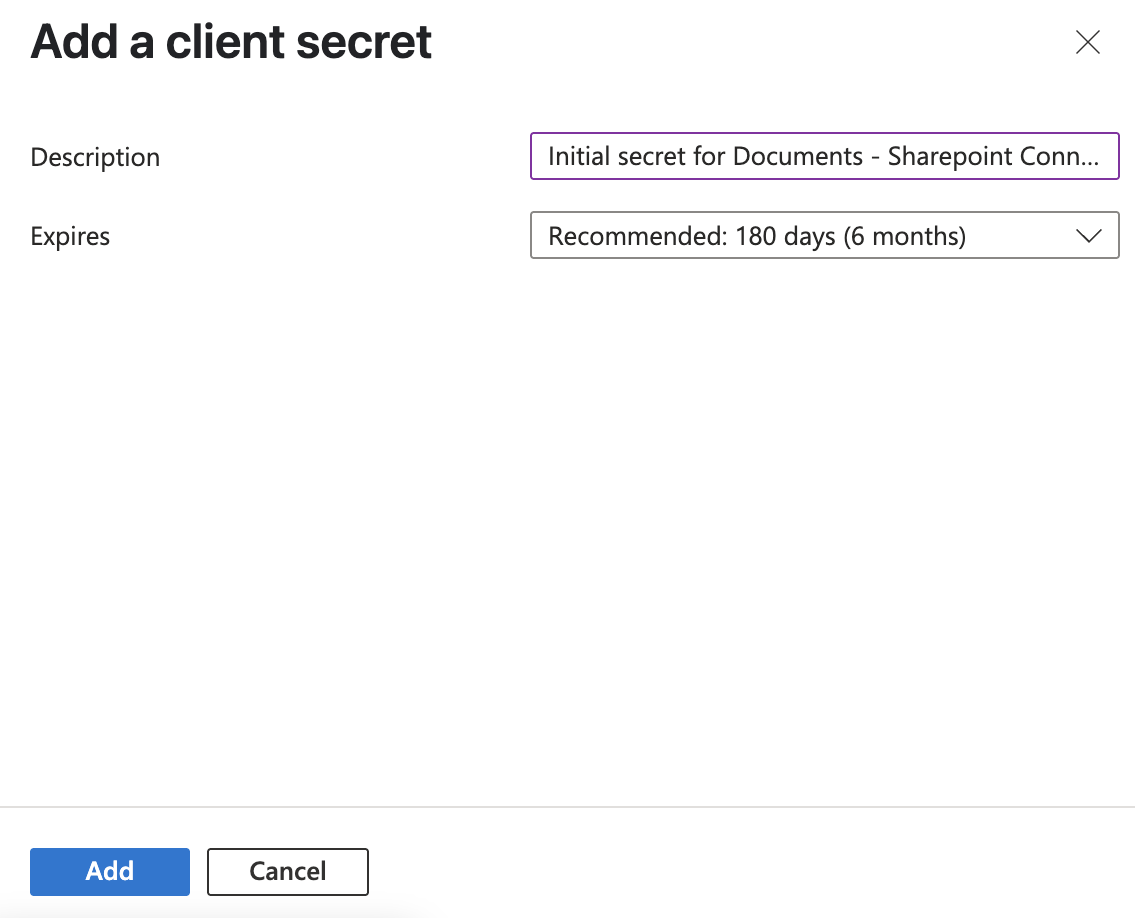
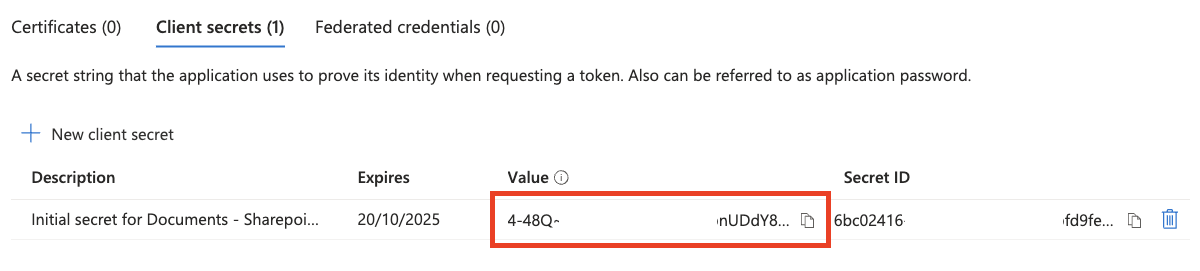
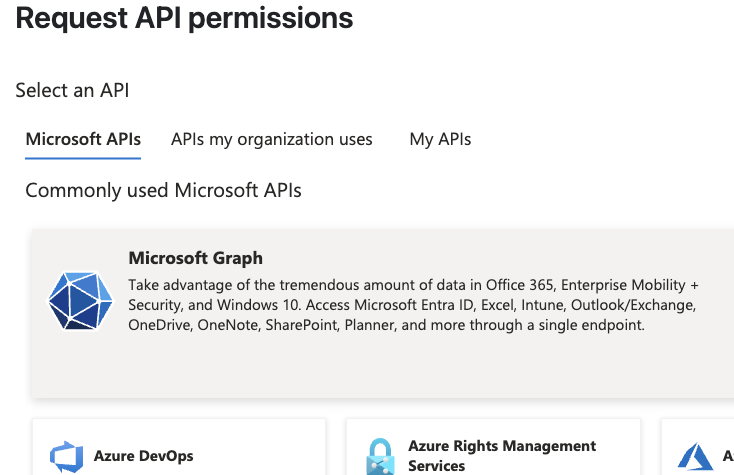
Please keep in mind that a new secret will need to be generated when this one expires.
- Files.Read - Read user files
- Files.Read.All - Read all files that user can access
- Files.ReadWrite - Read and upload user files
- offline_access - Maintain access to data you have given it access to
- User.Read - Sign in and read user profile
- User.ReadBasic.All - Read all users’ basic profiles
7
Grant admin consent for permissions
All of the added permissions will be listed under Configured permissions. Please ensure that all of the permissions above are listed.Click Grant admin consent to approve all of the listed permissions.Click Yes to confirm admin approval.
User consent settings and non-admin connections
Tenant-wide user consent settings in Microsoft Entra ID (Identity > Applications > Enterprise apps > Consent and permissions > User consent settings) affect when non-admin users can connect to this single-tenant app without prior admin action.When Microsoft manages your consent settings
When Let Microsoft manage your consent settings (Recommended) is selected, Microsoft’s managed consent policy applies. For a single-tenant, unverified app (like the one in this guide), non-admin users are often not allowed to grant consent on first use. In practice:- Option A: An org admin connects via OAuth first and completes the consent screen. After that, non-admin users can connect without seeing the consent prompt.
- Option B: A non-admin user tries to connect first and is blocked with Need admin approval. An admin then goes to the app’s Configured permissions in the Microsoft Entra admin center (Enterprise applications > your app > Permissions) and clicks Grant admin consent. After that, the non-admin user can connect successfully on a second attempt.
Allowing non-admins to connect on first attempt
To allow non-admin users to connect on their first attempt without an admin connecting first, change the tenant setting to Allow user consent for apps from verified publishers, for selected permissions. That policy explicitly allows user consent for apps registered in your organization (single-tenant apps) as well as verified publishers, but only for permissions your org classifies as low impact. To avoid prompts for the permissions this app uses (e.g. Files.Read, User.Read, offline_access), an admin may need to classify those permissions as low impact under Consent and permissions > Permission classifications. After that, non-admin users can typically complete the consent flow on first connection.Changing to Allow user consent for apps from verified publishers, for selected permissions is a tenant-wide setting and may allow user consent for other apps registered in your tenant. Evaluate this against your organization’s security policy.
Get your SharePoint base URL
Your SharePoint base URL follows this format:- Opening your Microsoft SharePoint site
- Copying the base URL from your browser’s address bar
Available data
This integration has the following Documents resources available from the provider:- Drives
- Files
- Folders